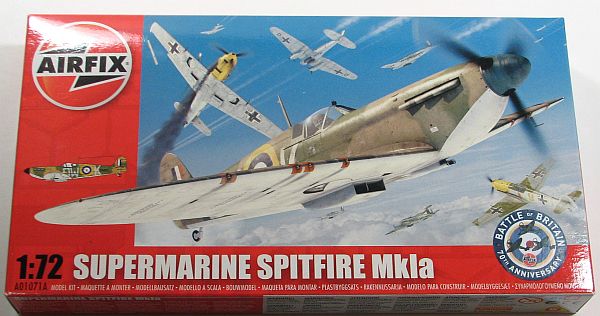
Airfix 1/72 Supermarine Spitfire Mk.Ia (New Tool)
By Matt Bittner
Introduction
There is so much out there written on the Supermarine Spitfire that a paragraph or two won't even begin to cover this important World War 2 fighter. If you truly have nothing on the Spitfire, then start with a Google search and go from there.
Recently Airfix has been releasing all new tooling kits, both for the "serious" modeling individuals, as well as those just starting out. Some of the kits are better than others, but they're all brand new and most are worth looking at. Thankfully, the Spitfire Mk.Ia is one that needs a serious look - one catered for both the "serious" modeler as well as the person just starting out.The only problem with the new kits are the panel lines. Airfix seems to have hired the Matchbox trench-digger. Definitely a shame, but nothing totally insurmountable. And even with the deep panel lines, most of these new Airfix kits are still definitely buildable.
The Kit
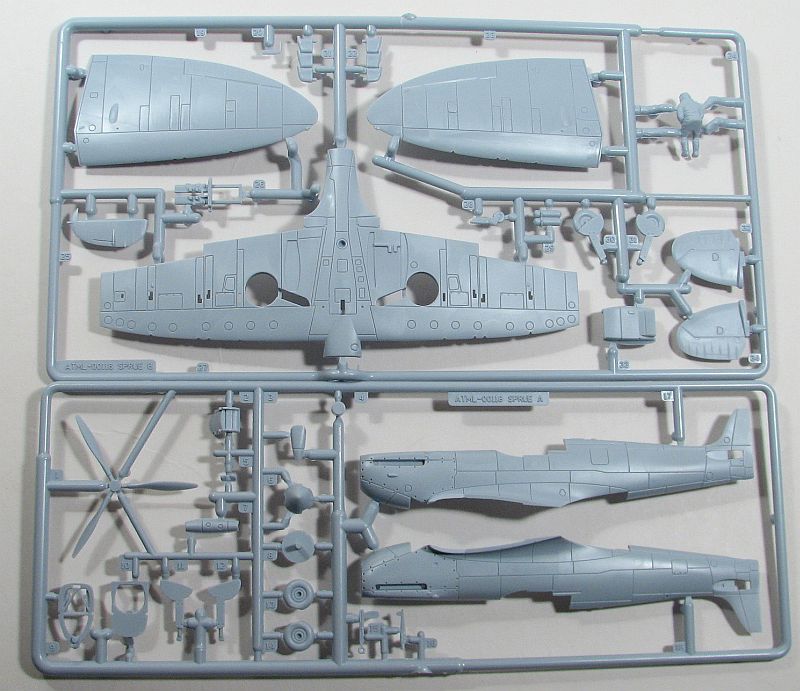
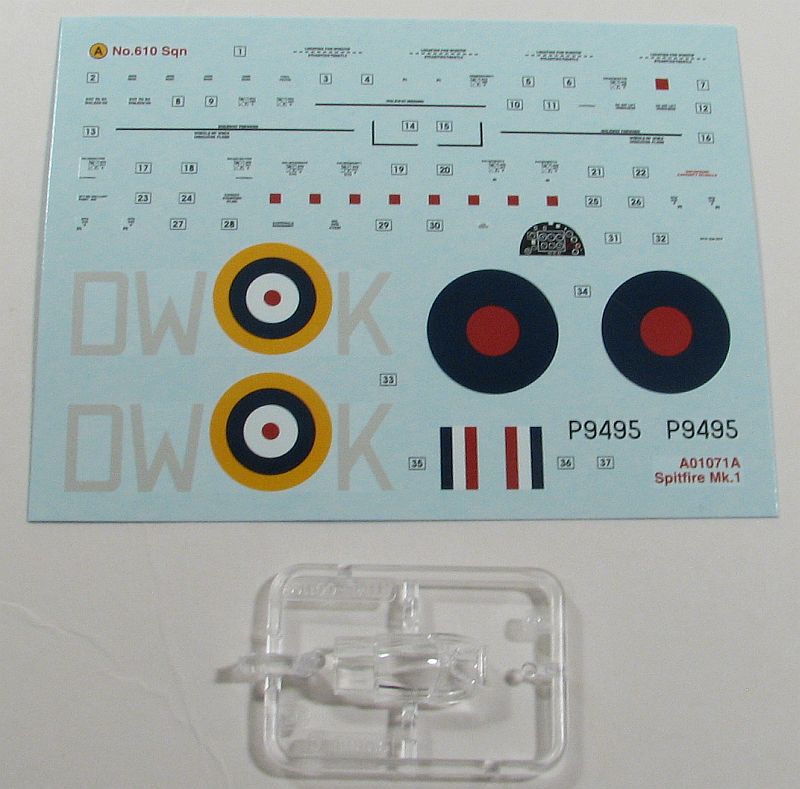
The Airfix 1/72 Spitfire Mk.Ia consists of 33 grey, injected, plastic pieces and one (semi thick) clear one-piece canopy. The are decals for one scheme, a machine from No. 610 Squadron, No. 13 Group, RAF Biggin Hill, July 1940. Decals are very nicely printed, in register, and include a full compliment of stencils along with an instrument panel.
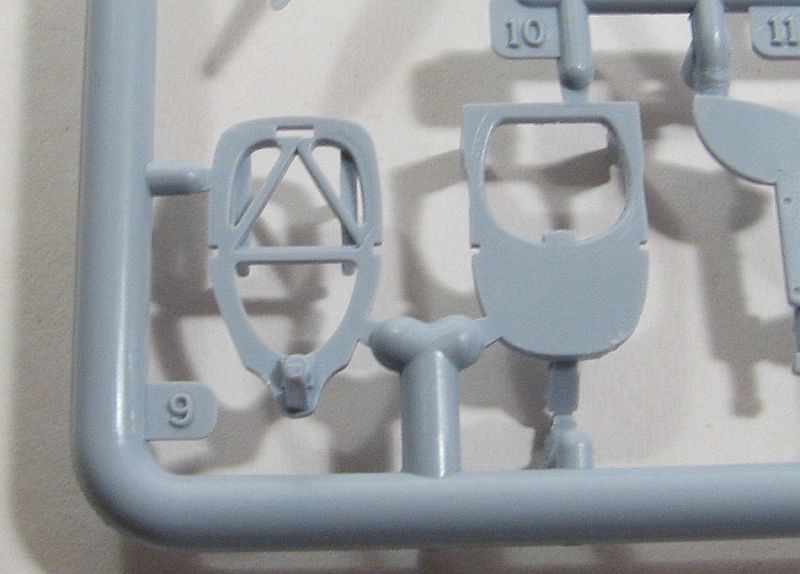
The cockpit is stunning for a nine-US-dollar model (about what I paid for it at full retail). Rudder bar "support" (there is no floor in the Mk.I), seat, rear bulkhead, front bulkhead/instrument panel and control column. The only thing missing are seat belts, in any fashion. Sidewall detail is first rate and unless you want to "go all out", out-of-the-box the cockpit is more than suffiecient. Especially since the cockpit door is not a separate piece. Also, the cockpit is more than sufficient if using the one-piece, kit-supplied canopy. Unfortunately as I mentioned the canopy is a little thick and it will be difficult to view what the kit cockpit contains in any event. But again, it's not too thick to not build this model.When reading my review you might think I'm being picky. I am, but I've also been building models for quite a long time. This Spitfire Mk.Ia is not to be passed up, if you find the Spitfire interesting, whether your a "master modeler" or just starting out. If you're a "master", then you know how to overcome the kits' small deficiencies. If you're just starting out, then the "deficiencies" are small enough to be ignored. Plus, for both levels of modeling, I've read the model falls together well enough that you avoid a lot of dealing with seams. That right there is worth purchasing the model.
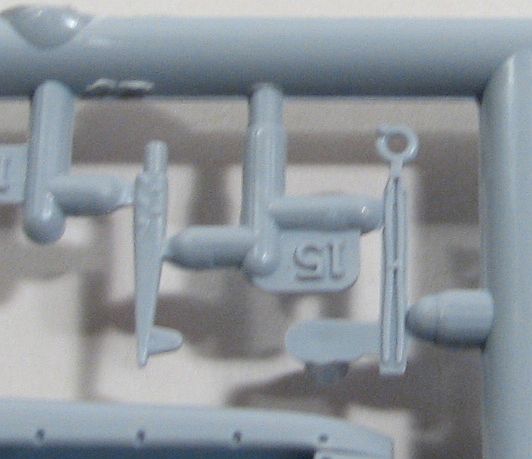
So, once the cockpit is built up, painted, and stuck in one fuselage half (along with the oxygen tanks and prop "holder") then you can assemble the fuselage halves together. Once that is taken care of then you add the lower wing piece, the two upper pieces, the separate rudder and horizontal tail pieces. The exhausts are separate and best added after painting. If you're using the kit's canopy then you'll probably want to mask it and add it now.Turn the model over and add the radiator, chin scoop and two gun "buldges". Decide if you're building the kit with landing gear up or down but hold off adding these until the end. The other shortcoming to the kit is the landing gear - the main landing gear and gear doors are one piece. Not optimal, but still something that isn't insurmountable. Using deft washes and dry brushing it could be made to look very nice.
One of the last steps is to add the upper antenna - again, best left off until the very end.
Conclusion
Wow! I've built the Tamiya Spitfire Mk.Ia and while it to was a very nice and relatively easy build, there are some accuracy issues with it. In addition, it's three- to four-times the price of the Airfix kit. There is no reason what so ever to NOT pick up this kit. It's an excellent kit and well worth every cent/pfennig/euro/whatever.The primary reason for buying this specific kit was to use it in conjunction with the 3D-Kits Spitfire Mk.II conversion. I'm looking forward to not only building the Airfix kit, but also using the conversion. Should be fun. The great thing is Airfix already has a flashed-over hole to open up to stick the conversion crank cover in. Excellent!
I definitely plan on picking up at least two more - to build a "straight" Mk.I and to use the other conversion set to build a Rotol prop Mk.I.

