
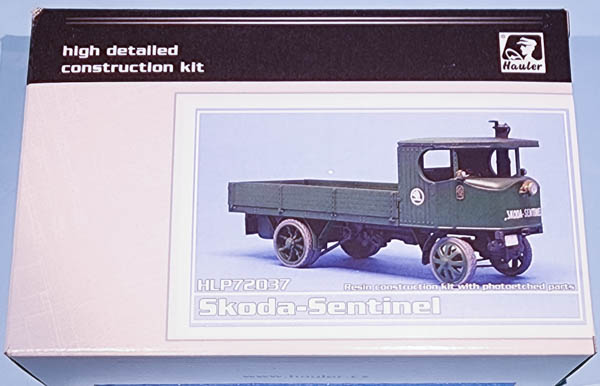
Hauler 1/72 Skoda-Sentinel
By Matt Bittner
Overview
Taken from Wikipedia:
"The Sentinel boiler was a design of vertical boiler, fitted to the numerous steam wagons built by the Sentinel Waggon Works.
"The boiler was carefully designed for use in a steam wagon: it was compact, easy to handle whilst driving, and its maintenance features recognised the problems of poor feedwater quality and the need for it to be maintained by a small operator, rather than a major locomotive works.
"Although this design was used in most of Sentinel's products, they also produced larger boilers of quite different types for their railway locomotives."
The Kit
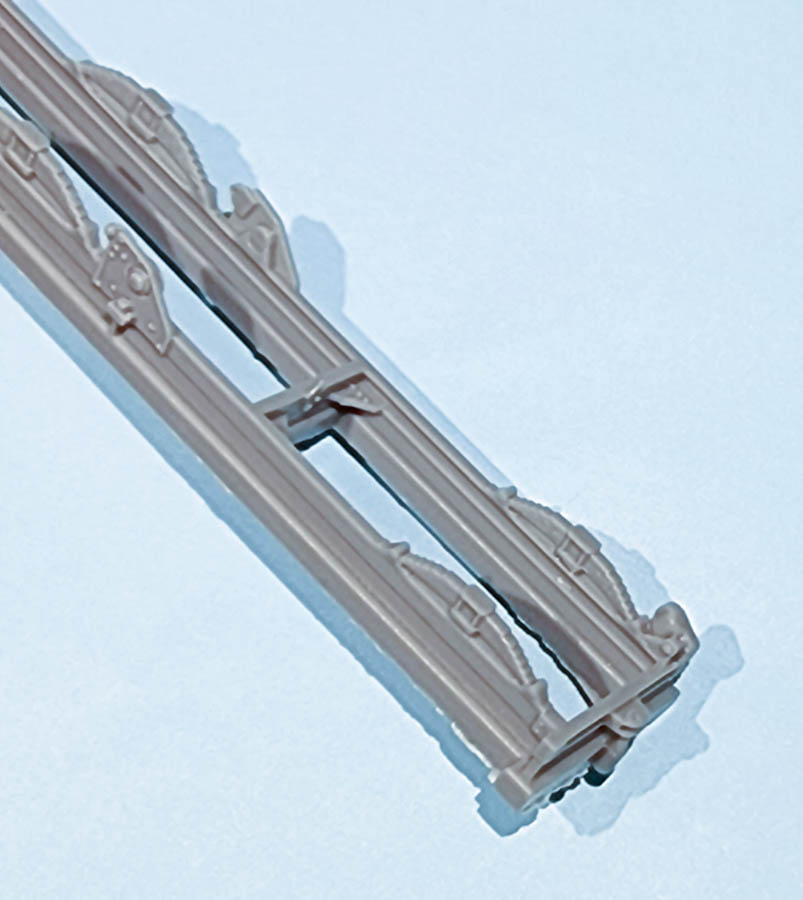
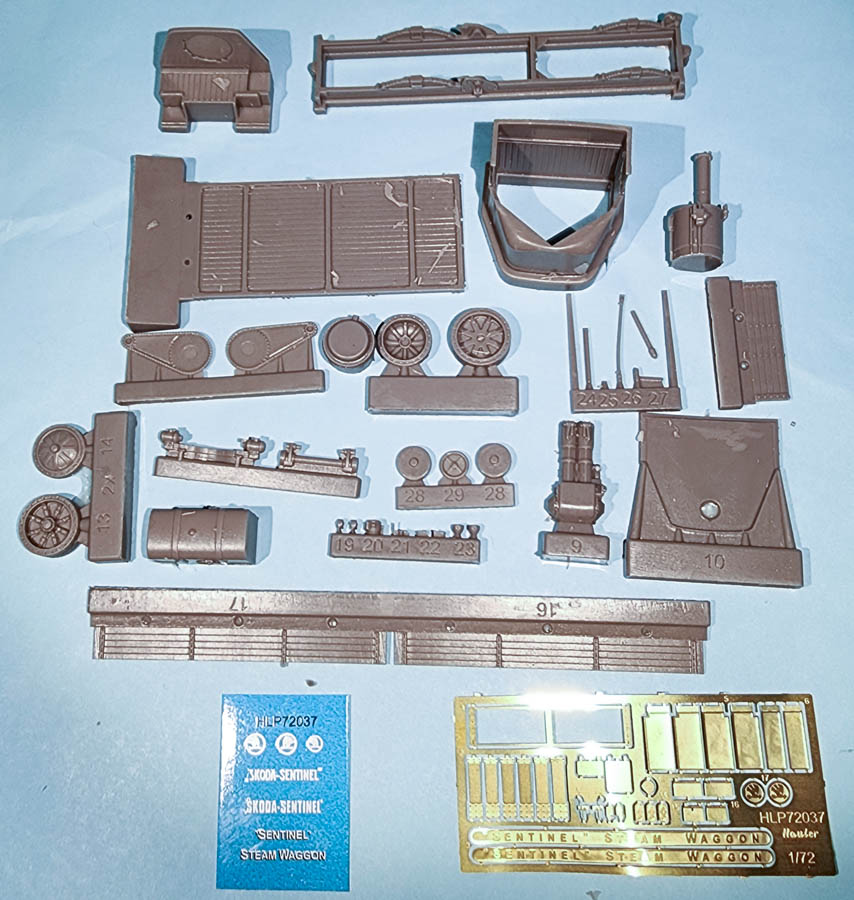
The Hauler 1/72 Skoda-Sentinel consists of 35 pieces of gray resin and a photoetch fret with 30 pieces. The molding is very nicely done and the detail is exceptional. The most difficult part of construction will be removing the parts from their pour blocks, especially the chassis. First, you'll want to clean the area "inside" the leaf springs since those areas should be "open", and then removing the one-piece chassis from its pour block will be time consuming. Having the right tools will help, and maybe this is where a jeweler's saw will come in handy. In any event, take your time and keep a close watch on where your blade cuts.
|
Once all parts are removed from their pour blocks then construction starts with adding items to the chassis. The differential, chain-driven drive-train, etc. Another part you may want to modify are the chain-driven wheels. Hauler had molded that all as one piece of resin including the chains. You can try to clean the resin from within the chains but it might be easier to completely chop all this off and replace with something that resembles a chain. Once this is all together then you'll want to paint it separate from the main body as the undersides were gloss black.
When you open the instruction sheet, note that Hauler has the steps in the incorrect order, if you're a left-to-right reader. The instructions on the left of the sheet should be the the final steps while those on the right are the next steps after assembling the chassis. This includes adding the wheels and headlights to the chassis followed by assembling the front of the truck, what some would call the "cab". There are multiple steps involved which includes not only the resin pieces but also photoetch. Note that there is a difference with this part of the assembly. The first marking's choice includes a larger headlight on the front of the cab the other two don't. So before you finish the cab you'll need to decide which marking option to choose. But, once the cab is completely assembled then you move on to creating the rest of the truck.
|
The first part to finishing this model is adding the cab to the chassis which includes gluing on the painted boiler to the underisde of the cab first. Next you bend the photoetch mud flaps before gluing the pieces of the bed together. Then you finish assembly by gluing the bed to the chassis along with detail parts for the bed, a tank under the bed and all mud flaps. Finally you add the final photoetch elements and decals at the end.
There are three ways you can finish your Skoda-Sentinel out-of-the-box: the first with a body being an all over dark green with a few decals and the optional head light; the body an all-over light blue gray with decals and photoetch elements on the sides of the bed; and another overall dark green body with different decals than the first.
Conclusion
This is a nicely done model of the Skoda-Sentinel. Once finished it will really add a conversation piece to your shelves. Note that painting everything separate is the way to go and will definitely help with the final assembly. There is still a Skoda-Sentinel in operating existence so look online to find video of it in motion.
I definitely send my thanks to Brengun for allowing me to review this truck.

