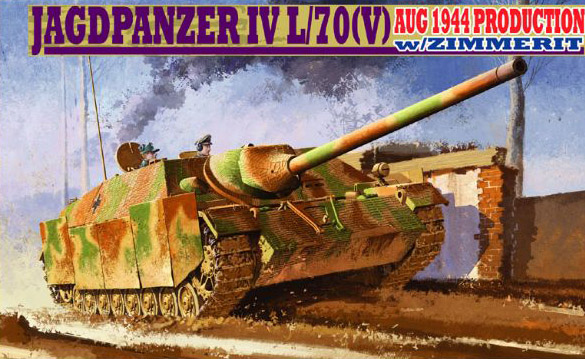
Dragon 1/35 Jagdpanzer IV L/70 (V) – August 1944 Production w/Zimmerit
By Eric Christianson
Background
The Jagdpanzer IV L/70 (V) was an improved version of the Jagdpanzer IV with the PaK42 L/70 mounted in place of the shorter PaK39 L/48. It went into production along with the Jagdpanzer IV which it replaced completely by December of 1944. Even though it was released in August of that year, the L/70 (V) was first used in numbers during the Ardennes offensive in December, when approximately 137 were available.
The Kit
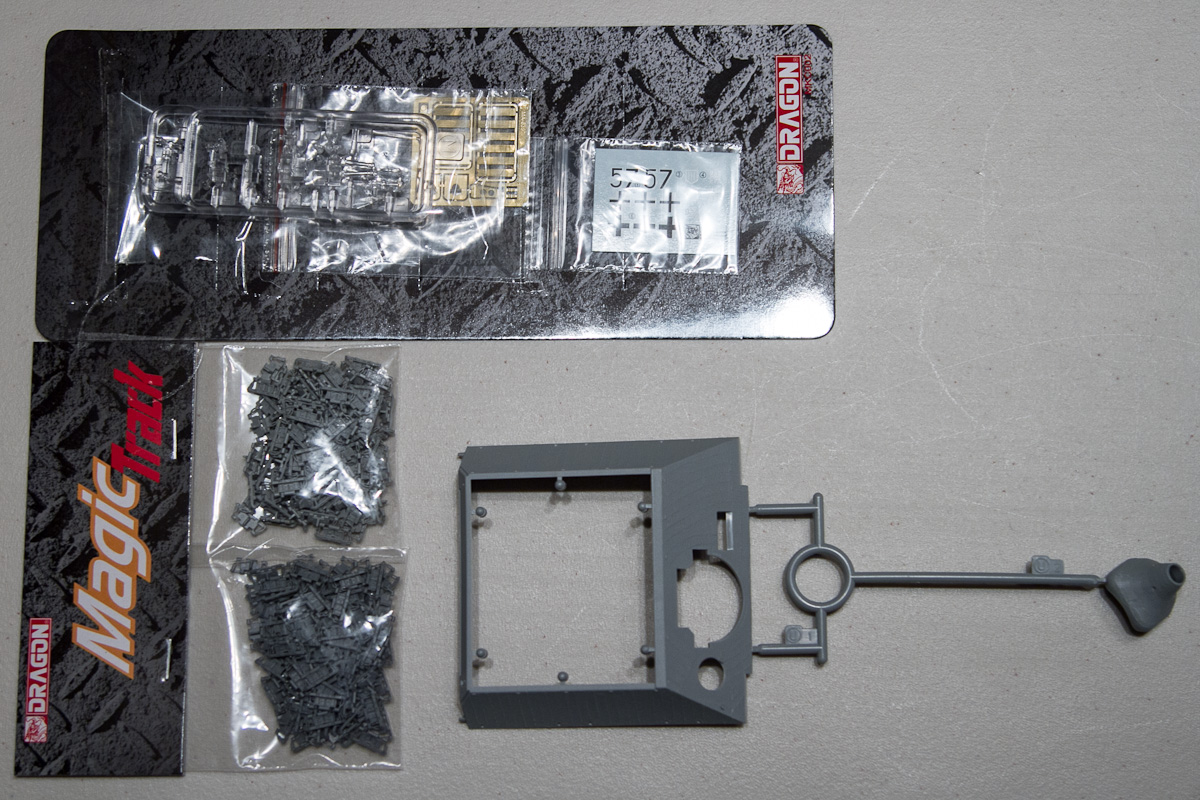
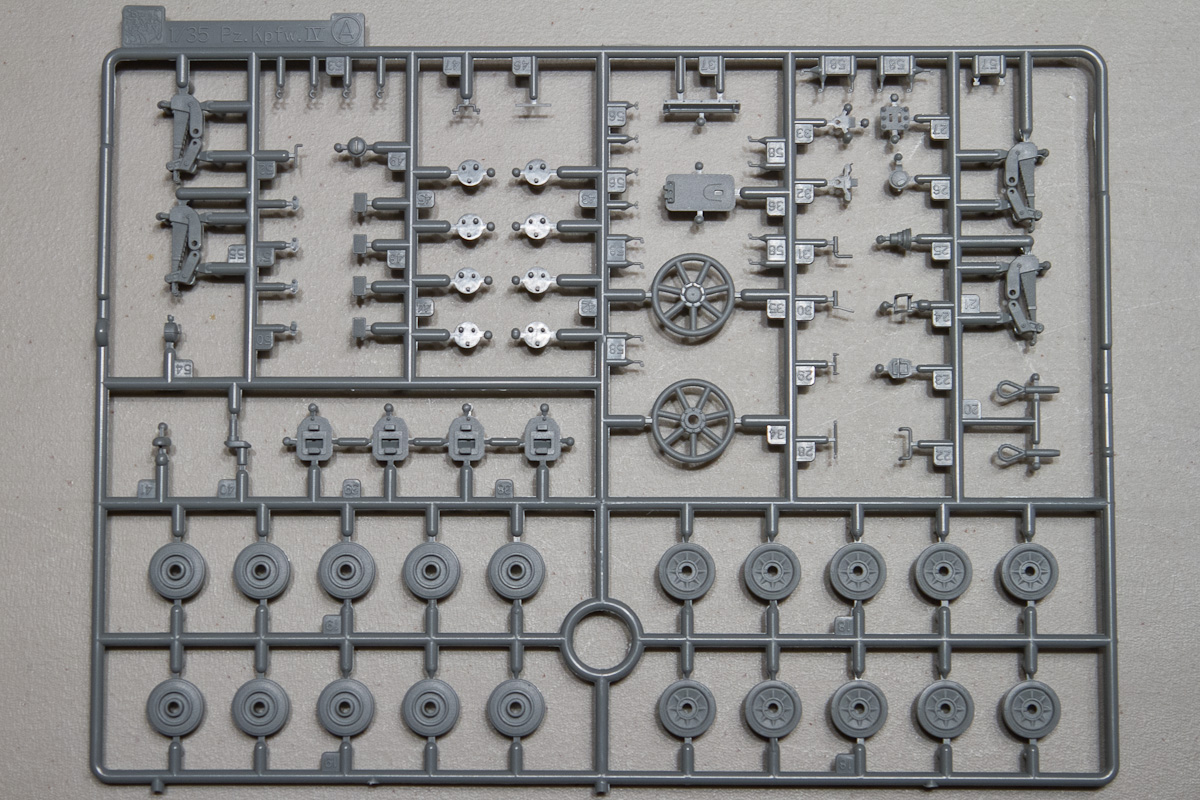
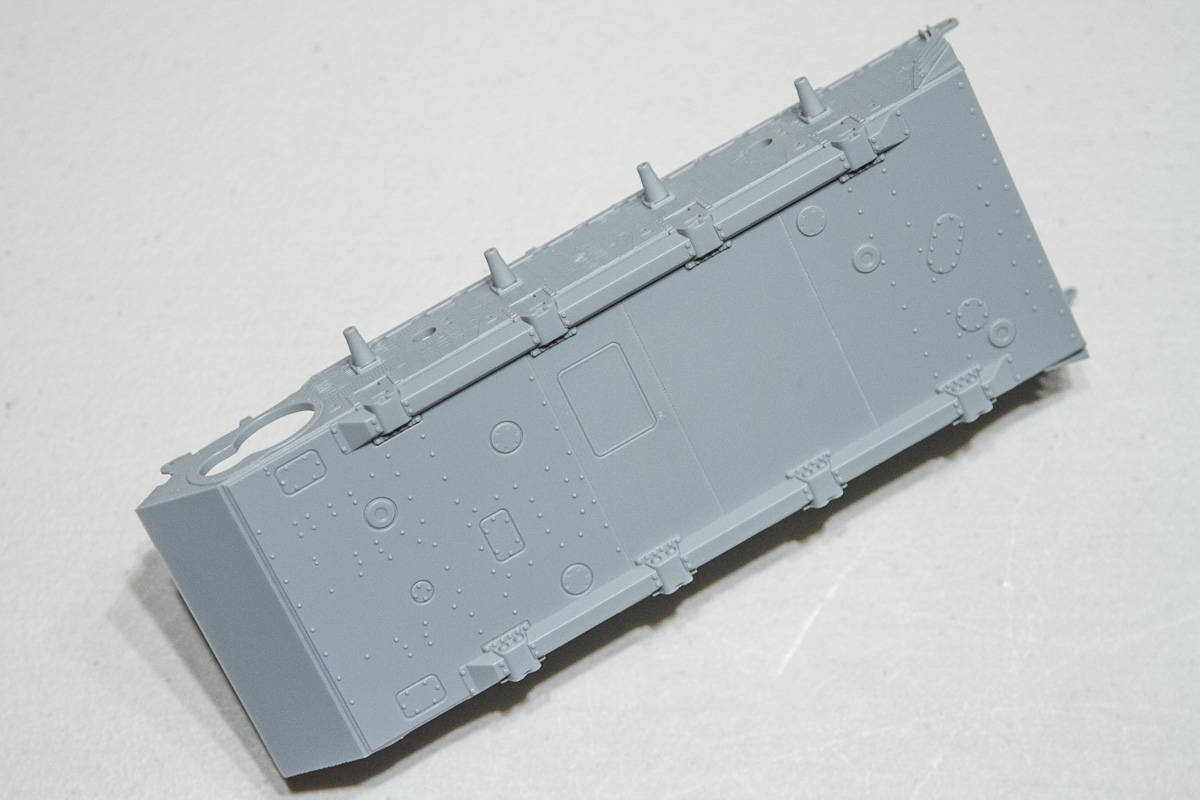
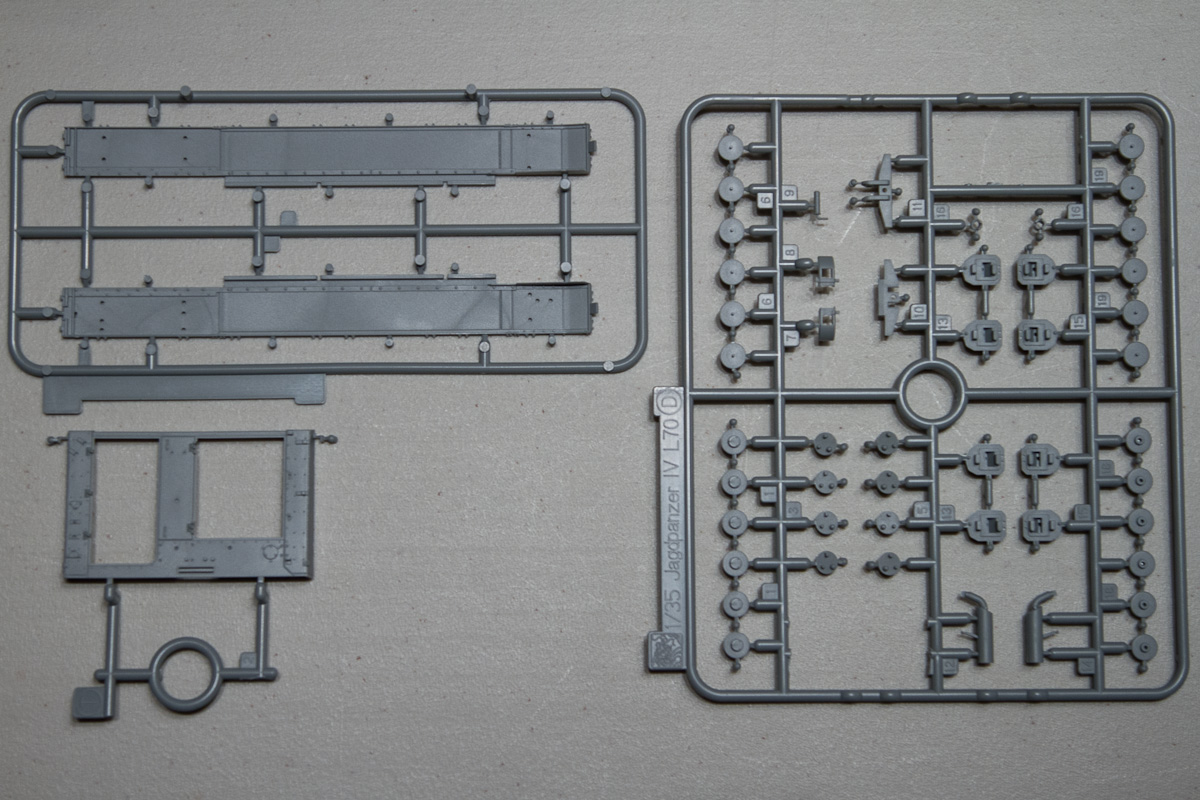
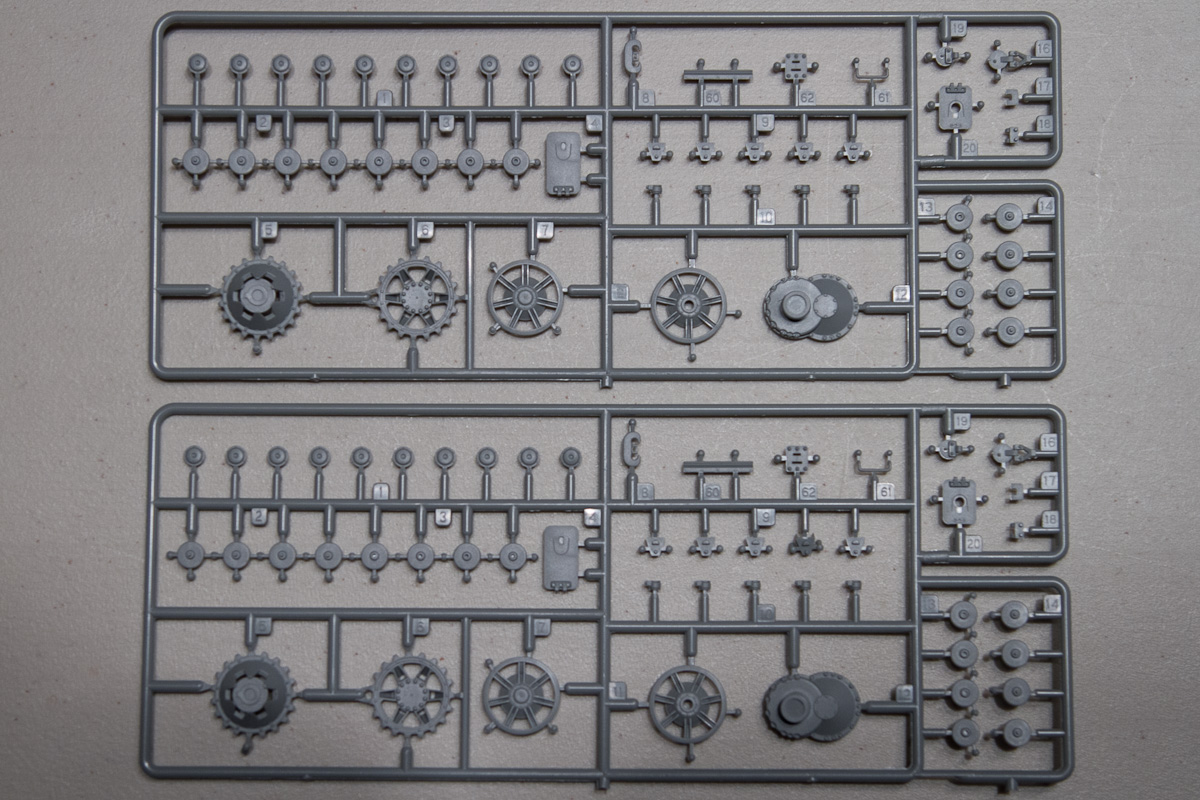
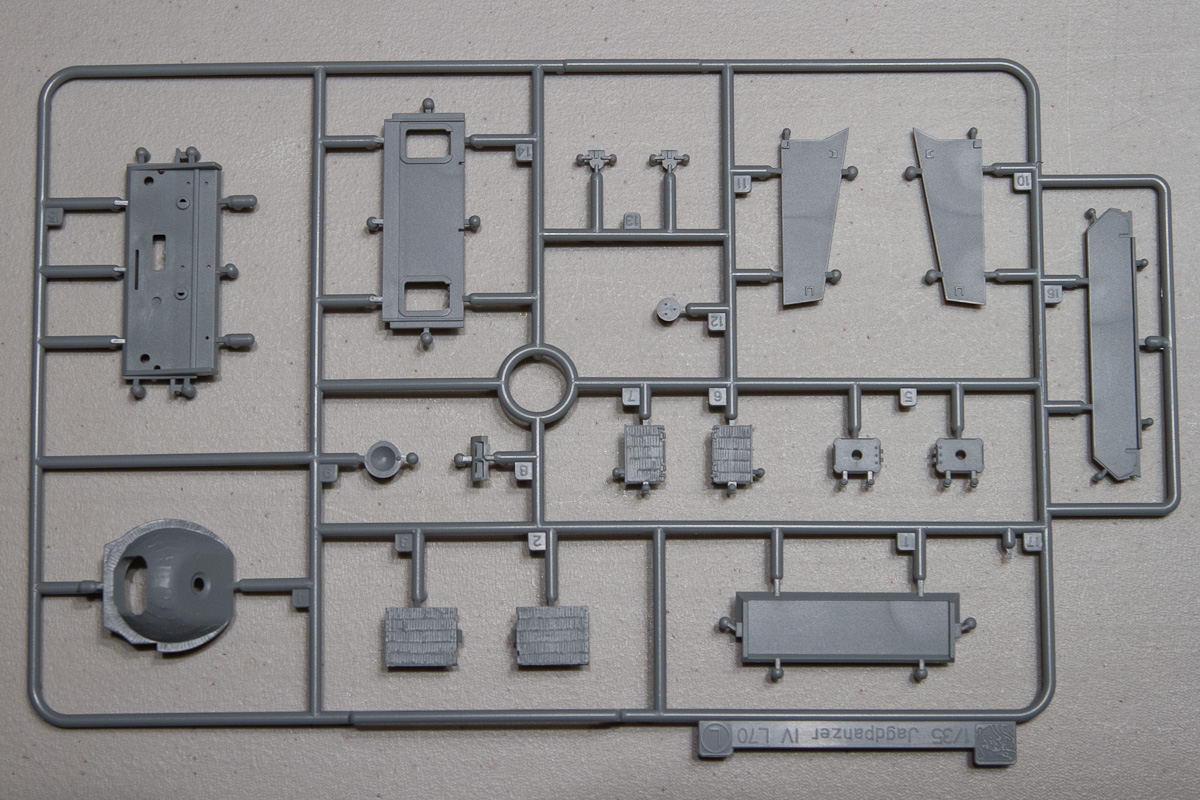
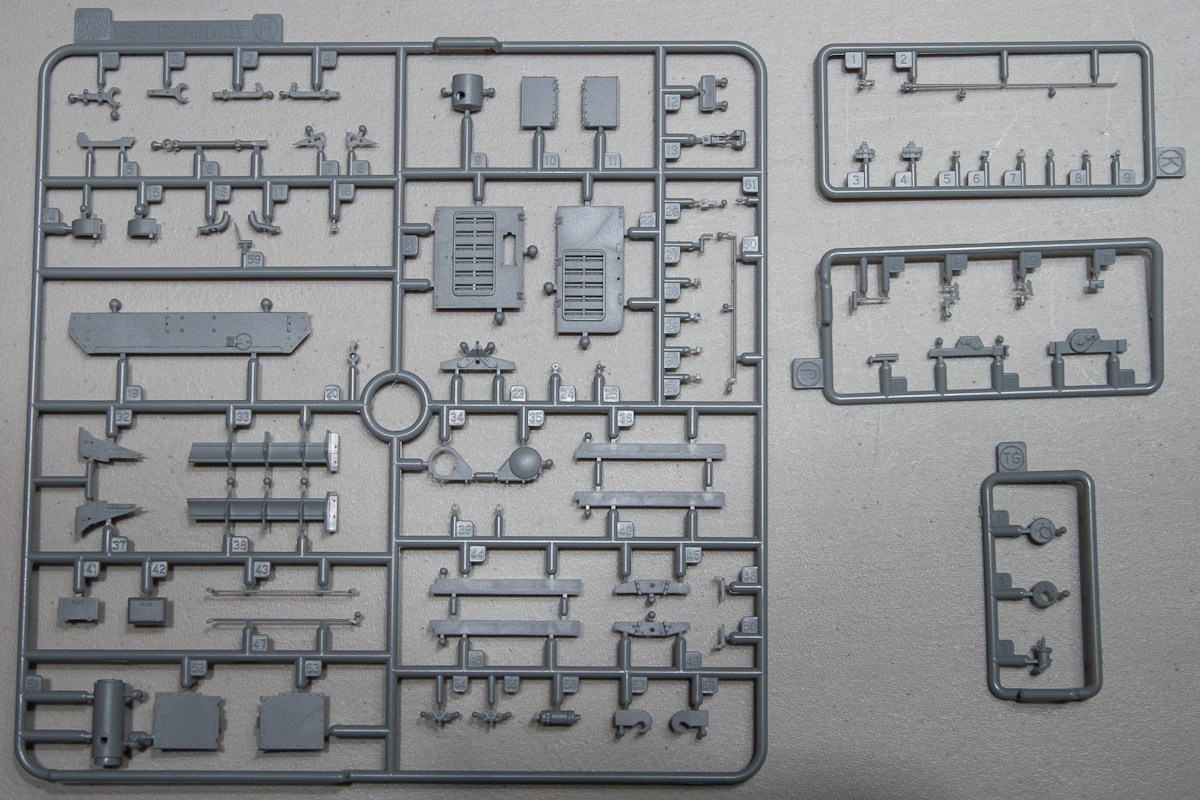
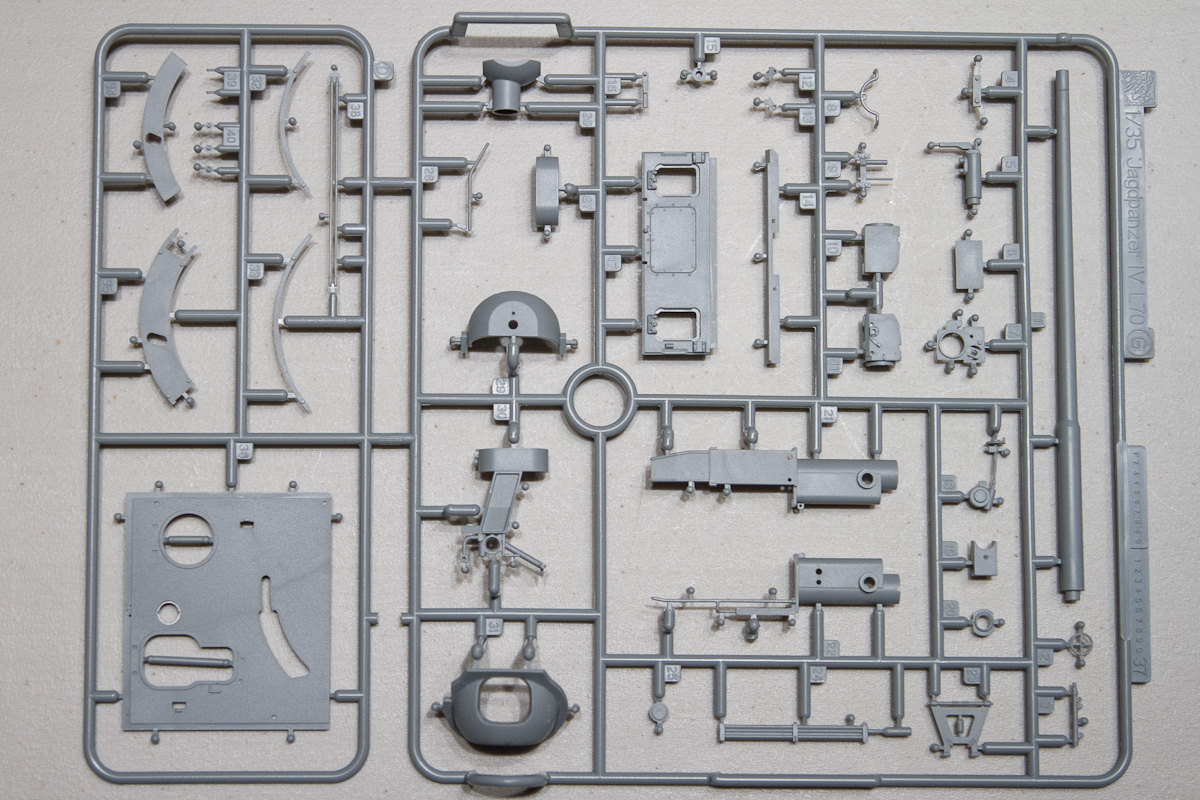
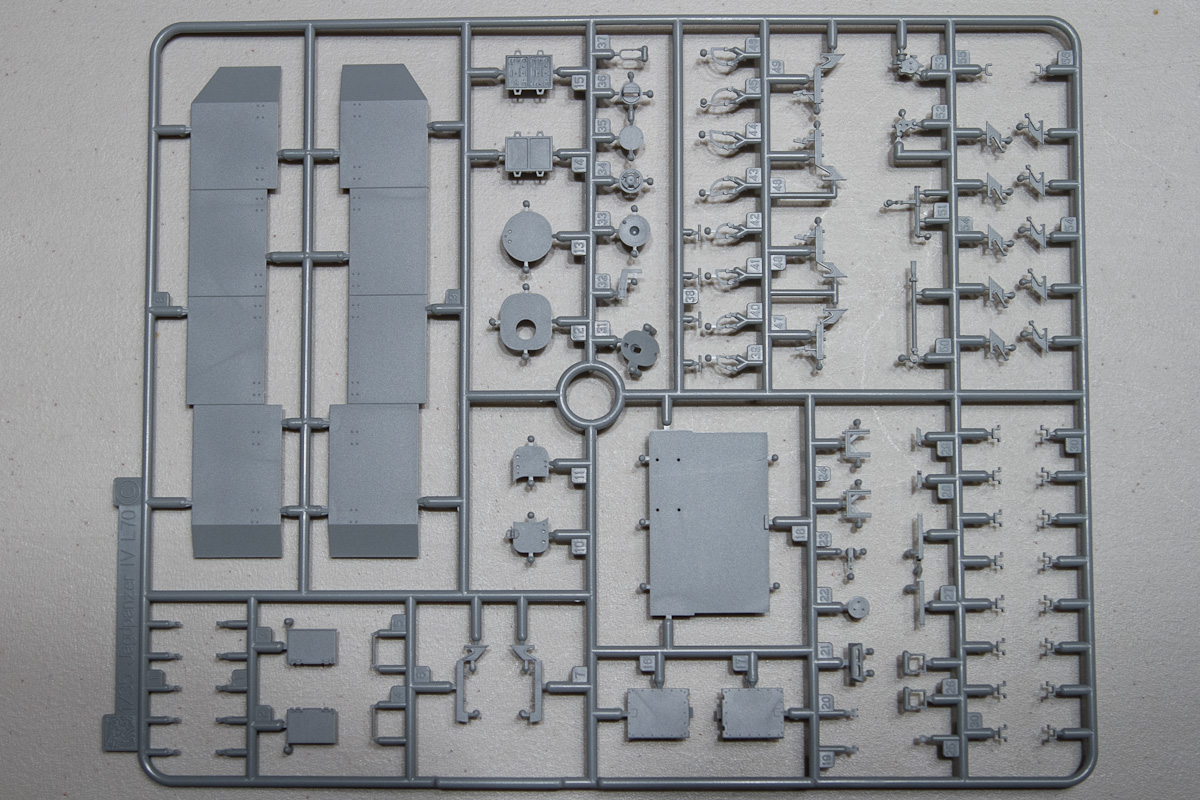
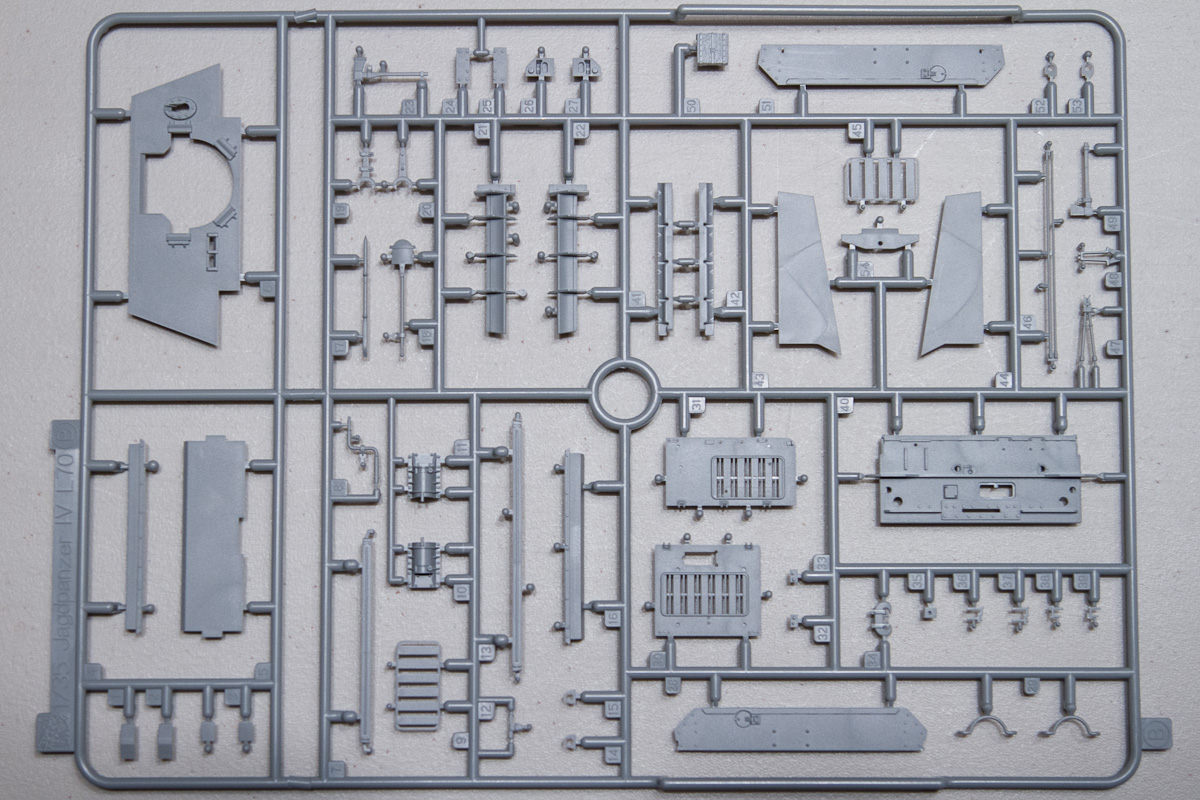
Modelers who have built any of Dragon’s more recent releases will be familiar with the boxed contents here. The Jagdpanzer comes in a thin, over-stuffed colorful box containing 14 sprues of soft, light-grey plastic. There is a separate, cardboard-backed collection of clear parts, photo-etch, decals and Magic Track. The track is molded in two shades of grey to help distinguish the ‘sided’ track-links.The lower hull is one beautiful, slide-molded piece, as is the back deck, the upper-front hull and the rounded gun mantlet. All the smaller parts that sport a gorgeous zimmerit coating come on a single sprue. The side ‘schurtzen’ shields that give German assault guns and tank destroyers their distinctive look are single piece affairs that are molded very thin and look to be in proper scale. The attachment points for the shields and related hardware are engineered to make this part of the assembly as simple as I’ve seen it. Bravo Dragon.
A beautifully molded gun-breech mechanism is included and can be seen if the hatches are left open (or the single-piece top is removed). A thin, plastic antenna is included, along with a radio set pointing to the possibility of this being a command version of the vehicle, even though that is not mentioned anywhere.
A small fret of photo-etch is included which contains engine louvers for the underside of the engine access hatches. These can be posed open or closed. The Jagdpanzer did not carry a lot of markings, and the small decal sheet sporting numbers and crosses for four vehicles reflects this. Rounding out the contents of the box is Dragon’s ubiquitous, exploded-view instruction sheet containing 18 assembly steps. Paint callouts include Gunze Aqueous, Gunze Mr. Color, and Model Master.
The long gun and 80mm superstructure front made the L/70 (V) front-heavy, with the resultant failures of the rubber-tired wheels. Later models, therefore, were fitted with steel-rimmed wheels at the first two wheel stations. Late models also had three return-rollers instead of four. Dragon’s release represented here is of the earlier, all rubber-tired version. With the number of unused parts included, however, future versions of the kit may incorporate these changes and more. Unfortunately, the unused parts do not include any steel wheels. Beware – among the list of unused parts is Part C-23. You will actually need this part in Step 13.Construction
Construction starts with the lower hull and main running gear, no surprises here. The wheels, return rollers and drive sprockets are molded up to Dragon’s excellent standard. The instructions, unfortunately, also meet Dragon’s standard for instructions. In this step, the instructions reflect the assembly of six return rollers, not the required eight. Looking further, it seems that the return-roller guy was writing for the later version that used the lower number of rollers.Step two covers the small, rear deck and muffler. The wooden jack-block is also attached here. A lot of these parts are familiar to Dragon model builders, and I think this is a good thing. Other manufacturers seem to re-design common parts, such as a muffler or jack, with every kit. Four holes need to be opened on the back plate. These will receive a variety of rear-deck accoutrement.
Steps three through six finish out the lower hull. You are given three build options (among no less than 28 throughout!). These three decisions involve a limber hitch and what looks like a small, side-mounted mud shield of some kind.A beautifully-molded radio set is mounted against the inner wall of a bulkhead located aft. Otherwise the bulkhead is a barren piece of plastic. I assume you will be able to see the radio through an open hatch somewhere. If that’s the case, you might want to beef-up the rest of the bulkhead a little as well with parts from the spares box.
Each bogie consists of only four parts, plus the wheels, which is an improvement over the past when many more parts made up these assemblies.
 In step six the three return rollers are again referenced when there are actually four (per side). In addition, the instructions describe three bogies per side, when there are actually four. The image, however, correctly shows four rollers and four bogies. Step seven brings in the fenders and track. The right- and left-handed track come in differently shaded plastic and according to the instructions, contain 97 links per side. You have limited access to the track under the fenders, so you may choose to attach the track in this step as the instructions call, rather than waiting until later.
Conclusion
As a German armor enthusiast, I have always loved the low, sleek, and menacing lines of the Jagdpanzer family of tank destroyers. Like me, perhaps there are many modelers who purchased the old Tamiya kit and left it sitting on the shelf until they could ‘master’ the intimidating art of applying convincing-looking zimmerit. Well, the wait is over. Along with the King Tiger, Tiger I, PzKpfw IV, Brumbar, and the little Stug – a ‘roughed up’ version of the Jagdpanzer L/70 is finally here! There are no surprises in the kit, good or bad, so those familiar with Dragon models will find putting this kit together no different from the others. There are A LOT of sprue attachment points and stubs to remove, but those come as a by-product to all of the extraordinary detail provided in the molding. Thank you, Dragon, for finally sending this kit our way.I recommend this kit to anyone who likes to build and finish late war German AFV’s. The simplicity of the original vehicle’s design and function translates well into Dragon’s release. I would like to thank Dragon USA for providing this kit for review, and to Internet Modeler for giving me the opportunity to review it – stay tuned for the full-build article to follow.

