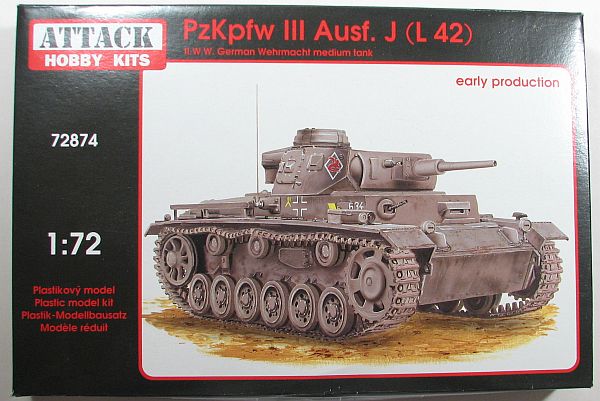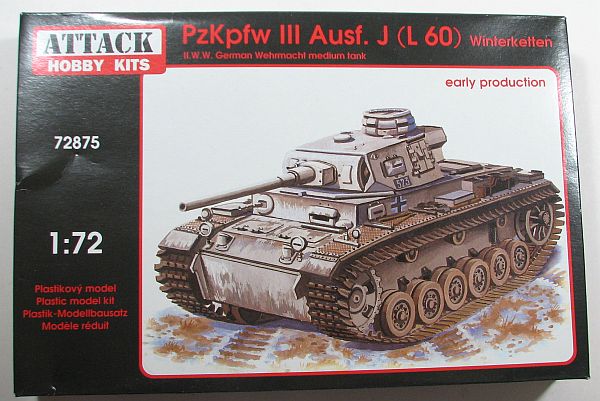
Attack 1/72 Panzer III Ausf. J “Early”
By Matt Bittner
Introduction
The last Attack armor I worked on (and still sits in-progress in its box) was the Panzer 38(t) Ausf. C. The parts were a little on the thick side and getting these pieces to fit together in the best possible way was why it still sits in its box to this day. When I first received the Panzer IIIs from them a little while ago, I was skeptical given my experience with the Panzer 38(t).

Well, that skepticism was unwarranted. These Panzer III Ausf. Js are quite a leap above what the 38(t) was. In fact, I would even classify them better than the Revell kit of the Panzer III (but I can't comment on the recent Dragon Panzer III since I haven't seen it). More on why I feel that way further on.
The Kits
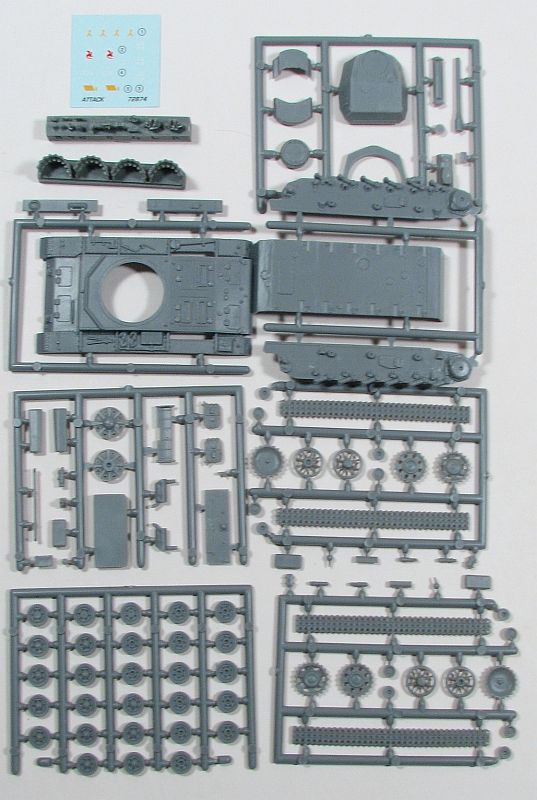
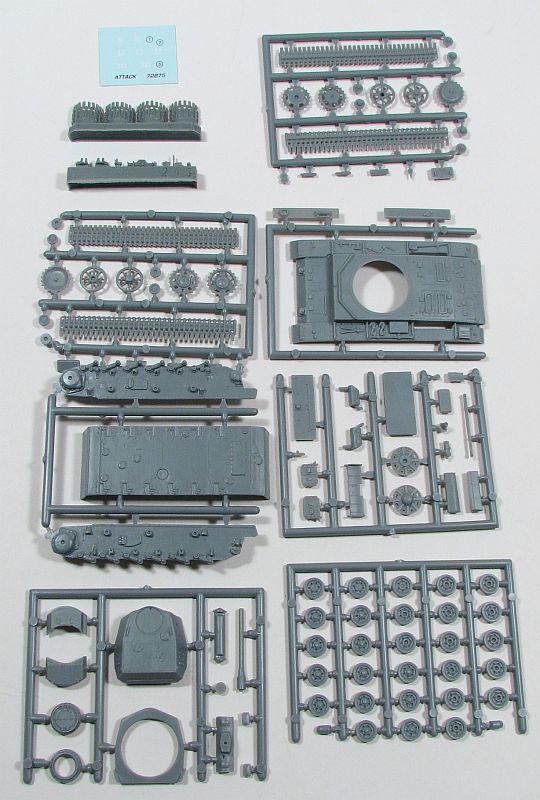
Each kit has 76 pieces of gray, injected plastic and 12 pieces of resin. Each kit has one set of decals for one single machine, in both kits these tanks served in Russia, during 1942.
Construction starts with assembling the main hull. For this you glue two sides and one interior support piece (which could also be used for the engine's firewall) to the hull bottom. Once that is finished then all the wheels and suspension are added to the built-up hull (although I would paint the hull first, as well as the wheels on the sprue before adding them to the hull).
The next step in the instructions is adding the back plate to the hull, along with the tracks and upper hull piece. In fact, I would deviate from the instructions here. I would glue the hull together, add the back plate and upper hull, paint the hull and the wheels on the sprue, and only then glue the wheels to the hull. It could make it a little more difficult adding the idler wheels since the upper hull has the fenders, but it's something I would be willing to deal with.
The last two steps of the instructions have you glue the smaller pieces to the main hull. In fact, I would deviate even further from the instructions. Glue the hull together and everything that's supposed to go on it (minus all wheels). Glue the turret together including all pieces. Now paint. Two areas of small difficult going with this scheme, though, include not only gluing the return rollers on, but also gluing the upper track piece on as well, since the fender could hinder that. Something I'm willing to try, though.
Conclusion
Attack's 1/72 Panzer III Ausf. J "Early" kits are nothing like the Attack armor kits I've seen in the past (namely the Panzer 38(t) Ausf. C). There's a level of finesse here the rivals most of the other 1/72 Panzer III manufacturers and these are kits that should be considered if you want an "early" Panzer III Ausf. J. These are very nice kits!
My thanks to Attack for supplying both tanks to review.


