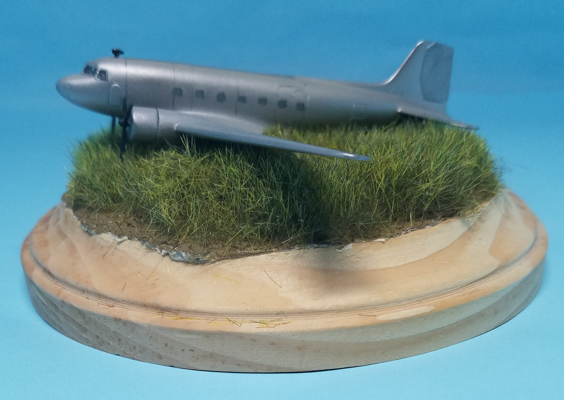
Zvezda 1/200 Li-2
By Matt Bittner
Introduction
What do you do with a model that is supposed to be one for wargaming, and in a scale that's not "typical"? In addition, the kit isn't very detailed and doesn't have any panel lines. What do you do?
Well, you finish it to the best of your ability (well, almost the best) and then display it in an unusual fashion, trying to hide some of the flaws.
I wrote a First Look on this kit back in 2012 and am pretty sure I started it not long after. If memory serves, as I was trying to deal with the gaps and getting everything evened out, I lost interest and put it in my "tote of shame". Yes, I have a large container (actually four or five, now <sigh>) of in-progress kits that I had lost interest in. Well, in trying to come up with something to "finish fast" I remembered this kit, re-discovered it and finished it.
Construction
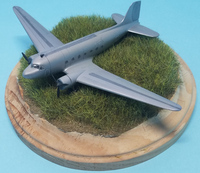
Keep in mind that I'm operating from a very old memory. I remember there being plenty of gaps to fill, especially around the wing-to-fuselage and horizontal-tail-to fuselage seams. Each is one piece and the tail includes a section of the rear fuselage.
|
I also remember cutting apart the clear pieces (the canopy and side windows were contained in a single piece of clear plastic) to get them to fit better. Even so, I do remember having to sand back the side windows as they stood very proud of the fuselage. Sand, sand, and then polish to bring back the clear.
I decided not to mount the upper turret clear piece so cut off the molded-on gun and filled whatever divot/hole was left.
|
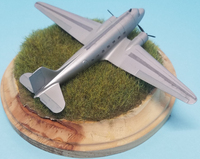
To fit the cowls I had to take a Dremel to the inside of them so they fit on the wings. I also had to open the holes a little more so the landing gear would also fit into the wing. Keep in mind this is meant to be a wargaming model so it's very robust, meaning you won't have any detail to the landing gear. Each side is one piece and includes the wheel and tire, with a not very prominent marked wheel, so painting the tire was "fun".
Now the model was finally assembled I had two options I wanted to do. The first was to mark it as a North Vietnamese Li-2 and display it "out in a field". The second was to finish it as I did and leave it in a field. The only "panel lines" on the kit were the control surfaces so with help from a "friend" (he's the one that suggested the finish you see) came up with some way to show different panels. Since this was going to be just a "display" model (meaning back-of-the-shelf) I didn't want to put in too much effort just so I could finish it.
|
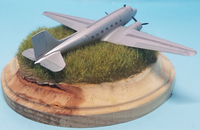
After priming with one of the Vallejo gray primers I then sprayed the Li-2 overall with Vallejo Metal Color Duraluminum. Then I used a few of the Vallejo washes to show some panels as well as a slight difference in the control surfaces. I then used one of the True Earth Filter & Washes to dull it down and make it look worn.
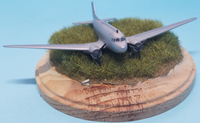
The base is a simple wooden one picked up from one of the larger craft stores and to it I applied some CelluClay and while it was still wet, put in three "divots" for the main and tail gear tires. Once that had dried I painted it a "brownish" color then glued down a section of Heki "Wildgras". I ended up cutting some of that "grass" away so the model would sit better and then glued the Li-2 to the base.
|
Conclusion
I know of a couple of modelers that tend to throw models away when they come across some stumbling block. Not wanting to be one of those modelers I try to finish what I started, even if it's eons after starting the kit. This could be one of my worst-finished builds, but it's finished, and even though it sits in the back of the shelf it's not in the landfill - yet. I guess that's something, right?
I do thank Dragon USA for supplying the kit to review.
