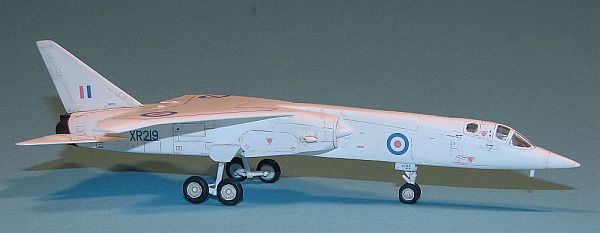
Wolfpack Designs 1/144 BAC TSR.2
By Matt Bittner
Background
According to Wikipedia, the British Aircraft Corporation (BAC) Tactical Strike/Reconnaissance 2 (TSR.2) was an ill-fated Cold War strike aircraft developed in the 1960s. The TSR.2 was designed to penetrate a well-defended forward area at low altitudes and high speeds and attack targets in the rear battle area. The TSR.2 was advanced for the time, but was cancelled in favor of the F-111, that order itself being cancelled.
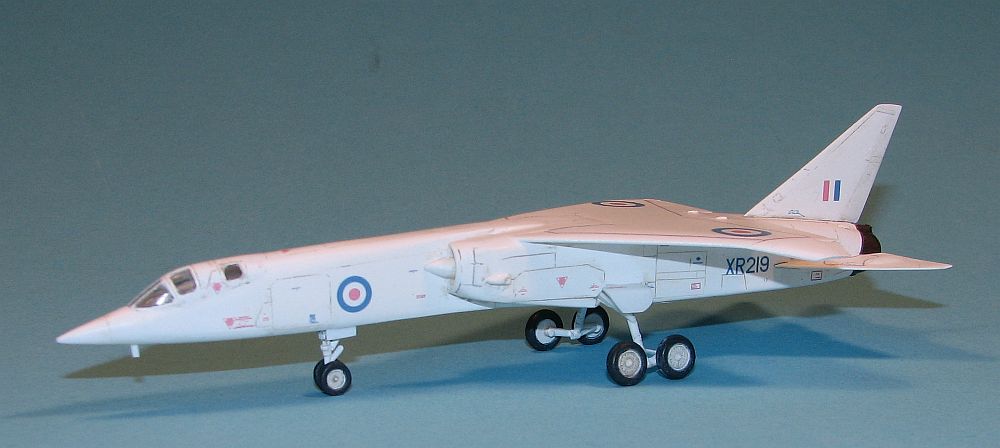 There are a lot of people out there adamant that the TSR.2 should have been built, and there are a lot of feelings going each way. I won't get involved with that, instead being content to build the Wolfpack Designs kit out of the box, with little involvement from anything other than the instructions. So, if there's something woefully wrong with my model, there is no one else to blame but myself because I wanted to build it out of the box with no references other than what was given to me.
Oh, and I was completely wrong in my Miniwings CF-105 First Look about the TSR.2. It was a strike aircraft and not a fighter in any way.
The Kit
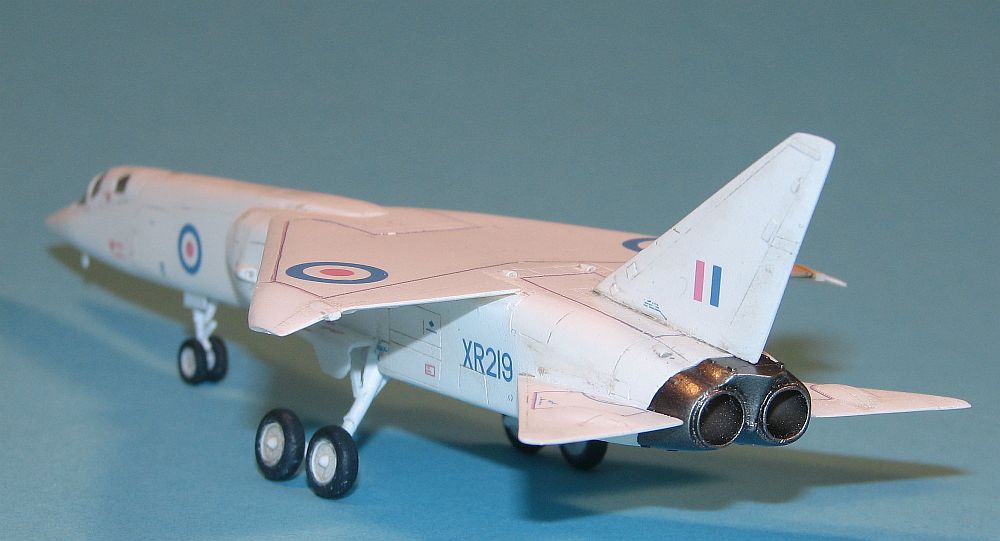 I'll refer you to my First Look from a few months ago for the contents of the package. I'm still amazed at what comes in the box and the level of detail. It really blew me away! White metal for the landing gear is extremely smart in a model that is heavier than one thinks. That landing gear will stand against the test of time.
Construction naturally started with the cockpit. Although folly now - you can't see anything through the canopy - I added Tamiya tape seat belts to the seats after painting. I painted the seats and cockpit a dark grey, which also helps "hide" the interior from the outside. Once the seats were in then it was time to move to the intakes.
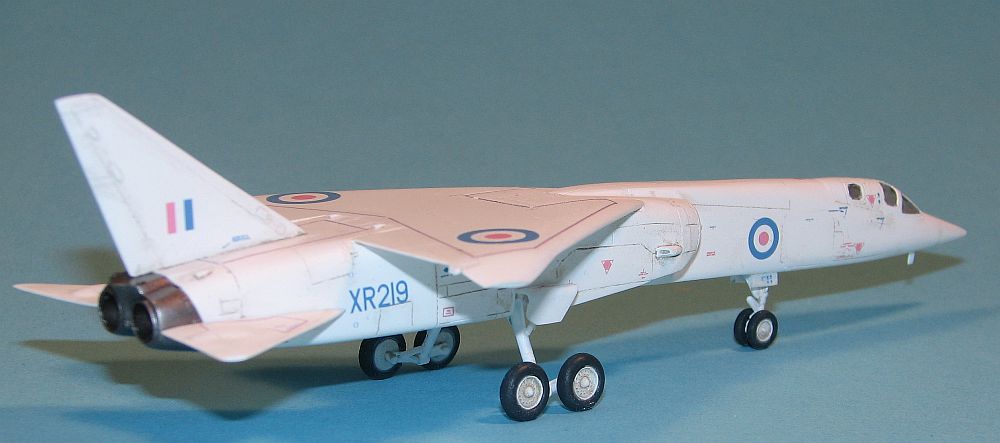 You want to work on the intakes prior to adding the forward fuselage to the rear. This is because they are "handed", with different size mounting tabs, so you want to be sure you not only get a good fit with little seam, but also fit the correct tab in the right hole in the rear fuselage piece. Once the intakes are on and you're satisfied with the fit and how they look, then the forward fuselage is glued on next. (Even with taking care I managed to get one of the intakes higher than the other, so be extra careful in this step <sigh>.)
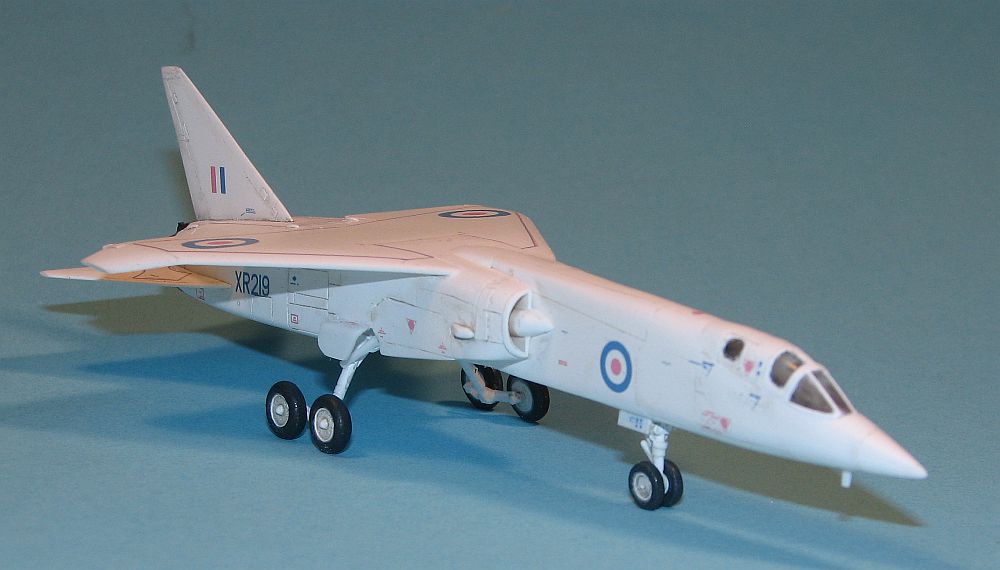 Construction from here is relatively straight forward. I was able to get the wing on with little-to-no gap, just one small area I had to fill. Same with the tail surfaces. The area I was most pleased with was the exhaust. This was such a good fit that I was able to paint it off the rest of the model, and glue it on as the last step. That way it left the nice metallic sheen of the Alclad/Talon metalizing paints.
Two areas I had to shim. The "bomb-bay" doors (which was one piece since they're left closed) I needed to add a piece of sheet styrene because the gap was too large left as is. Plus the closed nose-well doors were the same way. I suspect it was because I cut them too far out from the pour block. If you leave part of the pour block as part of those doors then you should be okay.
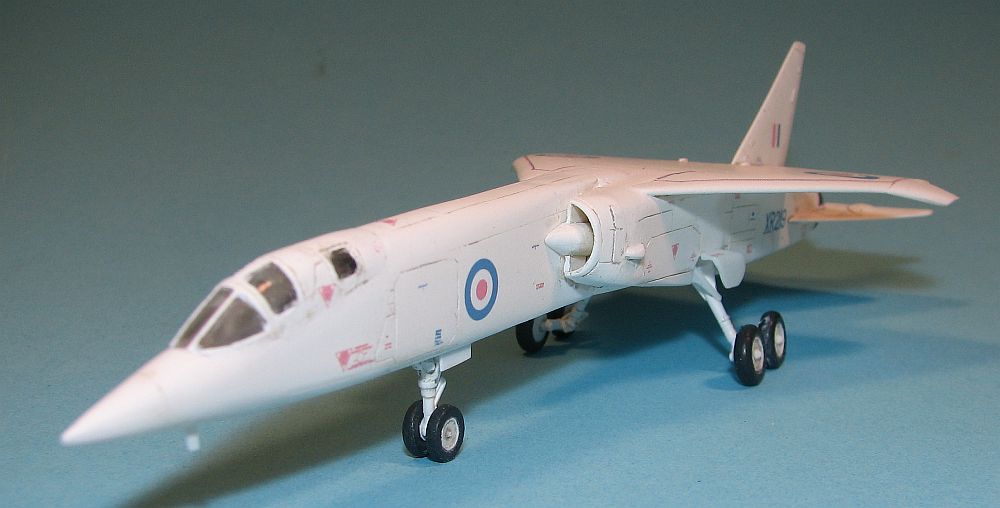 Since the overall scheme of the plane was white, I decided to glue everything on prior to painting except for the nose underside antenna (and the exhaust, of course). If I left the antenna on I knew I would break it off numerous times. Once everything was glued then it was time to paint. I first put on a primer of Mr. Surface 1200 out of the spray can. Unfortunately for whatever reason it came out all pebbly. I sanded that coat down as much as possible then sprayed Tamiya Fine Surface Primer. Much better! Although I probably could have left that as the final coat, I decided to spray a coat of Polly Scale white anyway. Probably foolish, but there you have it.
Once it was all dried then I sprayed a coat of Future. Then the real fun began. Because all the markings are dry tranfers I was in a new area of modeling. I only used dry transfers once before on a model, and I actually put the transfer on blank decal paper then treated it like a decal. This time I decided to go all out and apply the transfers direct. Well, everything that could go wrong, did go wrong. Remember, I'm a novice at this dry transfer thing.
I first tried to apply the transfers without cutting them from the sheet first. Bad idea. You'll want to cut around the transfer, enough so you can use tape to hold it down while you're burnishing. Then I tried to put transfers down without taping them to the model first. Another bad idea. Then, once, when I was putting the tape on the transfer I wasn't paying attention and applied the tape to the transfer side, and not the "shiny", non-transfer side. Thankfully I only made that mistake once. Then, for
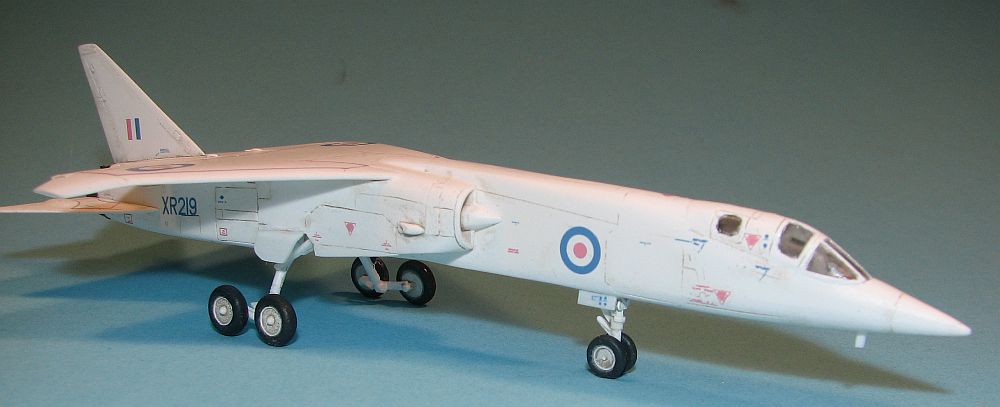 some reason, two of the transfers decided to pull up paint once I removed the backing sheet. Extremely odd, especially since I put the Tamiya primer on first. Then, be sure you cut the backing sheet enough so if the transfer you're putting down is close to another transfer, the backing sheet doesn't touch it. If it does, the extra "glue" will stick to the transfer already on, and pull it up. Finally, be sure not to put the tape over an already applied transfer while applying another.
So, hopefully my mistakes will stop others from making the same ones. I'm glad I have that experience, but I also hope I don't have too many more kits with dry transfers. It may just be a matter of experience but I definitely prefer decals. Oh, also be aware there are more markings/transfers with this kit than there are in both Airfix kits combined. There are so many that I decided not to put all of the really, really small ones on. I started hearing voices...
There are two tools I found were a must while applying the transfers. First, foremost and most importantly you'll need some type of burnishing tool to put
the transfers from the backing sheet onto the model. I tried a number of tools on my workbench, but none worked well. It was then I remembered my wife is a stamper/scrapbooker so I asked her what she had. She gave me three tools, and I settled for the one in the picture. It worked perfectly!
The second tool was my set of dividers I normally use to measure the distance for cutting rigging wires for biplanes. I needed these dividers to transfer the length of the areas the upper surface striping was to go, to the transfers to cut from the long lengths of stripes. In addition, pay attention to the instructions when you apply these stripes. The "pink slash marks" appear to go in a certain direction so watch the instructions.
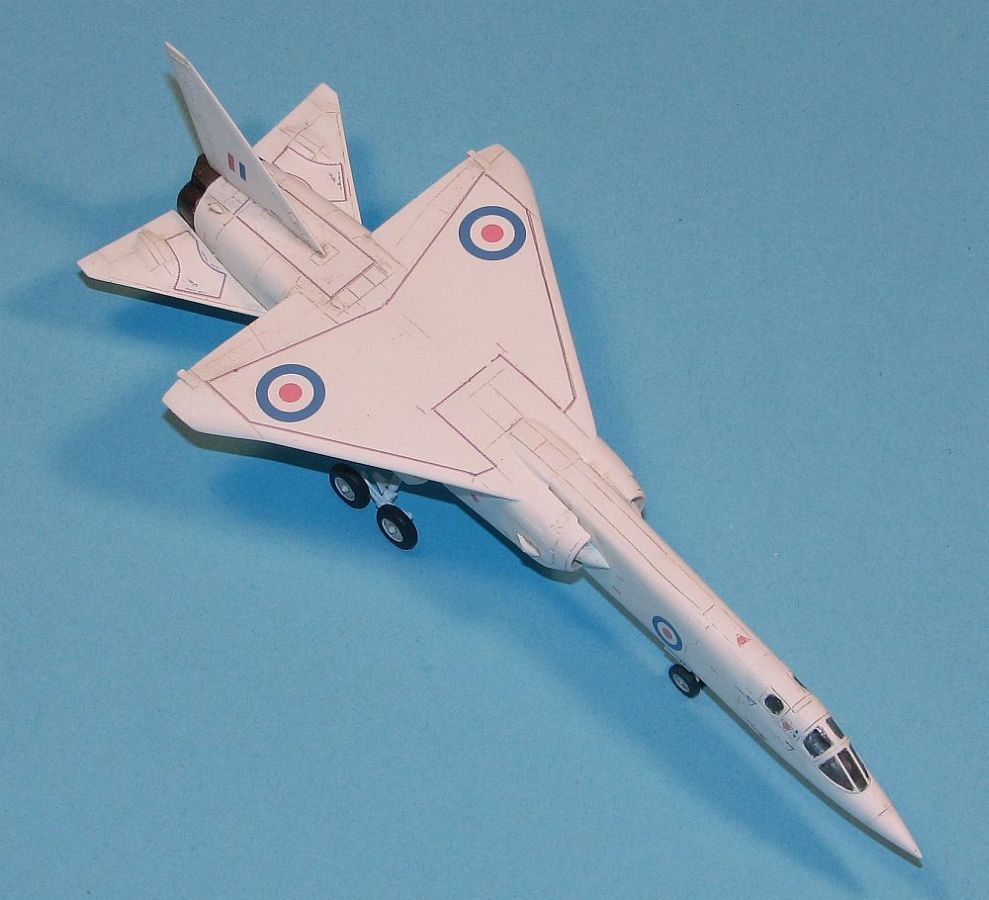 I put on an oil wash of a mix of brown oils to flow through the panel lines, then sprayed Xtracrylix flat over the whole thing. Glued on the antenna and the exhaust and the TSR.2 is finally finished. Only took nine months!
Conclusion
So far the Wolfpack Design is the only current BAC TSR.2 available in 1/144th. There used to be one by Starr Miniatures about ten years ago, and I've heard there could be one coming from Cafe Reo in the future, but right now the Wolfpack Designs kit is the only one. And it's definitely worth tracking down! If you like the TSR.2 and want it in 1/144, then you're doing yourself a disservice by not purchasing the Wolfpack Designs kit. Aside from all the errors I made it's a great kit. In fact, in 1/144 the kit is the perfect size.
My thanks to Wolfpack Designs for the review kit.
