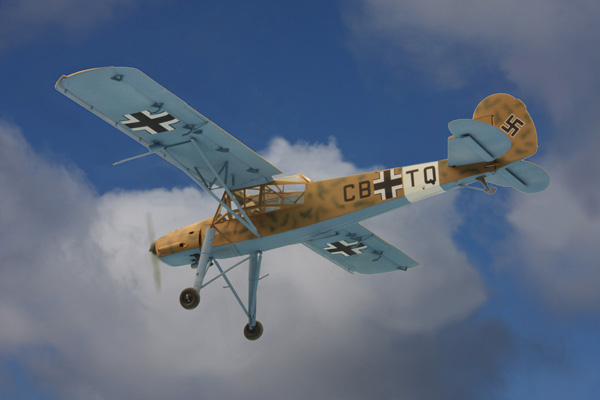
Tamiya 1/48 Fieseler Fi 156 Storch
By Gary Meinert
Photos by Will Riepl and Gary Meinert
HISTORY
 When Gerhard Fieseler and Reinhold Mewes hatched the Storch(Stork) in 1936, its military potential was immediately noticed by the Reich Air Ministry. The Storch excelled in short take off and landing capability. (Given a proper head wind, the Storch could virtually hover and descend nearly straight downward.) Design features included fabric-covered wood wings with leading edge slats and slotted flaps, a fuselage of steel tubing and fabric covering, and a cabin containing all-around view windows. The long-stroke landing gear legs were positioned for maximum stability.
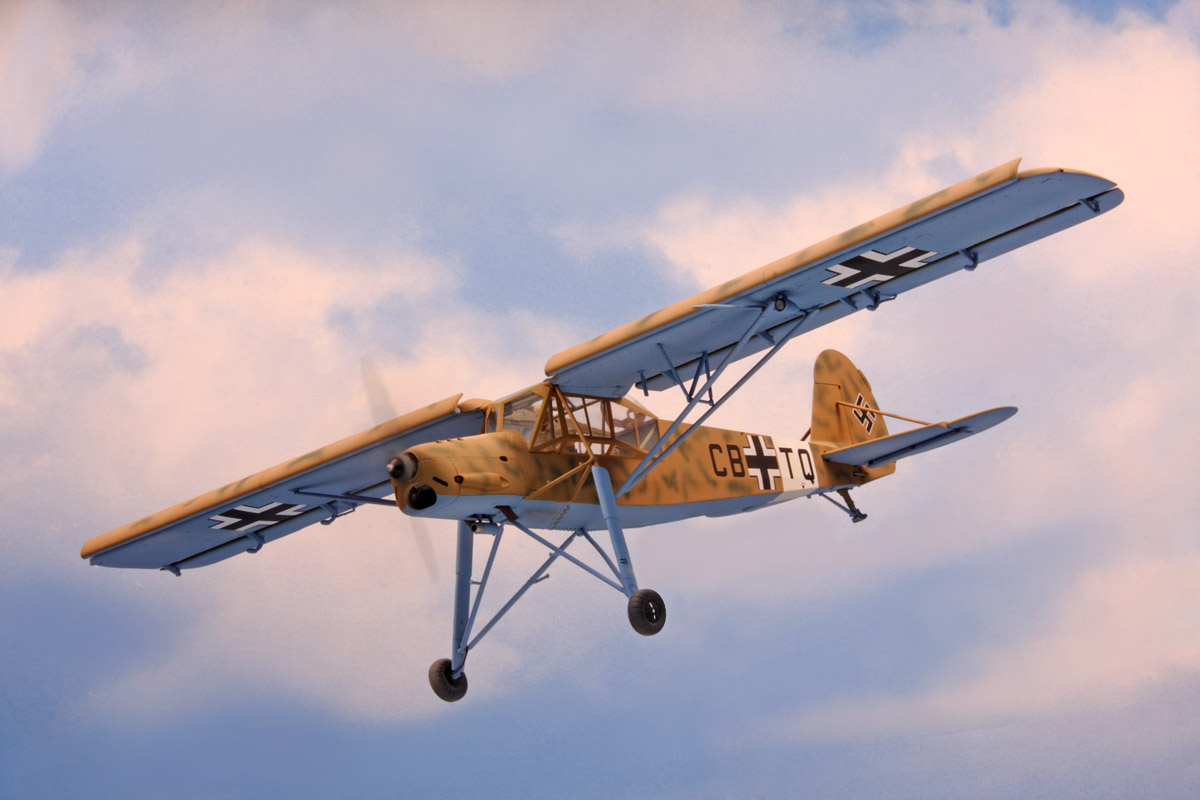 During World War II, the versatile Storch went wherever the German Army operated and was employed by Germany's allies as well. Wartime roles were observation, liaison, light transport, special operations, search & rescue, and air ambulance. The Storch made possible several James Bond- style feats such as the 1943 rescue of Mussolini, and the 1945 flights of Hanna Reitsch into the rubble -strewn streets of Berlin.
Storch production was shifted in 1943 from Germany to factories in France and Czechoslovakia, where this useful aircraft continued to be built after the war. A variety of military and civilian owners operated the Storch well into the 1950s.
KIT DESCRIPTION
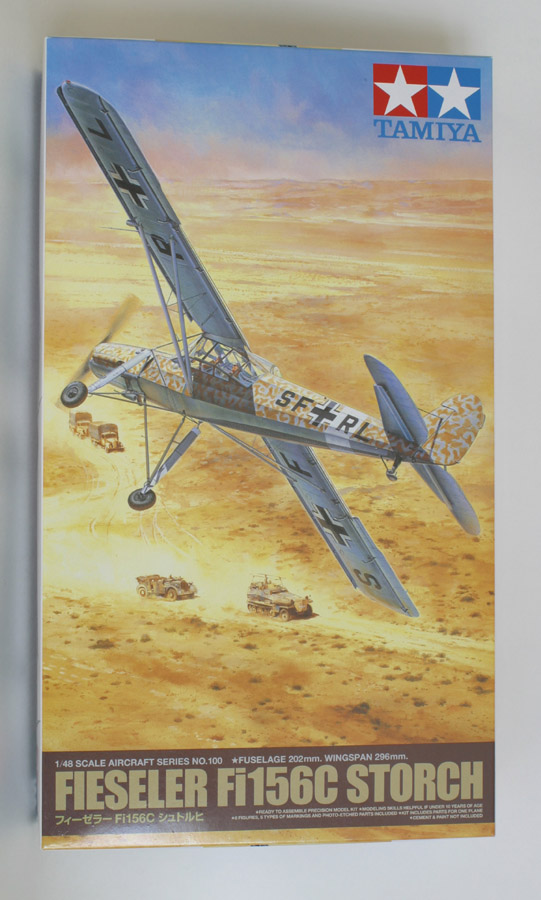 Released in 2007, the Fi-156 Storch is Tamiya's milestone 100th kit in their 1/48th scale aircraft series. Decals and parts are provided to build any of five aircraft--one of them ski-equipped.
Intelligent engineering abounds here: pre-welded side cabin windows, a metal spar to support and hold the wings in alignment, and a metal strut that goes over the cabin and into the landing gear legs. Several photoetched metal parts are for the well-equipped cockpit. A complete engine is also present. The rudder, flaps, and aileron are separate pieces, with the option to pose the flaps up or down. The cabin door can be positioned closed or open. Six figures with assorted gear are also included in the kit.
As expected, the parts are well-molded, although I had to fill a few ejector pin marks in the wing bracing struts, interior of the slats, and in the undercarriage mounting framework. After priming, I discovered a faint but visible long sink mark on the rear upper surface of each wing. These were easily filled and sanded.
There are some extra parts not for use in this kit, but Tamiya has not yet released any other Storch kits where these parts would be applicable.
CONSTRUCTION
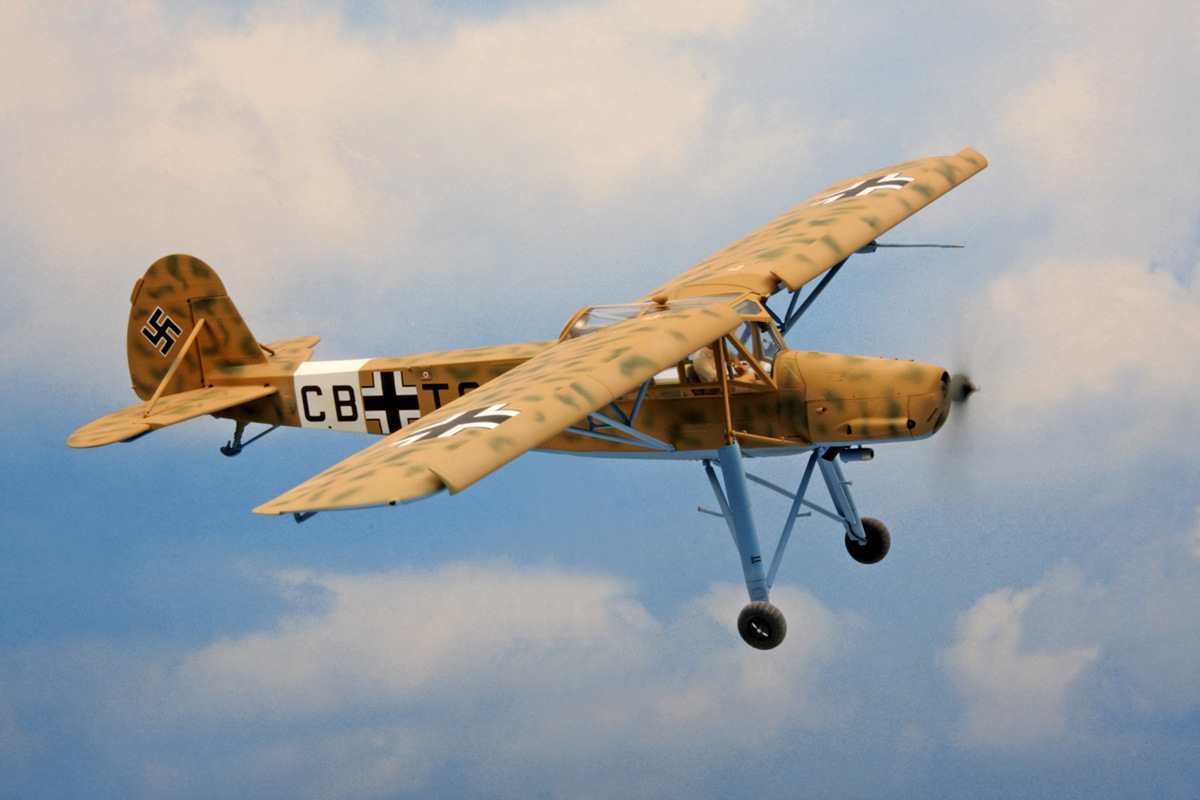 The Storch was a straightforward build, although I deviated from the instructions by installing the wings and top canopy piece before I installed the landing gear and wheels. This was a fiddly task, because I could not get the right wing to click into place and ended up using a clamp while the glue dried. I also wasn't satisfied with the fit of the four cowl pieces and did some filling and sanding there. And I found that the cabin door had less than a precise fit in the closed position.
Tamiya made one very noticeable goof in its engineering: the horizontal stabilizers don't fit snugly into the fuselage. I had to cut and file the mounting tabs to fix this, and I still wasn't satisfied so I did the necessary filling and sanding along the join line.
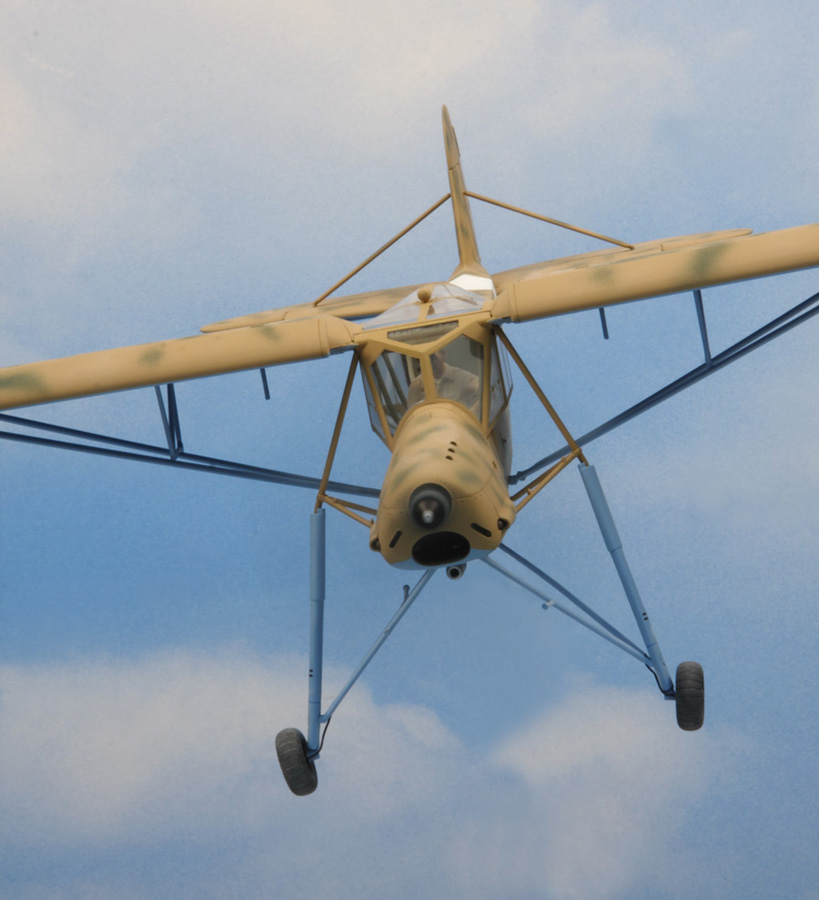
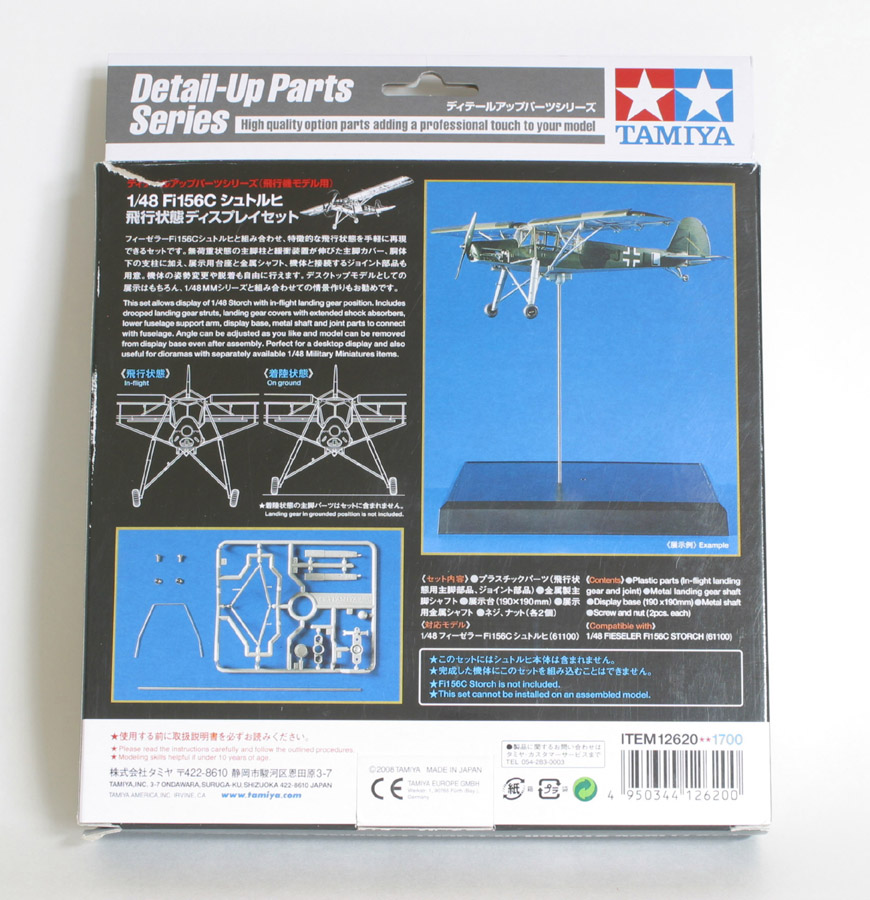 Since I wanted to display my model in flight, I purchased Tamiya's special in-flight landing gear display set. This set provides the necessary landing gear parts in the correct attitude for flight. It also contains a plastic display base, metal support rod, and joint parts to connect to the fuselage, which I did not use.
I chose a wood plaque as a base. A 3/8- inch clear plastic rod supports the model and connects via two metal pins that fit into two plastic tubes inside the fuselage.
WANTED: STORCH PILOT
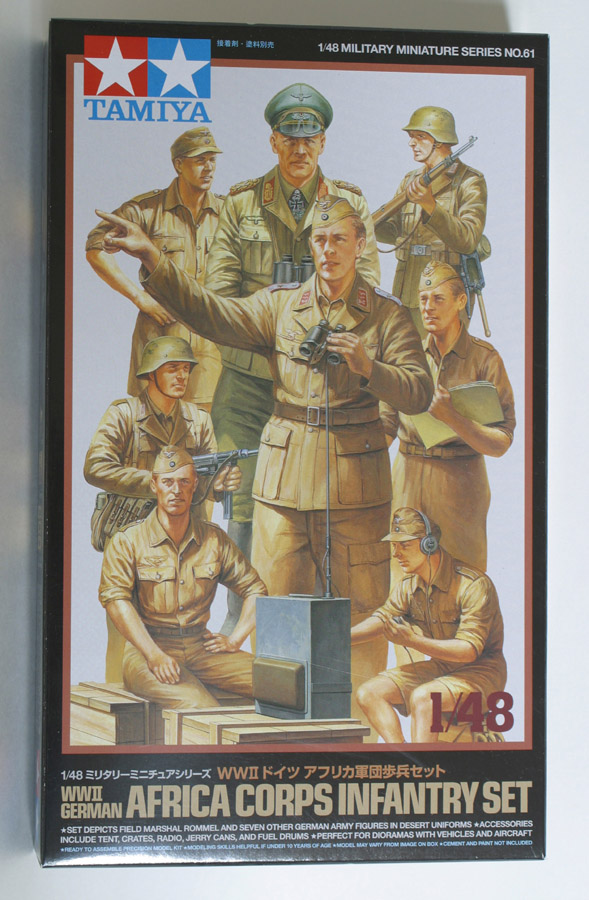 A flying aircraft obviously needs a pilot at the controls. I was unhappy with the scrawny kit pilot figure, who is molded with his hands in his lap and his head tilted down. I obtained Tamiya's 1/48th Africa Corps Infantry Figure Set, which has a superior figure that I was able to convert into my pilot. This figure has the correct loose-fitting "assault trousers" that were popular with Luftwaffe crews and a plausible shirt and hat, too.
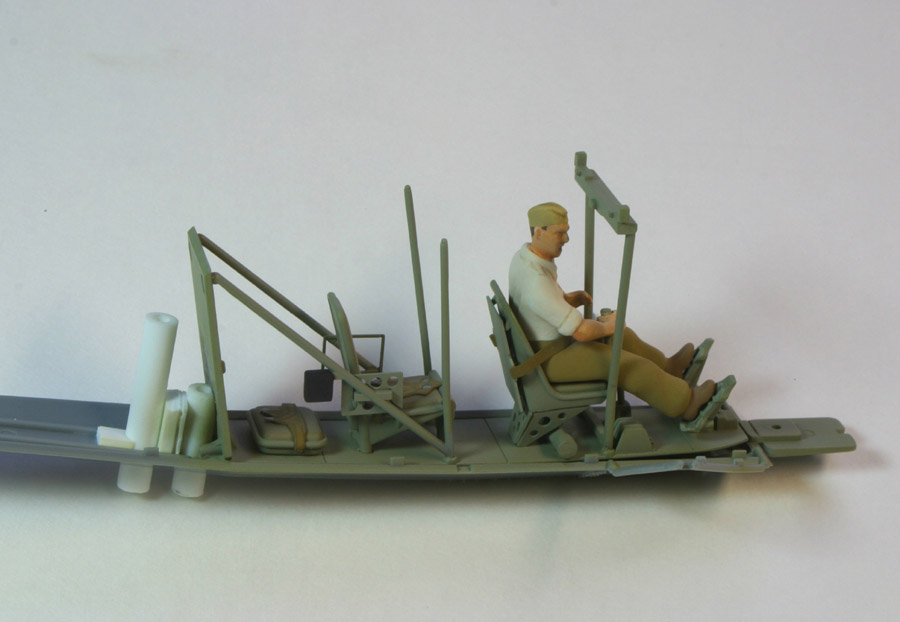 The long conversion process included modifying the figure's posture to fit into the seat, extending his legs to reach the rudder pedals, and grafting on a replacement right hand to grip the control stick. Of course, I also made a seat belt to secure my pilot in his seat. This pilot conversion was the most difficult part of the project.
PAINT AND DECALS
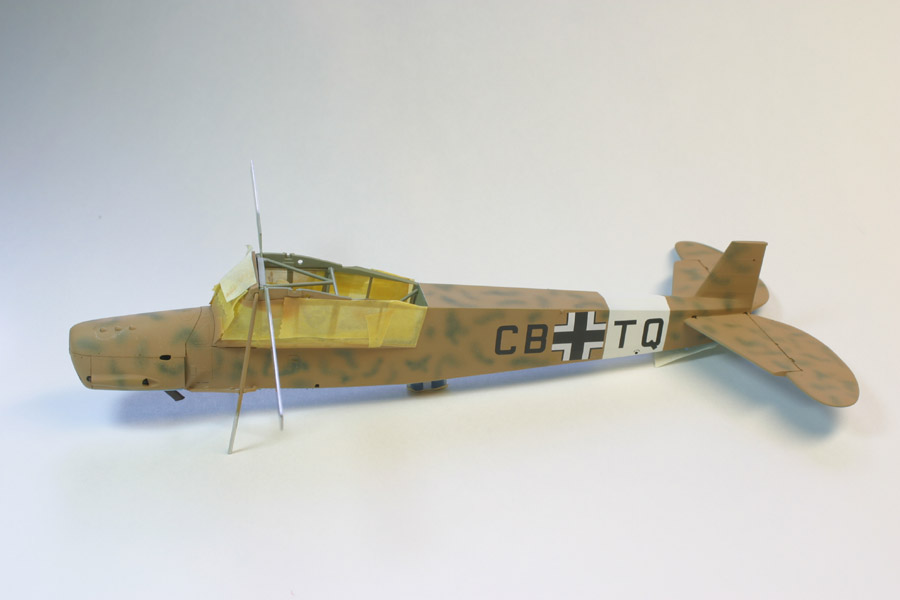 My model is painted in the standard North African colors: RLM 79 (Aeromaster enamel) with RLM 80 diffuse splotches (Model Master enamel) and RLM 78 undersurfaces (mixed from Humbrol enamels). The decals are from the kit and from EagleCals Sheet 48-112. My Storch is featured in a small photo in the In Action book, and its code CB+TQ came from the EagleCals sheet. (I had to cut up and piece together the TQ part of the code from other letters.)
I used Eduard masks for painting the canopy frames instead of the kit-supplied masks. The kit mask sheet merely outlines the panels and you have to cut each one out individually.
CONCLUSION
 Tamiya's Storch is a first-class kit, and I enjoyed building it. Although not completely trouble-free, the building process was much less aggravating than most of my other airplane projects.
REFERENCES
Fieseler Storch In Action by Squadron/Signal
Air International December 1976
German Aircraft of World War II by David Donald
