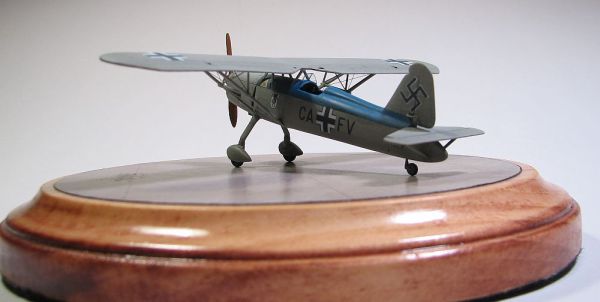
RS Models 1/72 Arado Ar 76
By Matt Bittner
Introduction
In my First Look I gave a brief overview of the Arado Ar 76. I haven't found any other information to supplant what I typed, so please refer to that article for not only the overview, but also what is included in the box.
Construction
|
As with all aircraft kits (and I'm trying to find another way to actually start these articles off) construction starts with the cockpit. RS provides a comprehensive cockpit, especially if you don't cut out the fold-down doors, leaving them up and intact. Between the injected pieces and the photoetch I feel the cockpit is pretty complete out of the box. Sure there is definitely more room for those wanting to change things and add items, but if you're like me, and just want to finish the model out-of-the-box, then the kit contents are good enough. I painted the interior RLM 02, supplied by now out-of-production Aeromaster Warbird acrylics, which were actually "lightened" versions of Vallejo paints.
|
With the cockpit complete the fuselage halves can be glued together. There was some seam work to accomplish, but thankfully it was minimal. The most difficult part for me was to get the seam acceptable where the port fuselage half met with the full rudder molded in-situ with the starboard fuselage half. And to be honest, this wasn't a difficult endeavor. Using Apoxie and a wet brush/toothpick, I was able to fill the seam with hardly any sanding – the only sanding needed was just to make the surface very smooth. Handling seams this way ensures no surrounding detail was lost. The only thing I had to do was to lightly scribe a panel line back into the dried Apoxie. Carefully, of course, otherwise you could accidentally "chip away" too much putty.
|
The next step was the horizontal tail and after sanding some of the fuselage where the tail slotted into ite, an almost perfect fit was achieved. I only had to fill in a small gap, which was actually due to my own mistake.
Now I had an almost complete model. I decided to add the landing gear to the fuselage next - instead of waiting until one of the last steps - just in case there were gaps to deal with. And there were, so it was a good thing. Not large gaps, mind you, but enough that I wanted to get them smoothed out prior to painting.
I was now ready to paint.
Painting
|
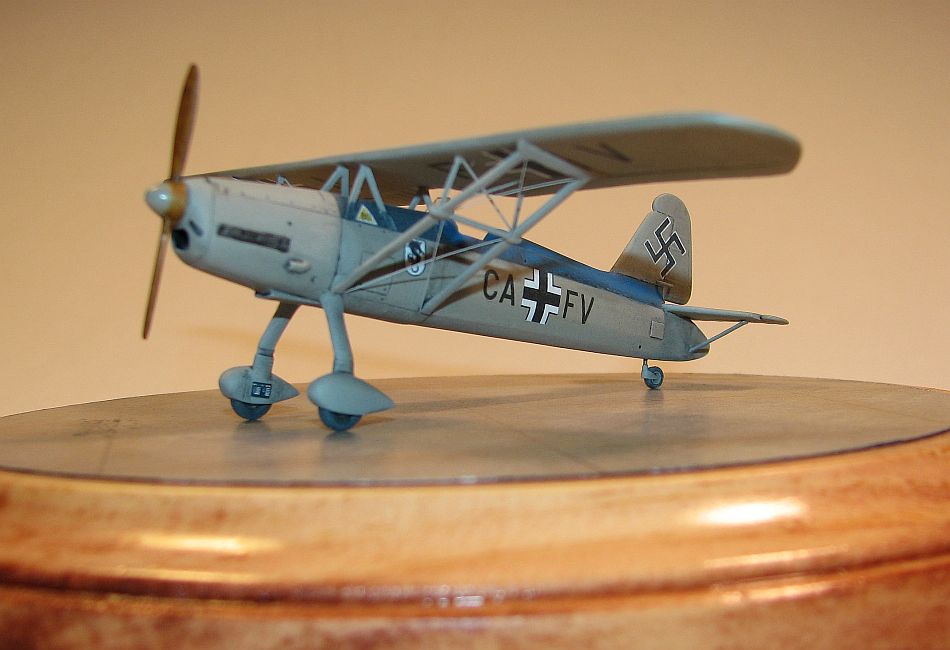
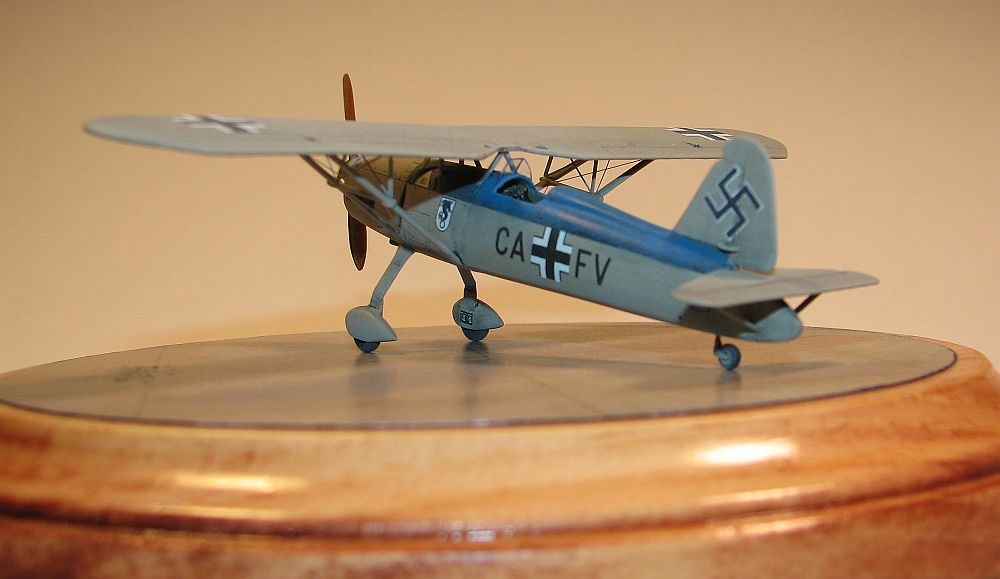
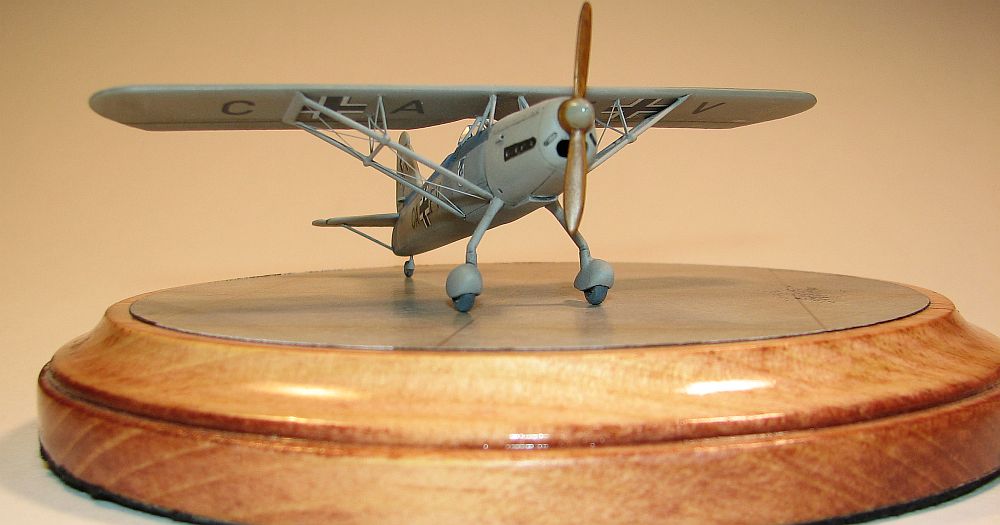
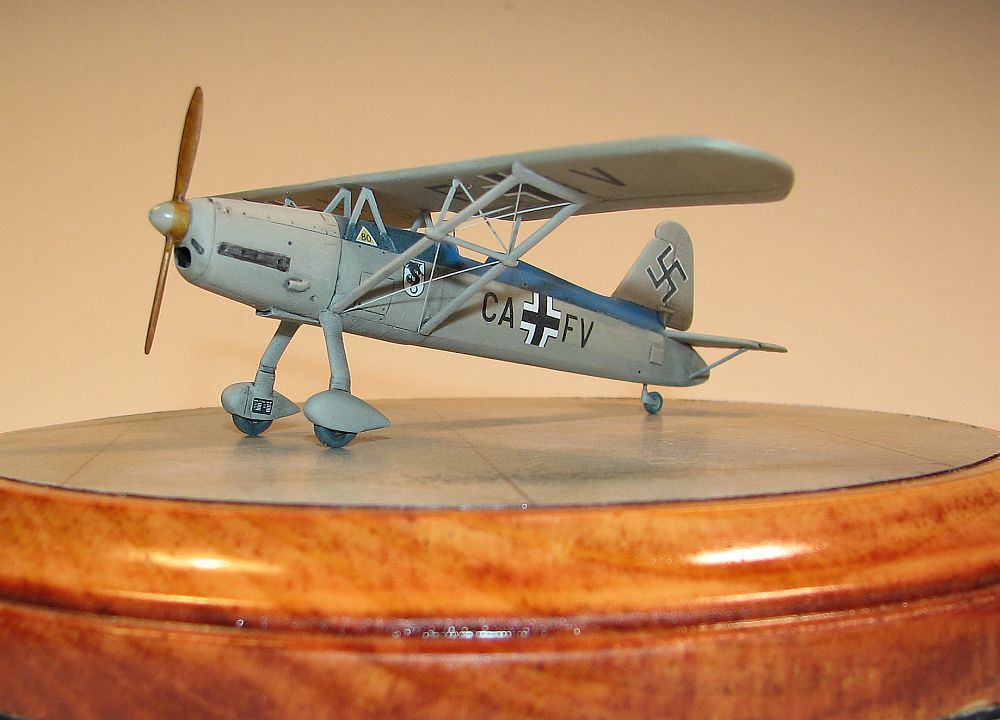
I used the same Aeromaster acrylic for the rest of the model. Straight out of the bottle for most of the airframe, but I did lighten it even more to represent the fabric areas of the wing. After the RLM 02 dried on the fuselage (since I thinned the paint with Future, I actually let it dry and harden for three days, "just in case") I then masked it and sprayed the blue on the upper fuselage. Word of warning. Pay attention to the instructions. Don't know what I was thinking, but I sprayed the blue all the way to the nose. That's not how it was, the blue ended at the front edge of the forward center struts. Oh well, nothing that even more masking could handle. Since I wasn't sure what actual blue to use, I just found something in my paint stash (I think an earlier rendition of Aeromaster acrylics, which a few years ago were supplied by Polly Scale) that was "close enough". I'm probably wrong, and those who know more about Luftwaffe aircraft will tell me later, but I'm happy with it.
|
Okay, painting is finished and I now added another coat of Future (even though I thinned the paints with Future) and let it dry another three days. (Some may wonder why I wait so long to let the model dry. It's because "once bitten…twice shy". There have been a few models in the past where I thought the Future was dry, and lo and behold added a finger/thumb print to the finish I really didn't think existed in real life. So, I now wait two-to-three days to be sure it's all dried and cured.) I now added the decals and sprayed another coat of Future.
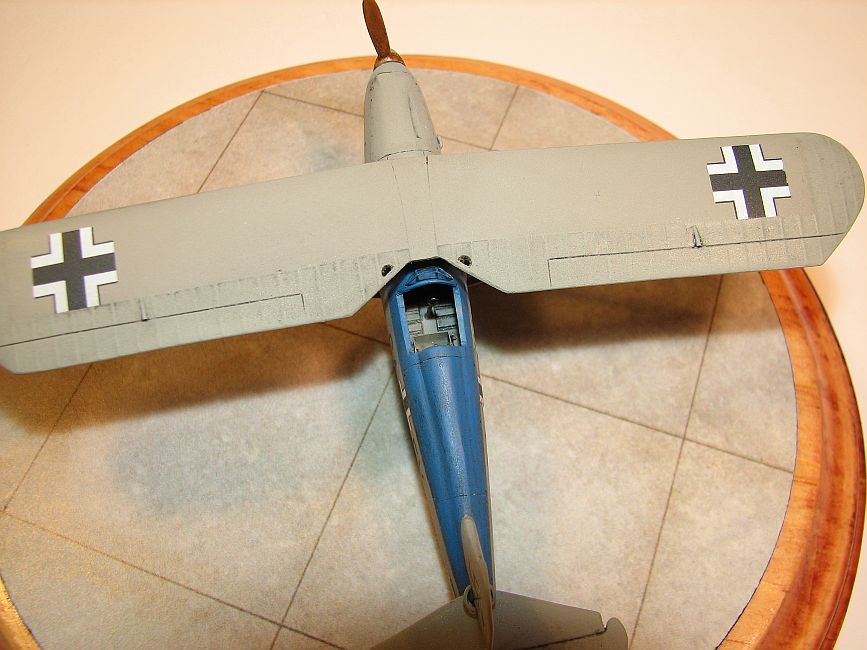
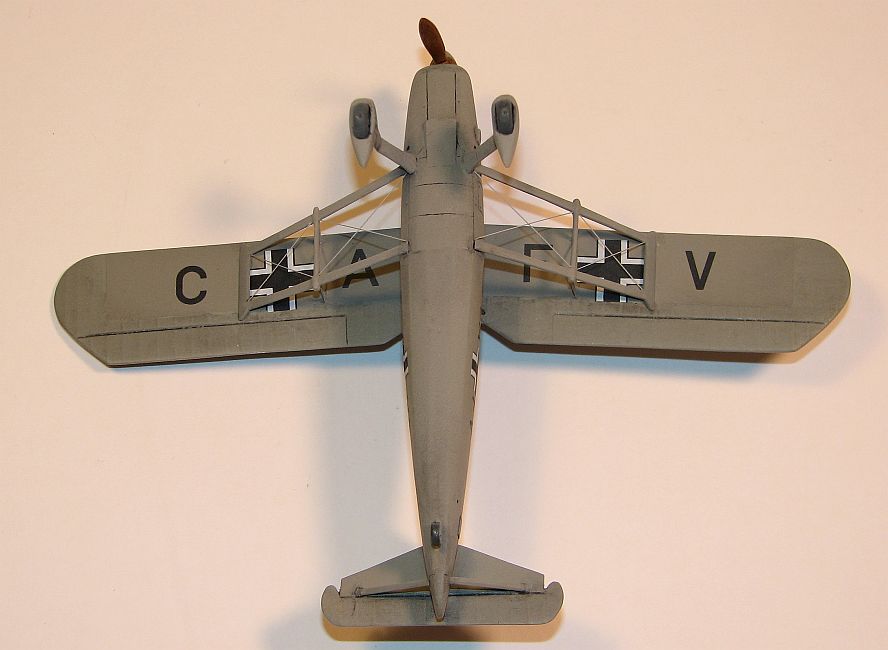
One thing about the under-wing codes. RS has them too close together. A photo exists of the aircraft I modeled ("CA+FV") and the codes are spaced farther apart than RS has them on their decal sheet. Unfortunately I didn't discover this until after I added the decals, so I had to remove them and find others. (Thank you to you-know-who-you-are for the decals!!!!) I used the cross from RS from the "other" scheme and the letters that were sent to me by a good friend and now am pleased with how they look in relation to the "real" picture.
Final Construction
Another thing to comment about. Trust RS. I saw another modeler's build on a different forum, and he cut away the center parts of the main struts, leaving just "the ends". In fact, there are also drawings on the 'net that show this exact thing. However, I'm almost positive this was for the prototype only, as I have now seen a "real" photo of an Ar 76 and the center actually existed. More work for me, because I took it the modeler's build on faith, along with the drawings, and removed the centers. I had to replace the centers of the main struts which meant more work <sigh>. Ah well, the joys of modeling.
|
I first attached the wing to the center struts, making sure it was all lined up with the "Mk.I Eyeball". After it all dried solidly, I moved to adding the main struts. I first glued the ends of the main struts to the fuselage prior to gluing them to the wings. This provided not only a strong join with the fuselage, but also made sure the struts ended up in a good position. I also added the struts prior to adding the "new" wing underside decals, as this made sure my placement of the decals were in the "correct" position. A little more work on my part to be sure it all worked, but it made sure it all lined up okay. Unfortunately one area not to trust RS is where they have a "line" to show where the struts attach to the wing. Or at least I think it's where RS would have you attach the struts. Maybe it's a panel line. In any event, the "panel line" is NOT where the strut attaches to the wing, so be aware.
There is one decal on the decal sheet that is not called out on the instructions, decal number "17". I emailed RS and asked, and their response was this was a decal for the inside of the starboard wheel cover. You can see it in a couple of the photos.
Also, there are a few photoetch pieces that are still left on my fret I have no idea where they go, nor do the instructions tell. Maybe RS can provide either amended instructions or somewhere on their site to show where all photoetch pieces go.
|
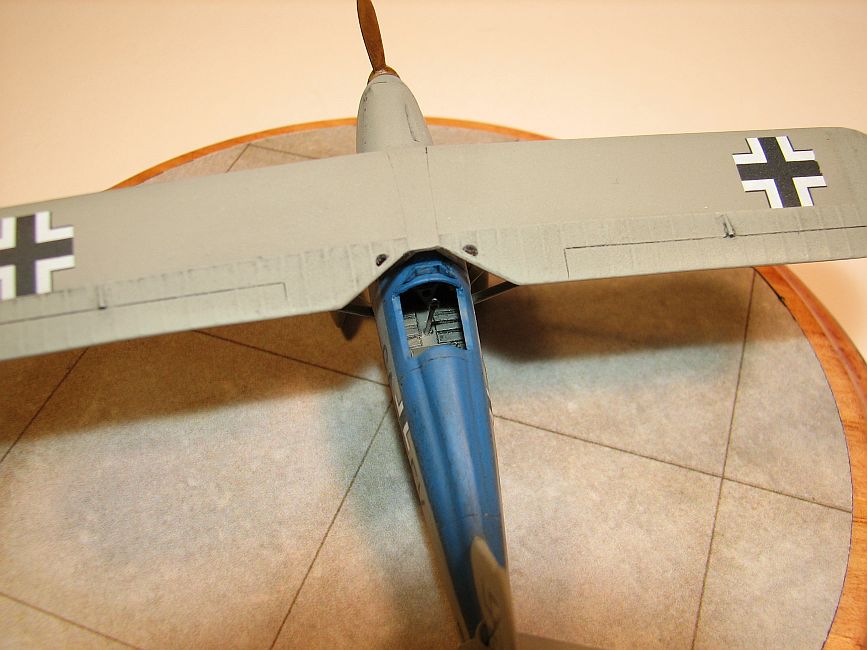
All decals were now on, the struts were attached - including the photoetch parts that go between the main struts and the wing - and it was on to rigging. Thankfully only eight wires were needed and they were quickly applied (well, as quick as I could finish anything). It was time now for some weathering.
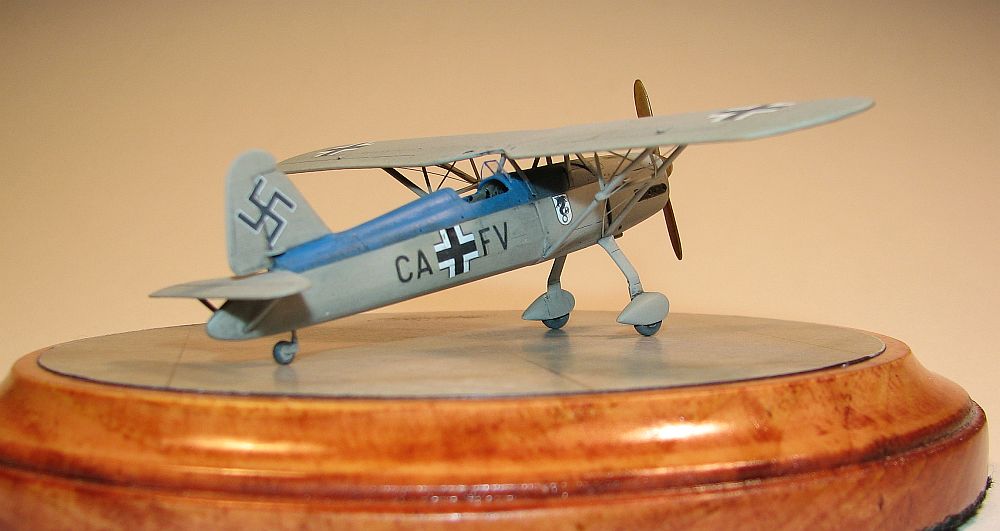
I accomplished the wing first with painting the different hues of gray, but I also went ahead and applied a dark-gray oil wash of the whole airframe. I made the wash a little darker for the control surfaces "joints" so they would stand out a little more. Once that was finished and to my liking I applied the flat (Polly Scale) and unfortunately it turned the blue practically white. I think I read somewhere that Testors changed the formula of its Polly Scale Flat, and I think that's the case because I did the same thinning ratio I always have and it still left a white, chalky appearance, extremely evident on the blue. Well, I was stuck, so to fix it I dry brushed the areas I could reach with the blue to bring the shade back to actual blue. I think it worked.
There are differing opinions on the prop color, and a good friend of mine suggested it would be left natural, so that's how I finished my prop – natural with a gray spinner. I think it looks great, although if you have definitive proof it should be painted some other color, do let me know. I may change it or – more likely – call it artists' impression.
I decided at the last minute to scratch a new windscreen, feeling the kit supplied one - while nice and clear and probably as thin as injected molding can take it - was still too thick. So I traced the inside of the kit's windscreen onto tape, and transferred that to .005" clear styrene sheet. I then used the RB Productions "Flip" Photoetch Bender to make the bends on the sides. It worked perfectly.
Although probably not accurate, I decided to pose the model on TheBaseGuy.com's "Tarmac Small Round Base" anyway. Just to have something to put the Ar 76 on.
Conclusion
|
This could be a quick build in the right hands. Those hands are not mine as I tend to take way too long finishing a model, regardless of how "simple" that build might be. I guess it's just the way of my life. Still, this was a quick build in "Bittner-Time", which can be glacial most times. It's a great kit that practically falls together and has just the right amount of parts and detailing to make it into a super model. You could super detail it if you wanted, but with the lack of reference material on the type (a shame, too, since I think it's an awesome looking aircraft) you'll be hard pressed to find anything on it.
Now, where's that Heller Fw 56 I have in my stash? I think the Fw 56 would look great sitting next to the Ar 76 (which I think looks better than the Fw 56…).
My thanks to RS Models for the excellent review kit. I'm looking forward to seeing their Arado Ar 66!!
