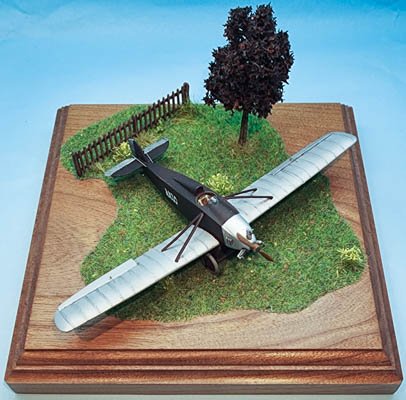
RSS-Hobbis 1/72 Gustaitis ANBO-I
By Matt Bittner
Overview
It wasn't long after receiving the ANBO-I - and finishing the DOBI-I - that I actually started building the ANBO-I. It's a fun kit.
I will refer the reader to my First Look to get a sense of what the kit consists of, as well as a concise history (and links to a better site) of the ANBO-I.
The Build
To be honest, this wasn't a difficult build. All parts are already removed from whatever pour blocks/sprue attachment points existed, which is a huge plus on RSS Hobbis' part. All you're down to is assembly and painting.
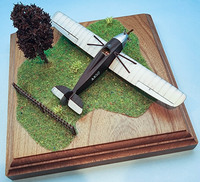
There isn't much published in regards to the cockpit. Since the aircraft was primarily canvas-covered, the cockpit was painted a clear doped linen-type color. Since the seat, control stick and rudder pedals are glued to the top of the one-piece wing, the wing was primed at the same time as the fuselage, then the pieces glued to it. The detail on the cockpit sides were picked out in aluminum paint - carefully, as the fuselage is one-piece. After the instrument bar was glued inside the cockpit, then when all was dried and dull coated, the wing was mated to the fuselage.
|
There were some small gaps to deal with but nothing major. After the wing-to-fuselage seam was finished, the horizontal tail was glued on and again, not many gaps to deal with. Since the ailerons were separate and can be posed, I decided to cut the moveable section of the horizontal tail and display it "down". For the stab and rudder I ended up using Eduard photoetch control horns but for the ailerons I used ones provided by Steelwork Model that included the rigging etched in place. The rest of the rigging was .005 stainless steel wire (of which I have an abundance of).
|
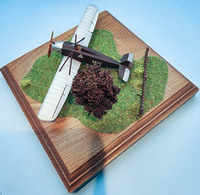
The main body was painted a chocolate brown provided by Scale 75 in their Drop & Paint airbrush-ready line (which is very, very thin) and while I initially used their "aluminum" too, it was just too thin and wouldn't cover the brown. So in the end I used Vallejo Metal Color Aluminum for the flying surfaces and nose.
Be careful with the landing gear as they're one-piece and fragile; handle with the utmost care, trust me. These and the wing struts were glued into place after painting. Once all parts were in place the model was given a gloss coat and once cured, decals applied. I decided to go with the operational version as opposed to how the ANBO-I is marked today in the museum. I did a slight weathering on the wings to bring out the rib detail, and then everything was satin coated.
|
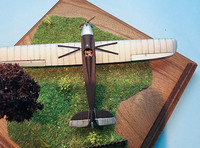
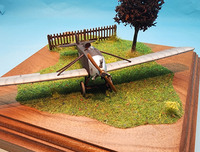
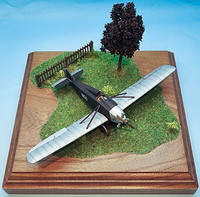
The base was one I bought from Bases by Bill to which a grass mat was glued on. The fence and trees were plastic items, given washes and dry brushed to look "better". I then glue different "tufts" to the base to provide a difference in ground coverings. Once the model was glued to the base, then the windscreen was added using white glue. I based my display on this photograph.
|
Conclusion
The RSS Hobbis ANBO-I is a really nice kit and not difficult to assemble. Take your time with the smaller, 3D printed parts, though. If you couldn't tell I knocked off the 3D printed wing-mounted venturi tube and can no longer find it, nor had the time to scratch a new one.
|
If interested in obtaining any of the RSS Hobbis models, including this ANBO-I, email them direct at rss.hobbis@gmail.com.
