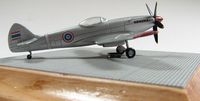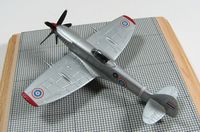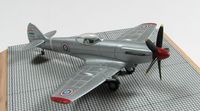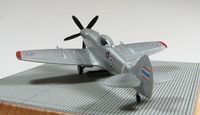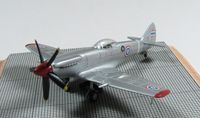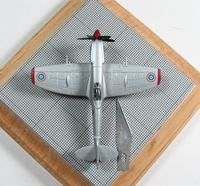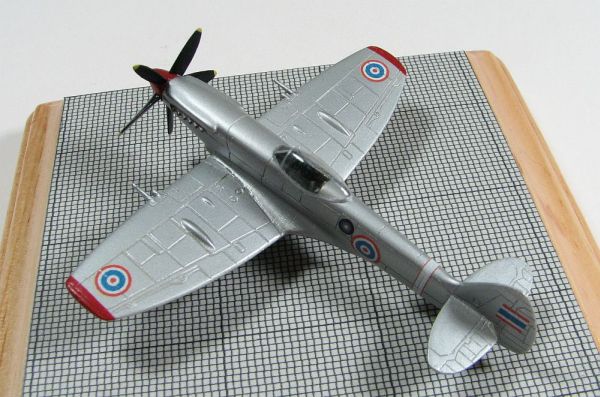
Peter's Planes 1/144 Spitfire Mk.XIVe
By Matt Bittner
Introduction
Ever have one of those kits that just doesn't go right? No matter what you do, it seems like there are forces involved that don't want you to finish a kit? Well, this is one of those times. While the build itself went well, it was in the finishing stages where everything seemed to go wrong.
Construction
As I mentioned, the build itself went well enough. There aren't many pieces involved in building this 1/144 Spitfire Mk.XIVe (and you can see all the pieces involved by reading my First Look). The main body is one-piece, to which you glue the horizontal tail surfaces. Once that is accomplished, you have a model ready for painting. I used very little putty to blend in the stabs, but there was some other surface prep that needed to be accomplished on the rest of the model, mainly one area that needed to be sanded (where I think the mold came together). However, a few swipes with some sandpaper, then rescribing a lost panel line, and the model was ready for painting.And here is where it all went wrong.
Since this was an all-resin kit, I knew a primer coat would be in order. So after washing the model in dish soap (the kind you use when you clean up dishes after eating, which in my case was the dish soap brand "Dawn") I decided to spray it in Tamiya's Fine White primer out of the can. After drying, I started handling the model - and the paint started to rub away. All it took was normal, everyday handling for the paint to come off. How odd. So, I rubbed the whole model to remove the primer, then once again washed it in dish soap.This time I decided to try a new primer, one that was thinned with Acetone put out by Billings Boats. And the same thing happened. The primer started to rub off.
Oh yeah, things weren't going well. I do need to state, though, that this didn't happen across a few days. It was so distressing that it took weeks, even months, between the fiasco that was the primer coats, and finally haing an actual coat of paint on the model. But I'm getting ahead of myself.It was time for a new tactic. This time I washed the model in Isopropyl Alcohol and once dried, I sprayed Alclad Gray Primer on it. After drying it all seemed to be working.
But wait! It wasn't meant to be. This time the primer flaked off, sometimes in "large" swatches (as large as a swatch can be on a 1/144 model). The bad thing is, if I thought the primer stuck in a few areas - and painted over it - in the end those areas would also start flaking. So, in order to do this correctly, I had to remove all the primer, even from the smaller parts. Which actually wasn't difficult because I just flaked it all off.I was really upset by this time. I don't think it was the material in the model because I have read other modelers successfully building this kit. Some combination of weather, the surrounding enviornment and karma was keeping me from finishing this kit.
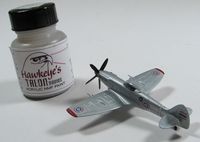
After more waiting, and another round of washing the model in Isopropyl Alcohol, I decided to try and just spray the final color direct onto the resin. And you know what? It actually worked! I used Hawkeye's Hobbies Talon Aluminum, sprayed direct on the model, and I had no rub off at all, even from all the normal handling during final finishing. How odd is that? Sometimes I do get rub off of the Talon if I handle the model too many times in the same areas over-and-over again. Not with this one. Okay, that was really bizarre but I'm glad it was finally coming to the end. When it comes to the clear parts, though, they too were a hurdle. The kit comes with a clear, resin canopy; a vacuformed canopy; and an opaque "canopy" if you want to use the model for wargaming, or some-such. The clear resin canopy that came with the kit I thought was too thick, and mine wasn't molded well (it appeared to be molded "sideways" with the framing never lining up with the model). So, I went with the vac canopy. Well, there are reasons why some companies supply two vac canopies with a kit, and I'm that reason. I ended up botching that one. I finally ended up by using the opaque resin canopy as a master for squash-casting a new, clear canopy. Once I sanded it down a little for size (although it appears I didn't sand it enough - oh well, the kit is finished now) I then worked on its fit to the fuselage. Once I had that finished then I started squash-casting clear canopies. It took four tries, but I finally had one I thought I could use.I added tape belts to the seat, scratched a control column for the cockpit, and scratched the pitot tube for under the port wing. That was the only extras I did to the kit.
When I sprayed the model with the Talon I also sprayed some old decals at the same time, to be used for canopy framing. Well, the decals were older than I thought, and after dipping in water, and trying to work them onto the new canopy, they just disintegrated. Huge sigh. I knew that if I went ahead with more decal, the model would have taken even longer, so I just brushed the frames onto the canopy. I'm not happy with it, but my goal at this time was just to finish the model and stick it in my display case.Care needed to be taken with the decals since they're ALPS-generated, but once on they adhered well, and only needed a little coaxing to "flow" into the panel lines.
The Base
Now, about the display. When I was doing research for the Thai Spitfire, I found pictures on-line that show it in the Thai Air Force Museum, and I thought that would be a great setting to put my model in. The floor of the museum has an odd grid-pattern to it, so with help from a friend, a digital file was made of the floor design and that printed onto grey card-stock. The actual base is just an inexpensive pine base picked up (on sale, of course) from Hobby Lobby and once it was sanded and stained, then given three coats of varnish. Once the final varnish coat dried I then glued the printed design to the base, folded up a photoetch drip-pan from an Eduard 1/144 MiG-21 photoetch set, glued that to the base, followed by the Spitfire.Conclusion
It fought me the whole way through - especially with priming and painting - but in the end I persevered and finished Peter's Planes 1/144 Spitfire Mk.XIVe.
Huge thanks to Peter's Planes, not only for the model but also for the patience it took for me to finish the model. I also want to thank Hawkeye's Hobbies for the Talon paint.

