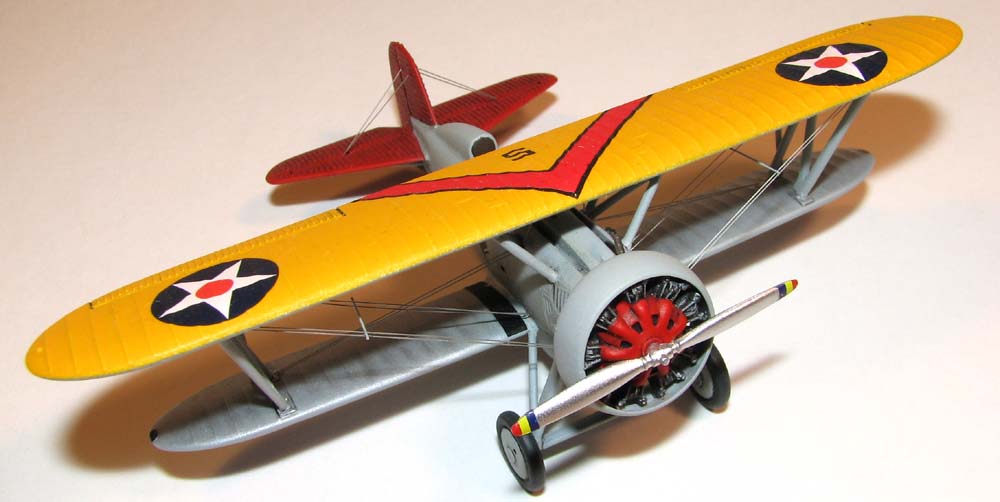
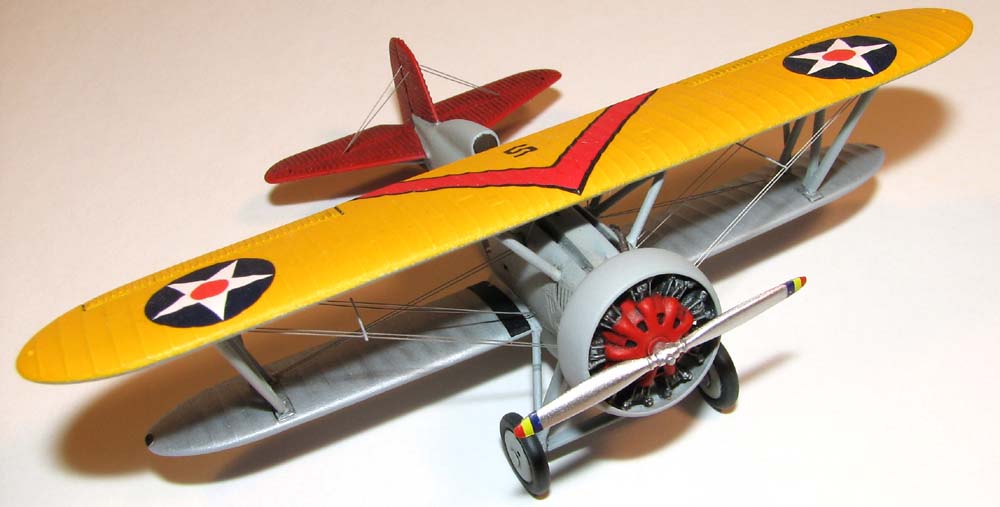
Monogram/Starfighter 1/72 Boeing F4B-4
By Matt Bittner
Introduction
According to Wikipedia, the Boeing F4B series was privately designed to replace the aging F2B and F3B series. It was designed to use the same Wasp engine, but was built lighter, smaller and more agile. The F4B was the last wood-winged biplane fighter developed by Boeing, used by the Navy. The initial Navy contract was for 27 of the F4B-1, with around 92 of the F4B-4 being delivered. 21 F4B-4s were used by the US Marines.
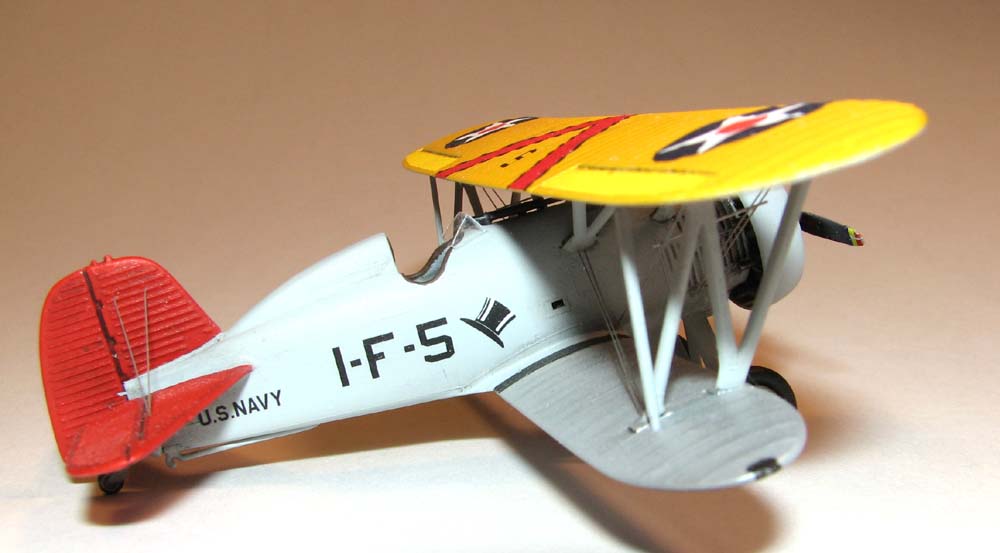
The Kit
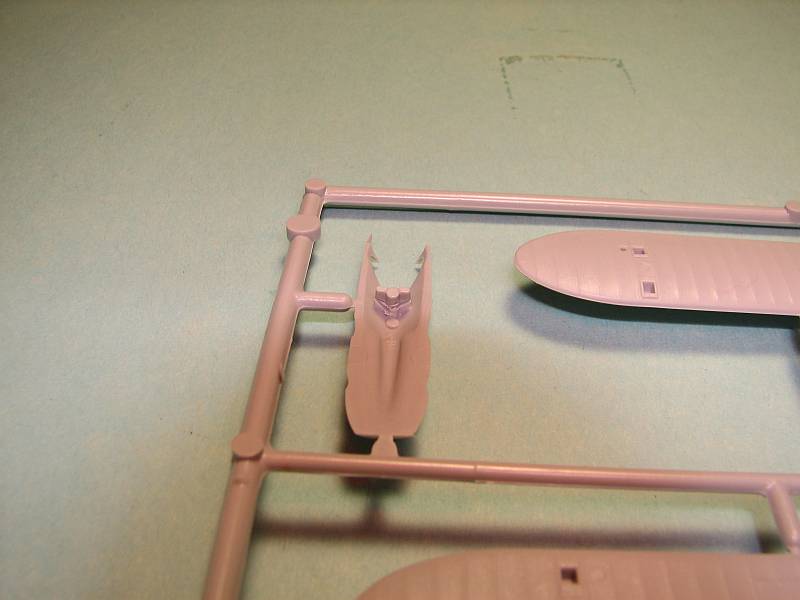
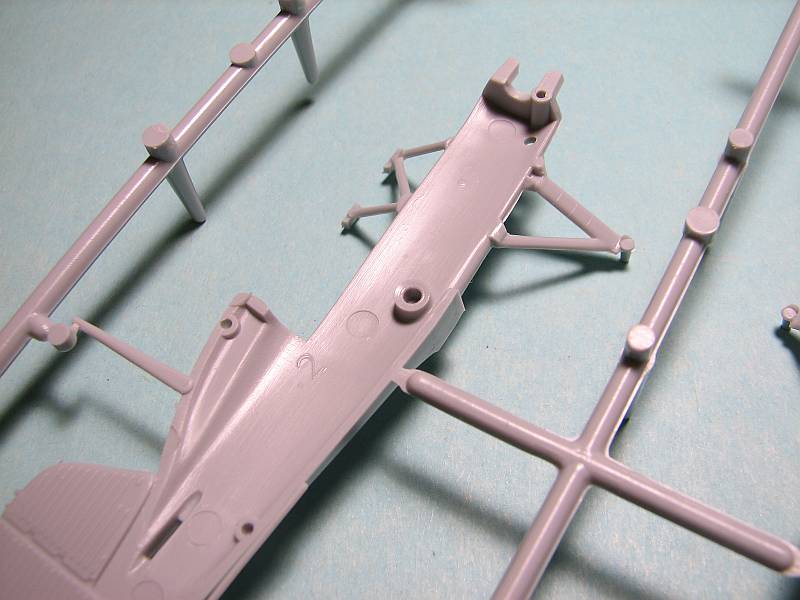
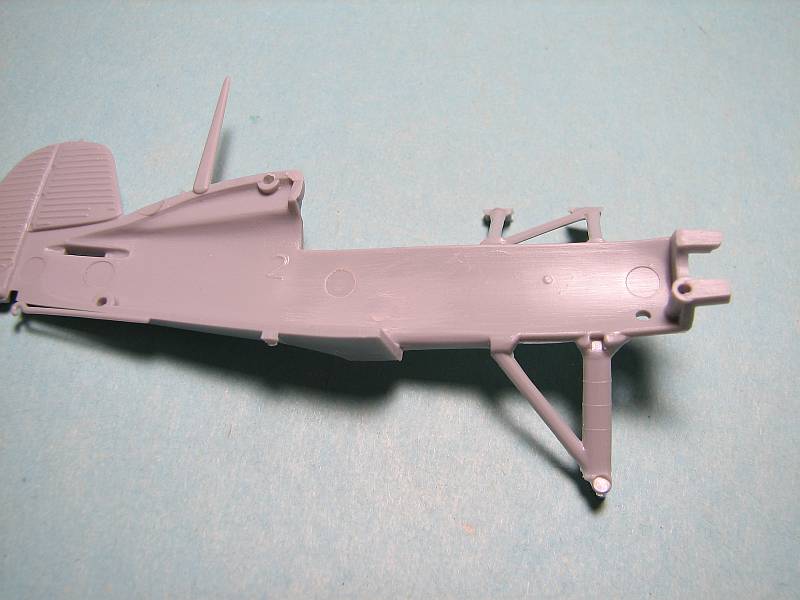
The Monogram 1/72 Boeing F4B-4 has been around for over forty years. This is not to say it's a bad kit. On the contrary it's an excellent kit, especially for those wanting to build a biplane but afraid of the struts. With the center struts molded in-situ with the fuselage halves, there are no alignment issues to worry about when attaching the upper wing. Glue the wing to the center struts and then add the interplane struts. The only thing easier than building a Monogram 1/72 'tweener kit is building a biplane without any center struts at all (like the Roland C.II, etc.).
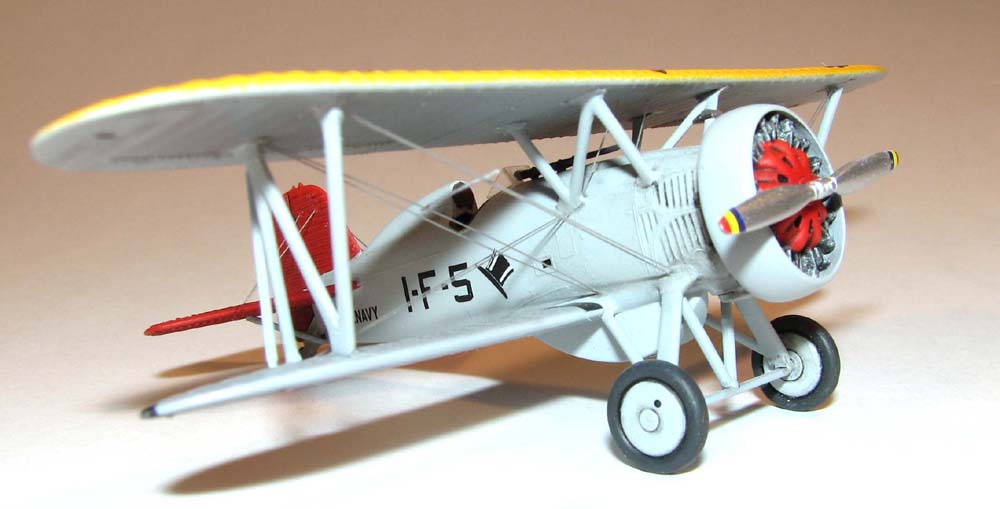
The only thing lacking in the Monogram kit is any type of cockpit. Thankfully, Starfighter comes through, big time. One of the reasons why the title of this article includes Starfighter is primarily because of the resin cockpit, but it's also because of using their decals for this build.
Construction
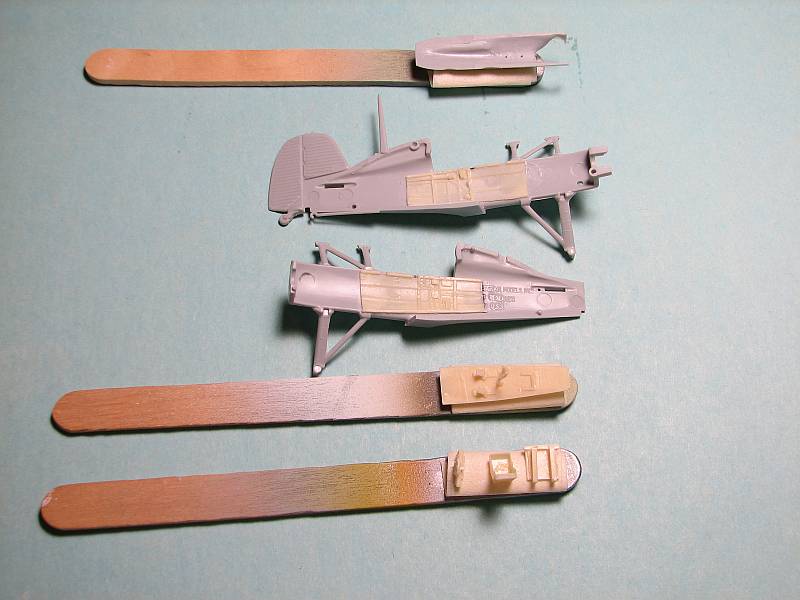
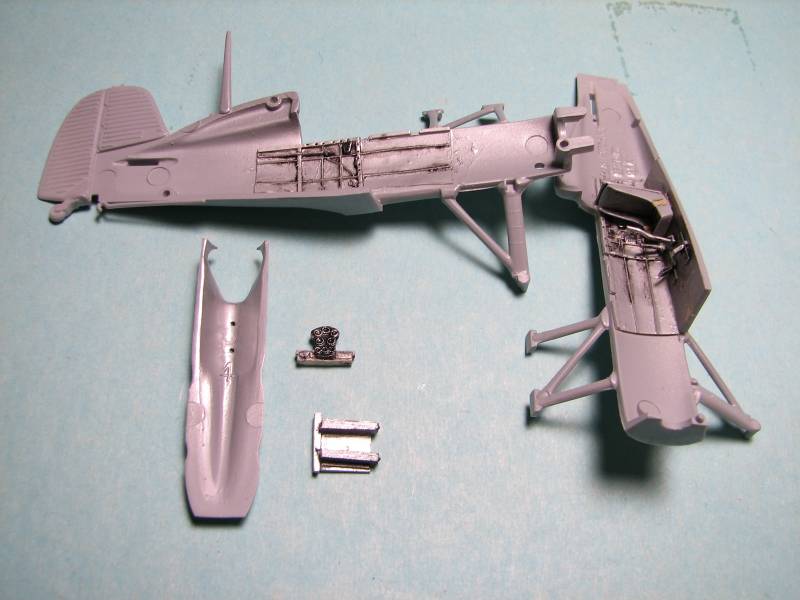
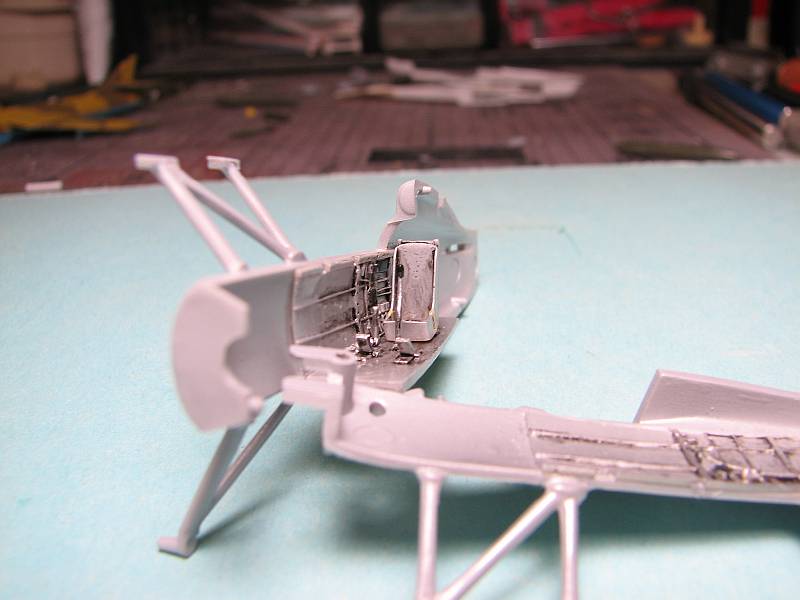
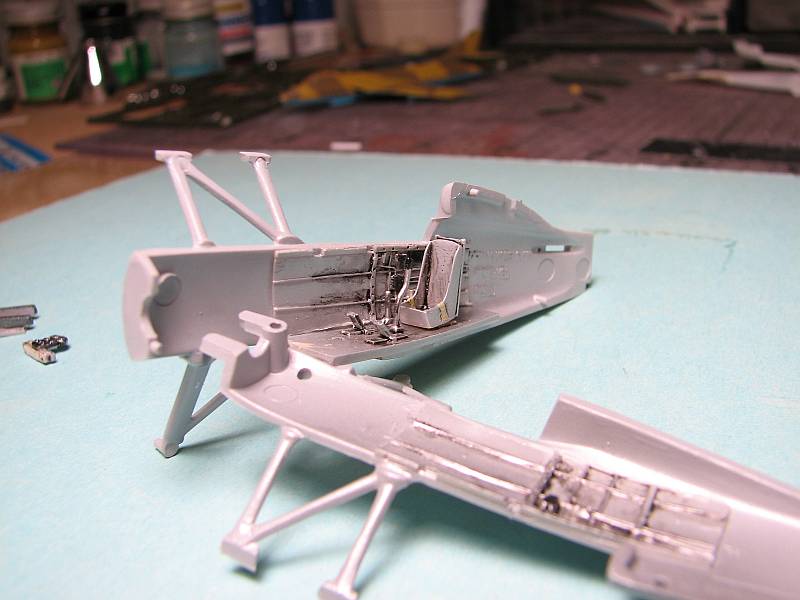
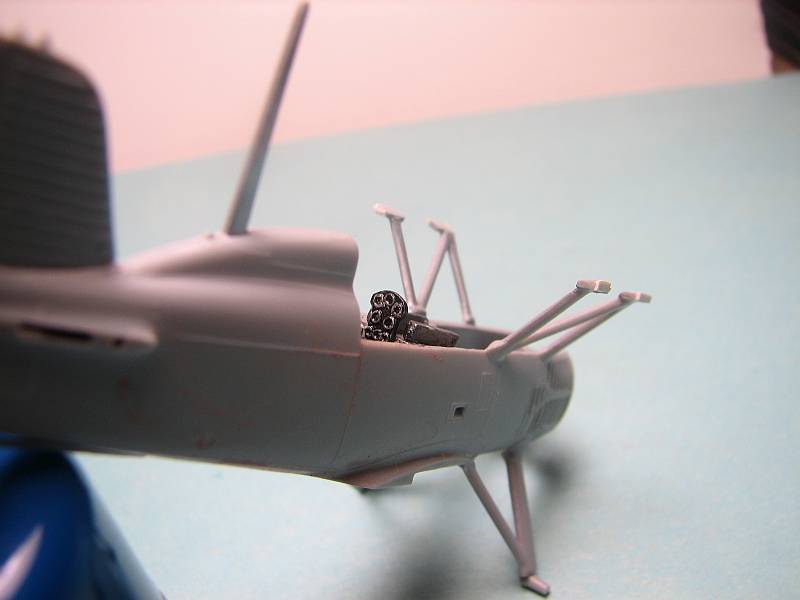
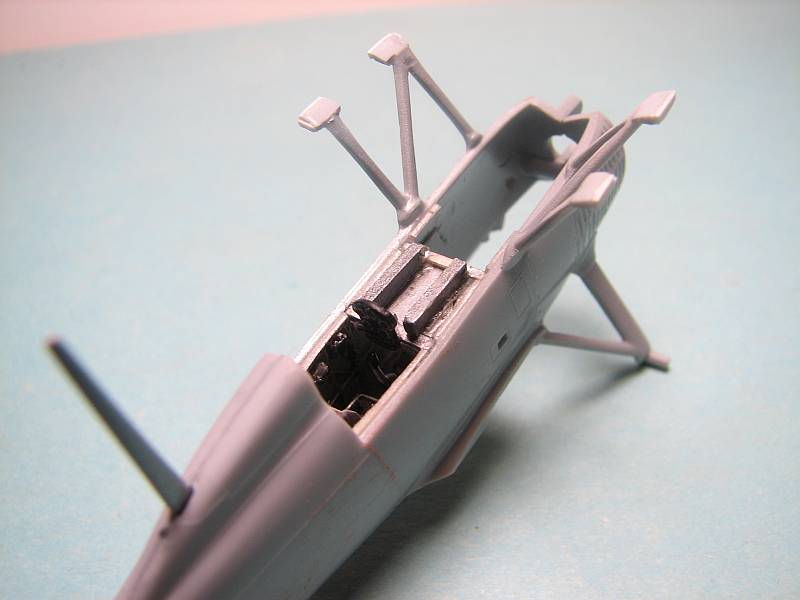
| I did a detailed look at the Starfighter cockpit back in the July 2008 issue. It's a very well done resin cockpit, one that goes together nicely in the Monogram kit. (Also be aware the cockpit will work with the Accurate Miniatures re-release of the Monogram kit since, well, it's the original Monogram molds.) |
|
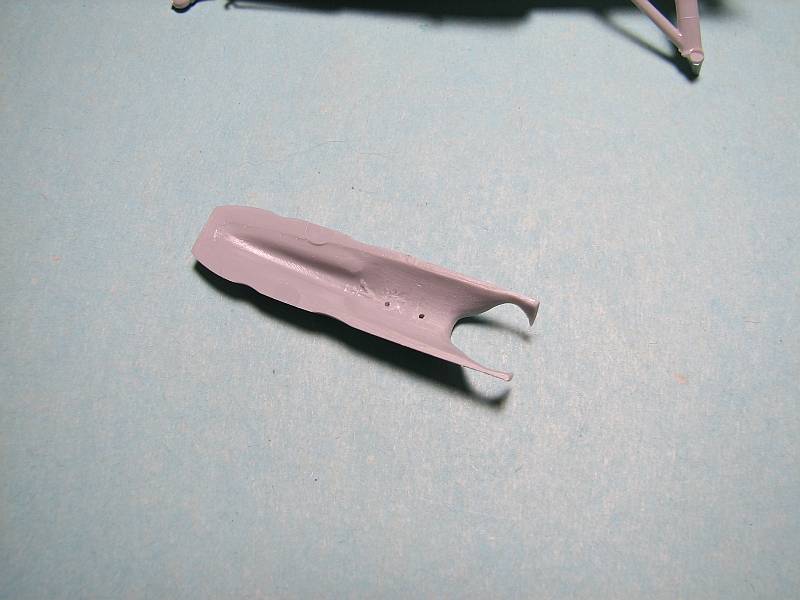
| There are a few things that need to be done prior to working the Starfighter cockpit into the Monogram kit. The sides of the fuselage halves need to be sanded smooth - including the "hole" for the pilot's "peg" - and the faux-instrument panel molded into the upper fuselage piece (Monogram part number 4) needs to be removed as well. There are also some things that need to be accomplished with the resin pieces. |
|
| First off, on the sidewalls (parts 2 and 3) be sure you remove enough from where the resin pieces meet the pour stub. It appears there's a bottom stringer on these two pieces, but that's not the case. If you leave this on you won't be able to glue the floor on without major surgery to the fuselage halves. In addition, be sure to leave the "extra bit" (as the instructions direct) on the instrument panel, part 5. It's supposed to be there. Also, I found it easier to attach part 6 - the "gun butts" - before attaching part 5, the instrument panel. |
|
| Initially place part 6 on with white glue. Carefully lift the part up and slide part 5 - the instrument panel - in place, with the main panel fitting between the "butts". Then glue down part 6 with stronger cement. Finally, be careful when you sand the seat after removing it from the pour block. There's a "little square" on the underside that's supposed to fit inside the "u" on the cockpit floor. Other than what I just outlined, be sure to follow the instructions carefully. They will not lead you astray. |
|
|
|
|
|
|
|
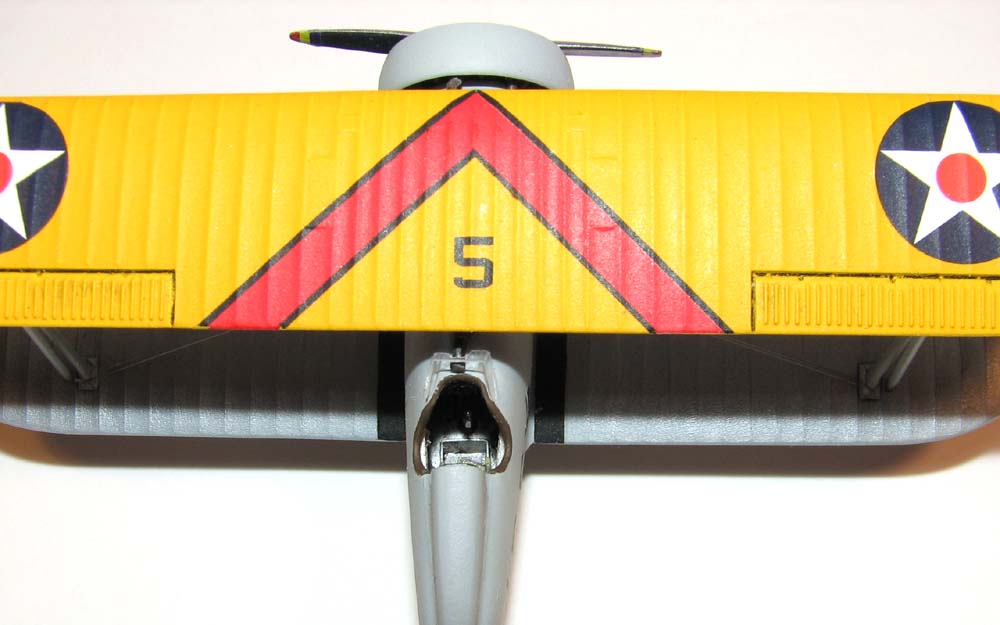
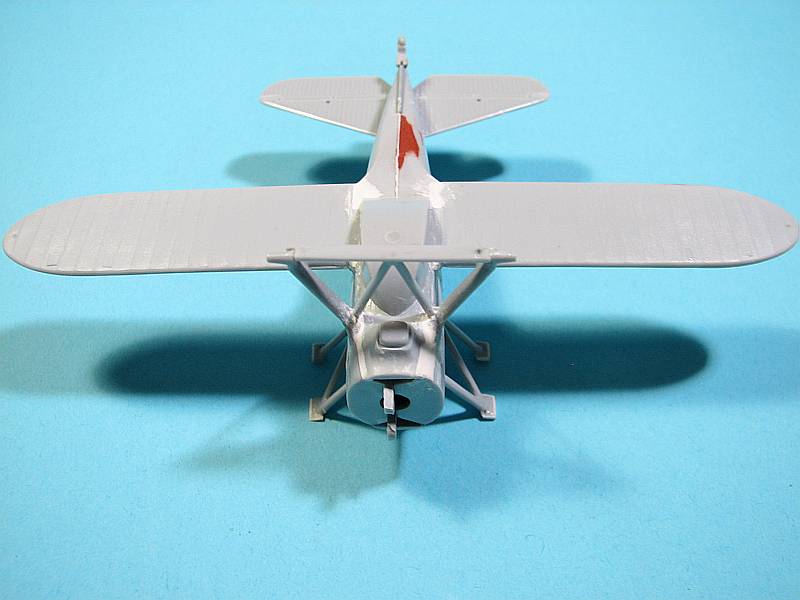
One thing that I thought needed to be changed was how the center struts met at the upper wing. The gap was too large and I was trying to make it so I could remove the gap without worrying about applying putty or anything like that. So, I started to add .005 thin sheet to the edges of the struts to help pack them out to fill the space. It didn't work 100% how I hoped, but at this point I can't think of a better way. Maybe use white glue on the next models? Again, something that needs to be considered for future builds (and I will build more, believe me). If you can think of ways to help in this area, then by all means email me using the link under my name in the masthead.
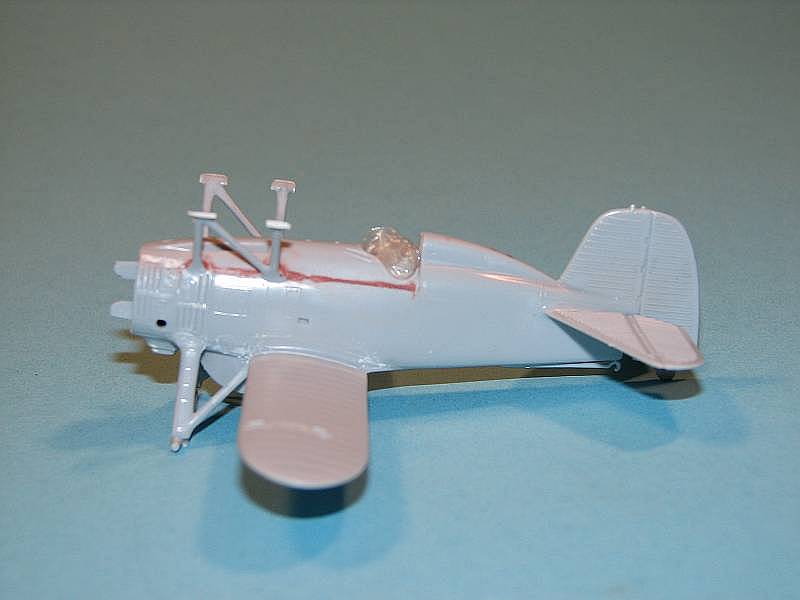
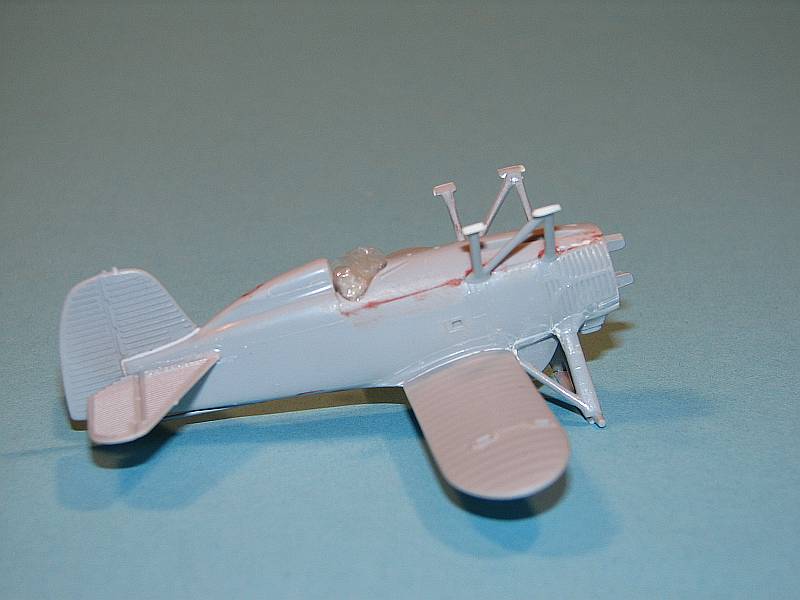
From here on out construction goes well, and quickly. Because the model comes with a stand, and is meant to be displayed on this stand, the hole in the underside fuel tank needs to be filled if not using the stand. I cut off the tip of the stand, glued it in the hole and sanded smooth. To replace the panel that sits perfectly where the hole was, I scrounged a piece of photoetch from the Part set for the Roden Pfalz D.XII. To my eyes it was a perfect addition.
|
|
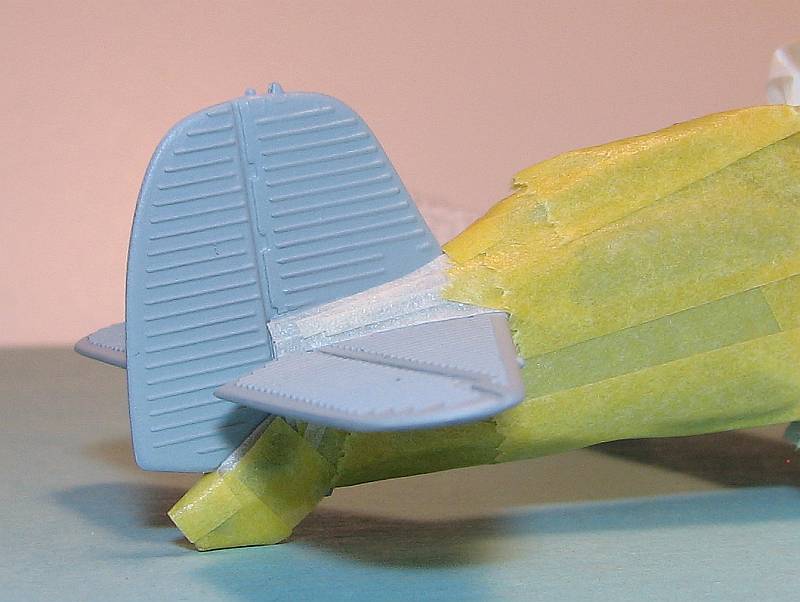
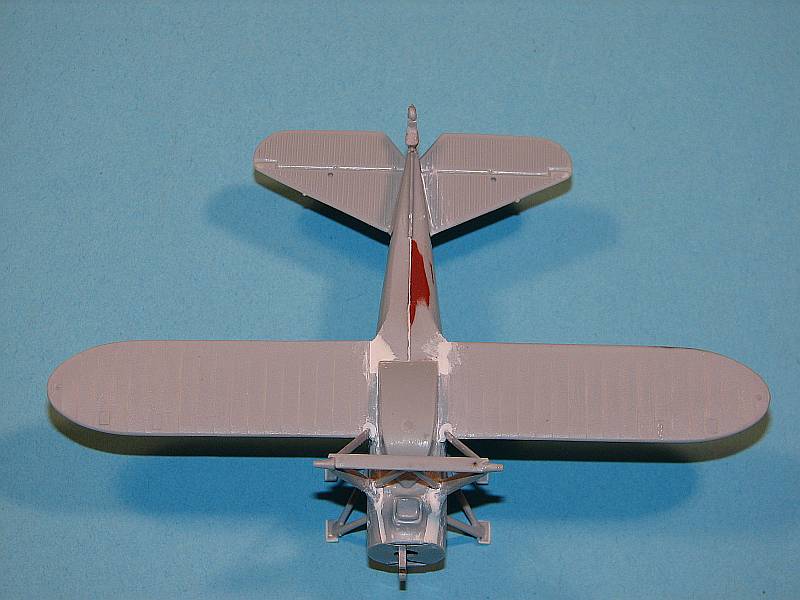
You will need to worry about filling in the seams, if you're conscious of it. I used Apoxie to fill in all seams and in some cases (especially where the lower wing/fuel tank part met the fuselage) performed no sanding at all, removing the excess putty with a wet finger/toothpick/brush. The most difficult areas to fill were where the lower wing met the molded-on landing gear legs, as well as the forward, nose-underside. But again, most of the putty removal was with water, with only a minimal amount of sanding.
Unfortunately during construction I snapped off the large radio mast on the fuselage, again molded in-situ with one fuselage half. In fact I snapped it off twice, having put it back on after it broke off the first time. Well, when I broke it off a second time, this – to me – was fate telling me it didn't want the mast on this particular model, so it stayed off and I sanded and puttied the hole that was left behind. That limited me to the versions I could build using the Starfighter decals, which is why I decided on the one I did.
|
|
Painting
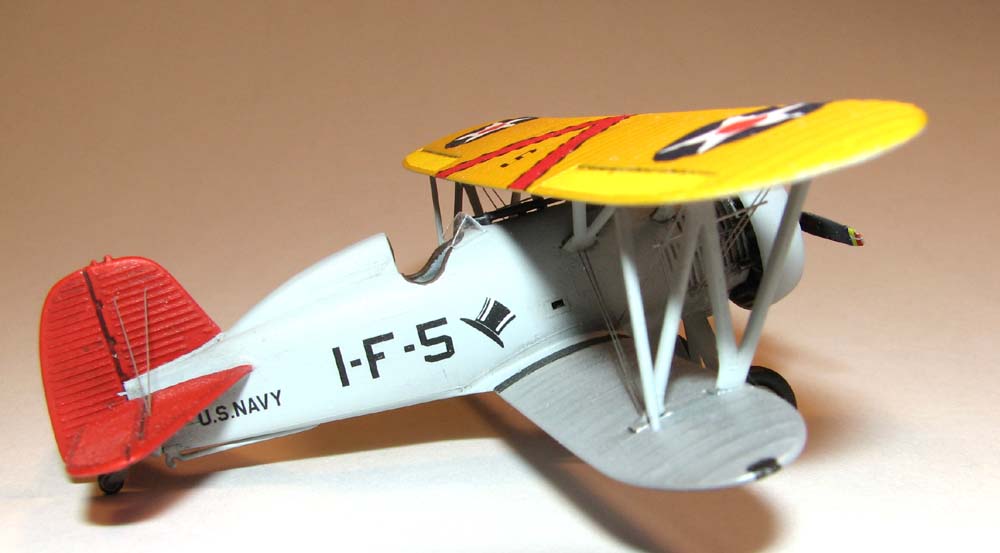
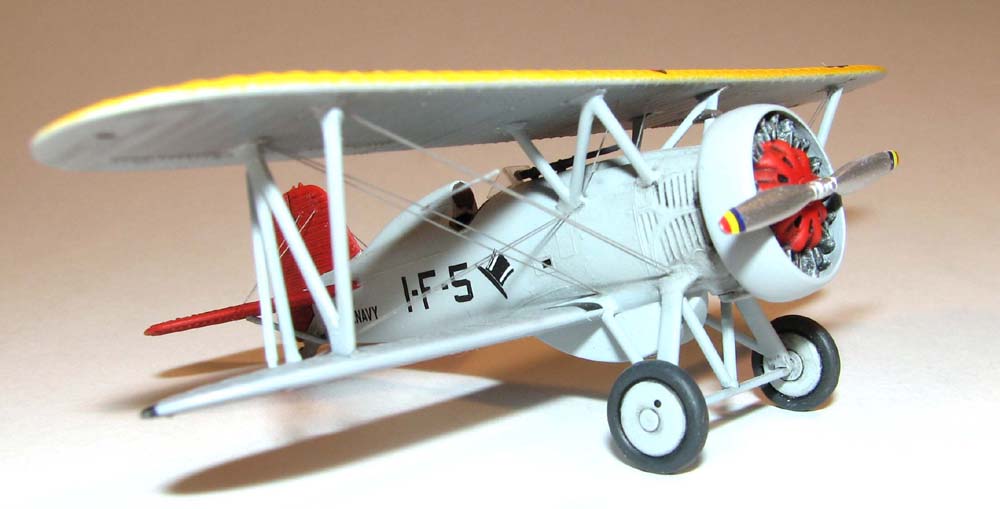
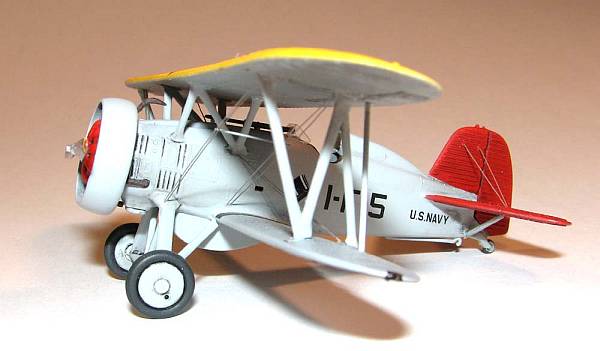
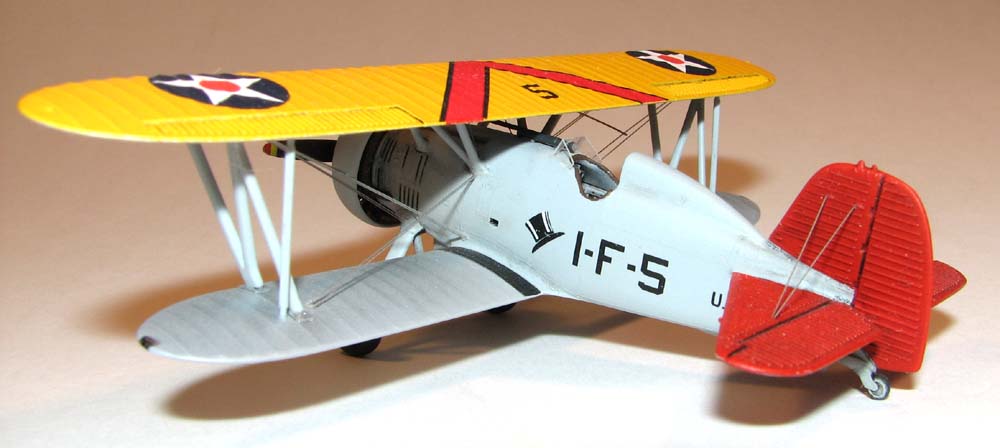
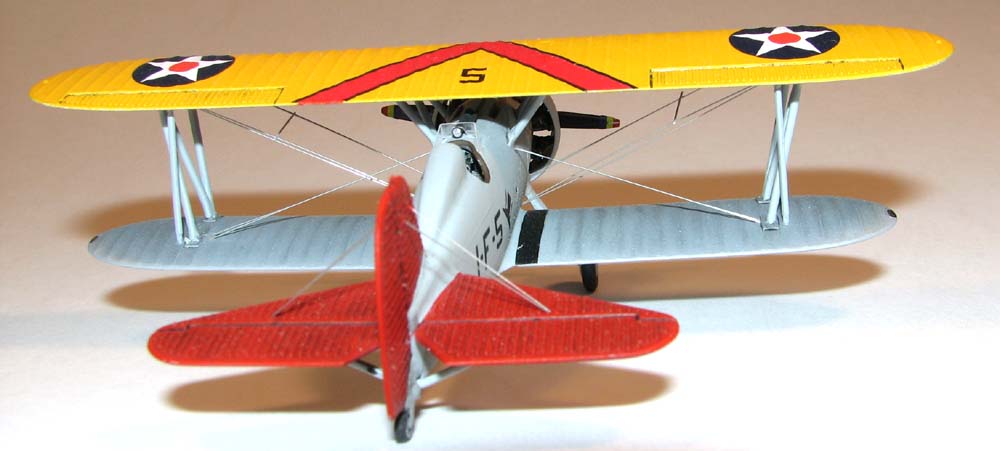
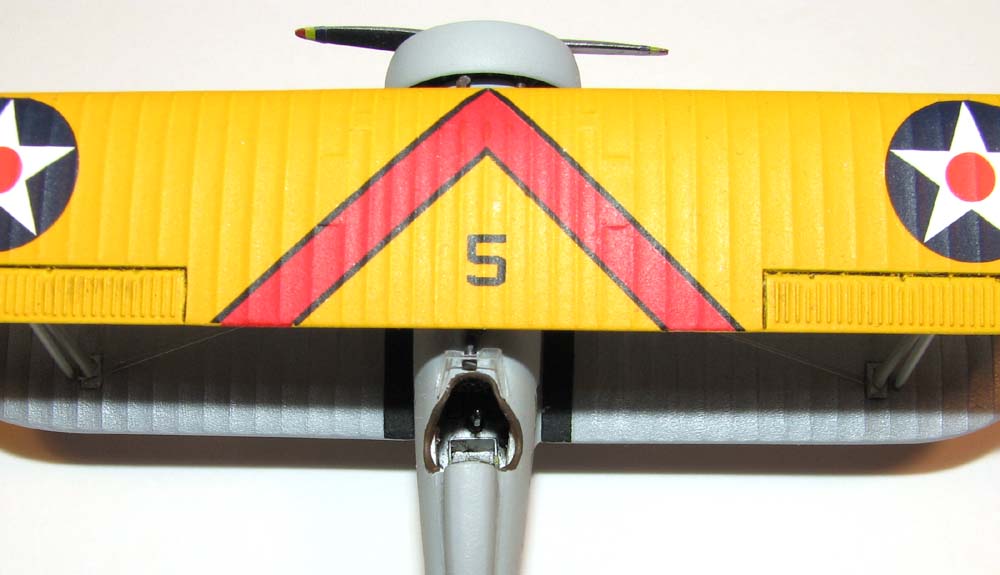
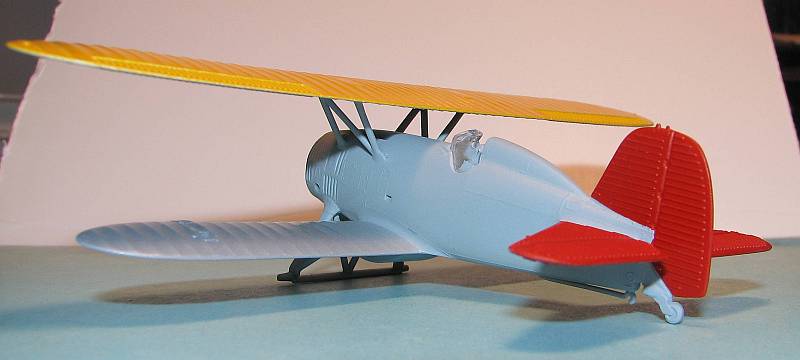
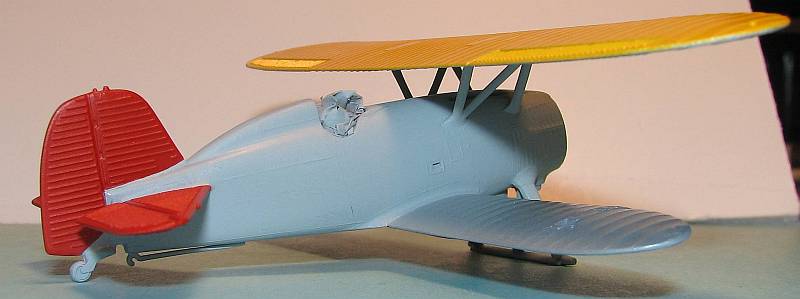
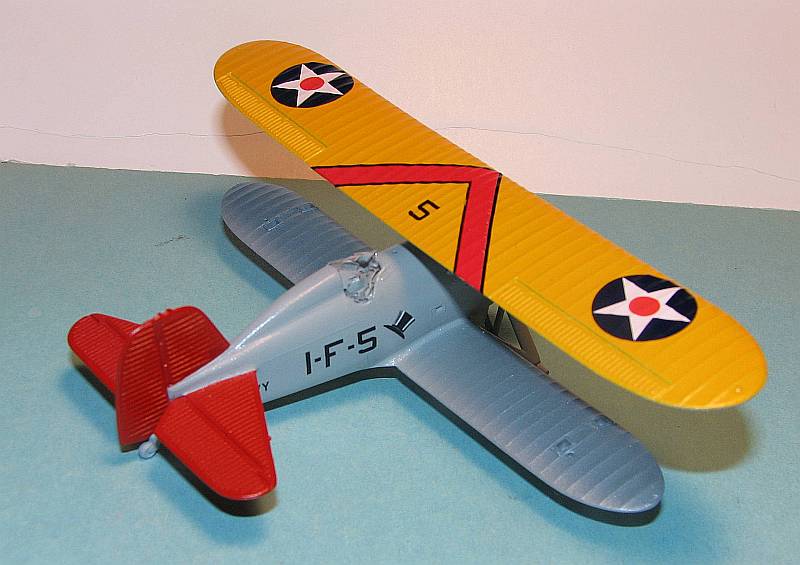
When I received the Yellow Wings F4B-4 decals for review, they included a nice instruction sheet which included brands of paints YW recommends for their builds. One of the recommendations was for Tamiya's "Camel Yellow" spray to be used for the top of the upper wing. I did so, after priming the upper wing using Mr. Surfacer 1200 White Primer. It went down well and looks excellent. The rest of the airframe was finished using Xtracrylix ADC Grey, XA1138 and Talon aluminum for the underside of the top wing as well as the lower wing. Both colors were put over a primer coat of Mr. Surfacer 1000. Unfortunately I feel I sprayed the primer a little too thick so will have to watch this in the future, especially since I used the "rattle can" version. The red is from Vallejo and the area around the tail was masked with Jammydog tape (an awesome source of thin, narrow masking tape - which won't pull off paint!).
The prop was sprayed with Alclad, followed by Insignia Blue for the rear of the blades.
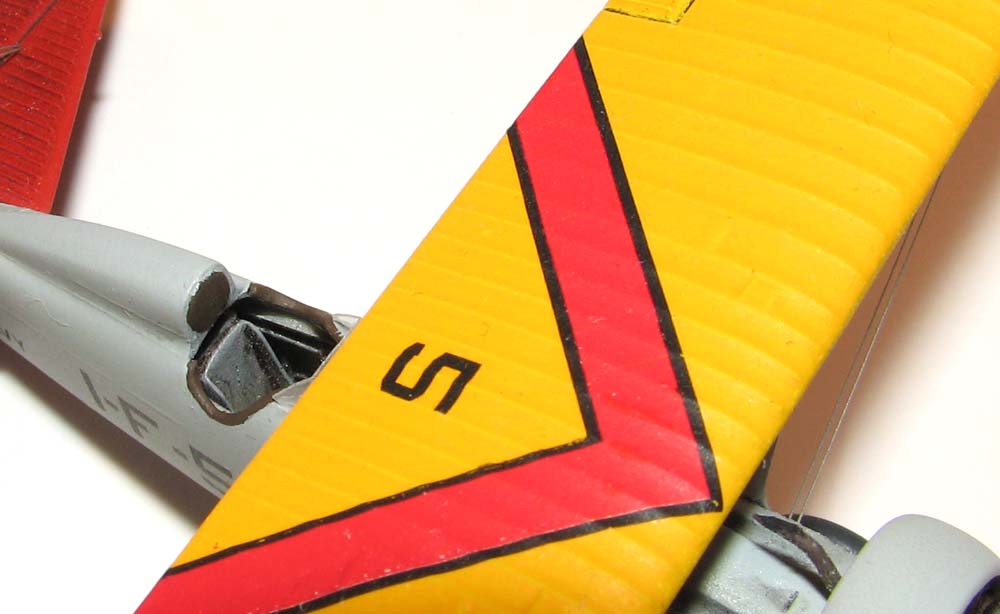
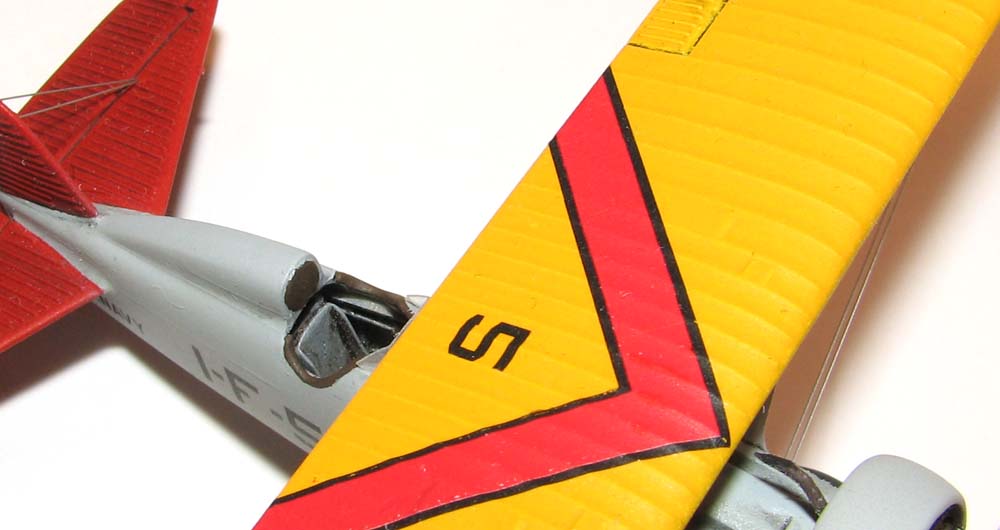
After painting I covered the whole model in Future, followed by applying the Starfighter decals. Since these decals where when they were first released, they are the ALPS-generated ones. Care definitely must be taken, as the pigments are easily rubbed off if handled too roughly. I used almost all the decals from the ALPS sheet, except for the roundels. These I took from the newer released Starfighter sheet "USN USMC Insignia 1930s Part 1" since I thought the ALPS ones the blue was too light. After all decals were down, then another coat of Future was sprayed on top. Now weathering could take place.
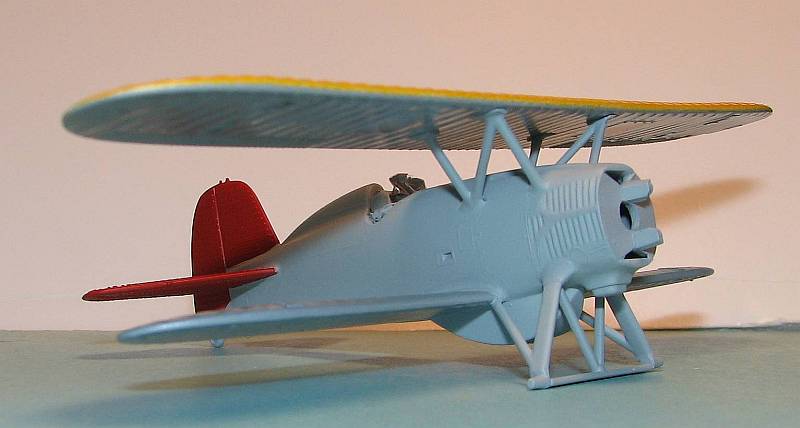
I didn't do a lot of weathering except for popping out the engraved detail around the nose, as well as popping out the corrugations in the tail. Other than that weathering was kept to a minimum.
The final overcoat was Xtracrylix Flat, which is not as flat as Polly Scale, leaving a slight sheen.
|
|
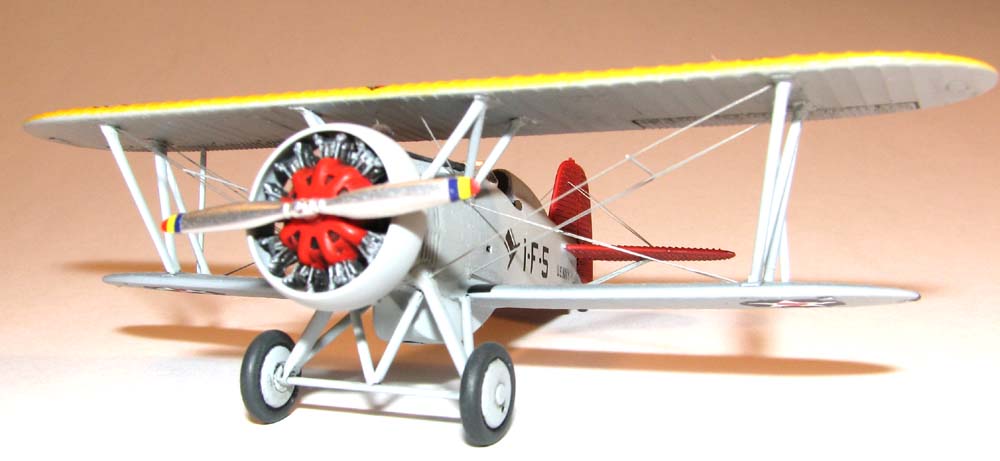
The windscreen was scratched using the kit part as a master. However, I took the outside dimensions of the windscreen, when I should have taken the inside dimensions, since I built the windscreen out of .005" clear sheet. Oh well, not too noticeable if you don't look really close. The gun sight is the kit part painted and attached before attaching the windscreen. Rigging is .005" stainless steel wire glued on using CA.
Conclusion
The Monogram/Accurate Miniatures Boeing F4B-4 is still as viable today as it was when it was first released in 1968. Sure, the panel lines could be engraved, but it still looks great when finished. Coupled with the Starfighter resin cockpit and you have an awesome addition to your 'tweener collection. I have a few more F4B-4s in the stash, and one day I hope to try and fit the Starfighter cockpit into the Matchbox P-12E, since the two aircraft are basically the same.
|
|
Also add the Starfighter decals and you have a ton of potential for this venerable kit. Just don't assume it's not a viable model since it was released many, many eons ago. It builds into an awesome model with plenty of TLC.
Huge thanks to Starfighter for the resin cockpit and the decals.

