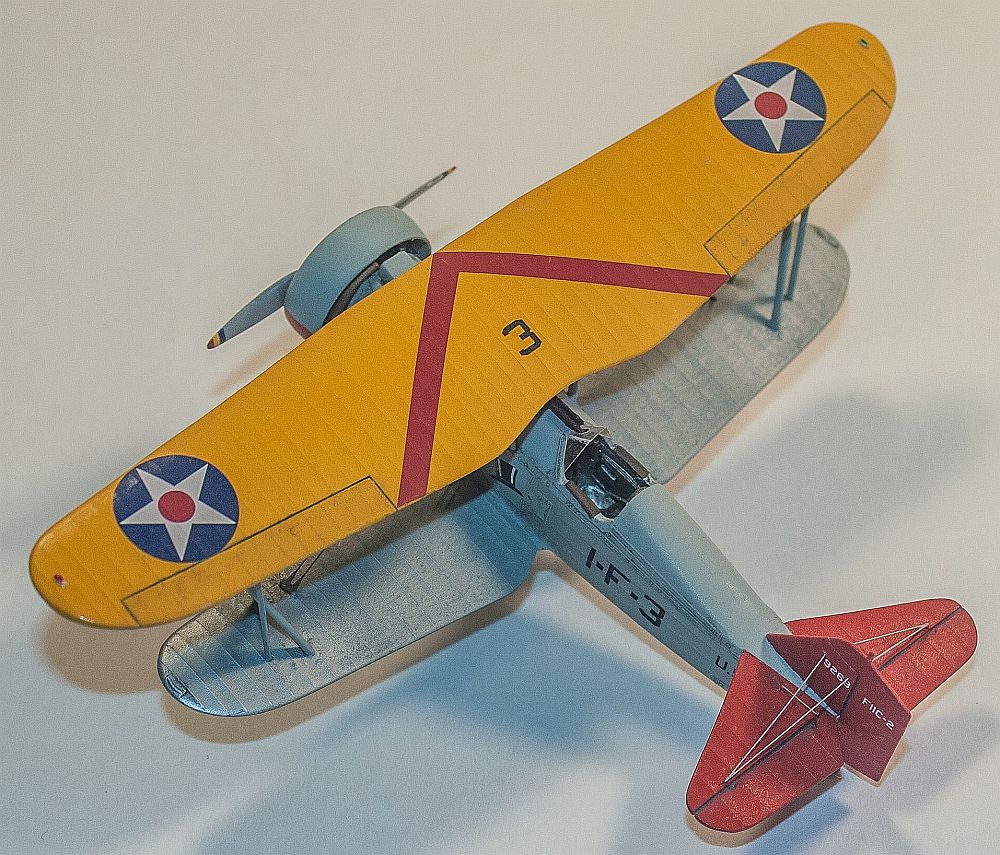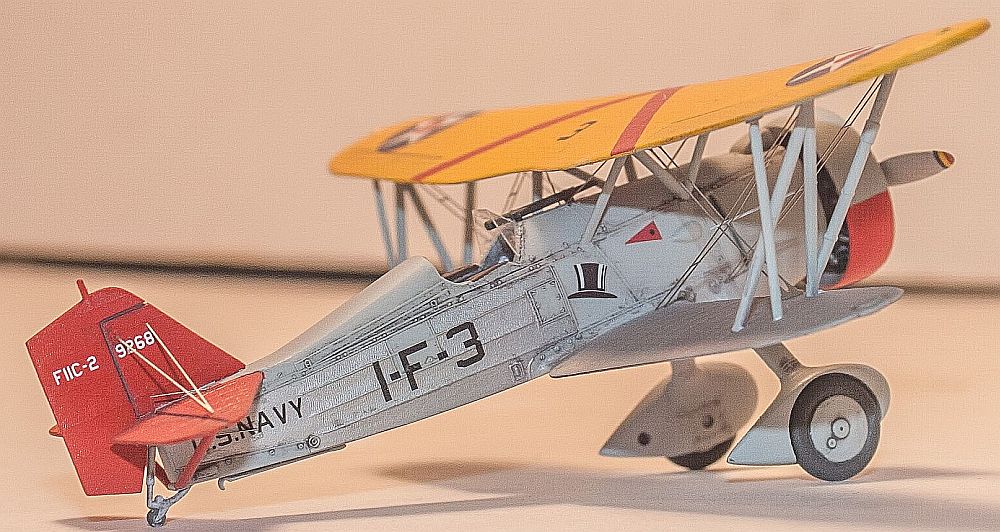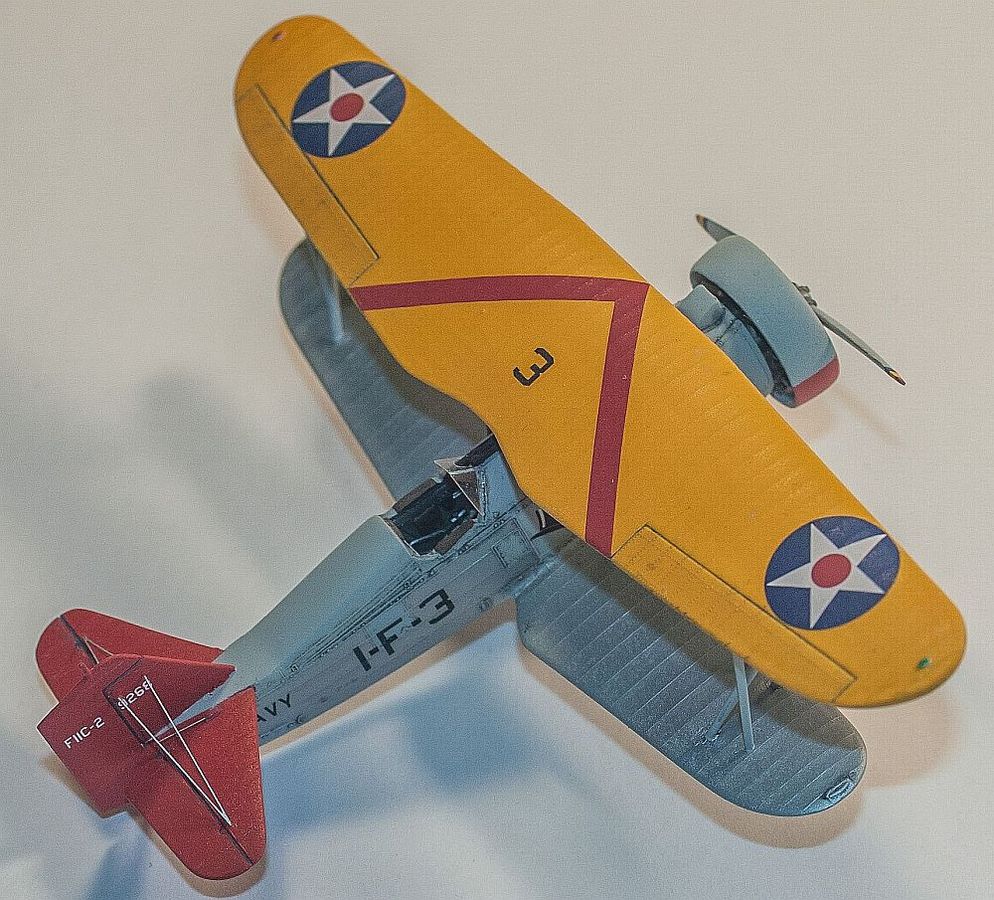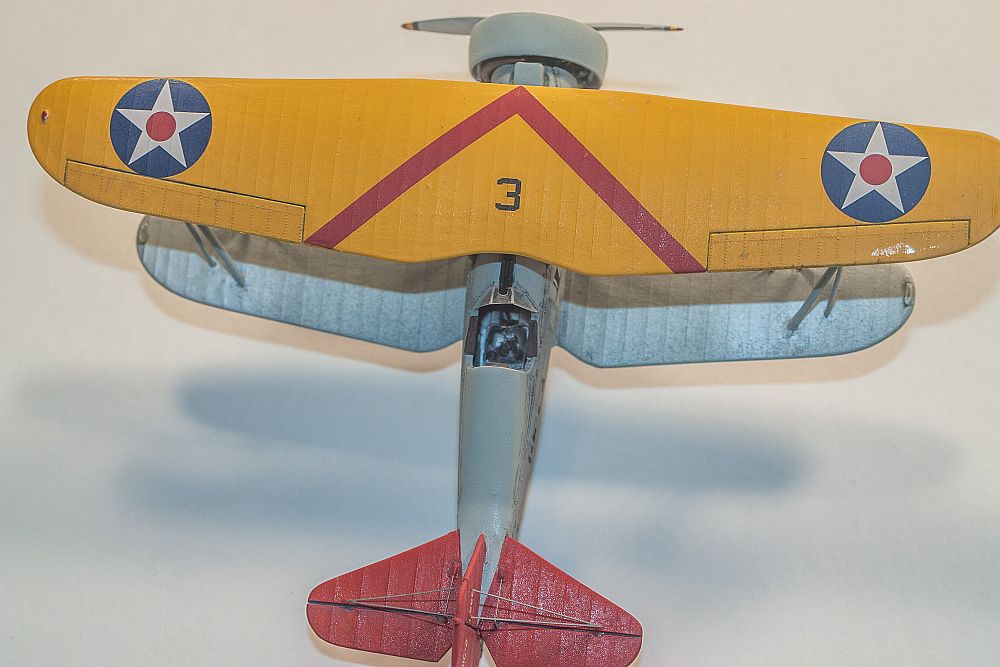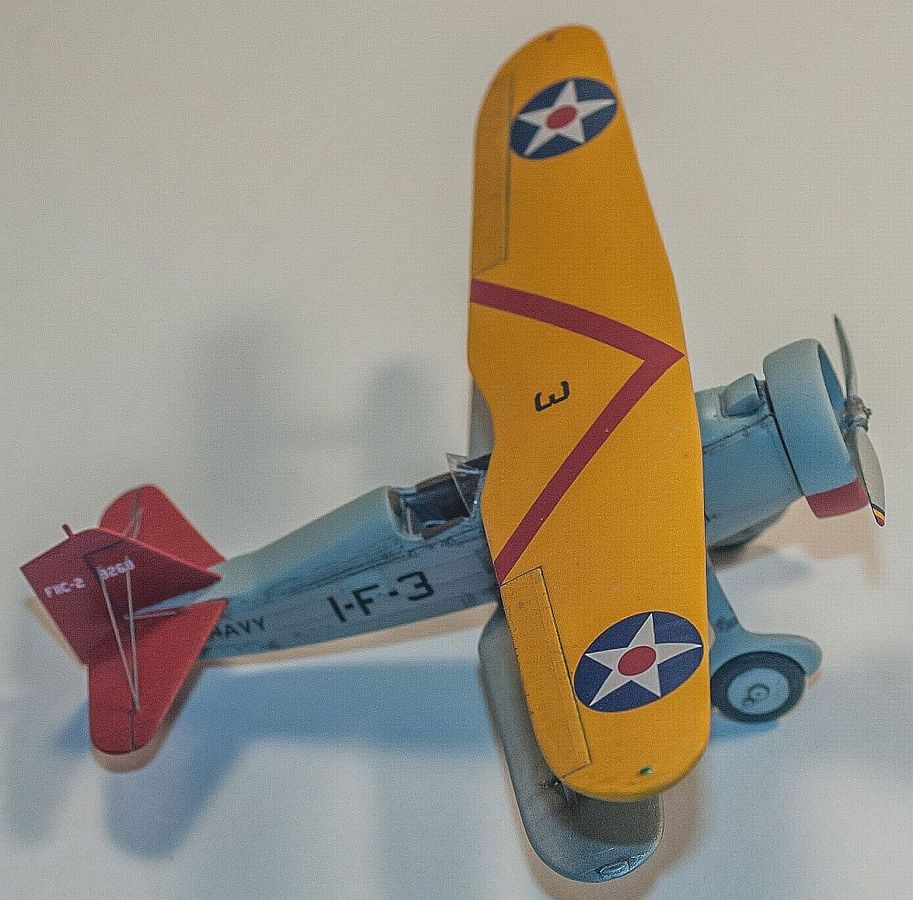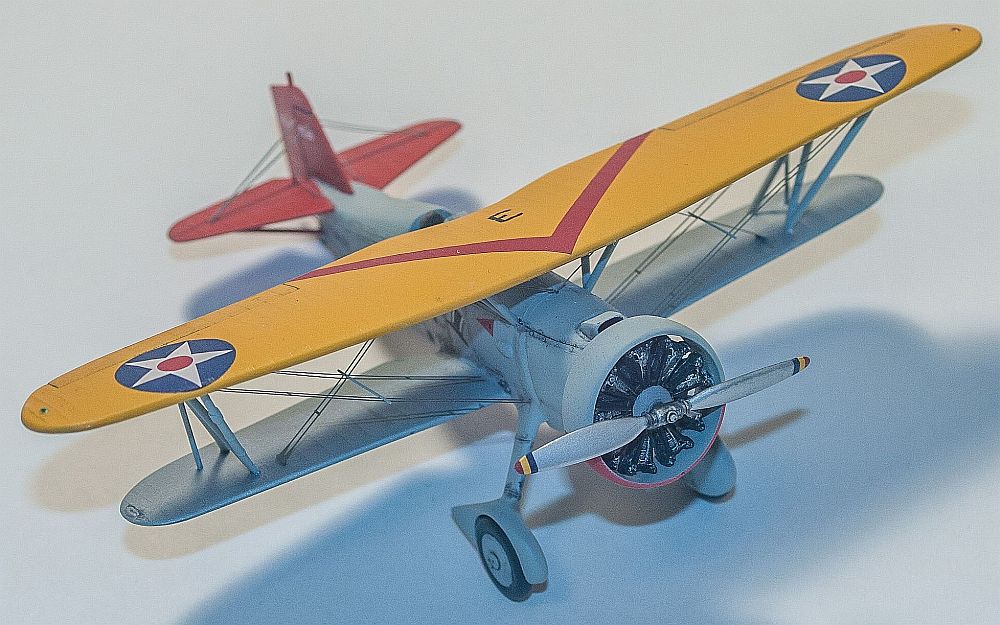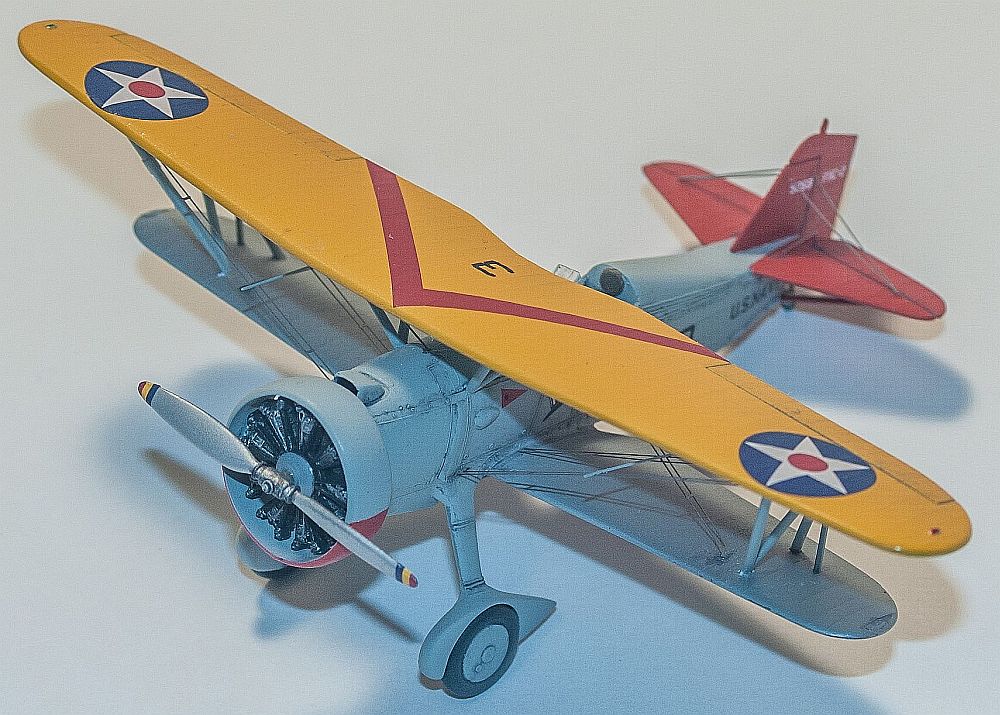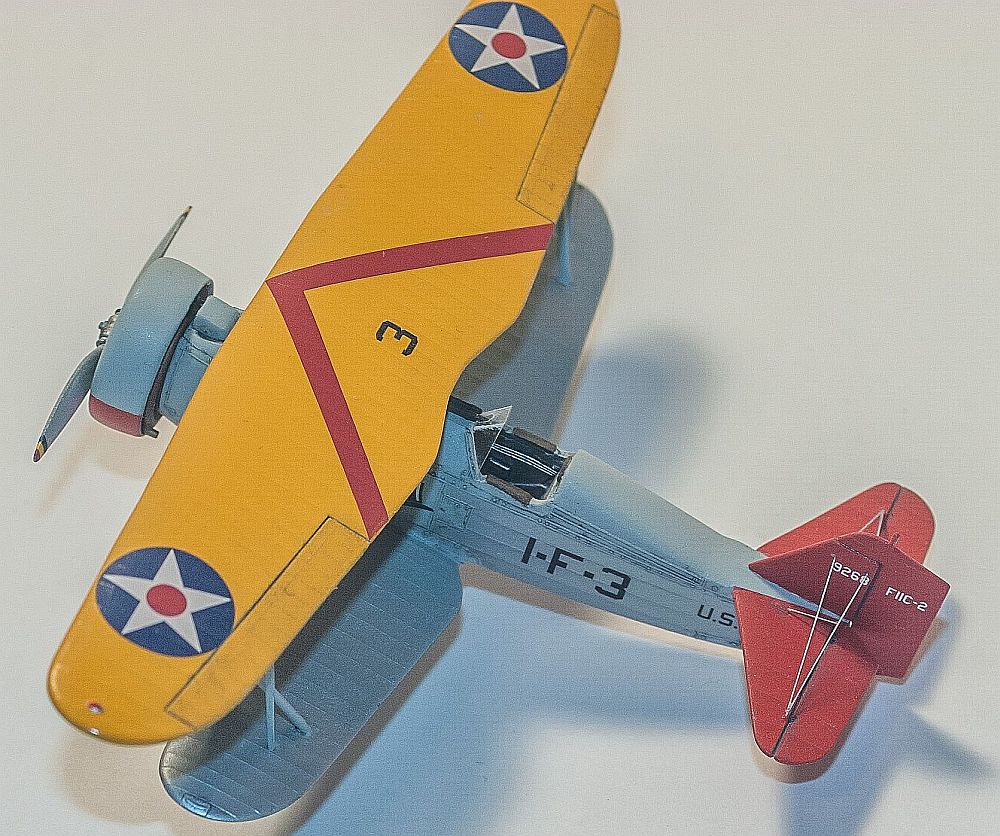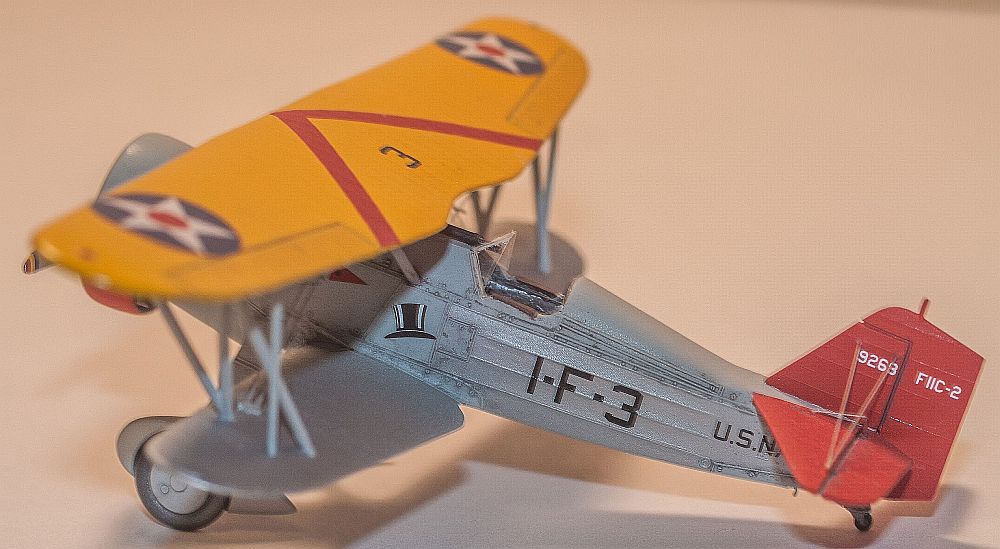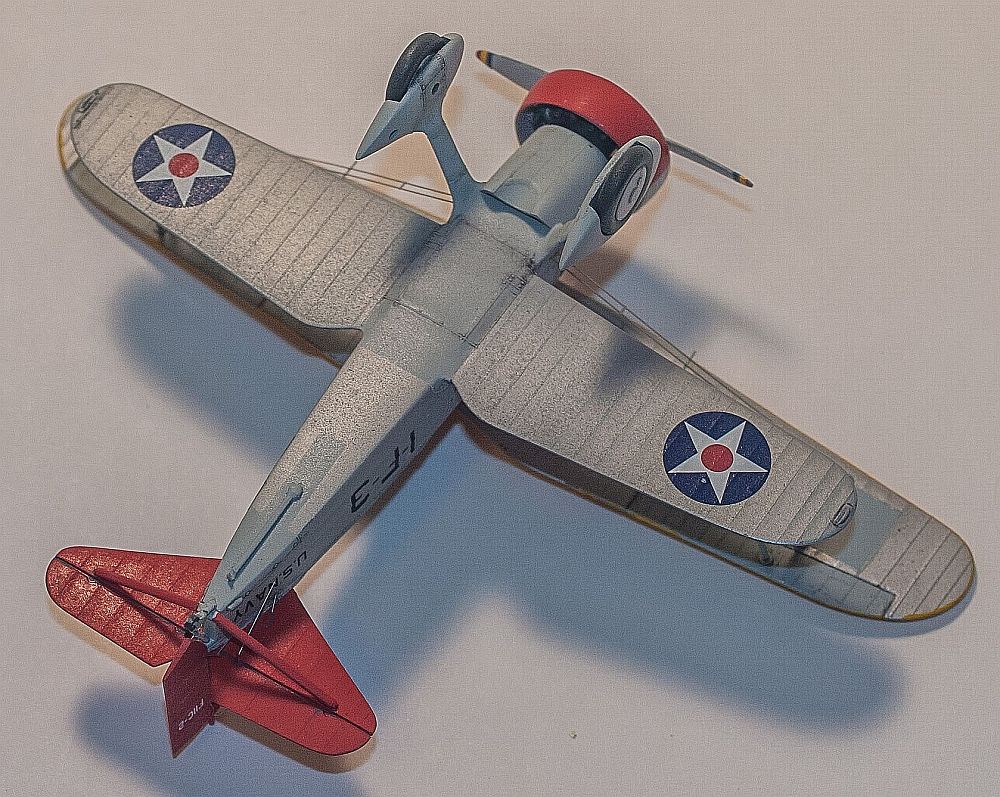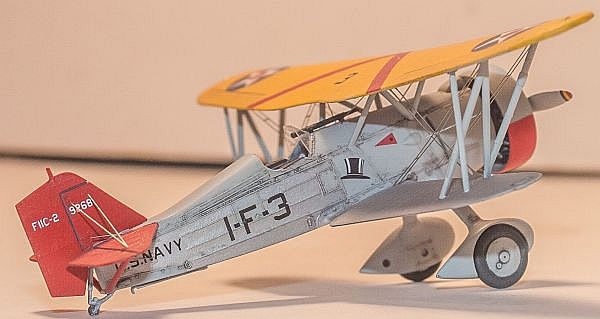
Monogram/Starfighter Decals 1/72 Curtiss F11C-2
By Matt Bittner
Introduction
The only squadrons to fly the Curtiss F11C-2 were VF-1B, the "High Hat Squadron" posted to USS Saratoga, and VF-6 assigned for a short time to USS Enterprise. There were only 28 F11C-2s produced and later in their life had a larger "turtle deck" added behind the cockpit and a sliding canopy installed (which was usually left open). With these modifications the type was used primarily as a dive bomber - instead of a fighter - and re-designated BFC-2. When this re-designation took place, the squadron VF-1B became first VB-2B then VB-3B.
|
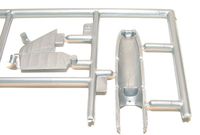
Starfighter Decals is known for creating excellent aftermarket for older Monogram kits. Not only have they released decals for the entire run of F11C-2/BFC-2s but also photoetch rigging and a cockpit set. In addition, Starfighter Decals released a cockpit/conversion set to change the Monogram F11C-2 into the BFC-2. Not too long ago, Starfighter Decals was able to come to an agreement and has re-released the Monogram kits with added Starfighter Decals' items. The BFC-2 re-release has not only the Monogram plastic but also the resin upgrade set, replacement decals and photoetch rigging/bomb racks. The F11C-2 release comes with the Monogram kit and replacement decals only.
I decided to "go all out" with this build and added Starfighter Decals' photoetch rigging and cockpit set to their re-release of the Monogram kit.
Construction
|
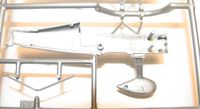
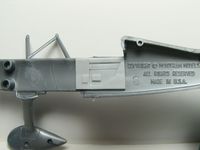
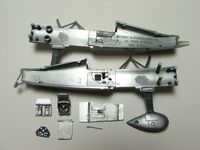
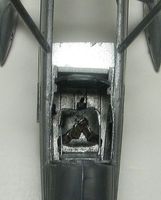
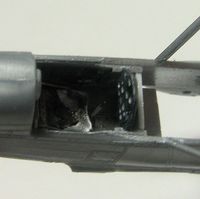
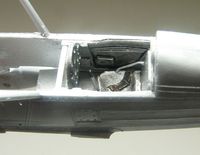
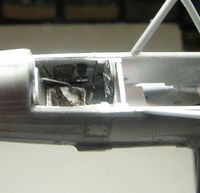
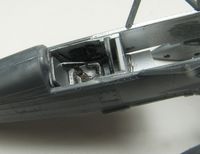
As with most aircraft models, construction started in the cockpit. However, as I was adding the resin cockpit, there were things that need to be accomplished prior to adding any of the resin pieces. First you need to remove the molded in "socket" the kit's pilot is attached to. You'll need to pay close attention to the instructions supplied with the resin as it shows measurements on where the resin sidewalls should be positioned, and how the rest of the cockpit pieces are placed after that.
One other modification I made to the fuselage was I hollowed out the intake on top of the fuselage that sits right behind the engine. This was an easy task of just taking a knife blade to hollow it out.
|
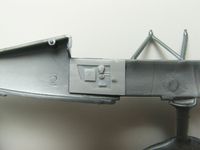
Now that I had the resin sidewalls attached I could paint. I sprayed Hawkeye Talon Aluminum (it's such a shame this is no longer produced) on all interior parts then detail painted. Once everything dried I glued it all in and glued together the fuselage halves.
There was a little bit of putty needed on the bottom seam but otherwise the fuselage halves went together well. When I installed the upper, forward fuselage decking I ran into a few more areas that needed putty, but this is where Perfect Plastic Putty (PPP) really shined. I applied the PPP direct into the seams and wiped it away with a damp brush, eliminating the seam. As my PPP article points out, this is the perfect type of application for the PPP. I tried to use it on the underside to blend parts in and while it "sort of" worked, I ended up having to follow up with regular putty. However, in all seams that just needed to be filled, PPP worked extremely well.
|
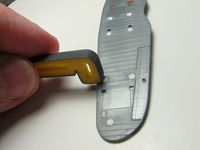
Unfortunately both wings have sink-marks on their underside surfaces, the worst being on the underside of the upper wing. The lower wing's were eliminated by sanding, but the upper wing took more to get into shape. I tried to sand them away, carefully, in-between the ribs, but they're so deep those areas became depressions between the ribs and it didn't look right. I ended up sanding the port (when looking from on top) section of the wing to get it better into shape, then when trying to figure out how to re-add the ribs and make them look close to how the rest of the wing looked, I stumbled upon Raised Panel Line decals (#AR88013) from Archer Transfers. They are thin lines of resin that are actually embedded within decal material. You apply them like a decal (which means you'll still want to have a gloss coat underneath) then paint as normal. However, as with decals, they may not take masking very well. If you're worried about masking over them then I would spray a coat of primer over them before masking.
|
Because I have plenty more Monogram F11C-2s to build and convert into BFC-2s I plan on taking one of the wings from an older kit, remove the ailerons and sand the entire lower surface smooth. I'll then add the Archer Transfers as ribs, prime, and see if I can get someone to resin cast them for me. Every single Monogram kit I have unfortunately suffer from these sink marks.
Now that the fuselage was all together I glued on the lower wing. PPP was again used in the upper wing-to-fuselage seams while regular putty was used to blend the lower wing to the fuselage. It wasn't a lot, just enough to blend it all together. I also glued on the landing gear because there were seams to deal with here as well.
|
I also glued on the tail pieces and dealt with those seams as well, prior to painting.
The only priming I did was to the top of the upper wing, before spraying Camel Yellow out of a Tamiya spray can. For the rest of the kit I applied paint direct to the plastic. This was after I washed the model first, though. I started applying the gray first, which was Xtracryclix ADC Grey, a very nice match to the grey used on US Navy 'tweeners. For the aluminum areas on the fuselage and wings I again used Talon Aluminum and the red was from Vallejo.
|
Once painting was finished I sprayed a coat of Future over the entire model getting it ready for the decals. I let that dry for two days before touching the model again; 24 hours is good start to let the Future cure, but I always let it dry for more than a day. I'm assured that with the humidity we have the Future is dry enough the model can be handled. The decals performed flawlessly and went down extremely well.
|
Now I was ready to finish this model. Since the center struts are molded in-situ with the upper, forward fuselage piece there were no concerns with those. However the interplane struts that go between the wings was another matter altogether. They weren't tall enough to go between the wings. Although it would probably be best to scratch new ones, I decided to just glue plastic tubing on the ends so they would meet up. It's a bit "kludgy" but it worked.
|
Since the upper wing was now on it was time to rig. With using the rigging set from Starfighter Decals you need to be ready to "fit and measure". Some rigging will snap right in place; others will take some finaggling to get right. The most difficult process was fitting rigging within rigging. Take your time and be sure the rigging you're fitting the others in is anchored well. Trust me on this. The Starfighter set takes care of most rigging; however, there is nothing in the set for the rudder and elevators so you'll need to source your own for that (I ended up using stainless steel .005" wire from Small Parts).
|
The rigging set does come with radio aerials. Unfortunately, for me, these were the biggest pains and in the end I couldn't get them to work (I'm sure due to my ham-fistedness and not anything to do with Starfighter). So, since the F11C-2 flew without these aerials I removed what I did have already attached and touched up the areas. One thing I will definitely do different with the next one is not rely on the "post" that is part of the photoetch aerials and will instead drill a post through the wing and use that instead. I think that should work better.
Conclusion
|
These older Monogram kits are still worthy of attention. Sure there is work involved - especially with the sink marks on the wings - but overall they're extremely nice kits even with the age. Couple the Monogram kit with everything Starfighter Decals has put out for it and you're on your way to an excellent model.
Huge, HUGE thanks to Starfighter Decals for everything, especially patience. When I ended creating my own messes he was kind enough to supply support and make suggestions. My apologies to him as well as I should have this finished last year.

