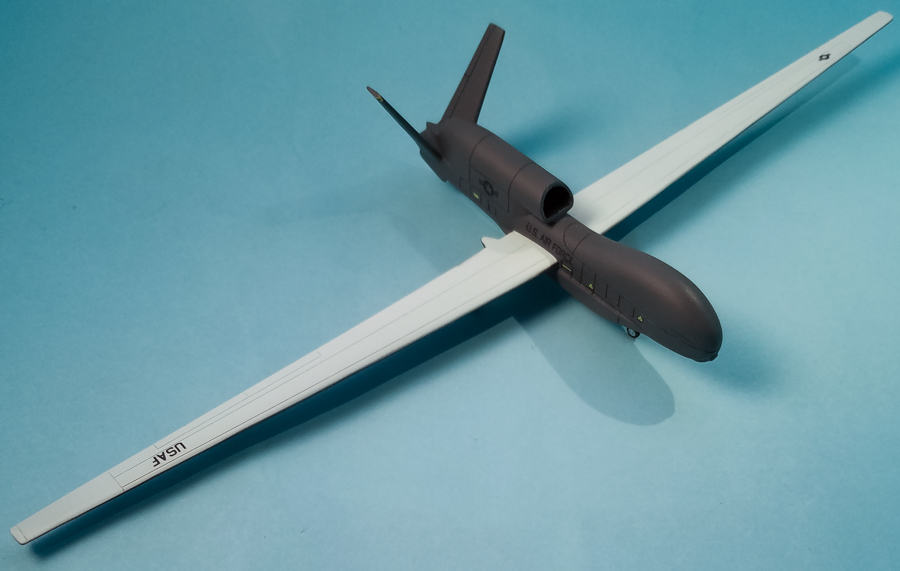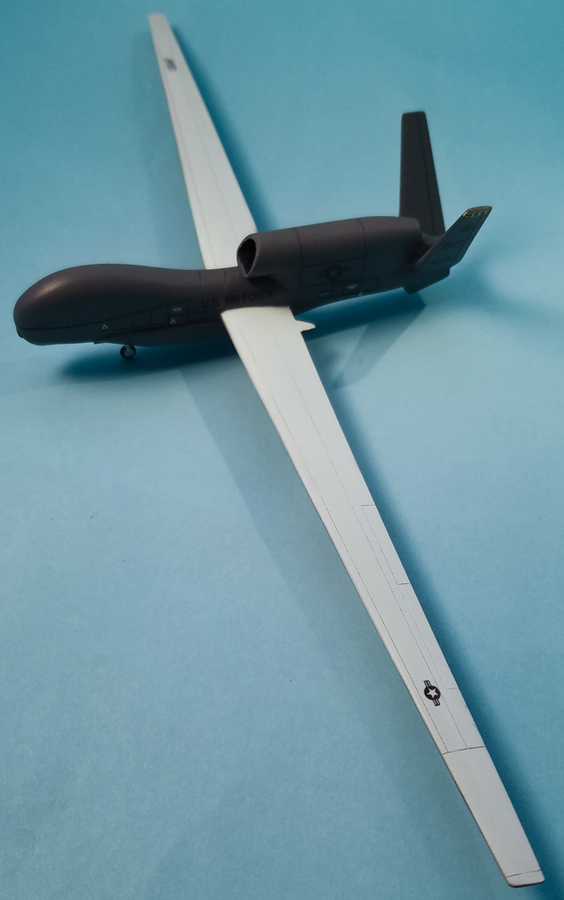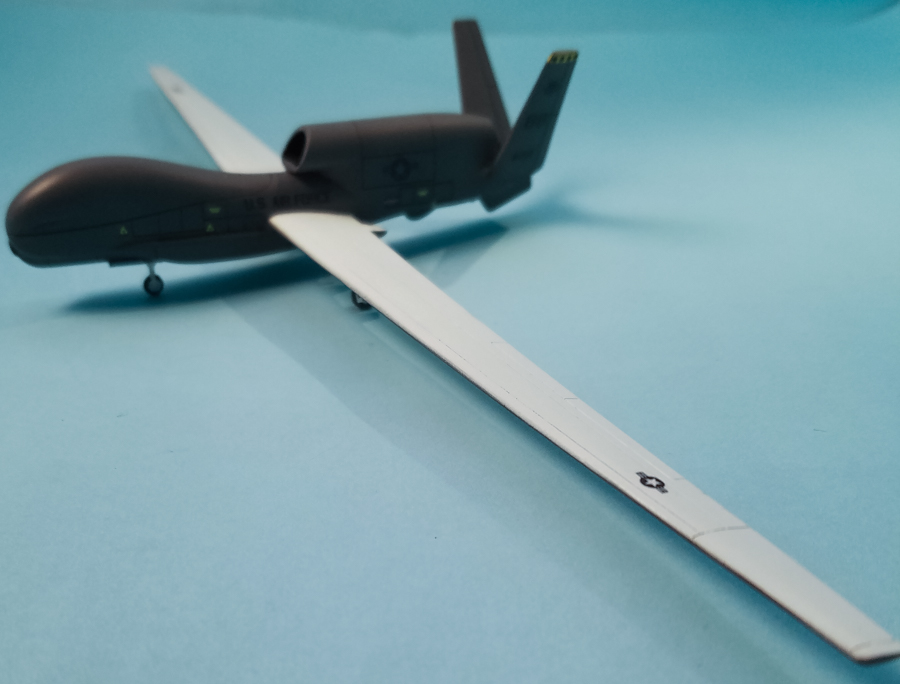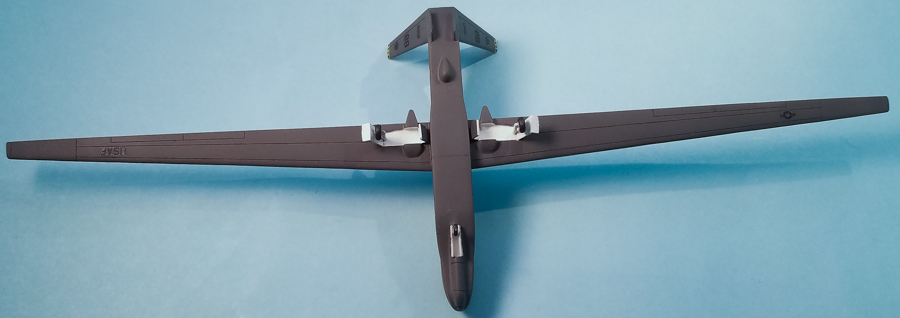
Miniwing 1/144 Northrop Grumman RQ-4 Global Hawk / USAF
By Matt Bittner
Introduction
Taken from Wikipedia:
"The Northrop Grumman RQ-4 Global Hawk is a high-altitude, remotely-piloted, surveillance aircraft. It was initially designed by Ryan Aeronautical (now part of Northrop Grumman), and known as Tier II+ during development. The Global Hawk performs duties similar to that of the Lockheed U-2. The RQ-4 provides a broad overview and systematic surveillance using high-resolution synthetic aperture radar (SAR) and long-range electro-optical/infrared (EO/IR) sensors with long loiter times over target areas. It can survey as much as 40,000 square miles (100,000 km2) of terrain a day, an area the size of South Korea or Iceland.
"The Global Hawk is operated by the United States Air Force (USAF). It is used as a High-Altitude Long Endurance platform covering the spectrum of intelligence collection capability to support forces in worldwide military operations. According to the USAF, the superior surveillance capabilities of the aircraft allow more precise weapons targeting and better protection of friendly forces. Cost overruns led to the original plan to acquire 63 aircraft being cut to 45, and to a 2013 proposal to mothball the 21 Block 30 signals intelligence variants. The initial flyaway cost of each of the first 10 aircraft was US$10 million in 1994. By 2001 this had risen to US$60.9 million, and then to $131.4 million (flyaway cost) in 2013. The U.S. Navy has developed the Global Hawk into the MQ-4C Triton maritime surveillance platform."
|
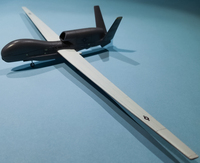
The last time I finished a model was in December 2017. Since then I have had many life changes and events, some good, some bad. This kit was started not long after it was acquired in 2017 so it's due to those events why I took so long to finish it.
The Kit
I wrote a First Look on the kits back in August 2017 so refer to that article to see what's in the "bag". In that article I mentioned the first one I build will be out-of-the-"bag", and that's how I finished this kit.
Construction
Actual construction isn't difficult but I must admit I didn't take good notes so everything I type here is based on an old-man's memory (OMM). Be aware that after you glue the faux engine-blade into one fuselage half, there are gaps so if you peer very closely into the intake or exhaust of the engine, you'll see light at the end of the tunnel. Not a lot, but some so you might want to fill around the faux blades' edges.
Follow Miniwing's instructions and add at least one gram of weight to the nose.
|
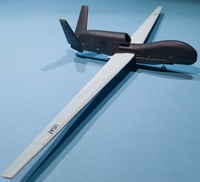
There are some things that could be done to make it appear more "to scale". The intake lip could be thinned, the underside strakes could be thinned, along with either thinning the landing gear doors or replacing them with thinner material.
I had problems with two seams: the very top of the engine nacelle and the very bottom, aft fuselage. The top one was just applying a smidge more putty to even out. The bottom I'm not so sure about what happened and it took a plenty of putty and "elbow grease" to make that area presentable. It was probably all on me as I haven't read any others having this issue.
Another issue I had was blending the tail pieces to the fuselage. Just take your time and you'll have something presentable.
|
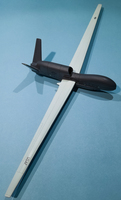
Speaking of the underside strake, remember to add them. I didn't and had to add them after the first round of primer.
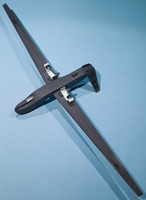
And speaking of primer, I used a new-one-to-me on this model, Vallejo's "rattle can" Hobby Paint White on it and wasn't impressed. I'm sure the initial coat was something I was doing wrong (I haven't used a can of paint in years before this) but it came out grainy and I had to sand that away. But in sanding the paint also made it tacky and it never dried. The only thing that stopped its tackiness was to spray another paint over it, in this case Vallejo's Model Air White. I initially picked up the cans of paint because I was in an environment I couldn't set up nor use my airbrush.
|
Aside from the Vallejo White I also used Polly Scale US Gunship Gray. The model was then sprayed with Vallejo Premium Gloss Varnish, decals applied then a coat of Future was sprayed on top of that. The gray panel lines were highlighted using Vallejo Dark Grey Model Wash. I didn't want to do anything to the panel lines on top of the wing because anything against white would be too stark in the scale and I think the shadows of the panel lines work well.
I finished it with a coat of Polly Scale Semi-Gloss.
Conclusion
This is not a difficuilt build. Be aware there are a lot of antennas on a Global Hawk that Miniwing doesn't provide so be sure to find a photo of your airframe to ensure what and where those antennas are. As I wanted this to be strictly out of the "bag" I didn't add them.
|
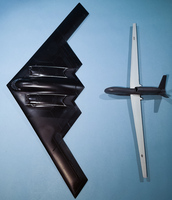
I didn't realize just how large a Global Hawk is, so I include the photo of it and a Revell B-2 I've been working on for size comparison.
I definitely thank Miniwing for the review kit. Aside from the long gestation of the build, it was fun!

