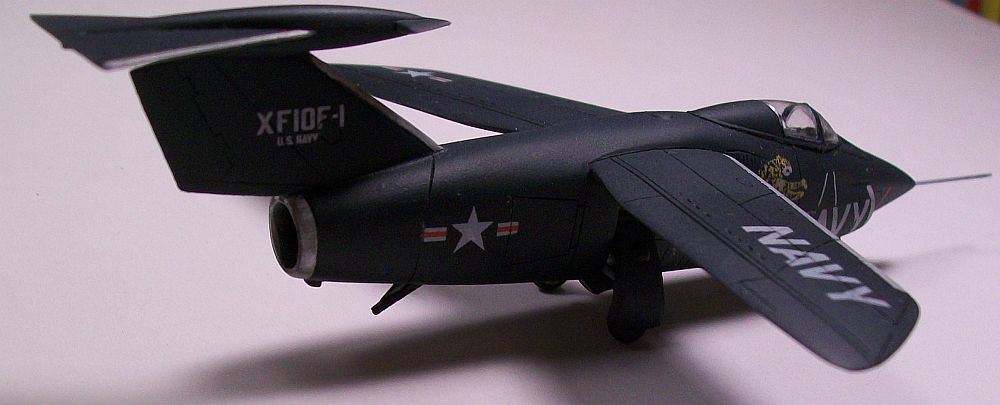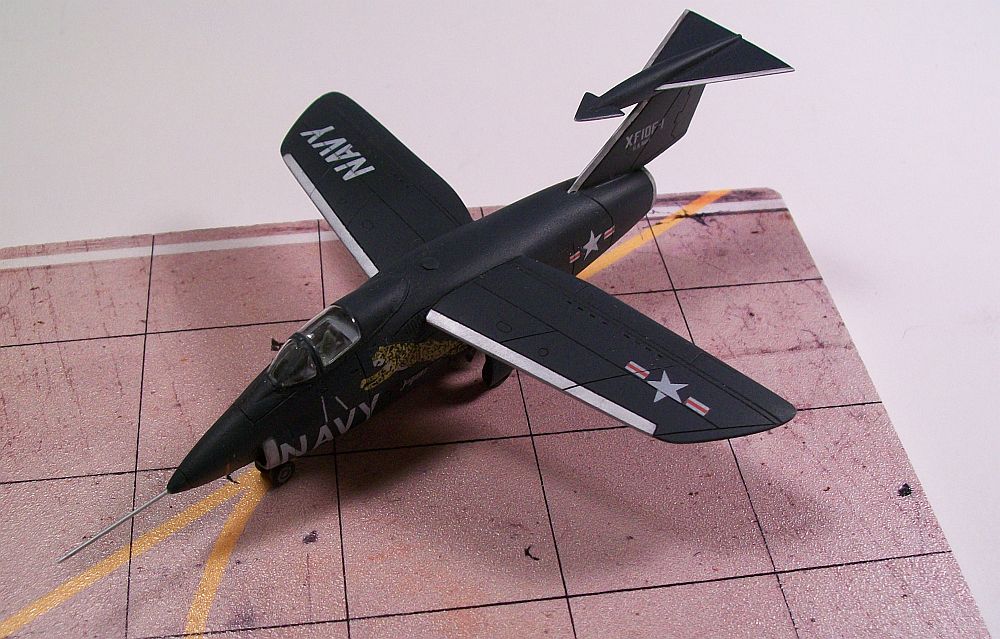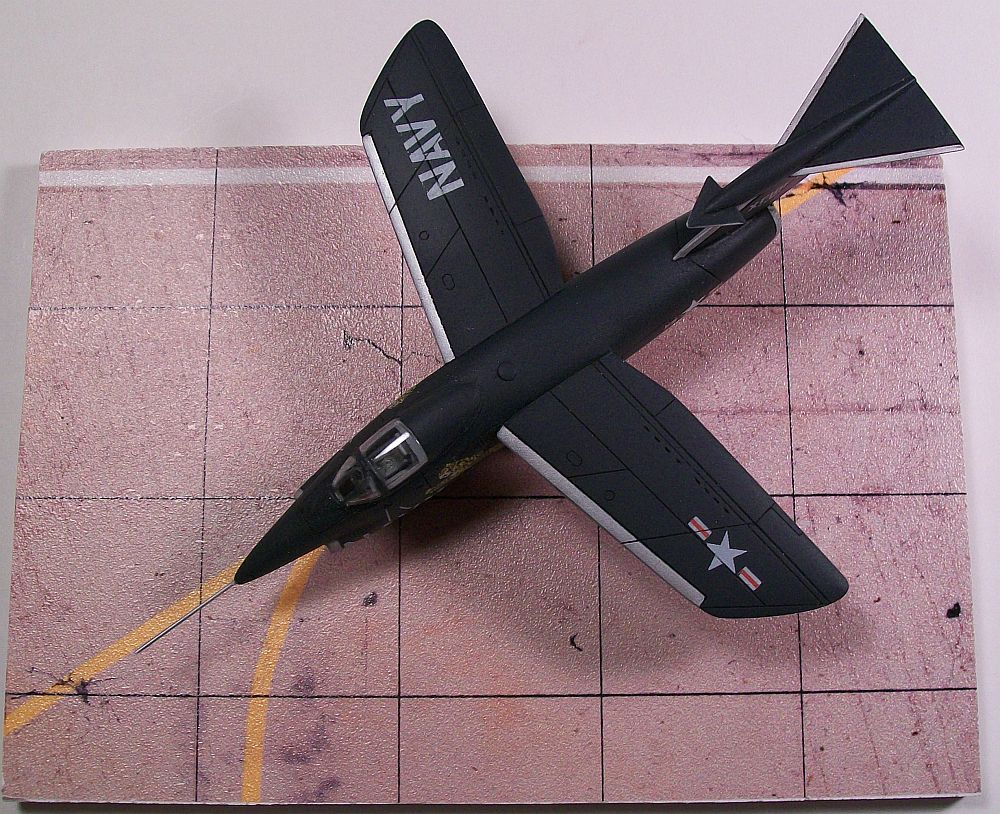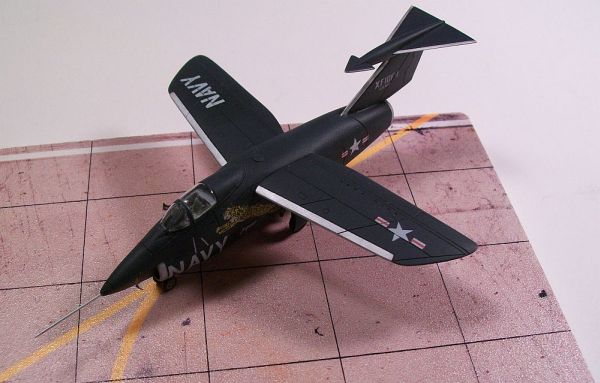
Miniwing 1/144 Grumman XF10F-1 "Jaguar"
By Matt Bittner
Introduction
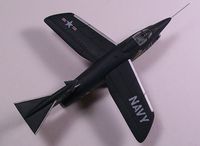 The Grumman XF10F-1 Jaguar was the United States (U.S.) Navy's (USN) first foray into a design that used variable-geometry wings. While it never did enter production, it did cement the need for a variable-geometry winged aircraft that could operate from aircraft carriers. This would help with the small space available on top of a carrier.
Unfortunately the Jaguar was underpowered and not very reliable. In addition, there were other things wrong with the design that after about 32 test flights, the entire program - and the order for production aircraft - was cancelled. Another unique item about the Jaguar was there was only one test pilot that ever flew it. You can find out the contents of what comes in the Miniwing box by reading my First Look.
Construction
 Since there isn't a lot to this kit, it shouldn't take long to build. Unless, like me, you try to finish the model with being able to swap both the straight and swept wing. I just couldn't get it to work, so in the end I opted to glue on the straight wing and be done with it.
There isn't a lot to the cockpit; the only thing provided by Miniwing is a seat and decals to represent the instrument panel and the "cushion and seat belts" for the supplied seat. I painted the cockpit gray, with the front of it black (since it's a blank "wall" with no opening "under" the instrument panel) and added the decal instrument panel. I did add a control stick to make the cockpit a little busier. Since I was closing the canopy, I decided not to add anything else.
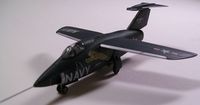 From here, since the wing was already on, I added the one-piece tail. Be sure to use "something" to get this area straight. I lined up the front, smaller "wings" with the rudder/fin, which resulted in the trailing edge of the tail not being straight (which was pointed out to me by another modeler, and which I had to sand straight after painting). Once that was glued, I then cut/sanded the vacuum-formed canopy, masked it, and then glued it to the fuselage. Now it was ready for paint.
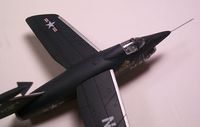 I first painted the model with Alclad gray primer. After drying, I then sprayed the natural metal leading edges with Alclad aluminum and once those were dried, were masked. The next coat was an application of Model Master Blue. The masks were removed from the leading edges and Future was applied. Once cured (I let Future cure for at least two days) I started adding the decals. Here is where things started to go wrong, primarily because of my ham-fistedness. Remember the decals are ALPS generated. One thing I neglected to do was to spray the decals first (while still on the sheet) with a thin coat of Future. That helps with keeping fingers, tweezers and scissors from harming the decal images. Once on the model, and before you do anything else (like add undercarriage), spray Future (or whatever you use for a gloss coat) over the decals on the model prior to handling. This should help with keeping the decal intact. And something I should have followed. I decided to add the undercarriage before spraying Future, and ruined the side and wings' undersurface stars-and-bars. I had to source them from another Miniwing model, since there are no aftermarket USN '50s national markings.
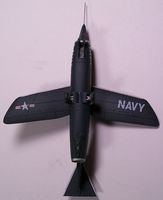 One important note. There are two decals on the sheet labeled "13" I couldn't figure out. After contacting Miniwing, he told me these decals are to be used on the inside surface of both main wheels.
Now that the undercarriage and nose-probe (provided by Miniwing as a piece of plastic rod) was on and Future sprayed (a couple of times) I added a black oil wash to all panel lines. Once that dried I sprayed Vallejo Matt Varnish over the entire model and removed the canopy masks. I now have a finished 1/144 XF10F-1 Jaguar.
Unfortunately, again after it was all together and painted, the same modeler that saw the discrepancy in the horizontal tail also noticed a slight bend in the resin fuselage. Oh well, it was too late - and the resin too thick - to do anything about it, but it's only noticeable when you have something "straight" to view it against.
Note that the last two photographs were of the Miniwing model taken on one of the superlative bases put out by Steel Scorpion.
Conclusion
 The Miniwing 1/144 Grumman XF10F-1 Jaguar is not a difficult kit to build. Keep a watch out for any bends in the fuselage and you'll have an excellent rendition of this '50s experimental jet. One other thing to be aware of. With the straight wing and all pieces on, this model has a near-perfect center-of-gravity. That means if you happen to bump the tail of the model, it will sit on its tail. Or, if you place it on the nose gear it will sit correctly. I suspect with the swept-wing glued on, this model could be a tail sitter. A way around it would be to hollow the area where the exhaust is, and glue on a better representative exhaust.
Many, many thanks to Miniwing for giving me the opportunity to review this model.

