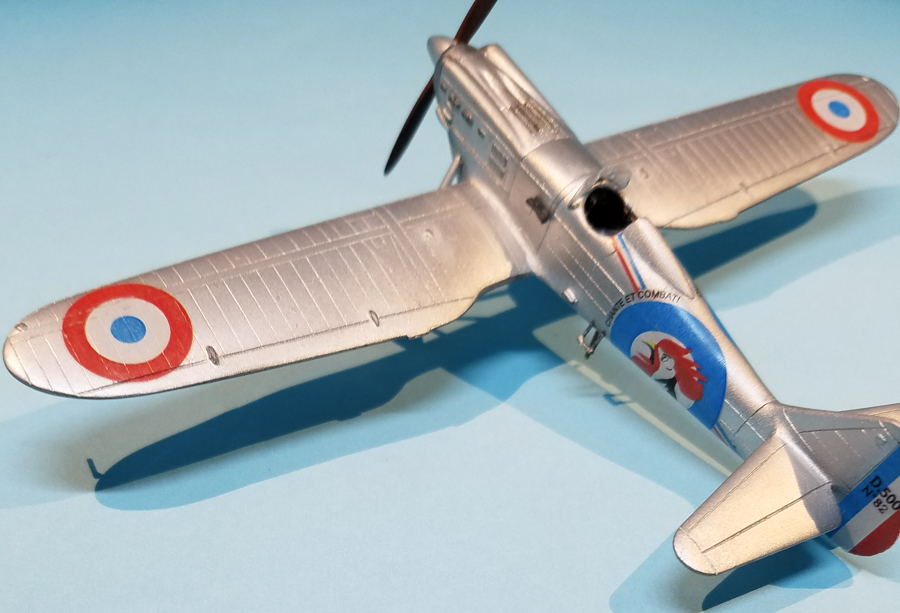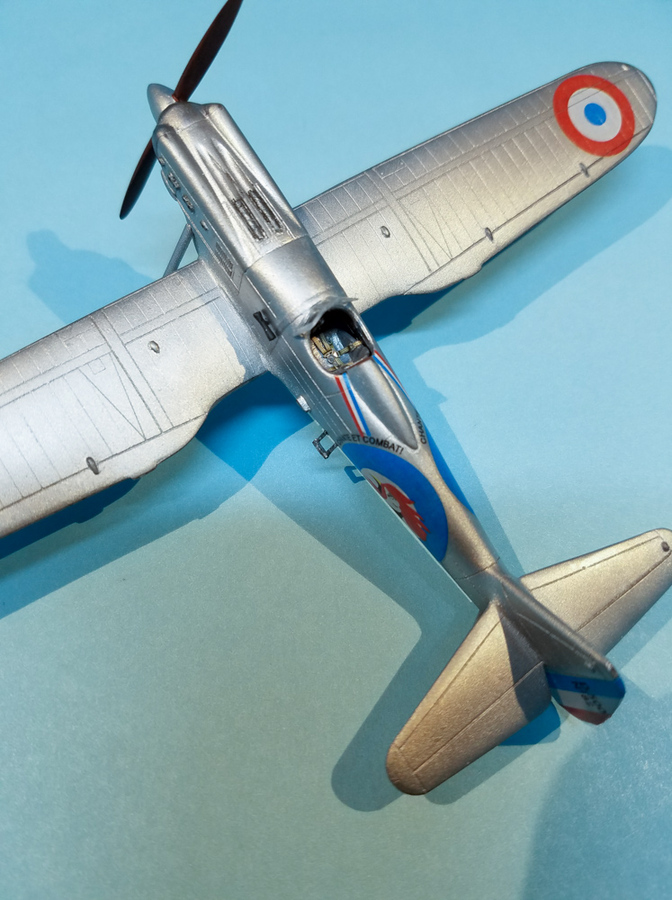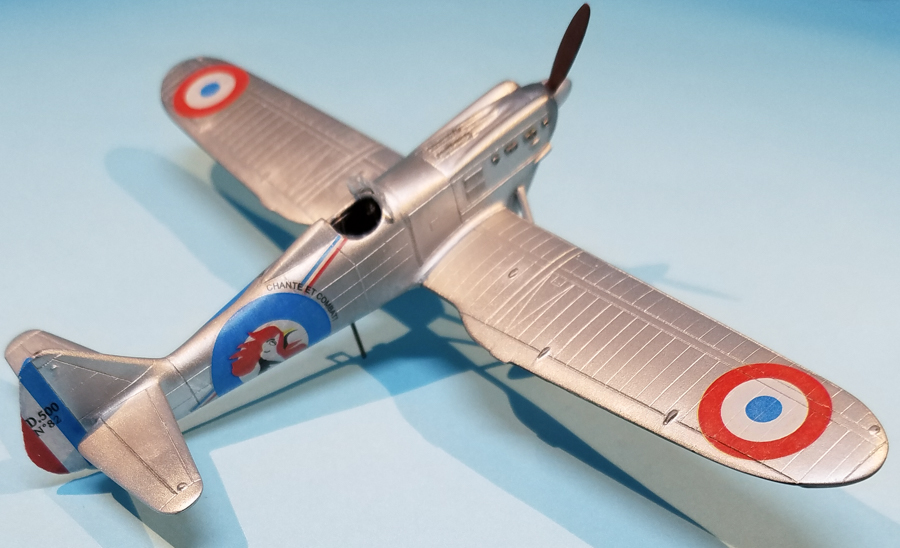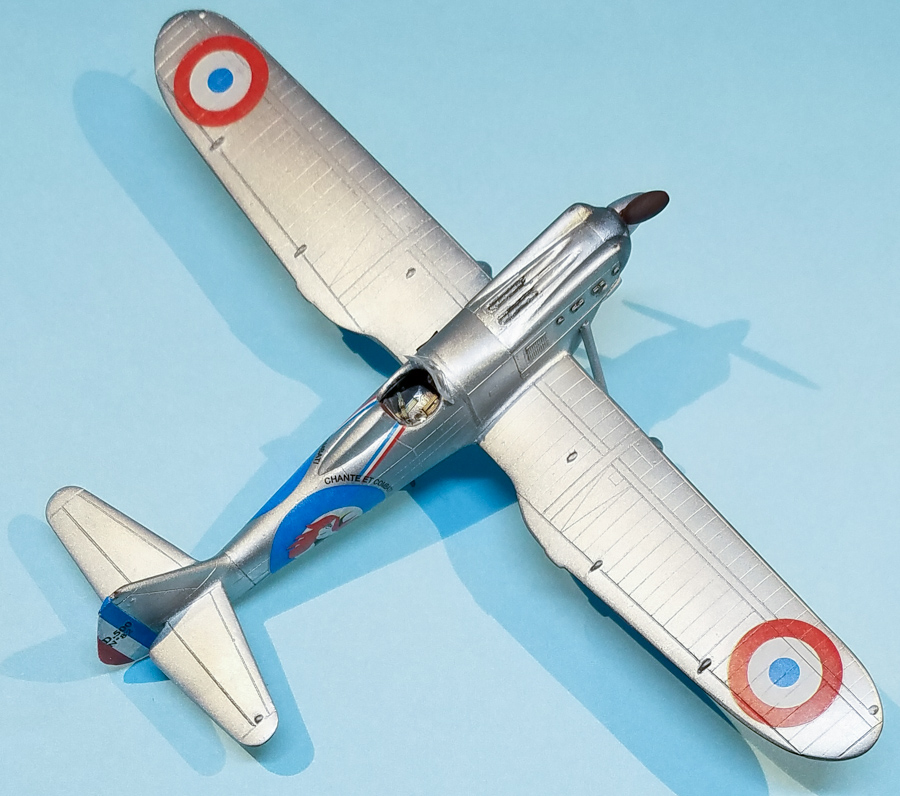
Kovozávody Prostějov 1/72 Dewoitine D.500
By Matt Bittner
Introduction
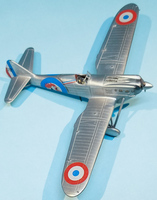
There have been three kit manufacturers - that I know of - that have released a Dewoitine D.5xx series aircraft (D.500, D.501 and D.510). Classic Plane came out with a vaccuum-formed D.510; Heller released the entire series in injected plastic; and Pavla also released a D.510. Now we have a fourth, from Kovozávody Prostějov (KP) and they too have released all three versions of this early, monoplane fighter.
|
As with some KP models, the truth lies in the building. Out-of-the-box (OotB) the model looks very nicely done, with only a few panel lines that need touch-up. Cockpit detail looks decent but if you want to read what's in the box, then read my First Look on the D.500.
I find the Dewoitine D.5xx series of aircraft to be beautiful. With the majority of them being finished (or left) overall in aluminum, and the continuation of the World War I French Escadrille emblems on the sides of the aircraft, they are truly a joy to look at. That can't be said for all French between-the-war (what I call 'tweeners) aircraft.
Construction
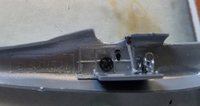
Naturally construction starts with the cockpit. OotB it seems very nice with the inclusion of decal seat belts. However, since I still can't find a concensus of what color to actually paint the model's cockpit, I decided on finishing it overall in aluminum with a black conrol stick-top and instrument panel. I also painted the "wheel" on the cockpit side black, but be aware you will not be able to close the fuselage halves with that wheel in place. That is a shame, but the lack of that wheel will only be noticeable to those who truly know this aircraft.
|
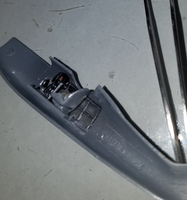
Two other unfortunates are the control stick is too tall OotB (which is easily cut down) and the decal seat belts refused to conform to the seat for me. As I was trying to position them in their correct positions the decals shattered. But this was a blessing in disguise as the photoetch seat belts I used from Eduard are far more convincing than the decals. All I had to do was cut a hole in the back of the kit's seat and add the photoetch, pre-painted belts.
|
Yahu has recently released a photoetch instrument panel for the "international" version of the D.510. Why they haven't yet released a panel for the D.500/501 is beyond me. With the open cockpit that is truly something that is missing.
Before I proceeded with the rest of construction I chamfered the inner edges of both fuselage halves. That ensured that I had no seams to fill, once I glued the fuselage halves together (and of course, after I glued the cockpit and instrument panel into the starboard fuselage half).
|
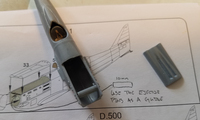
Now it was time to glue the upper nose piece on. Pay attention here as there are different kits parts for either the D.500 or D.501. One thing I did, after a dry fit of the nose piece, was to insert a piece of sprue, 10mm long, using the ejector pins as guides for where to glue it in. This ensured that there wasn't a step between the fuselage and the upper nose, and it helped close the gap. Even so, there was still putty to apply in this area. After the front of the nose was added, it too needed blending help with putty. I did drill out the small intakes on the nose, which helps bring the kit more to life. In addition, there is another "hole" on the underside of the nose which was also drilled out.
While the next step in the instructions has you glue the wing halves together (each wing has an upper and lower piece) in all actuality I was doing this at the same time as other construction. One thing to watch for here, though, is you will need to scrape and/or sand the trailing-edge mating surfaces on both halves to get the wing halves to glue together without a step. There was a lot of plastic to remove, truth be told. Even with the step being eliminated, where the halves meet together toward the trailing edge still needed plenty of putty to blend it all together. This is definitely one of the worst fitting areas of the kit. In addition, a couple of the molded-on aileron hinges weren't molded completely so I had to build those up with putty as well. I could have - and maybe should have - replaced them with scratched parts, but decided to make due with what the kit offered.
|
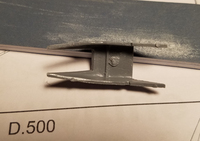
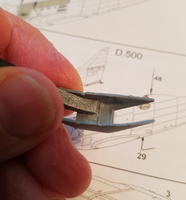
Now it's time to build the radiator which consists of four parts. Here's where I needed to remove one of the ejector pins, as it would have been seen. First I scraped as much as I could with a blade, then I went in with one of my Hobby Elements bent tip files to clean it up. That worked wonderfully. Unfortunately I glued the front louvers in a little crooked so be careful when you glue yours.
|
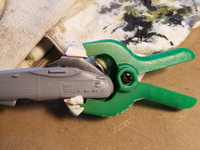
Once completely assembled I sprayed black on the inside before gluing it to the assembled fuselage. Unfortunately the radiator doesn't fit very well and I tried to help by taping sanding paper to the fuselage and slowly rubbing the radiator on that to get the fit better. It did work, but only to a limited degree. I still had a lot to fill in this area.
|
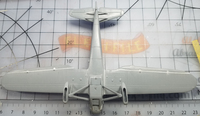
Now that all of the fuselage was together I turned my attention to gluing on the wings. I was able to get the port wing on with minimal putty, but I had difficulty with the starboard wing and it required more putty to blend it with the fuselage. I also glued on the horizontal tail pieces with using only minimal putty. I then attached the underside struts to this area, having to replace one as I lost it while sanding.
Oh yeah, that's another thing. Most parts have the residual mold seam line you will need to remove. Take your time and be patient, and try not to have one of the parts spring into never-never-land.
|
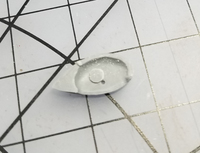
Prior to moving on to the landing gear, you'll notice the inside of the spats also have ejector pins that need removing, otherwise the wheel won't fit. Since I had painted the tires/wheels prior to this step, I knew I wanted to keep them off the model until the very end.
|
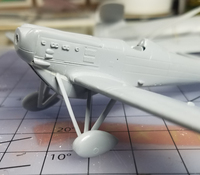
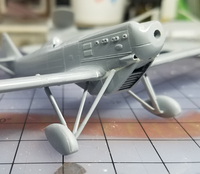
Now attention turned towards the landing gear. Since I had bad seams to deal with on the radiator-to-fuselage joint I had to re-drill the areas where the rear of the main strut would fit. This took a few times until I had a hole large enough to fit the strut's end. The nose-part of the main strut was just glued on using CA so ensure your angle is correct before the glue sets. Now the external strut and glued-together spats were added to the area. It took me a few times until I had the spats looking correct, and I still think there's something slightly off with them. Ah well.
|
|
Since the model is mostly together, it was time to spray. I pushed facial tissue into the cockpit opening to prevent overspray, and used the Peewit masks on the kit's clear windscreen The entire model was then sprayed overall with True Earth's Slick Primer. Once that had dried I sprayed True Earth's Silver Alu. I have found True Earth's "W Metals" to be the best acrylic metallic paints, and I've used a few. Once dry it was time to apply decals.

|
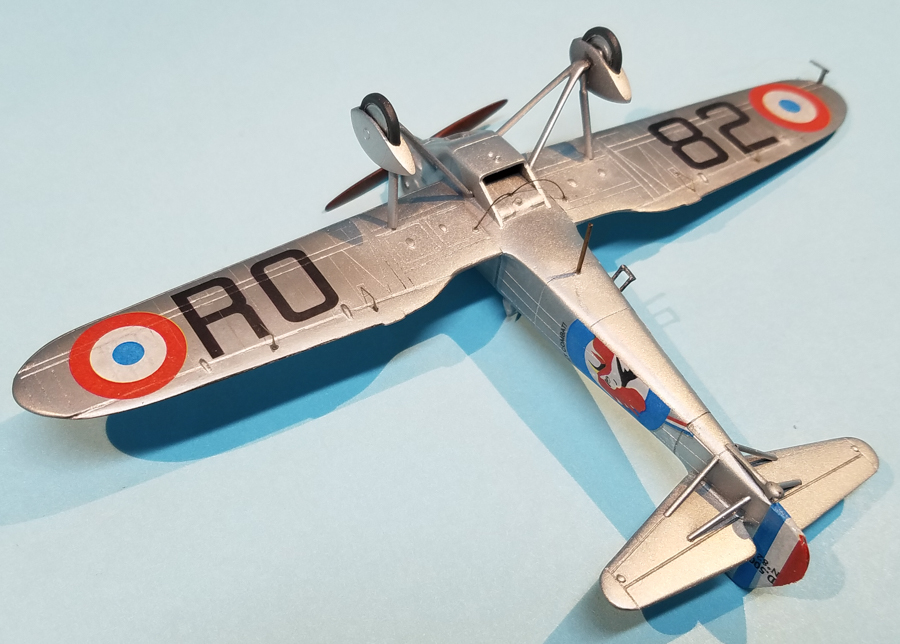
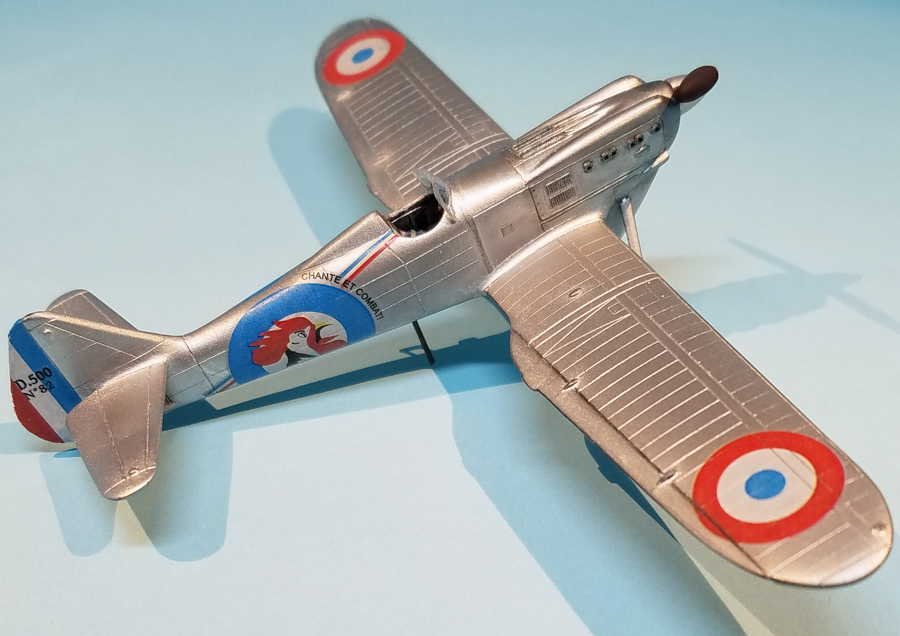
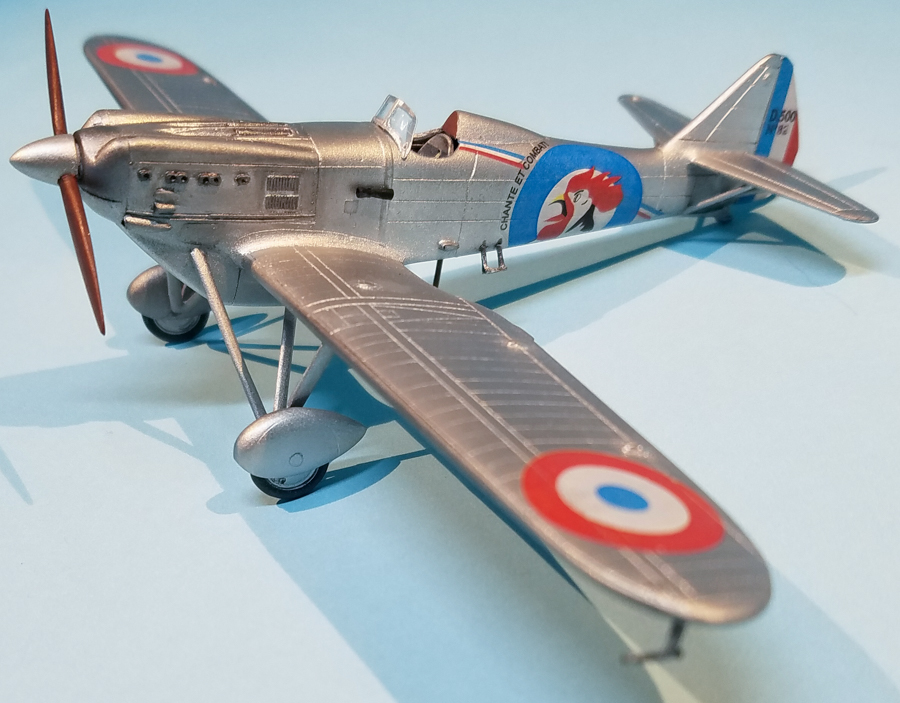
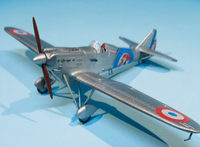
At first I was going to use a kit scheme, but when the rudder decal I was applying shattered while trying to move it around, I decided to use the LF Models decals I had instead, and opted for the 2e escadrille GC 1/1 markings, with the large rooster on the side, flown by Lt-colonel de Turenne. Unfortunately the decals are a little translucent and this was very obvious when trying to fit the rooster decal over the blue/white/red stripe decal. In addition, it took mulitiple applications of multiple decal softening agents to get them to snuggle down, and there are still a few areas that aren't settled completely. I ended up brush painting some of the Silver Alu over the stripe that would lie under the rooster, multiple times. It's not perfect but it will do.
|
Now it was time to glue everything together. KP provides the top antenna and the bottom antenna "folded". Since the machine I modeled only had the bottom antenna permanently out, I used the top antenna on the underside. Unfortunately I broke this at some point at the end of construction and actually ended up using brass Strutz for the antenna instead, which makes it a lot stronger.
I attached both the propeller/spinner to the fuselage with Blu Tack, as well as used Blu Tack to attach the wheels inside the spats. No idea how long it will last, but it allowed me to play with the position of the wheels so the model sat "straight".

|
I added the fuel hoses - that lead from the central gas tank near the radiator to the wing fuel cells - out of wire, which doesn't appear thick enough, now that I look at the photos. I also added the aileron control horns and rigging from the Steelwork "Linkages" package, suitably cut to size.
There is no final coat over the model opting for the sheen of the paints. The only weathering I did was on the cowl, and that was using different types of True Earth's Metal Liners. I like how it came out.
Conclusion
There are still a couple of things I need to accomplish, like paint the lights on the wing tips first chrome, and then use the Tamiya clear red and green on top, as well as apply the radio antenna wires on the underside, but overall I'm pleased. Well, except for one aspect. I really don't like the kit's clear, plastic windscreen with it being not only thick, but also very "Coke-bottle like" in its clear-ness. I definitely want to replace that at some point, along with the pilot's step and pitot under the port wing. But the model is complete and looks decent. It just took a long time to get there.
I definitely thank Kovozávody Prostějov for the review kit, Eduard for the seat belts and Steelwork for the "Linkages" (aileron control horns and rigging).

