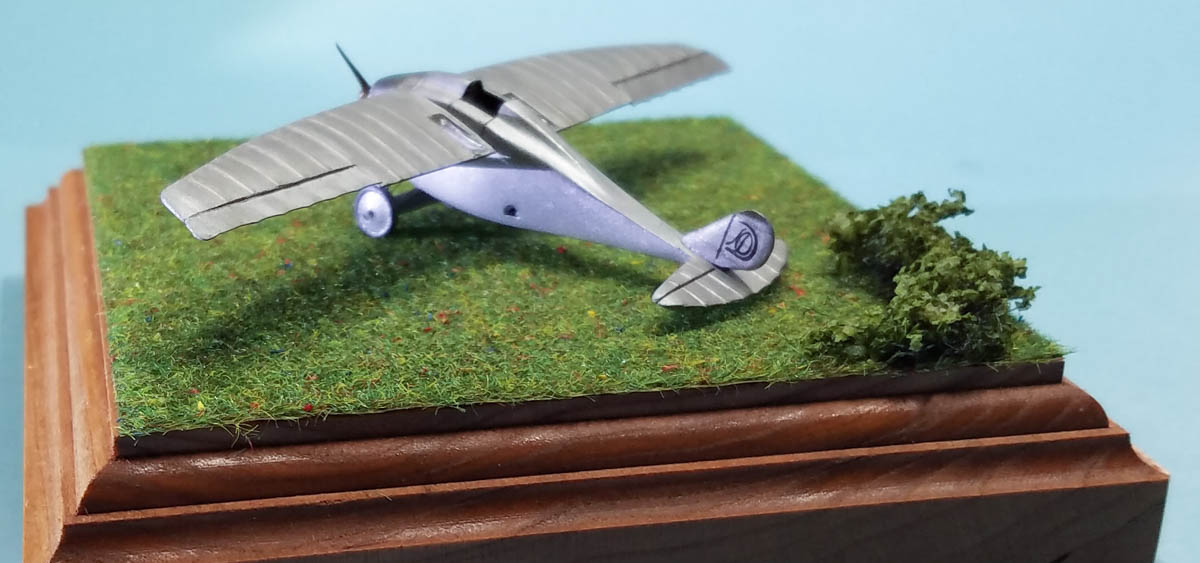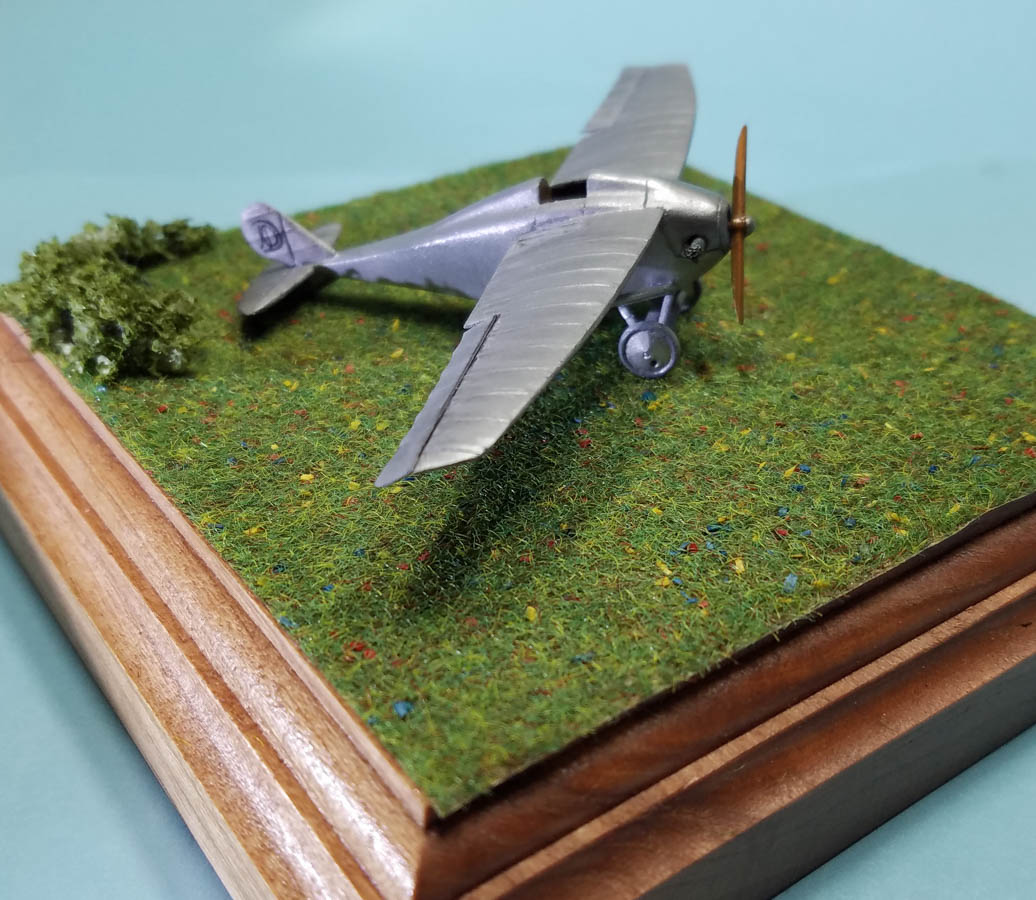
RSS-Hobbis 1/72 J. Dobkevičius DOBI-I
By Matt Bittner
Introduction
Every once in a while, I receive a model I truly get excited about. This has been the case with all of the releases I've received from Hobbis. He has produced three early Lithuanian designs that were designed and flown completely in the country. The DOBI-I was one of the very first - if not THE first.
It was because of this excitement, and the fact the model is a joy (and breeze) to build, I finished it in record time for me. I wrote the First Look in November 2022 and was actually finished with it in the middle of February 2023. Believe me, four months is record time for me to complete a model.
I will refer the reader to my First Look to get a sense of what the kit consists of, as well as a concise history (and links to a better site) of the DOBI-I.
The Build
To be honest, this wasn't a difficult build. All parts are already removed from whatever pour blocks/sprue attachment points existed, which is a huge plus on Hobbis' part. All you're down to is assembly and painting.
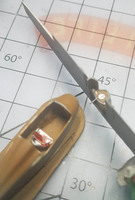
There isn't much published in regards to the cockpit. Because the fuselage was made of wood, and the exterior silver wasn't painted until after its first flights, I decided the inside of the cockpit would have been wood-colored. So I painted parts with Vallejo's "wood" and did some light "graining". I painted the seat aluminum and added Eduard French WWI seat belts to it, to give some color to the cockpit. The instrument panel that's part of the wing was also painted wood, with white dials and I used a black marker to apply other marks to the dials.
|
Because there is no definitive proof to the rest of the cockpit. the thinking was the control stick was actually mounted "reversed", with the connecting point on a rod between the two wings, directly under the instrument panel. So using some .010" platic rod I replicated those controls. There is no indication of rudder pedals so none were added.
Once the cockpit is painted and finished, construction goes fast. I did need to dry fit the one-piece wing to the fuselage a few times until I achieved a close fit, but that helped as there was only a little putty needed, directly at the upper, forward attachment point. I also glued all the other parts to the model since it was going to be, basically, one color. The only other putty I needed was a little on the rudder attachment point, and all I used was Perfect Plastic Putty and wiped it off with a wet brush.

|
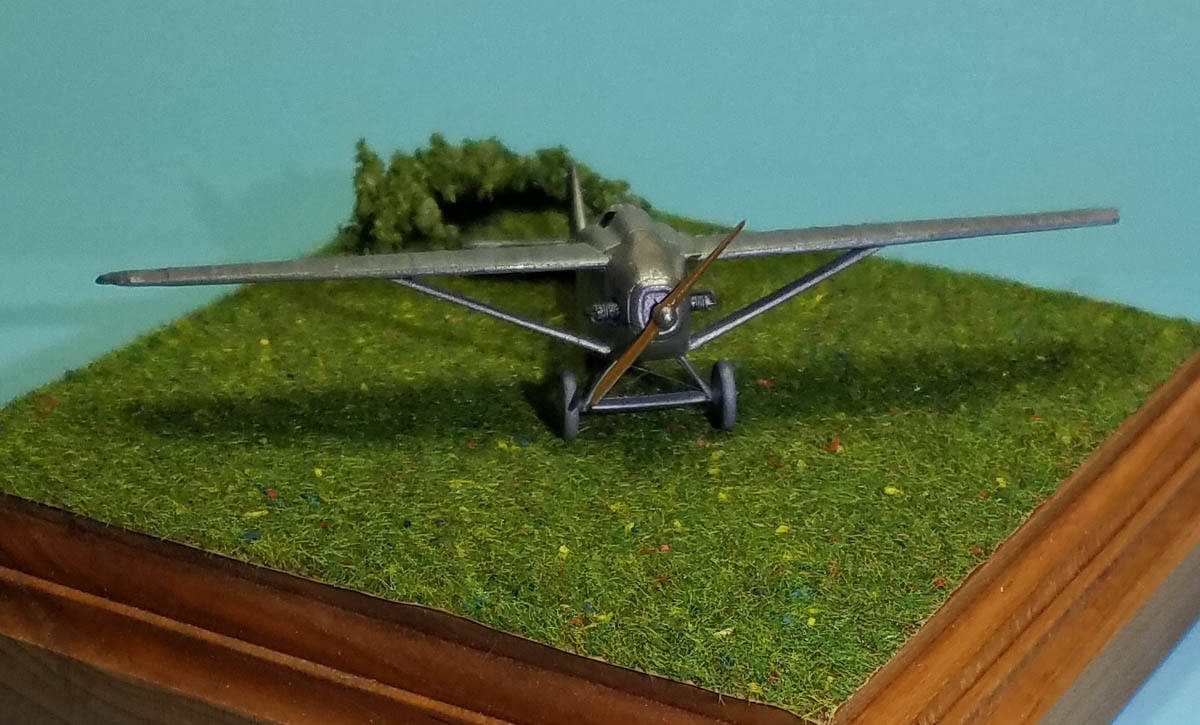
Note the instructions don't show any rigging. There was limited rigging, only between the landing gear legs. That was added with .005 surgical stainless steel wire. I then masked the clear cellon areas on the wings prior to painting.
Hobbis was very kind and sent engine cylinders from one of their other releases to replace the ones I had in this kit. The newer ones are printed a little finer and include more detail. To those I added lead solder as piping.
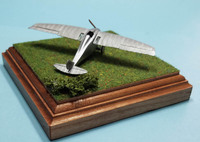
The entire model was primed with Stynylrez gray primer. Once dry I sprayed the entire model with Vallejo Aluminum. After that was dry I used a number of other Vallejo metallic paints and True Earth Metal Liners to show differences in the wing and tail surfaces. Since those areas were fabric covered on the original, it would give a different "sheen" then that on the rest of the surfaces so were sprayed with Vallejo Premium Matte. Now it was time to show differences to the fuselage.
|
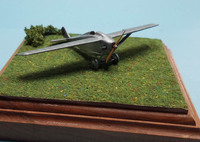
For the main part of the fuselage I used True Metal pastes but on the nose - since that area was sheet metal on the original aircraft - I used both Uschi and Hawkeye's SNJ polishing powders until I achieved the look I was hoping for. Now that all painting was finished I glued on the propeller and engine cylinders.
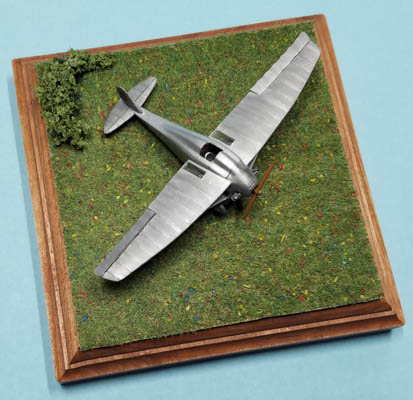
Due to the use of the paste on the fuselage, I decided it would be best to mount the model on a base so it wouldn't be handled, removing the paste. It's just a simple Bases by Bill wood base with a piece from a Heki grass mat and a bush put out by Scenic Express.
|
Conclusion
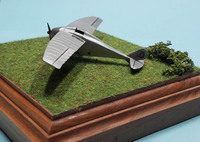
I had the most fun modeling while working on this kit than I have had in a long time. I'm not a quick builder - more like a glacial builder - but I was able to finish the entire model, including the base, in four months. For me, that's light speed modeling. The Hobbis 1/72 DOBI-I is a great kit and really looks wonderful when finished.
|
If interested in obtaining any of the Hobbis models, including this DOBI-I, email them direct at rss.hobbis@gmail.com.

