I've always liked the F8 Crusader, and when I was visiting a friend last autumn I was silly enough to say "ooo look there's a nice Crusader kit" when we were looking over his collection of old Airfix kits. He immediately gave it to me! My plans for future modelling usually involve scratch-building pre-1914 racers, admittedly not a lot comes of it, but modern(ish) jets definitely aren't part of my plans, However I'm flexible and just to make matters worse I decided to not only build the F8 but also a Sea Harrier to keep it company. My reasoning here is really quite good, so I won't save it from you. There is a myth that you can save time by building multiples if the same plane, I've tried it, and apart from sheer boredom little else is gained. The best area for time saving in modelling is painting, if you don't have to clean your airbrush between colours a lot of time is won, even better is if you can build two models that are the same colour. Thus a pre- 1982 Sea Harrier and a US Navy F8 both have white undersides, black bits, various burnt metal areas and grey tops, quite a good potential for rational airbrushing. That's my reasoning , the truth is that I just felt like it!
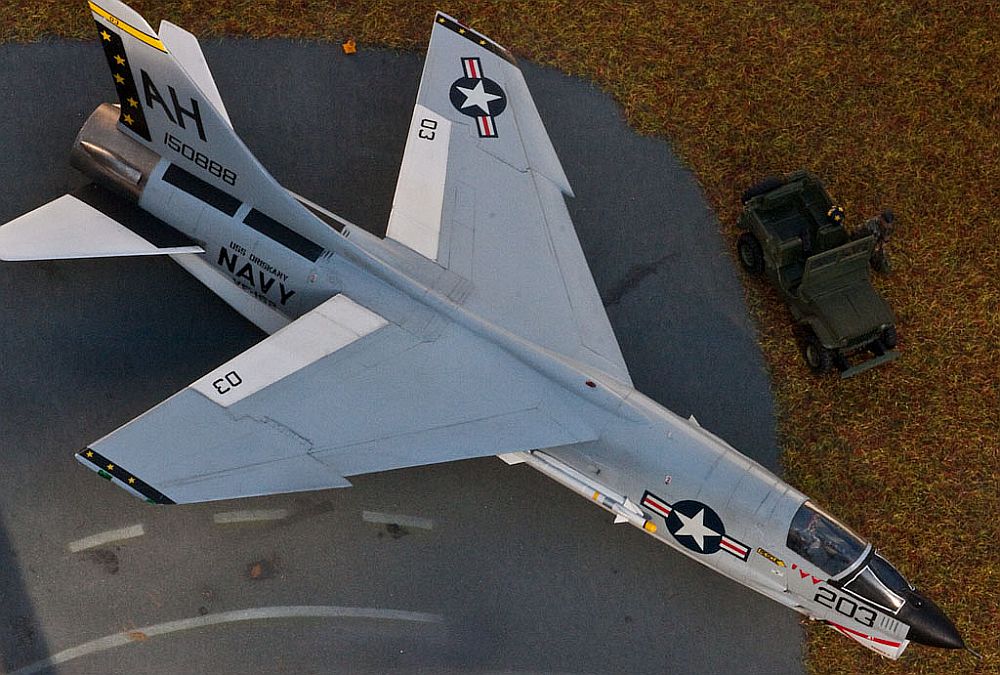 I made my first mistake before I started, I should have dumped the Hasegawa F8 that Mårten had given me, and bought an Academy, I've said it before and I'll say it again, never waste time on sub-standard kits, just pay what it costs and get the best. So once again ignoring my own excellent advice I started the Hasegawa kit, which really isn't too bad, but if I'd used the Academy kit I wouldn't have needed to scribe the panel-lines and the intake pipe would have been much neater.
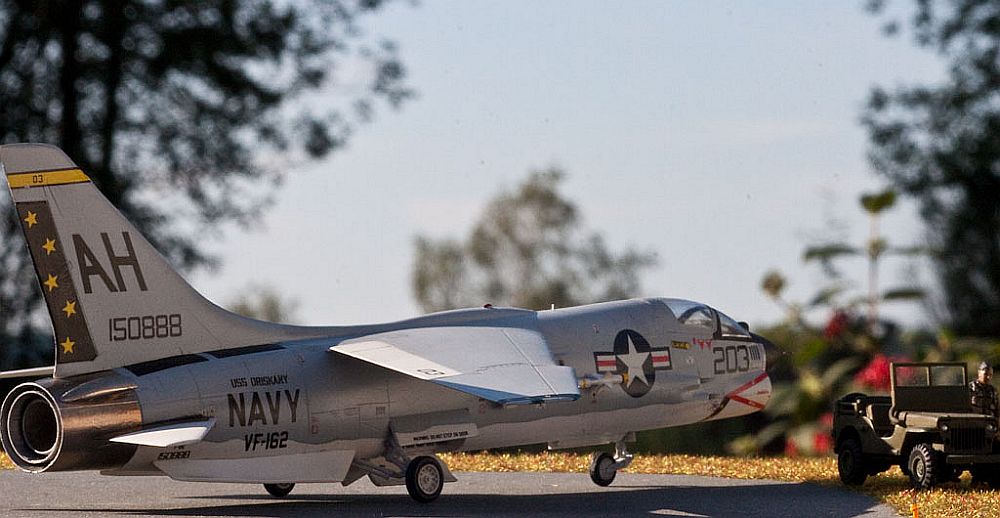 My second mistake was deciding to have the canopy closed. I've had a silly bee in my bonnet in recent years that planes look sleeker and more "typical" with closed canopies. The problem is that a lot of kit-canopies don't fit, and this was indeed the case here, of course I didn't notice till I'd painted it, and by then I was too short of time to open it up. If you're interested in competitions don't do closed canopies, bad fit is a glaring mistake to most contest judges, it's much easier to bodge up an interior (you'll have to do it even with a closed canopy) and judges are usually more impressed. A closed canopy causes fit problems, messy joints and potential dust inside, and if the stick falls off as it did for me you can't glue it back on. No, closed canopies are just a waste of effort, so knowing me I guess I'll be doing more of them!
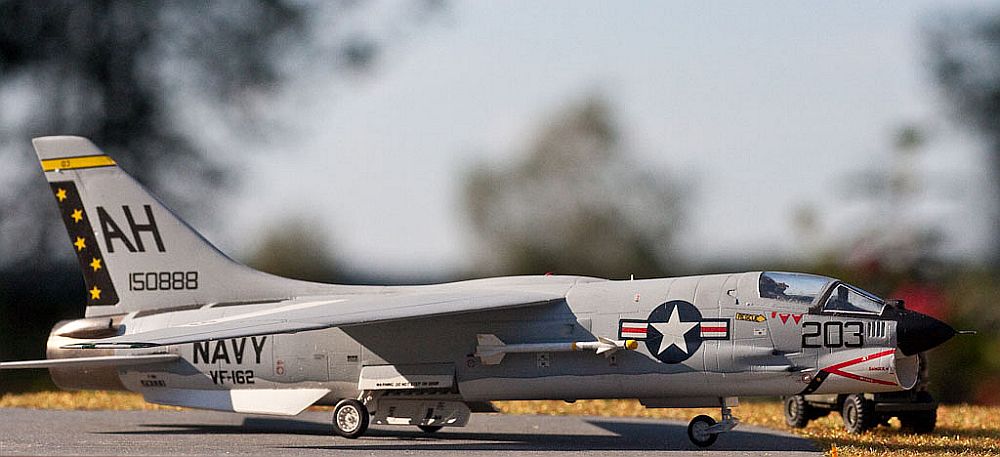 The ejection seat in both the Hasegawa Crusader and the Esci Sea Harrier are jokes, they are also what's most visible in a cockpit, something had to be done. I looked around at what I had and found a Jaguar Martin-baker Mk9 seat, this turned out to be much too big for the Sea Harrier, but by chopping it up and combining with parts from both seats I cobbled together a couple of fairly decent seats.
***image4***By now the whole thing was beginning to look like an exercise in retro-modelling, I haven't built a jet since the eighties, and mentally I'm still there, so this is how we used to build models. I started scribing panel-lines using my Olfa P-cutter before assembly, it's easier to get at the tricky bits that way, unless you cheat and get modern tools! One of the improvements in the Academy kit is the intake tube, on this kit I had to blank off the end and paint in various shade of grey and black to simulate it. It didn't work! Otherwise the kit fell together in typical Hasegawa fashion, in the eighties we'd have had fits, now we yawn and complain about the minimal amount of filler still necessary. I think the only fancy work I did was the pitot-tube, made of steel wire, super-glued it in place.
Here’s where I didn't make my third mistake, if you want the wing in the raised position on an F8 you'll soon find yourself involved in opening slots and lowering flaps, they're all interconnected. I chose the safe and easy option, all buttoned up and wings down.
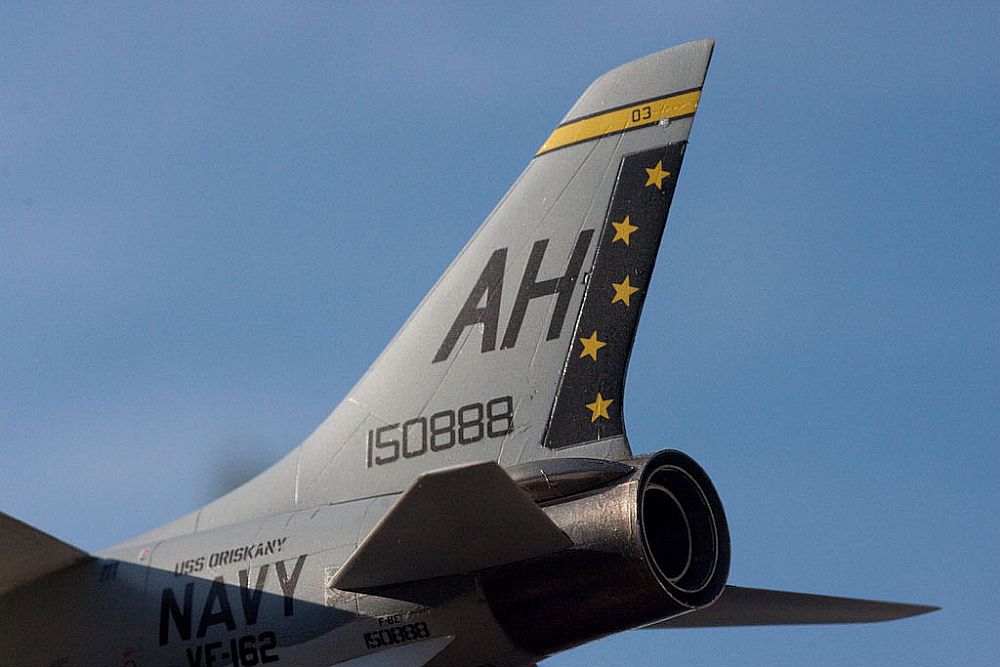 Something I've learnt since the eighties is to paint in as unassembled condition as possible, it gives a better finish at joints like tailplane/fuselage and between fuselage and u/c doors, missile ramps etc. The advent of CA glue has made it easier to glue things on at a later stage. One thing I haven't changed is that I still use Humbrol enamels, I've invested a lot of time learning how to use them, and even though I like the idea of Acrylics I find that I do better with enamels. Being too lazy to order the correct paint and always over-confident I started mixing US Navy gull grey, and just like I did in the eighties I failed, it always turns out too blue and too dark. In the end after using up a large stock of white paint I got a decent enough colour. About four coats each of white and grey with sanding down between coats ensures a perfect finish but does mean that panel-lines should be re-scribed and I was a bit sloppy here, after all this was supposed to be a quickie. The penalty for carelessness is when you put a wash on a sloppy panel line it shows! A nice side effect of doing many coats is that towards the end some parts that are OK can be left alone and you'll get a subtle colour difference between panels.
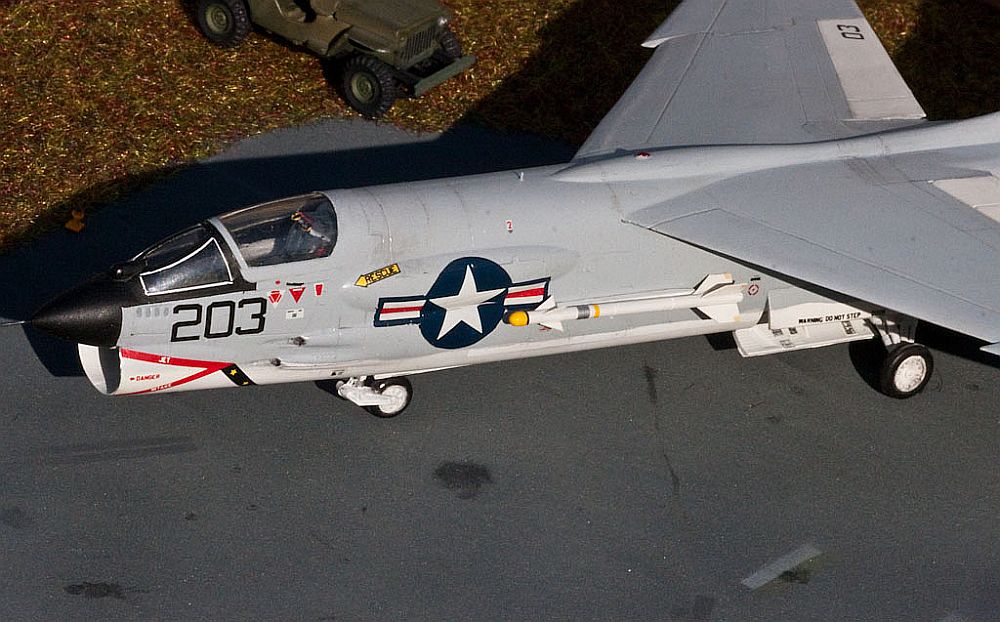 I chose a fairly standard colour scheme, I like my planes to look sort of typical, so I just used the kit decals for VF-162 on the USS Oriskany during a 1965 cruise. As ever I removed as much superfluous decal-film as possible, the Hasegawa decals are excellent, but they did over-react to Microsol, luckily nothing too serious but care is recommended. I used some extra stencils from various old decal sheets. I do touching up with decal, when I painted the grey I also painted some stock decal sheet, it makes a much neater job just putting on a decal square rather than trying to paint in the same shade. I'd made a pig’s ear of the folding wing hinges when engraving, they are a row of interlocking lines, but I was able to save it by cutting tiny squares from my grey decal and adding them alternately. I also did the typical white lining around the windscreen with sliced decal. Cutting decal seems to be a thing people find difficult, I use a snap-off knife, so it’s very sharp and pointed, the trick is to keep your hand at a very shallow angle and just carefully pull towards you along a steel ruler.
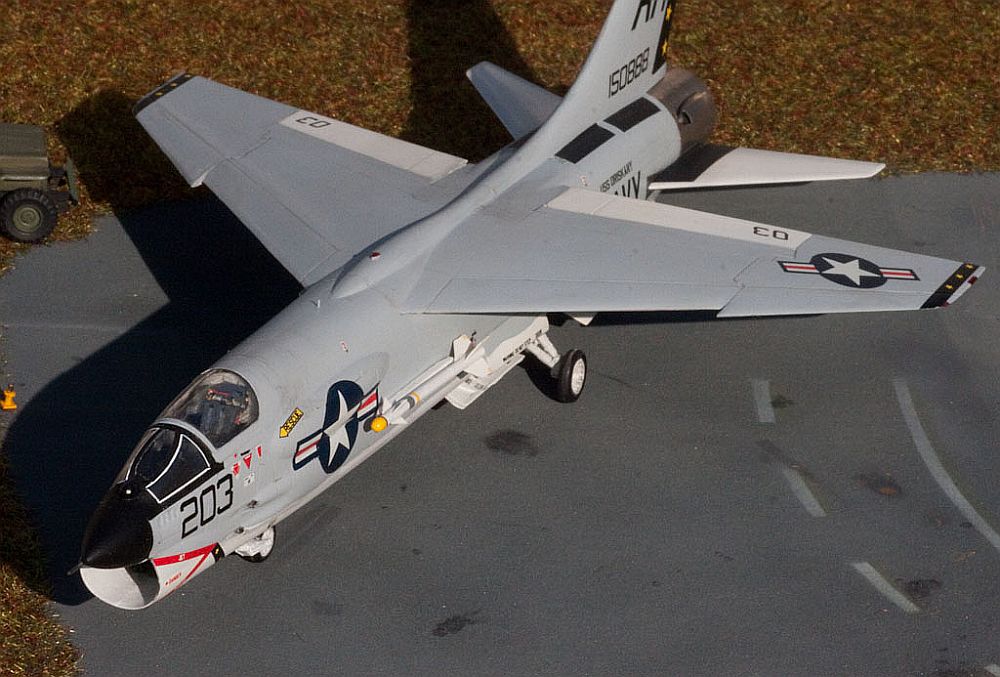 I really really hate all kinds of pre-shading, and blackened panel-lines, I think it looks totally unrealistic, so I was determined to be very light-handed with my weathering, usually I don't do any weathering at all, as I believe most planes were kept clean. But we did weathering in the eighties too, in fact we invented it (!), so I decided to break out the old oil paints and pastels for a change. A good way to avoid black panel lines is to mix a grey shade of oil , and then add in a drop of sickative to make it dry, a mix with white paint will dry very slowly otherwise. I looked at lots of photos, and as far as I can see, weathering on F8s is around the canon ports (if they've been used) ,behind the slots and most typically behind the rear wing/fuselage joint. Uniform darkening of all panel-lines as is so popular nowadays is completely wrong. I also tried to give some panels a subtle change of shade, I can't say I succeeded!
 The afterburner nozzle is burnt a sort of golden brown, and it's popular to try and simulate the ribbed effect sometimes seen by spraying on shades of burnt metal with an airbrush. After photo-studies I decided that F8's usually don't have that effect unless they're rather well-used, more typical is an even golden aluminium sheen. Then I thought of the bit of egg-shell coloured aluminium foil I've had in my decal box since the eighties. My good friend Micke Åkerström and I used to talk at length in the eighties about the ultimate way of simulating burnt jet exhaust, finally Micke did some experimenting and after boiling foil for hours with brown eggs he got a pretty nice effect, I tried it once on a Phantom but it didn't look right, since then I've hardly built a jet, but now I thought I'd give it a fling. So I applied Microscale Bare metal foil adhesive, waited till it dried, and then burnished it on with a cotton bud. Foil goes on to convex curves very well so I was able to do the extra air intakes separately too, there were a few creases but from normal viewing distance I think it looks great, and much more realistic than paint.
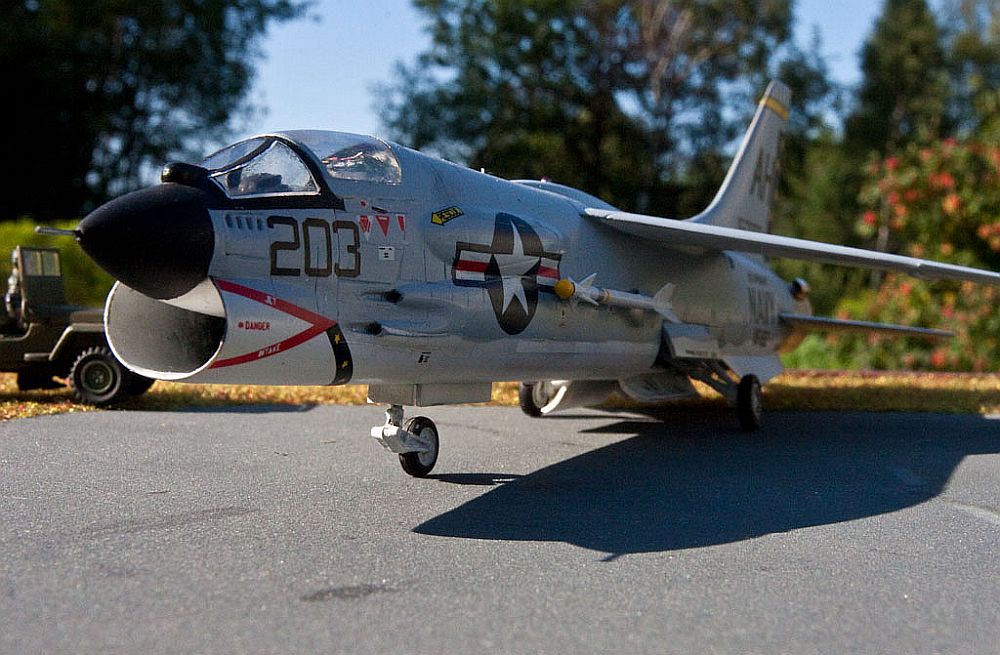 A curiosity about the F8 is the low jet angle made them unpopular on the flight deck as the jet stream would hit people in a sensitive part of their anatomy, I read that on the internet! Which brings us to the important question of stance, aircraft and old jets in particular often have a very particular stance and the F8 is no exception, it's very laid back, tail-heavy some might say (thus the flight deck danger). The Hasegawa F8 does have the correct stance, but not enough of it, so after glueing on the undercarriage I simply squashed it a bit more by putting a weight over the rear fuselage.
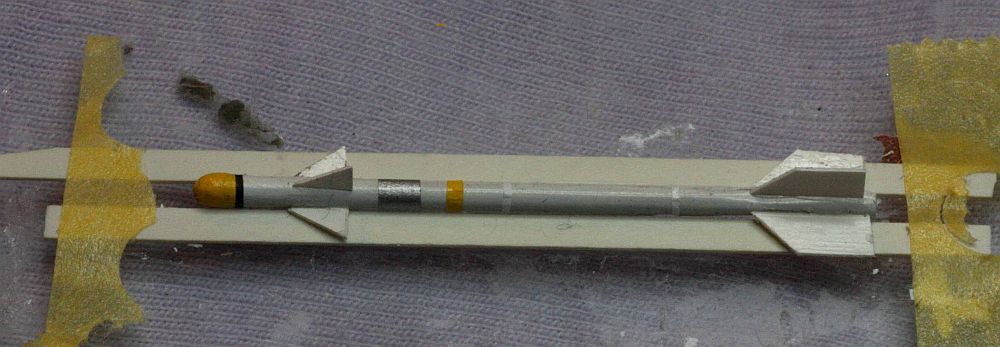
Missiles always look better if the fins are replaced by new ones made of thin plasticard. It's quite boring but can be eased by cutting strip to the correct width, so at least size will be correct and consistent as the fins are cut. A simple jig for glueing the fins is just two strips of 1mm plasticard that the missile body is placed between then the fins are laid in place and glued, and they will get the correct height, it's a small help. Once that’s done various decal strips can be added to liven them up a bit, look at photos and you'll find sidewinders to be quite colourful. I put blobs of yellow on the nose as they often carry a protection cover.
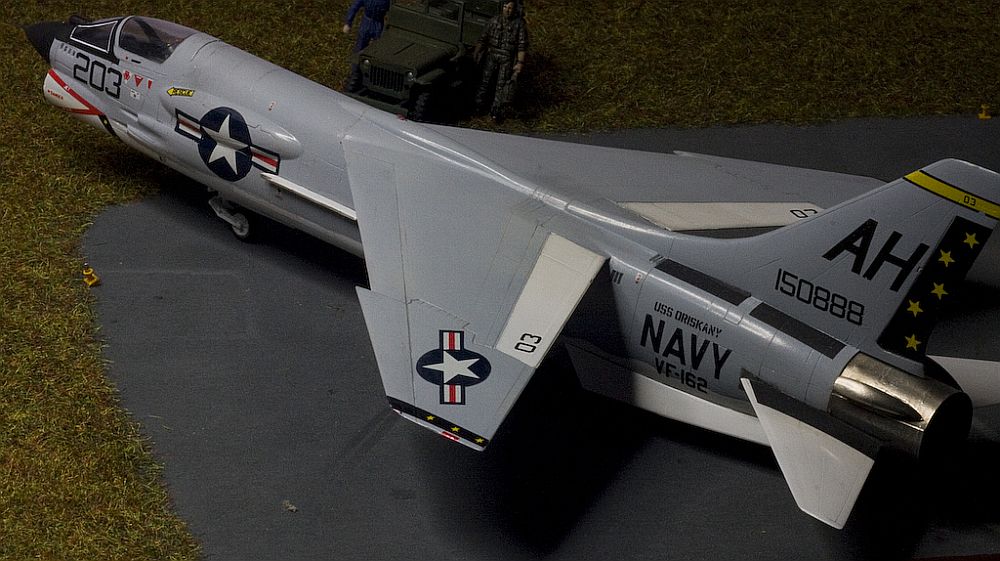 Jets are a pain in the posterior, whenever you think they're finished there's always another fin or warning decal that you've forgotten, the two jets were supposed to be finished by Christmas, the F8 finally dragged itself over the finishing line in March, and as I write this in August the Sea Harrier is still only "nearly finished". I'm still glad to have them in the model cabinet, naval jets of the colourful era are worth the effort.