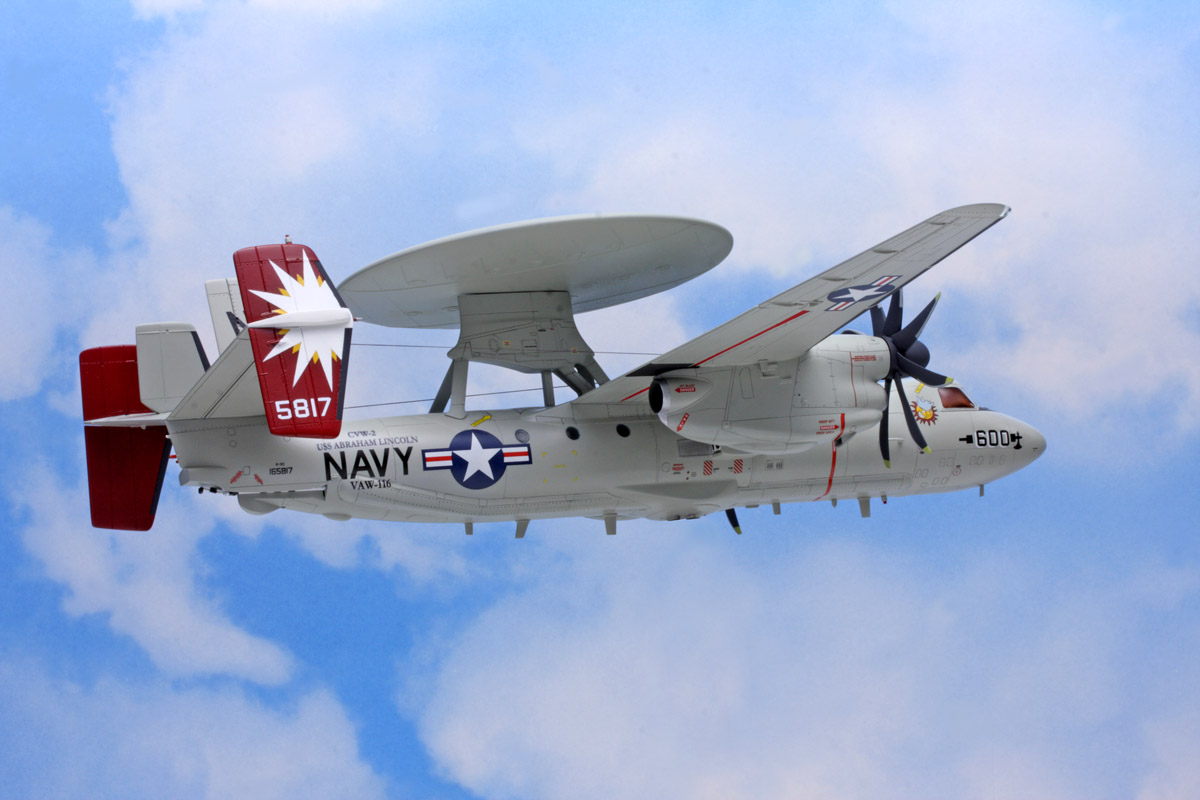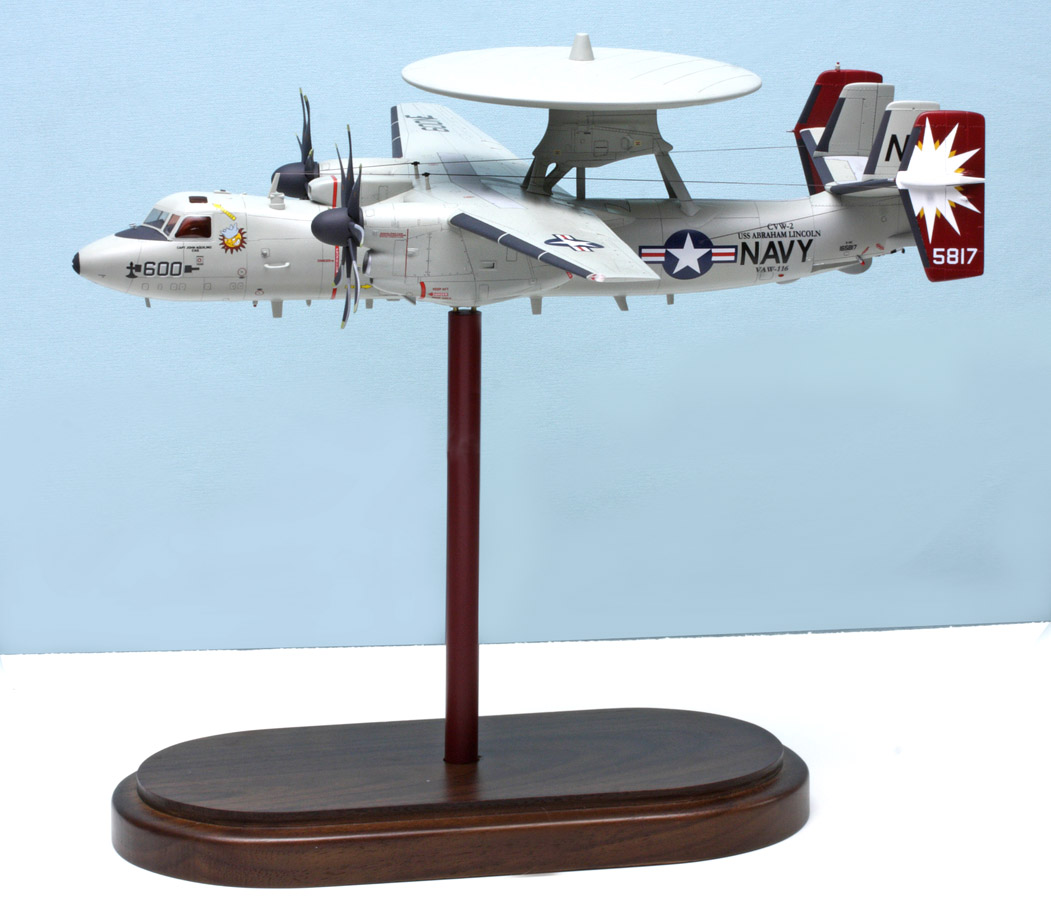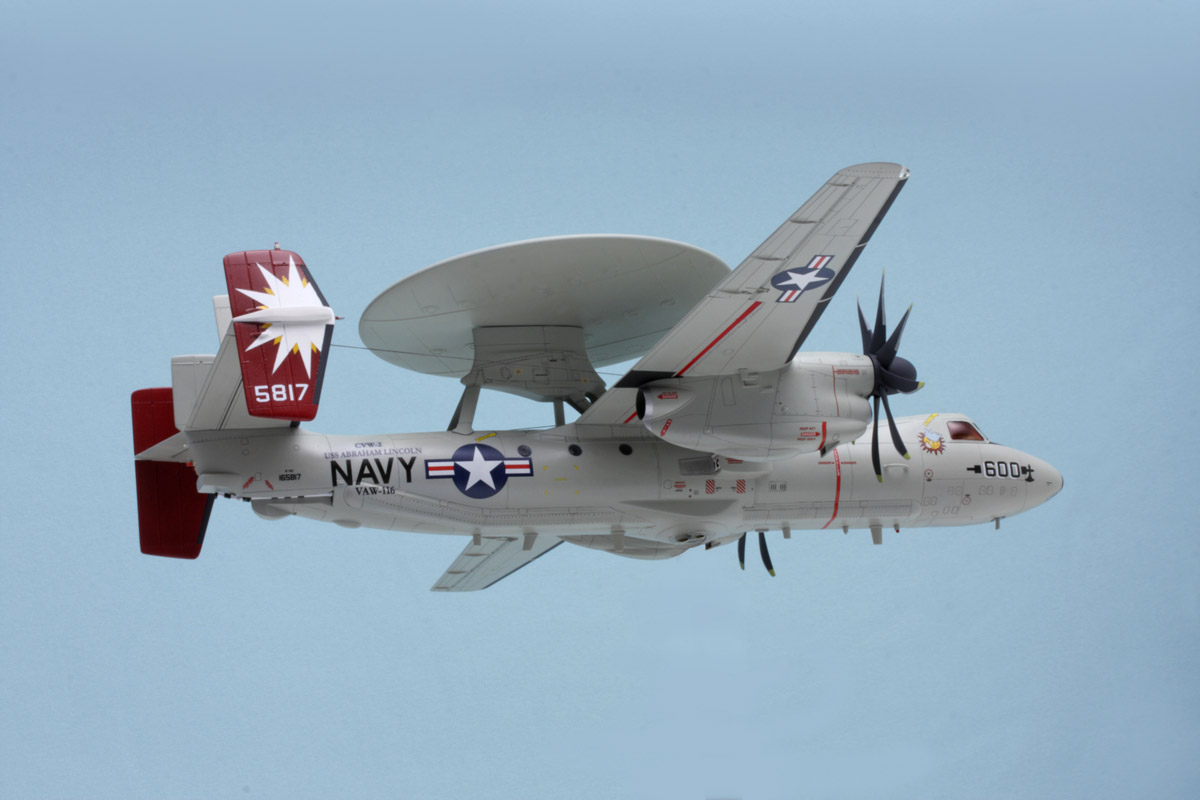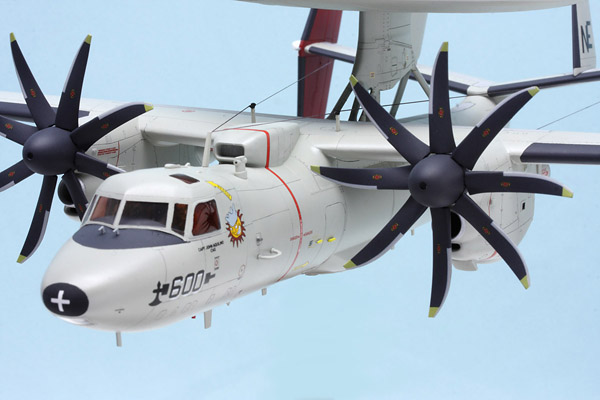
Hasegawa 1/72 E-2C Hawkeye 2000
By Gary Meinert
Photos by Will Riepl and Gary Meinert
Introduction
I have already done a first-look review of the kit, which includes a history of the subject. See the February 2009 Internet Modeler for this. So, without further ado, I'll jump right into the story of building my Hawkeye.
Construction Overview
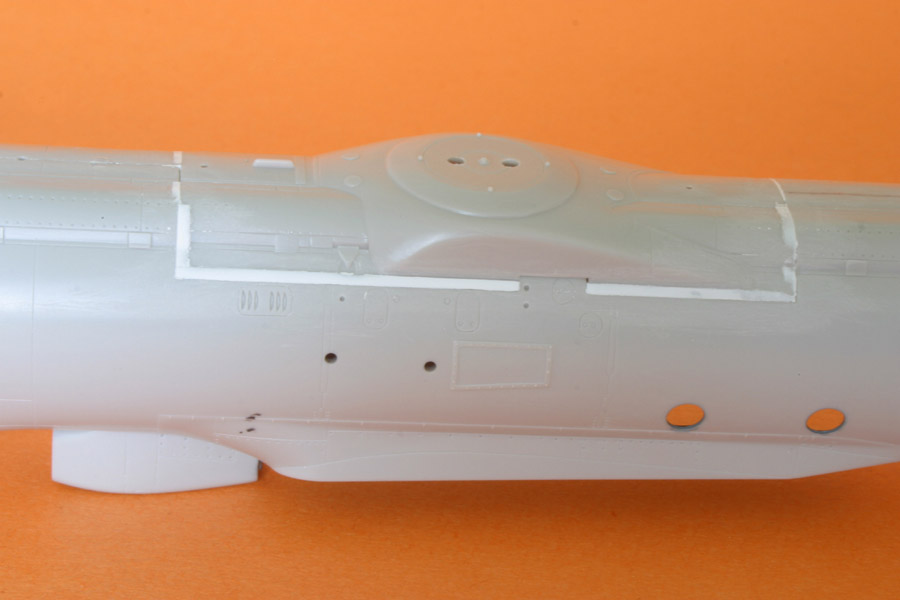
The kit instructions have a construction sequence that made no sense to me. In step 6, the modeler is to join the wing assembly and tail assembly to the fuselage. In step 9, the engine nacelles are to be joined to the wing and the belly fairing (part E1) is to be joined to the bottom of the fuselage. And in step 13, the flaps are to be mated to the wings.I decided on a completely different approach in order to allow easier handling, especially during painting/masking and application of decals. I constructed four separate models and then integrated them into one model very late in the build:
-- I completed the fuselage all the way through the painting and decaling phase
-- same for the engine nacelles
-- same for the wing & flap assembly
-- same for the tail unit
I combined all four of the above models at the appropriate times. Some careful filling and touch-up painting was required, primarily on the top of the fuselage where the wings rest. I was pleased with the outcome.
Construction Issues
As expected, there were a number of fit problems. The worst one was the ventral panel (part E1), which produces a nasty step around the bottom of the fuselage. I used strip styrene followed by lots of filling and sanding to remedy this issue.Other ill-fitting areas include the nose cone (part M9), the passive ECM antennae (A19 & 20), the nacelle front pieces (G14) and the front section of the rotodome support (F1 & F9). Also, the clear wing tip lights (M10 & M11) were too large and had to be sanded down to fit into the cut outs in the wing(the modeler must make his own cut outs).
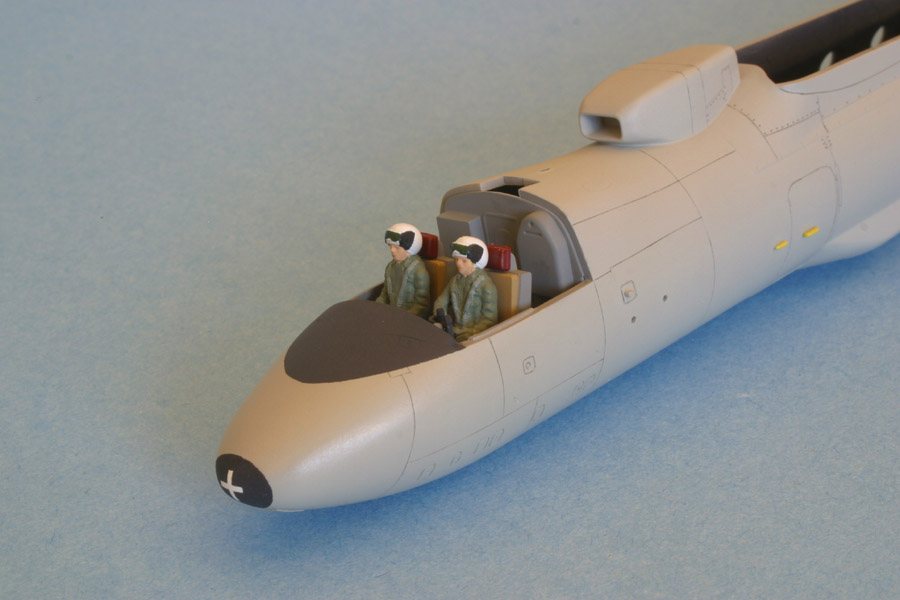
Before I sealed up the cockpit area I discovered that the overhead instrument panel (B4) interfered with the internal fit, so I left this part out. It cannot be seen anyway.There was some trouble getting the separate flap pieces to align properly. On the left side, I had to bend the entire flap up to get good alignment with the adjacent aileron.
Improvements
During test fitting, I noticed an unsightly gap between the flaps and ailerons, so I added tiny strips of styrene to the flaps to make them slightly longer. This gave a much better appearance. Speaking of flaps, the real Hawkeye has two-piece flaps, not one piece as provided in the kit. I simply scribed an extra line through the flaps chord-wise to represent this.
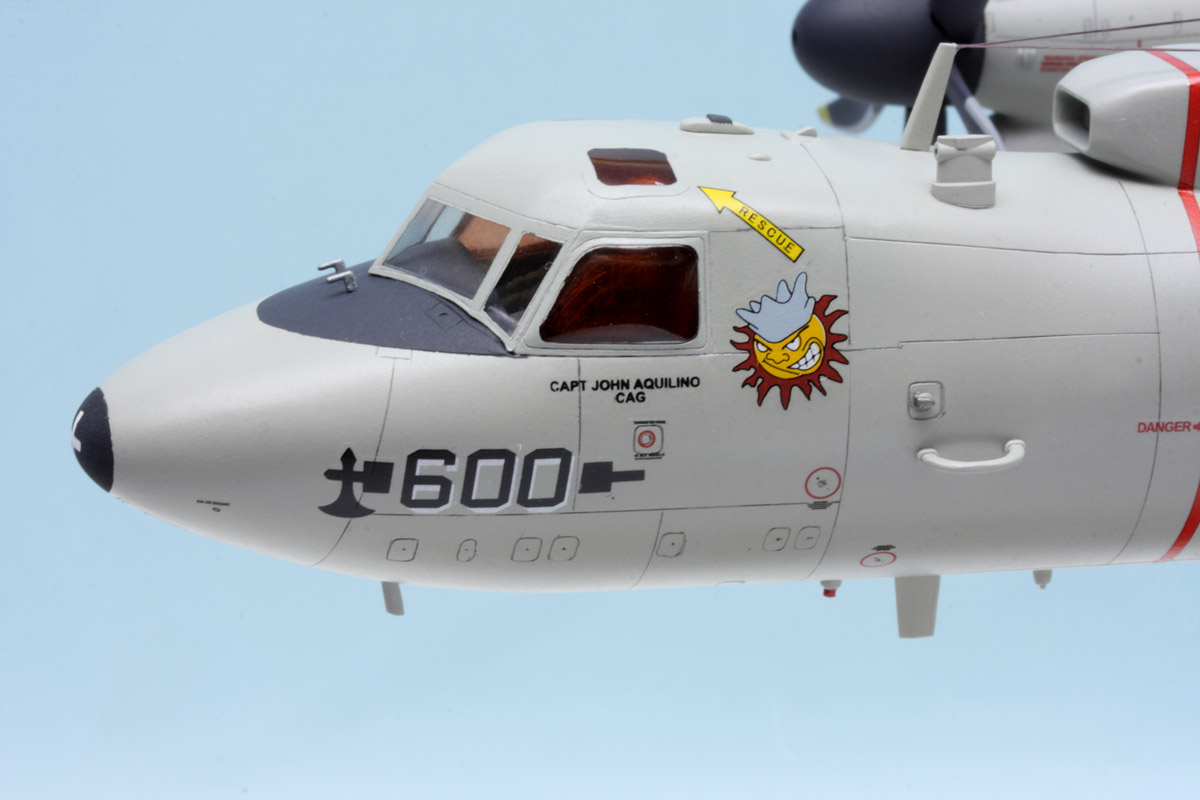
I chose not to use the round kit windows for the right fuselage side (parts M3). Instead, I made my own windows from Micro Kristal Kleer. And I tinted the cockpit side and overhead windows with a mix of Tamiya clear red and clear blue. The result was the correct brownish color that I was seeking.There are two landing lights visible through a clear area on the nose. For these I installed MV lenses.
To represent the aircraft's HF wire antenna arrangement, I used E-Z line.
I left off the clunky windshield wipers (parts J6 & J7) because they are too large for the scale.
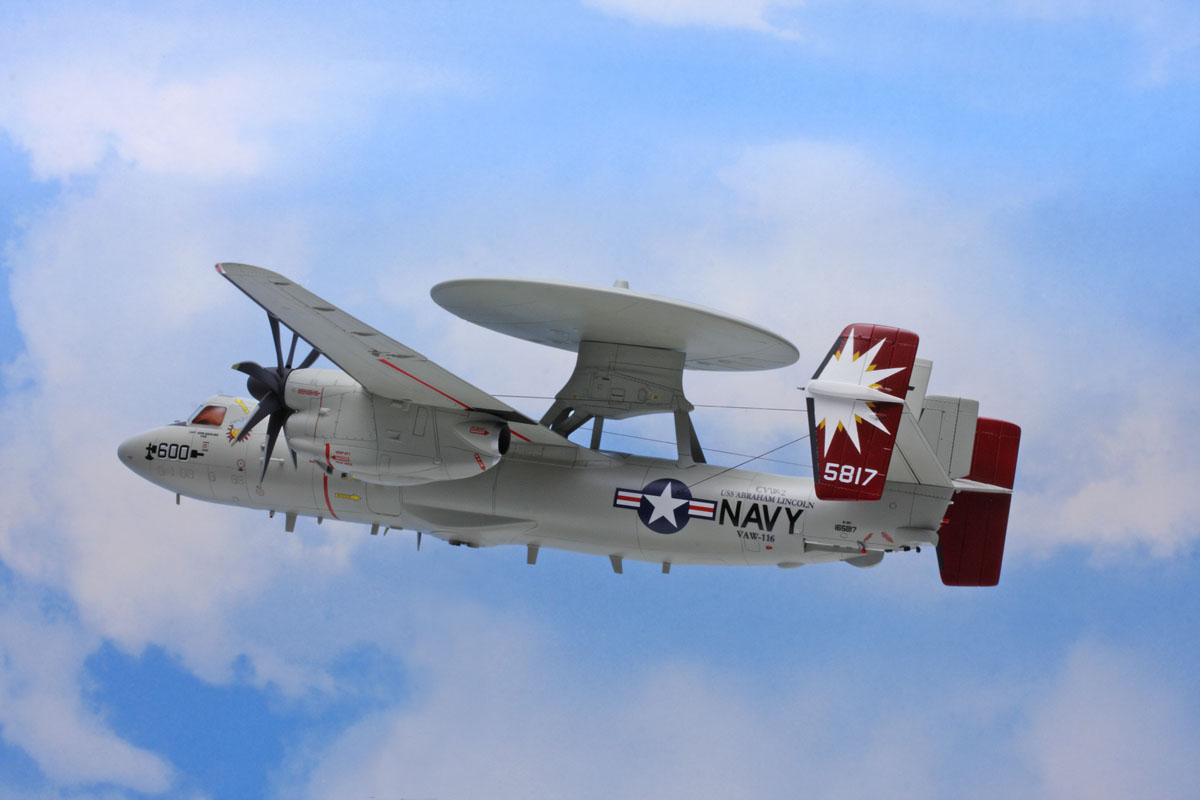
Finally, I decided to update my aircraft with the new prop blade tip colors. It turns out that beginning in late 2008, the old red and white stripes were replaced with a luminescent coating to provide more visibility at night. Guided by my references, I mixed up a batch of yellow-green paint to apply to the blade tips.In-Flight Display
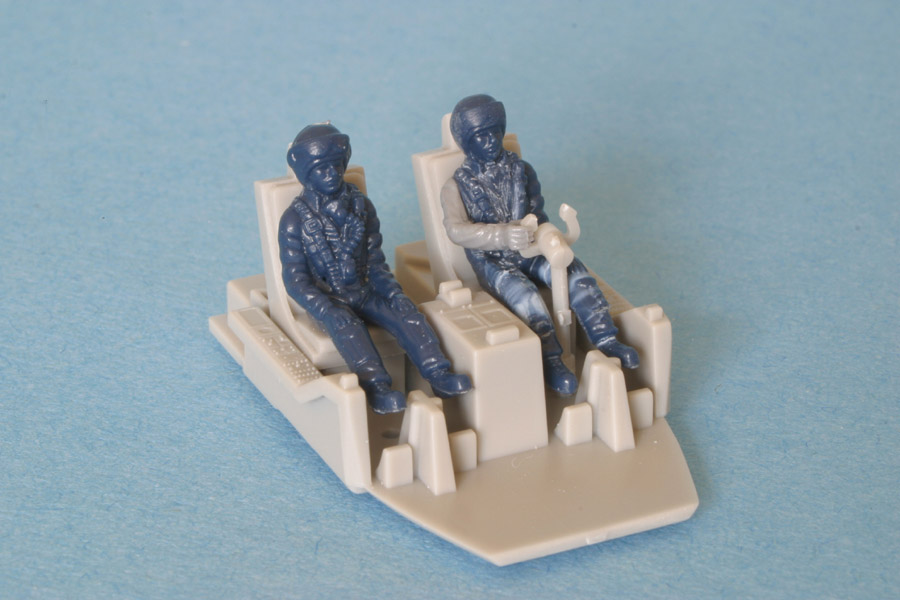
My flying Hawkeye was attached to an acrylic rod and anchored to a small wood plaque, a technique that I have used before.I searched through my spare parts boxes to find suitable figures for the pilot and co-pilot. Although not much can be seen inside the cockpit, these two figures are visible through the windscreen.
For my flying aircraft, I had to discard the kit's tail skid (part J5) because it is molded in the down position. I covered up the skid compartment with a tiny strip of sheet styrene.
Another small detail that required change was to replace the two tiny red tabs (parts G33) that fit on the upper nacelles, because these raised tabs are indicators that the wings are folded. I made and inserted new flush-fitting tabs in the retracted position.I realized too late that the oil cooler exit flaps on the nacelle bottoms were molded in the down position. These are normally seen in the up position on a flying aircraft. It wasn't practical to go back and remove/replace these flaps, so I left them alone.
Paint & Decals
The general airframe color, gull grey, was airbrushed with Testor's Model Master enamel. For the de-icing boots and the propellers, I used Floquil weathered black. The maroon tail color was created with Humbrol HU 20 red and HU 133 brown. My traditional pencil technique was utilized to accent panel lines. Polly Scale clear gloss was applied prior to the decal stage. Once the decals were in place, I sprayed multiple thin coats of Metalizer sealer.
I used the Hasegawa kit decals for the stencils, national insignia, and walkways -- these were excellent decals and easy to use. However, the Authentic Decals for VAW-116 Sun Kings was another story. They did not respond to my usual Solvaset and blotting method. (I tried an alternative with Mr. Mark Setter solution with mixed results). The sunburst decal on the tail did not fit well and was not opaque enough. I ended up masking and painting the white portion of the sunburst.Conclusion
I'm caught in the twilight zone this time. I can't decide if I liked or disliked building this model. It was a difficult but rewarding project. Because of the complicated construction, large number of parts, and fit problems, I would not recommend Hasegawa's E-2C to beginners.
On a more positive note, the timely arrival of my new E-2C model will help celebrate the Centennial of U.S. Naval Aviation. A big Happy Birthday to all brown shoes!
References
--E-2 Hawkeye Walk Around by Squadron/Signal
--Combat Aircraft, July 2010
--The Hook, various issues
-- various photos on the internet

