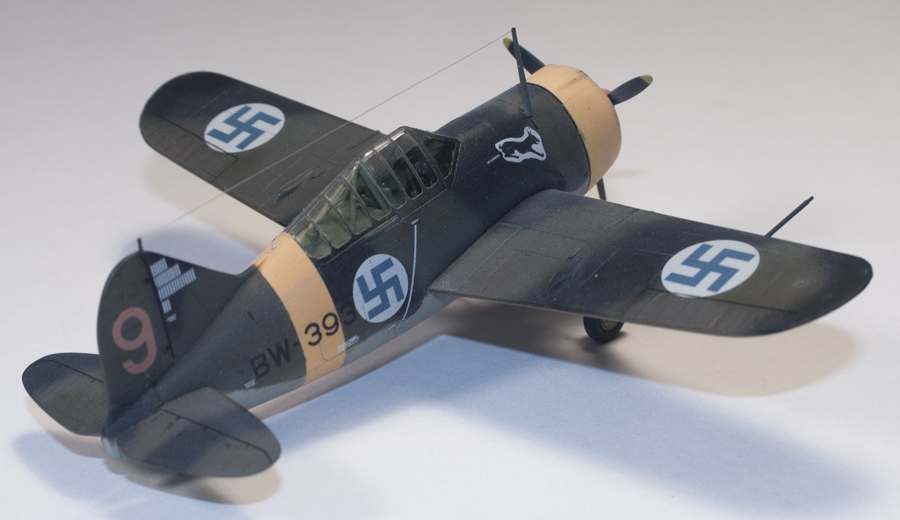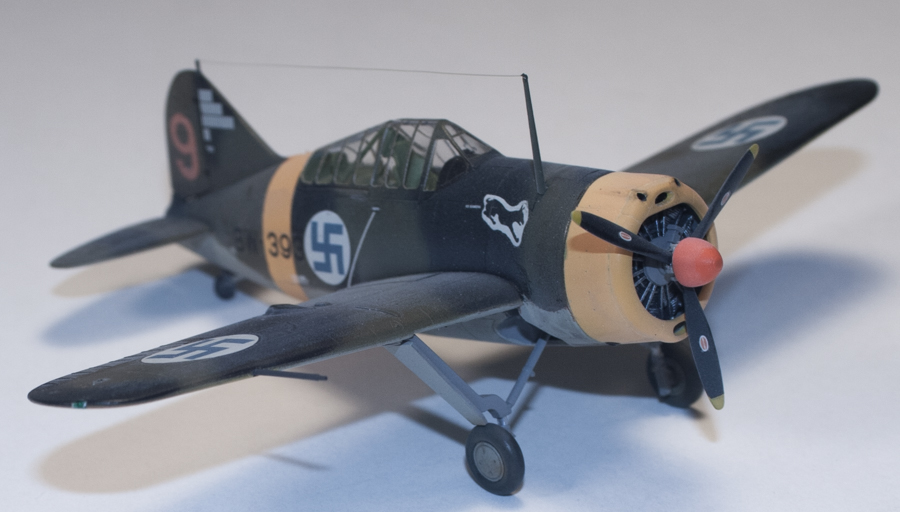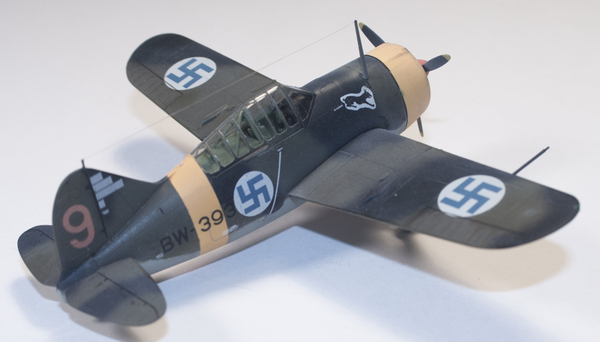
Hasegawa 1/72 B-239 Buffalo ‘Finnish Air Force Aces Combo’
By Matt Bittner
Introduction
Looks like it's been two years since I wrote a First Look on this release, so it's a little depressing knowing it has taken me that long to finish this model. Ah well, at least it's finished now and in my opinion it looks great.
|
As was mentioned in my First Look this is a dual combo so there are two kits in the box. While I did start both at the same time, I decided just to concentrate on one and move to the other "at some other time". Basically all I accomplished was painting the interior pieces on both when I made that decision, so that's one step out of the way for when I work on the second. All good things take time.
Construction
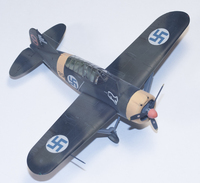
This isn't a difficult kit and there isn't a lot of putty needed in the seams. With that being said of course construction starts with the cockpit. The only thing I added were Eduard lap belts but I do wish I would have had a better instrument panel to add inside. Even with closing up the cockpit the instrument panel can be seen and it would be better represented with an aftermarket piece instead of the decals supplied with the kit. I keep hoping that Yahu will release an instrument panel for it so when I do work on the second kit I'll have that.
|
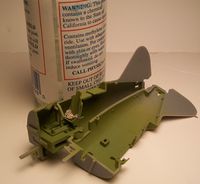
Once the cockpit was painted, oil-washed and dry brushed – and the belts added to the seat – the cockpit and instrument panel was added to one fuselage half and the fuselage halves glued together. I next glued the separate tail to the fuselage halves and there was some putty needed. Thankfully I was able to take care of most of it using Perfect Plastic Putty so there was little sanding involved. Which is a good thing because there is detail on the tail cone that could be removed if you're overzealous with the sanding.
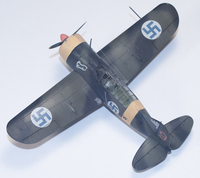
Now I moved to the wings, first gluing the halves together then gluing the wings to the fuselage. Again, only Perfect Plastic Putty was needed for the seams which meant I was able to clean this area with water only and no sanding. About at the same time I also glued on the horizontal tail pieces and I must mention something. Even though I thought I had the correct pieces on their resulting sides, I didn't and these aren't symmetrical. There are access doors on these pieces which must be on the upper surface; the instruction step doesn't show these doors, but the painting instructions do. This is also a case to be sure you read over the instructions carefully – very carefully – before you start construction. I thought I had but obviously missed this aspect.
|
The one piece that didn't fit well was the "solid" piece that went into the belly instead of the typical belly-window. There was more putty work involved to get this piece flush which also meant I had to re-scribe that area. But overall the fit of the model was really nice. I drilled out the exhausts as I feel they look better that way.
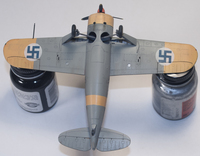
I painted the inside of the cowl and landing gear well "grey" (just picked something that would look okay) and these areas were masked. Thankfully the very front of the cowl wasn't that bad of a fit so I could leave that and the engine off the model for final painting. I first primed the model with Vallejo white then started the painting with the yellow, Xtracrylix XA1213. Those areas where then masked and the next to be sprayed was the underside grey, Vallejo Model Air, 71.045 "US Grey Light". Once that was dried it too was masked off and the uppers were sprayed with Polly Scale Fr. Khaki, 505238 which is a good match for Finnish Light Green, in my opinion. Finally I used Vallejo Model Air Black and sprayed it freehand. I went over a few spots with both the Green and Black to "tighten up" the camouflage.
|
Once it was dried I applied a "filter" of Burnt Sienna oil and it really tied everything together well. After that dried I sprayed a coat of Future, let it dry a few days, and applied the decals. Hasegawa provides both "two-toned" and single color decals for the "aircraft number" on the fuselage sides and you really need to follow Hasegawa's camouflage lay-out so the multi-colored decals "work". Unfortunately I "eye-balled" it and it wasn't correct, so I opted to use the all-black codes. Other than that the decals went on pretty well with only a couple needing extra work with the likes of Agama's Hypersol. The only decals I'm not happy with are the underside roundels. While the top ones don't show any of the different camo colors, the bottom ones let some of the yellow through. Very odd, I thought.

|
In any event, another coat of Future was applied and after it dried I applied a dark-gray wash into the control surface panel lines, the Burnt Sienna "filter/wash" taking care of the rest of the panel lines.
Conclusion
|
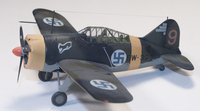
I finished up the build by using fishing tippet for the antenna wire and over spraying with Vallejo matte. I applied a little bit of paint-chipping using a Prisma color silver pencil and a little bit of exhaust staining to the undersides, but I wanted to keep the weathering light. All-in-all I'm pretty pleased with how this one finished up and am looking forward to working on the second one. This is definitely one of Hasegawa's better kits and it builds into an excellent example of this diminutive fighter.
My thanks first to Hasegawa USA for supplying the review Dual Combo and secondly to Eduard for the seat-belts.

