
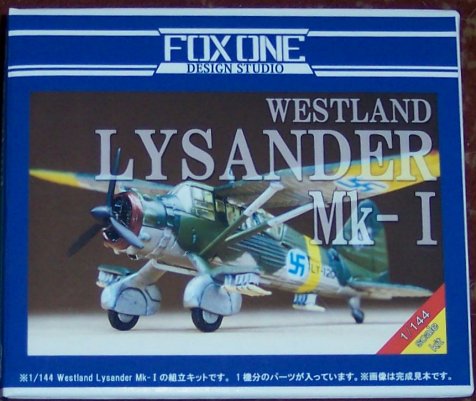
Fox One 1/144 Lysander Mk.I
By Don Joy
The Lysander first flew in 1936 and entered squadron service in 1938. The aircraft belonged to a class known as “army cooperation” aircraft and were intended for spotting and light attack duties. The realities of air war in 1940 quickly showed the type was not survivable in front line service in that role, but the Lysander was a well designed and rugged aircraft with excellent short field and low speed characteristics. These abilities were used in many subsidiary roles, the most glamorous being to supply the French Resistance during clandestine missions into occupied
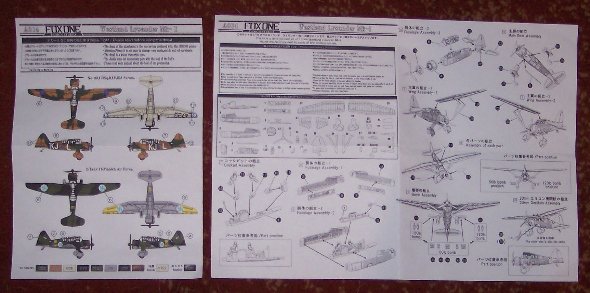
INSTRUCTIONS:
INTERIOR:
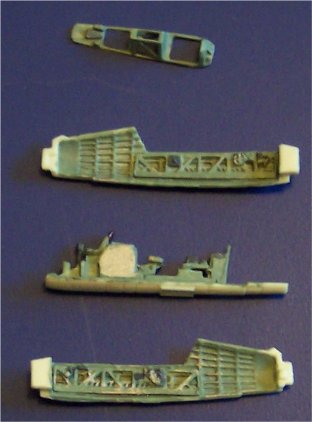
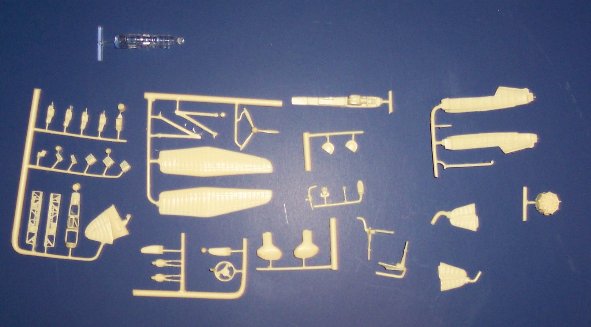
The interior of the fuselage halves have stingers molded in. There are left and right cockpit wall framing that glues to each half. These are finely molded and the left side has a throttle quadrant on it; the right a trim wheel. No lack of detail on this kit! Showing the pieces to the 48th scale modelers in the club elicited a gratifying “OMG!”

I repeated the RAF Interior Green for those pieces, then dry brushed silver to highlight the detail.
FUSELAGE ASSEMBLY:
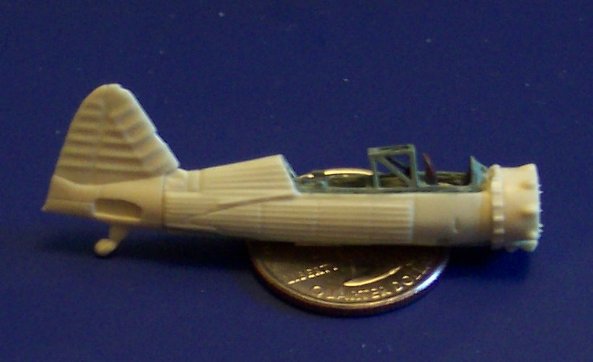
There is a “frame” piece that fits around the top of the cockpit area and includes the interior struts for the wings. The pilot’s seat got in the way of this and I had to remove the seat to get a correct fit. It would have been better to leave the forward seat out until this point in the construction, then install it.
The exterior has detail ribbing, which is exaggerated for this scale. I think Fox One got it just right though. The ribs are exaggerated enough to stand out without being overwhelming on the small model. The same is true for the ribbing in the wings.
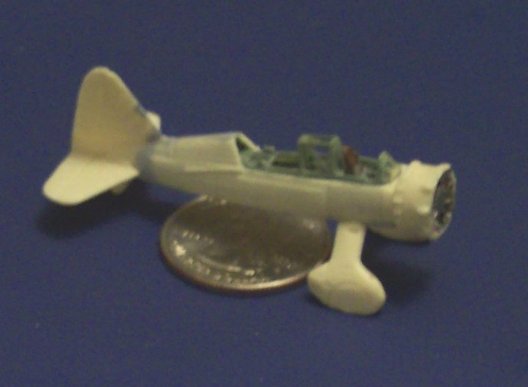
CANOPY and ENGINE:
The canopy has to be installed at this point because the engine fits over a part of the forward fuselage that is molded into the canopy piece. The canopy itself is fairly “heavy” – clear resin instead of vacuform. I found that the forward fuselage part of the canopy extended past the kit fuselage. I had to sand it flush with the fuselage so the engine would mount properly. This is fairly obvious during testing fitting and is an easy fix.
WINGS and STRUTS:
The wings were glued directly to the canopy using the super glue gel. After the wings were solid, I attached the struts. That is not as simple as it sounds.

PAINTING:
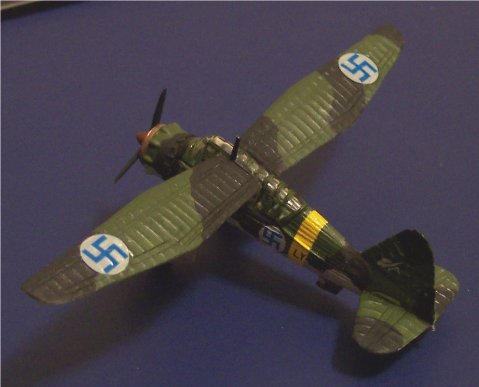
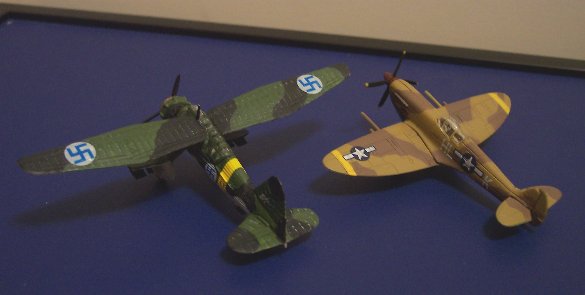
I decided to build the plane in Finnish markings, so I painted it at this point. As stated earlier, I hand brushed it. One trick to this is to use thin paint and apply multiple coats. I used Light Gray, Medium Green, and black for the colors. The black on Finnish planes is actually a very dark green, so that would be more correct if not more noticeable.
DECALS:
I cut decal film for the yellow panels on the wing and the fuselage stripe. Once those were dry, I applied the kit decals. Those went on easily and tolerated SolveSet quite well. Like most
FINISHING:
COMMENTS:
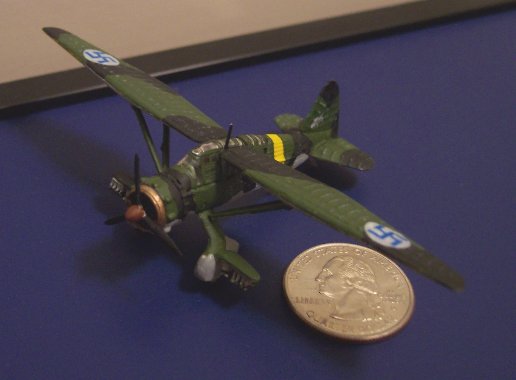
This was an easy build and the kit went together extremely well. The problems I had were of my own creation. Still, I feel like I have to say something about the interior detail and the canopy on the kit.
The canopy is optically clear and heavier than normal for a 1/144th scale kits. Because of that, it fits very well without the trimming and fitting that is always necessary with a vacuform canopy. The problem is that even though it is clear, it is too thick to see the interior when it’s in place. Also, it is too thick to cut and display with the canopy open.
But a vacuform or open canopy would still not show all the interior included with this kit because of the structure of the aircraft. That wonderful detailing is really wasted since you can’t see it. I suppose you could do a cutaway fuselage and show it, but that would be about it. It is just a shame that the parts are there and go together well, but are not visible in the finished product.

Thanks to Fox One for the review sample. Note the kit is available from radjapan.