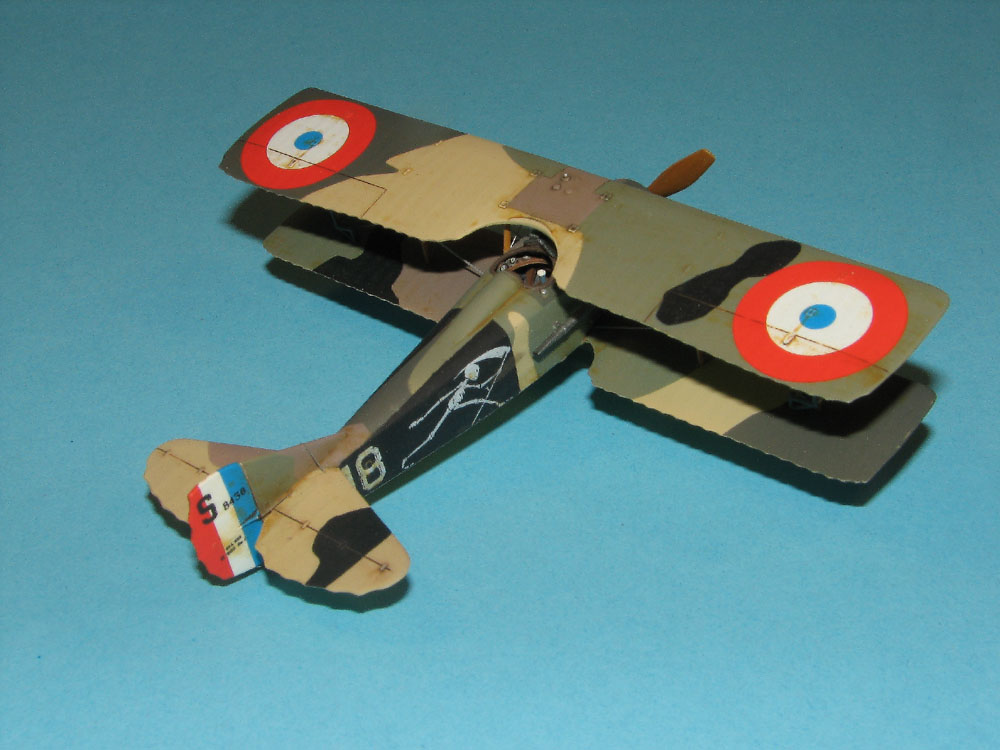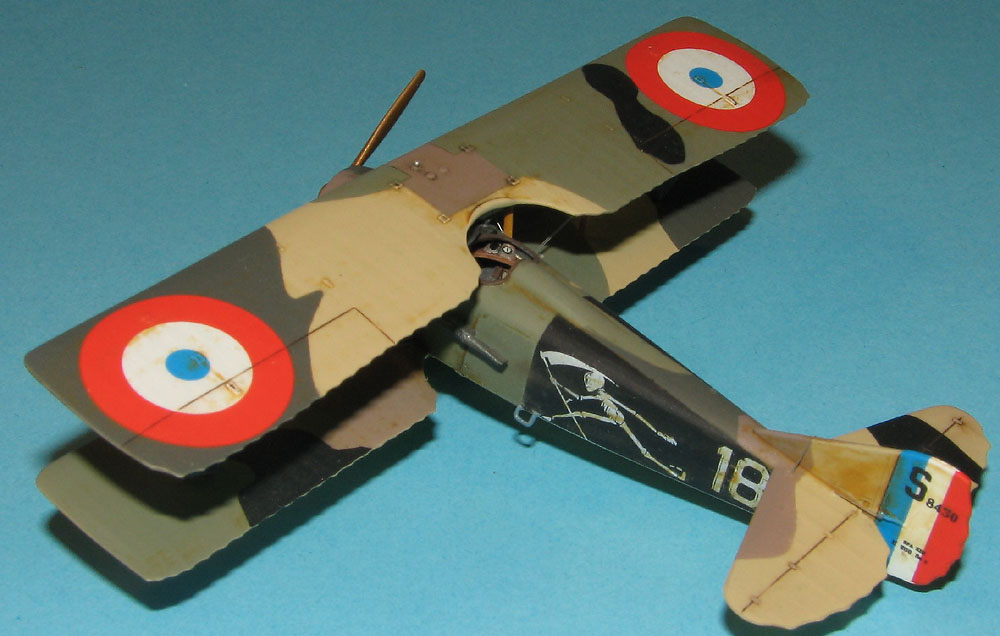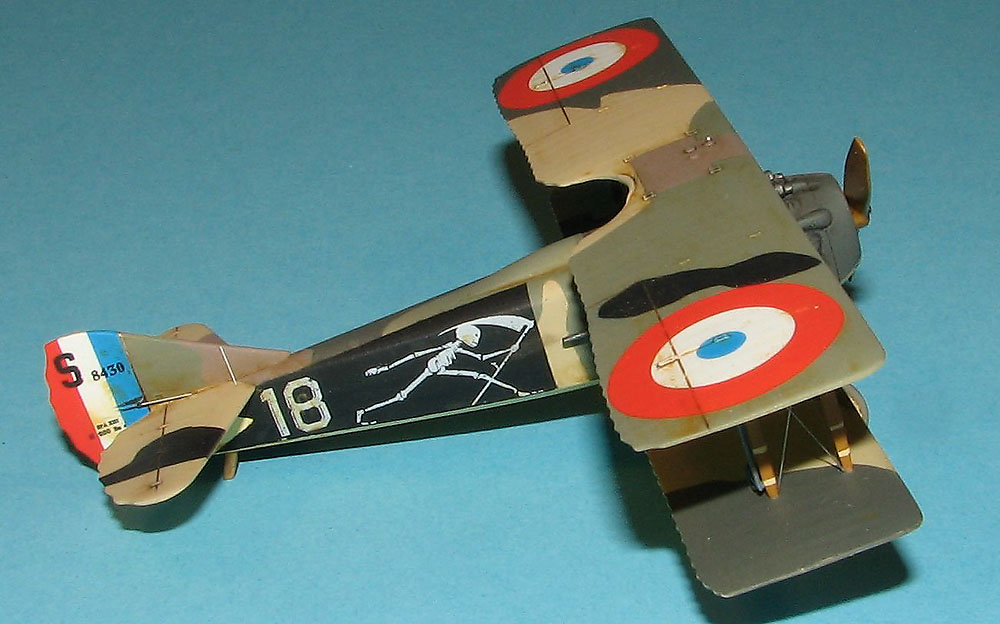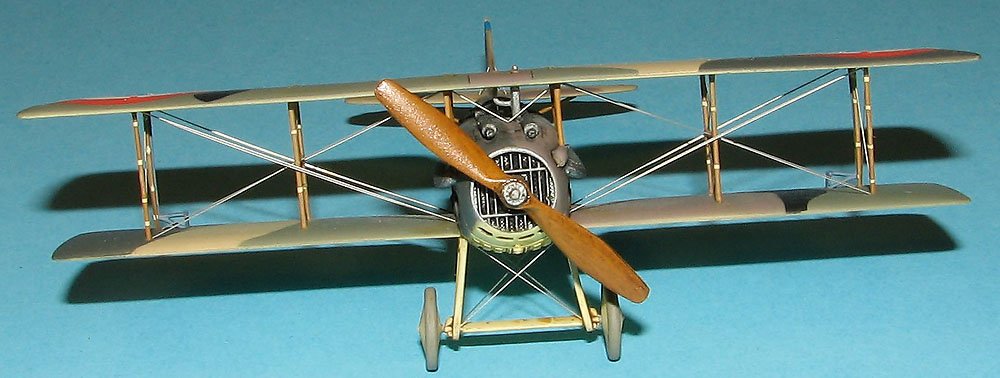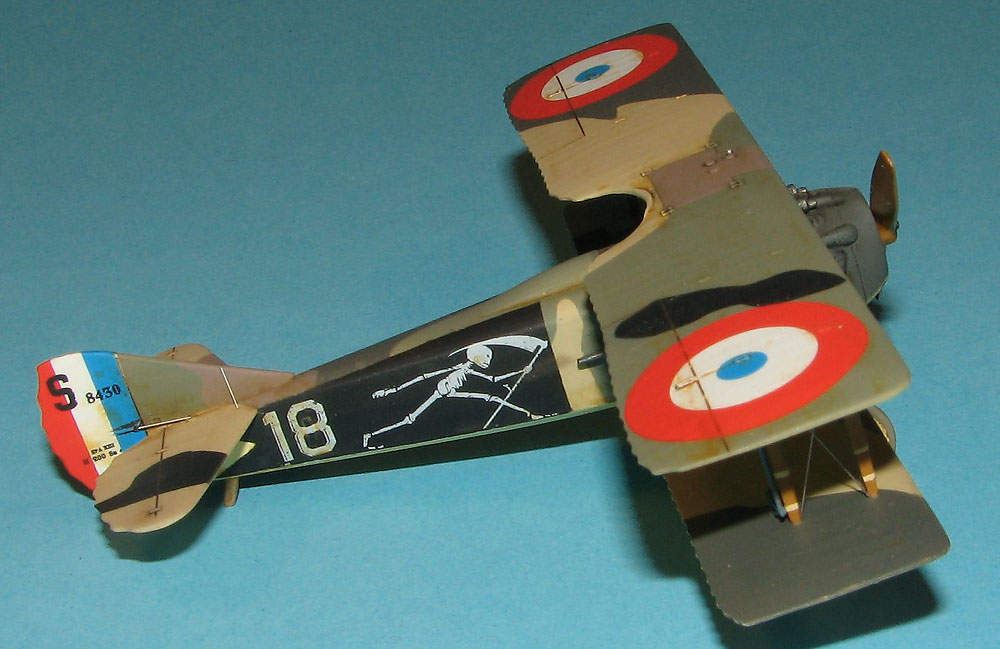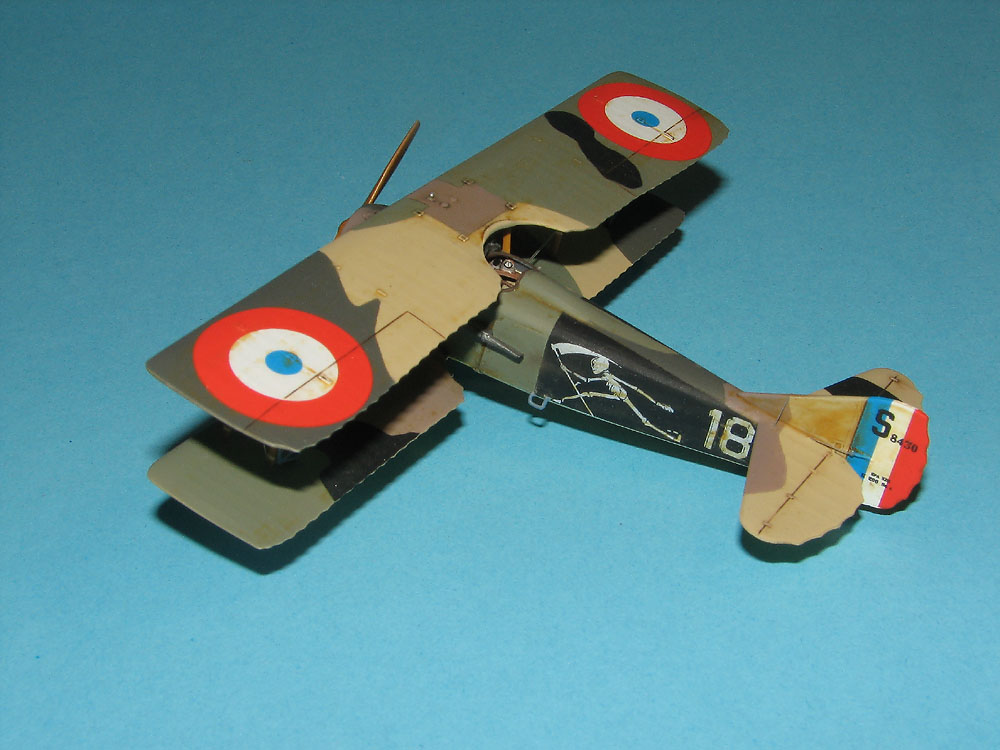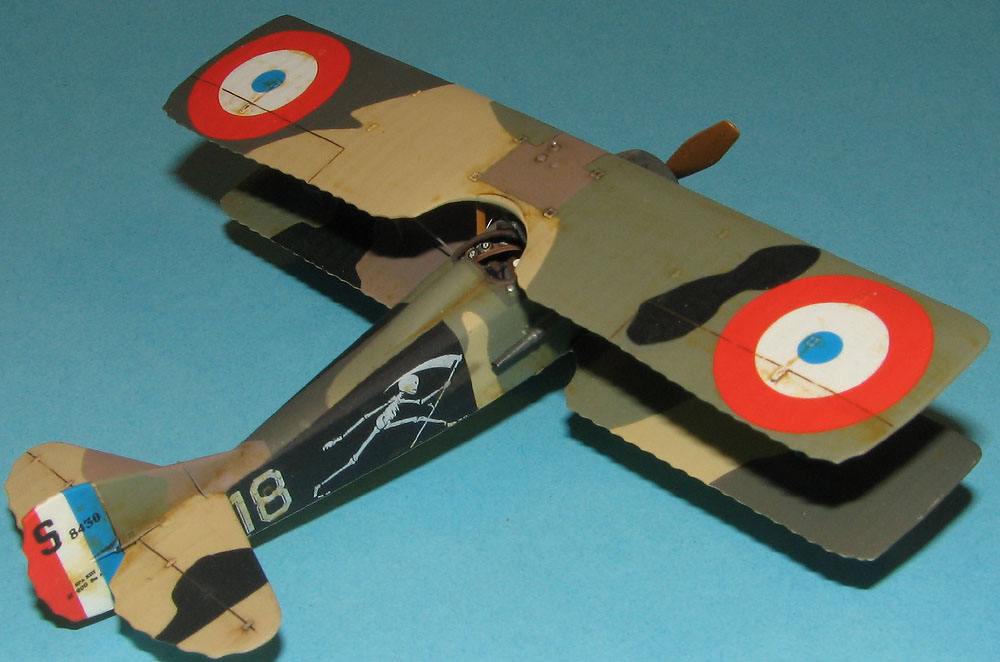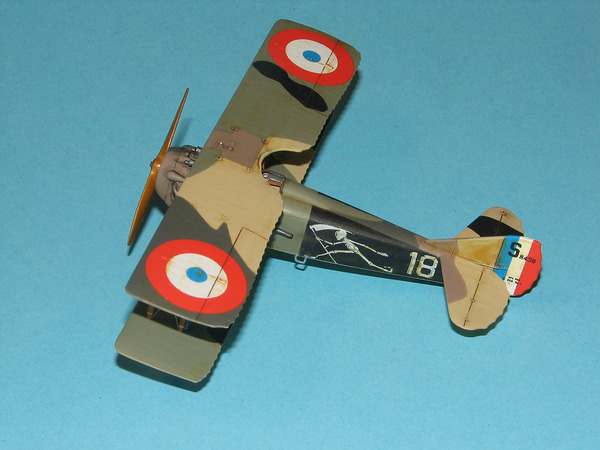
Eduard 1/72nd SPAD XIII "non-profipack"
By Matt Bittner
Background
There are plenty of references available both on-line and in print for the SPAD XIII. Two print references I used for this build were the Windsock Datafile, and the Osprey book "SPAD XII/XIII Aces of World War 1". The primary on-line reference I used was the Mémorial Flight Association site. A few years ago they refurbished – to flying status – a SPAD XIII, and the detail photos are extremely helpful, especially if you want to add a lot of detail.
|
Construction
Difficult to believe I wrote the First Look on this model over two years ago. Difficult to believe, that is, unless you know me. I am definitely not the fastest builder in the 'verse. I'll refer you to the First Look for contents of what is in the box. One aspect I really like is the separate turtledeck/horizontal tail part. Since the turtledeck on the real thing had stringers, this is the only way to represent them correctly, and not worry about replacing the stringers when cleaning up a seam down the middle of the fuselage.
|
I started with the "non-profi" kit (which means there was no photoetch included) and decided to build it out-of-the-box. I've seen the photoetch that comes with the "profi" kit, and yes it definitely dresses the kit up a bit. But even so, a decent model can be made without the photoetch, as I hope I've shown here.
|
|
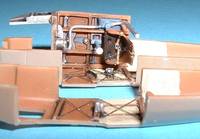
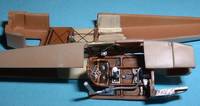
So, construction starts with the cockpit, and there is plenty of detail for this open space. Using photos from Memorial Flight I painted it to match, including the blue control stick with white top. Definitely adds a bit of flair to the otherwise dull cockpit. One thing before I continue, though. Somehow, someway, I thought I would be smarter than the model and somehow – through sanding and everything else – completely mucked up the fuselage sides and opening where the lower wing slots into the fuselage. I can't for the life of me recall what I was thinking, or why I went down that path. I messed it up so bad that I requested a new lower wing, new upper fuselage/turtledeck and fuselage halves from Eduard, and besides it being all my fault were quick to oblige and sent the replacements for free. Better customer service I have yet to find.
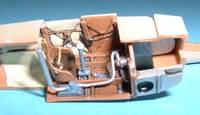
|
Once all cockpit pieces are stuck together and everything painted accordingly, then the cockpit can be inserted into one fuselage half, and both fuselage halves assembled. A bit of a warning. The nose/radiator assembly is just a little wider than the fuselage, so inserting a piece of plastic in the front of the fuselage where the halves glue together is a good idea. Unfortunately I can't remember the exact size of the piece I added, but I think it was .010 thick.
|
Now that the fuselage halves are together, the rest of the cockpit pieces are added to the fuselage. This includes the pilot's "shelf" that surrounds the seat. This is an area that dry fitting is a must. With care, you can get this all to sit correctly without altering anything else.
|
Once the cockpit is completely finished, then the other major assembly pieces – minus the upper wing – are now assembled. With care you can get the turtledeck on with minimal seam work. Thankfully that seam work on is on the sides instead of straight down the middle, which would result in removing (and then replacing) molded-on stringer detail. Yes, this is a pet peeve of mine, if you must know. Also take care when adding the lower wing. Again, with careful dry fitting you can add this with very minimal seam work needed.
|
From here the nose is added. I didn't try – since I was building a machine that didn't have a different colored nose – to add the nose after painting. If you're building an aircraft with a "colored" nose, then you may want to try adding this after your major painting is accomplished.
Painting and Finishing
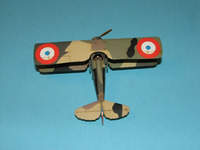
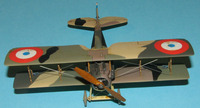
Now that all the major pieces are together, painting can commence. Along with the kit, Eduard sent their masks for the SPAD as well. Unfortunately they were the older, vinyl masks and not in their new "kabuki", yellow-tape line. (Also unfortunate they haven't released the SPAD masks as "kabuki" yet.) These masks did not work at all – they would not stay on the model. However, I did use them as templates and cut new masks out of regular "masking-type" tape. Once the majority of the "tack" is taken out of the tape, then paint pulling is not a factor.
|
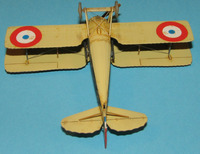
I decided to use all MisterKit paints for this build (except the black, which was from Vallejo), to show everyone what MisterKit five-color paints look like out of the bottle. They were thinned primarily with Future (Kleer in some parts of the world) and a drop or two of windshield-washer-fluid. (Note: when I'm able to start my acrylics articles I will talk about the chemical composition of all fluids used, as well as provide precise measurements for the thinner/paint ratio.) I let each color dry at least two days before applying the next color. That ensured the paint/Future cured completely which also resulted in no paint-pull-up when removing the masks. (I've found that adding Future to most acrylics, especially MisterKit makes the finish a bit more "tough".) Naturally I started from lightest to darkest paint, which means the first color on was the "French Yellow" in the MisterKit line (and not Clear Doped Linen).
|
Once all paints were on and all masks removed (I would guess a "real-time" frame of a couple of weeks) I then sprayed an over-all coat of Future, just to add some more strength to the finish, as well as prep all surfaces for the decals.
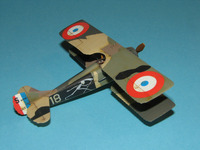
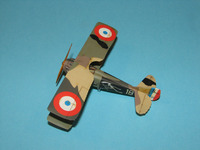
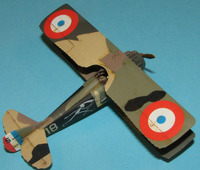
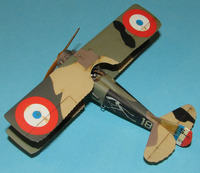
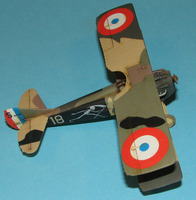
One of the French Escadrille markings I really like is the "Grim Reaper" of SPA 94, so I decided to finish my second SPAD XIII (my first was finished as "Eastah Aig" of the USAS 94th Aero) as one of the SPA 94 machines. Decals of the specific machine were made for me by Bob Pearson, which included the "Grim Reaper" markings. The rest of the decals – including the rudder stripes – were from the kit and reacted well to my normal way of adhering decals. Since the non-kit decals were ALPS generated, care must be taken in adherence. Since I usually put on an overcoat of Future over the decals, it's imperative to do so when dealing with ALPS decals.
|
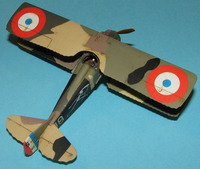
Primary weathering was accomplished with an oil wash, applied thicker in some areas. The thicker coat went on in and around the cowl, which included the undersides. After the rigging and upper wing went on, then final weathering was accomplished with pastel chalks, lightly applied. I think it was a little too light, since it's difficult to discern the exhaust weathering on the sides of the fuselage. I may apply these a little darker in the future.
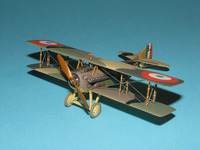
When adding the upper wing, trust Eduard. While you should drill out the holes a little more in the wings, otherwise the struts should fit just fine. Again, I thought I was smarter than the model and things went awry. Be Zen-like with the Eduard kit, and things should go well. Rigging was accomplished with .005" stainless steel wire. I cheated on the wires in the very front and the very rear of the wings. They should pass through the middle spacers (some think these as struts, but they were really just installed to space the rigging) and not in front of. In 1/72nd – as well as being lazy – I installed them the way I did to make my life easier. Eric Gallaud has done a much better job with his SPADs especially since he actually has his rigging passing through – like they should. A much more patient man than I am and a first-rate modeler.
|
The prop was first painted with acrylics, given a coat of Future than "dry brushed" with oils to give it a "grainy" appearance. I thought the oils gave it a perfect sheen, so didn't overcoat it at all.
Whatever you do, don't forget the windscreen. Trust me – I almost did.
Conclusion
Once again, all the problems with this kit I brought upon myself. I went through a serious lack of modeling motivation last year and only completed two models all year – unfortunately the SPAD wasn't one of them. If you trust Eduard this kit should practically fall together. It's a great representation of an important late-WW1 war aircraft.
|
In the future, Eduard plans on releasing an "early" SPAD XIII, which means different wings..
Acknowledgements
My thanks to Eduard for the SPAD kit, as well as their "older" vinyl masks.
Thanks to MisterKit for supplying the paints many years ago.
Finally, huge thanks go to Bob Pearson for printing the SPA 94 decals for me.

