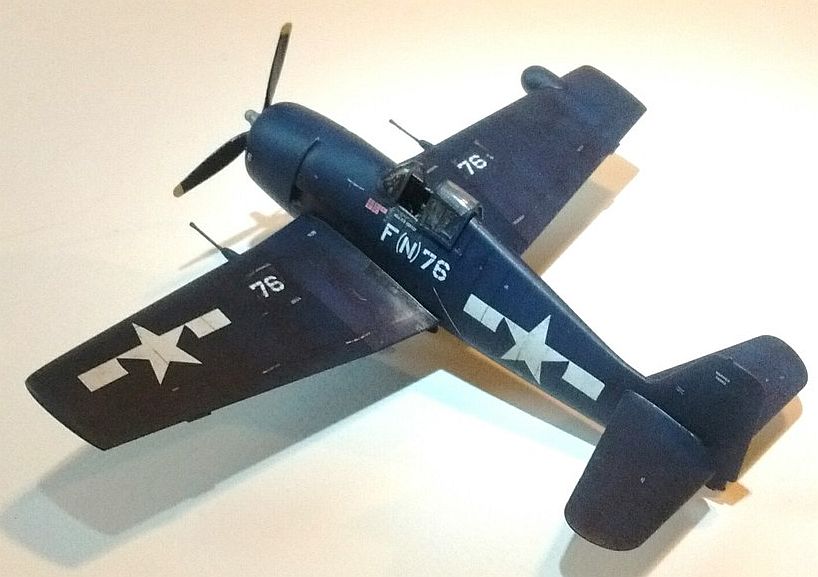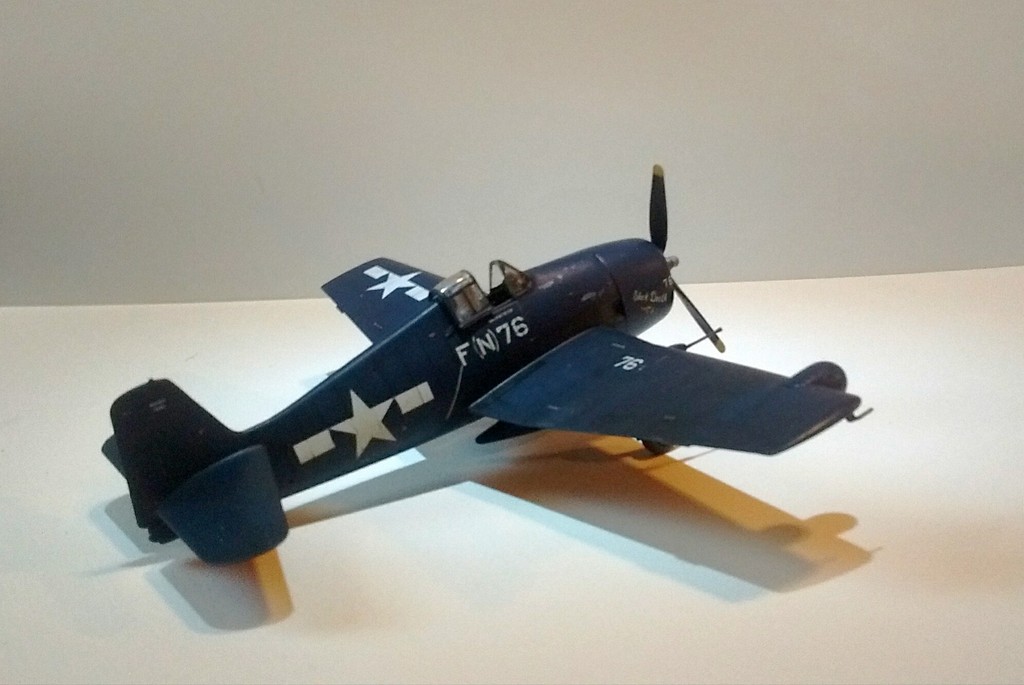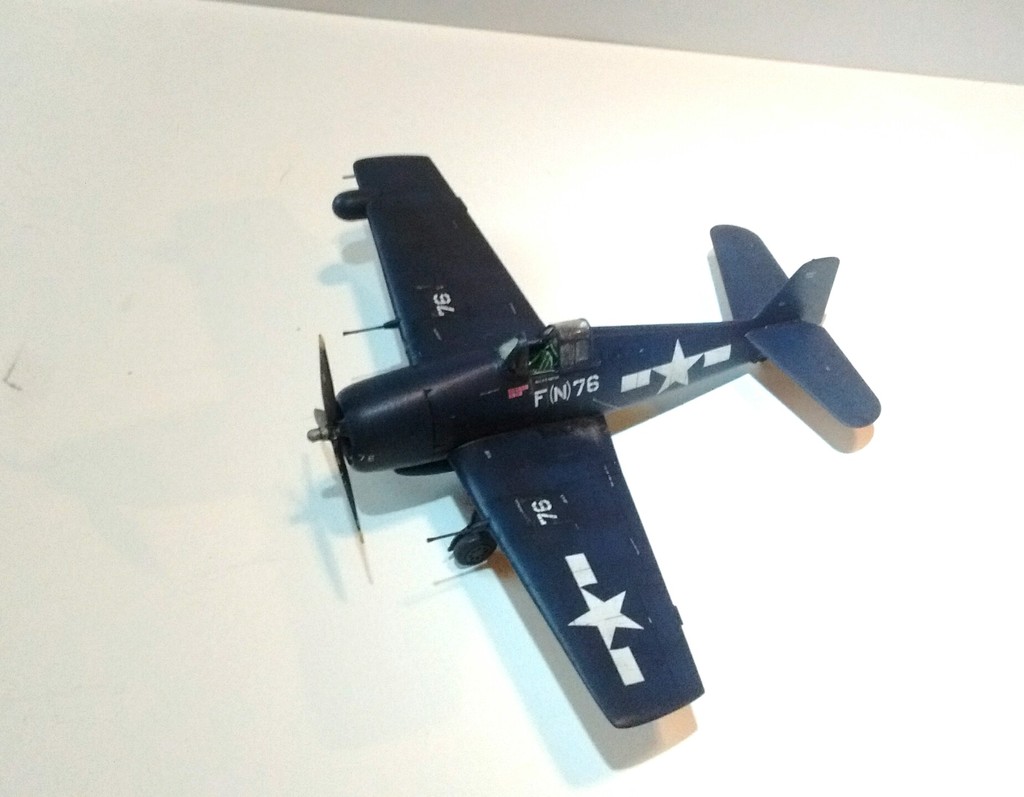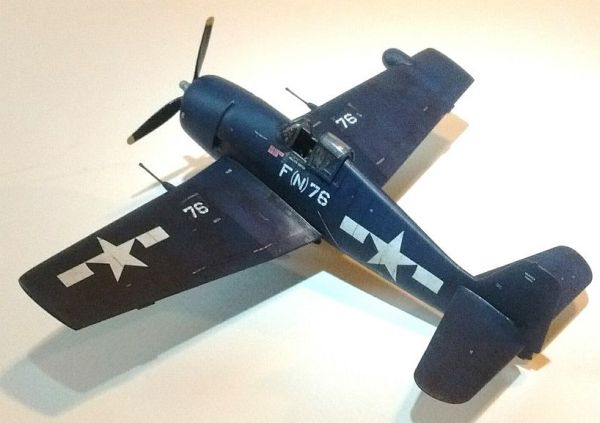
Eduard 1/72 F6F-5N Nightfighter Weekend Edition
By Anna Leas
I was asked to do another build review and was given Eduard's little Nightfighter as the topic. It's the Weekend edition, so no fancy resin or photoetch (PE), just plastic right out of the box.
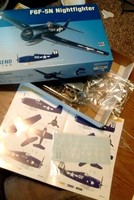
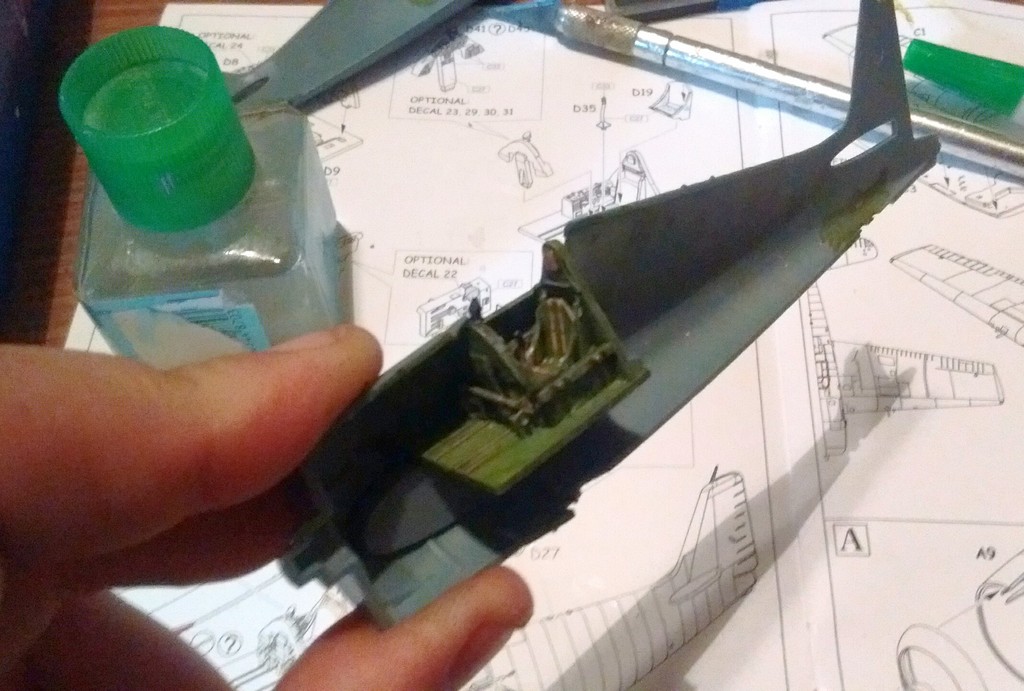
The cockpit was a breeze to put together. Eduard gives you the option of plastic or decals for the instrument panel, remember, this is the Weekend version, so no PE belts were included either; a modeler has to make do with the flat decals instead. Still, in a closed cockpit they will look the part!
I base-coated all the cockpit parts with dark green, then mixed in yellow-zinc chromate for dry-brushing. Details were picked out with the appropriate colors, then a coat a future sealed things for the wash. I went back after the final flat coat and dropped some little dots of Future on the instrument panel faces to give an illusion of glass.
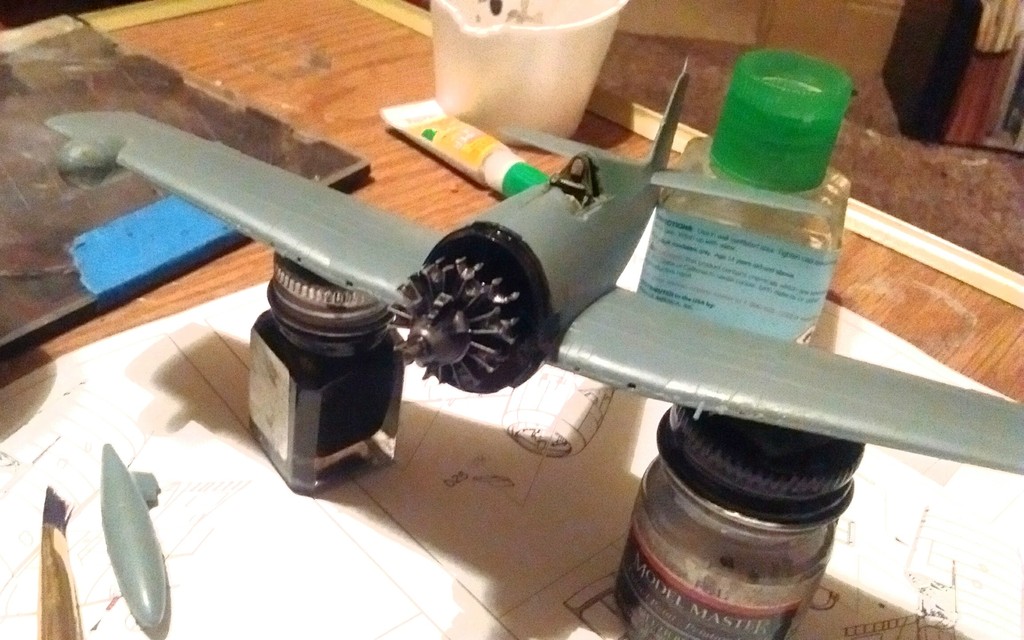
Once the cockpit was installed, I sealed the two fuselage halves together; they matched beautifully. Eduard devised a rather ingenious way to attach the wings: there is a deep recess in the fuselage halves that each wing assembly slots into. The fit was perfect!!
Some simple MEK (Tamiya-Thin substitute) sealed everything together with absolutely no gaps. The depth of the recesses also ensured you will get the correct dihedral on the wings.
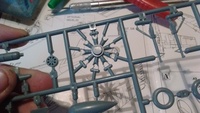
Eduard also included a little beauty of an engine; I'd imagine the PE detail would only make this spectacular. Both rows of pistons were sharply cast, but care needed to be taken when removing them from the sprues. To ensure the quality detail, Eduard had some crazy attachment points.
There were no issues with construction. Just some minor seam work (and a glue thumbprint!) to clean up and the model was ready for painting and decals.
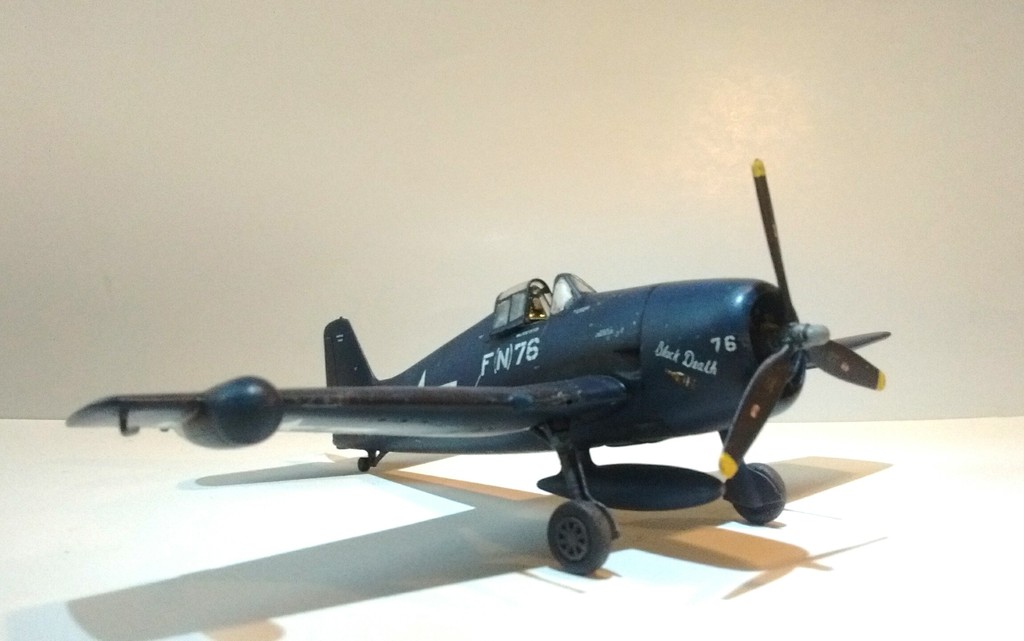
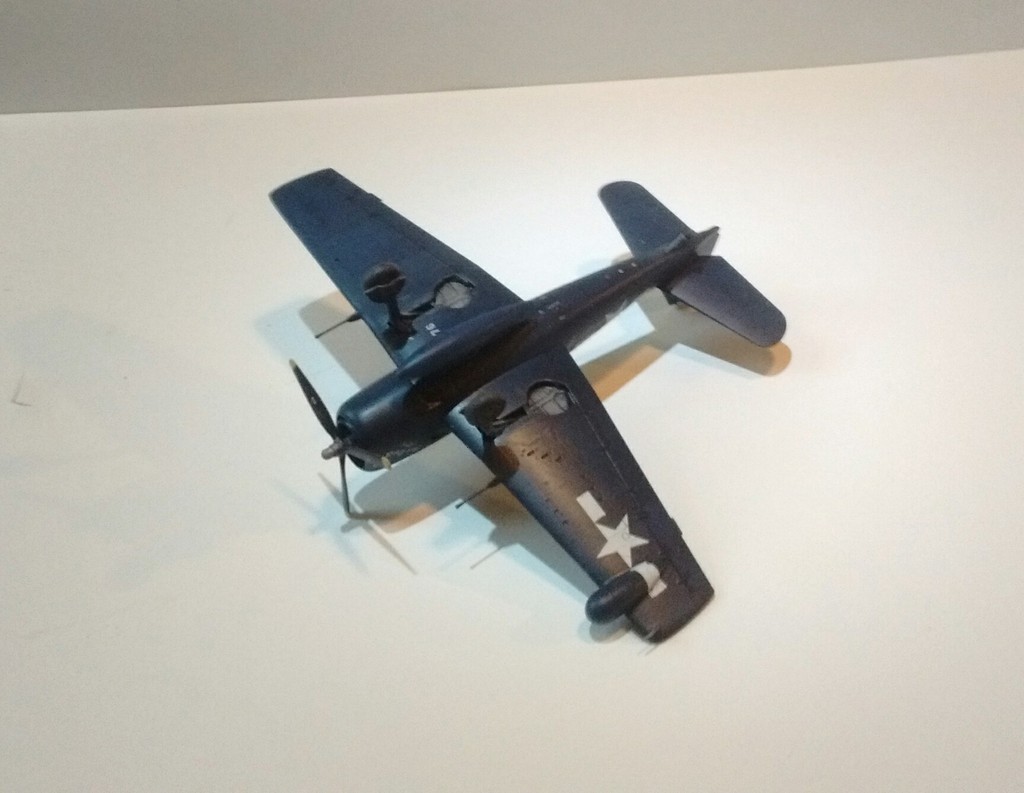
Eduard's decals worked wonderfully: they were thin and crisp, allowing you to read all the stenciling...which in 1/72 is rather hard to do! The only caveat was that the decals were so thin, they had a habit of trying to fold over on themselves.
A second gloss-coat sealed the decals for weathering, and a wash helped to bring out the recessed details. I attached all the subassemblies at this stage, and a quick pass of Testor's Dull-coat finished the job.
In all, Eduard's Hellcat was a wonderful build; basic detail was satisfactory for an out-of-the-box build, and trouble-free construction ensured a modeler probably could complete this in a weekend!
9/10 -- would definitely recommend!
Thanks to Eduard for the review kit.

