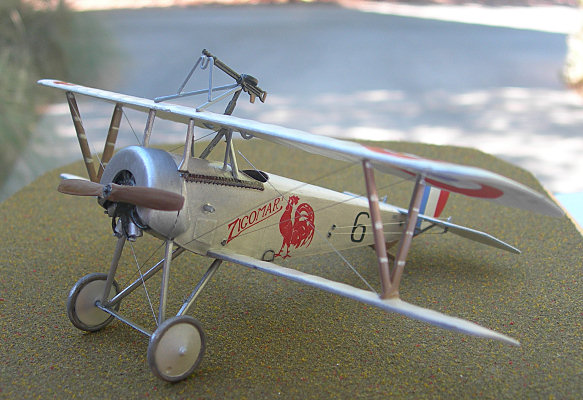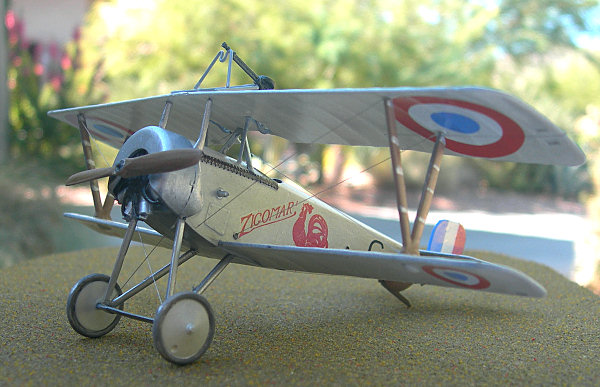
Eduard 1/48 Nieuport Ni-11 "Weekend Edition"
By Rob Stewart
Introduction
This kit is another in Eduard's 'Weekend Edition' series of basic kits (8421), may be a nice challenge for beginners, and great for WWI enthusiasts, or just about anyone with a need to have a nice little project in the work room in case you find yourself with a free long weekend.
This is another good one for a beginner who wishes to get their teeth into rigging. There is not a lot of wire, although once you have figured out the rigging diagram and method, you'll come out with a very impressive looking model.
As per the rest of the weekend series, the kit comes without PE or masks, and with a single marking option, but that shouldn't put anyone off. For a detailed first look review, please see my First Look. I was particularly impressed with the detail offered for the interior.
First steps
As a first step, I sprayed both sides of each sprue with Tamiya primer, and left them for 24 hours to dry thoroughly. This is because I use cheap, craft store, acrylics for my top coats and they don't seem to "bite" into the styrene very well, and tend to make a mess and require many coats, and it can look awful. I then took some time to drill out the rigging holes.
Interior
I pre-painted all the interior bits and bobs and left them to dry. I then applied the decals to the guages. The interior went together without any difficulty. The instructions are easy to follow, and a cross sectional diagram of the finished cockpit is included to help you figure out where each piece should go.
Assembly
The second page of the instructions takes care of fuselage and wing assembly.
Painting
I buttoned up the fuselage then painted it and the wings with my mix of CDL. After a coat of future, I then went over the ribs on the wings with a slightly lightened CDL applied with a fine paintbrush. I appled the decals then added a "weathering" coat of future slightly darkened with black.
The rest of the assembly proceeded according to the instructions.
The Nieuports had a unique aileron control system, and I found that it was easier to affix parts B24 to their correct position in the upper wing then add the rods, B23 afterward. There is an exploded diagram of this in the instructions.

Decals
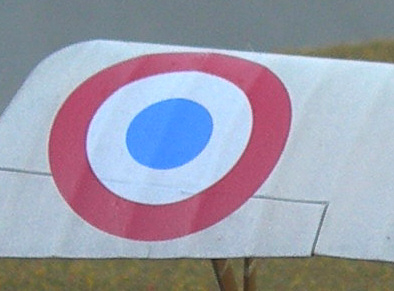
The decals went on very well, as you expect from Eduard, and take decal solutions perfectly.
Rigging.
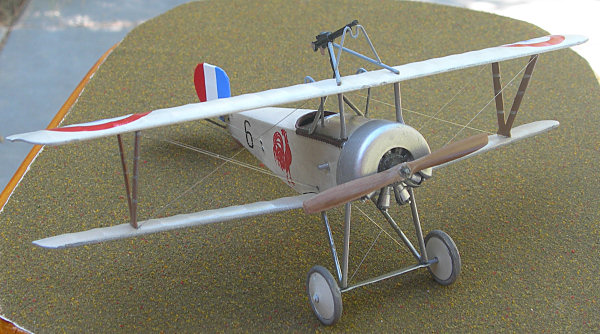
This was a simple affair. I rigged it with 0.005" stainless steel wire held in place with CA glue.
Conclusion
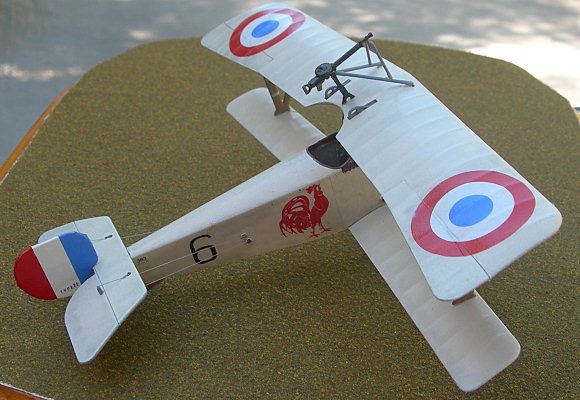
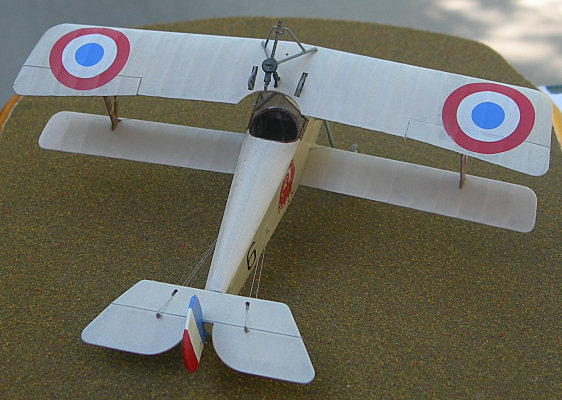
This is a nice, simple kit, which looks nice in my display stand. It can easily be done in a weekend. Although it had a relatively plain paint scheme, I was able to challenge myself with an easy shading technique to enhance the rib detail.
Thanks to Eduard for the review sample and Matt Bittner for letting me build it.

