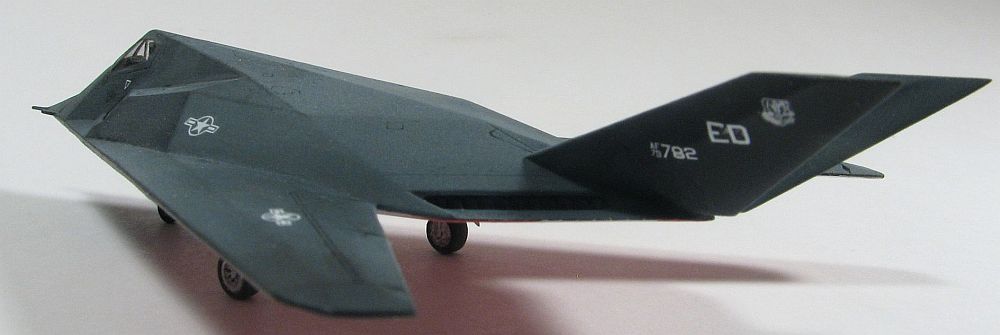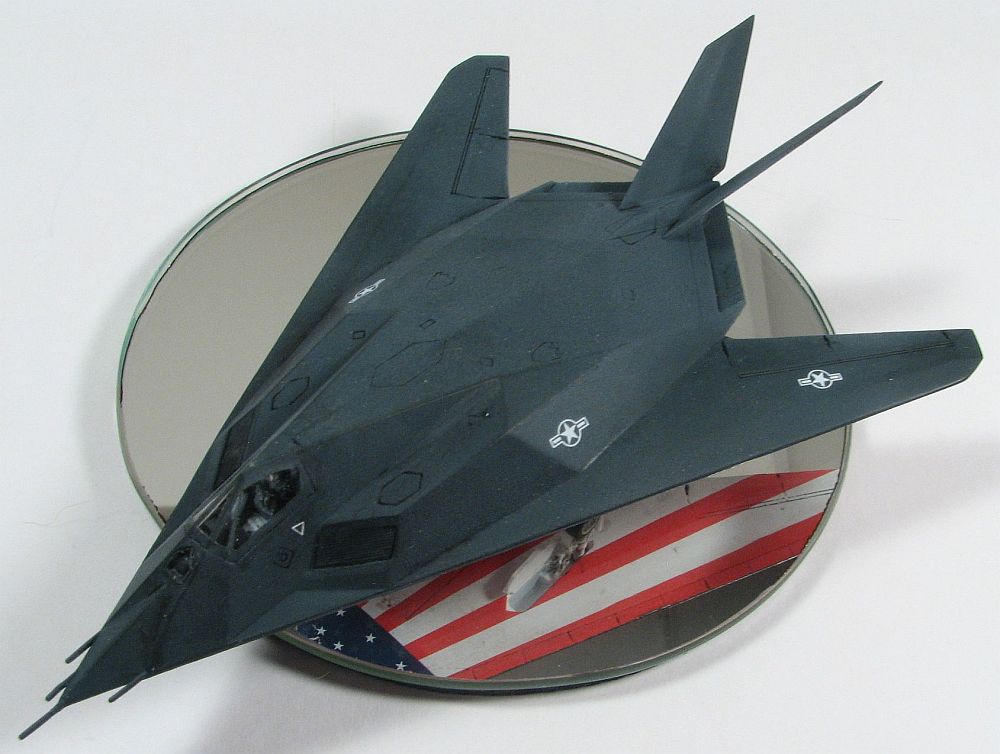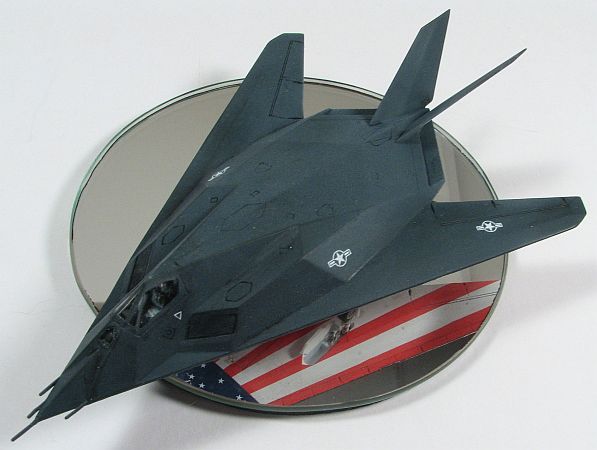
Dragon/RetroWings 1/144 F-117
By Matt Bittner
Introduction
 I hope by now most people know the history of the Lockheed Martin F-117 Nighthawk, or Stealth Fighter, or Wobbly Goblin. In terms of operational history, it had a short life, but when you think about the impression it left on the world, especially in the opening days of Operation Desert Storm, it was a brilliant life.
What some people might not know is that this particular kit is actually the second F-117 mold in 1/144 from Dragon. The first was a caricature, and thankfully Dragon/DML saw that and decided to correct its mistake. However, even this kit has its flaws. The aspect Dragon left out this time is the saw-tooth edges to the canopy and the FLIR cover - aspects not easily rectified.
The Kit
 There have been at least two different releases of the same, basic kit. While all contained a rudimentary GBU-10 that could be displayed in the open bomb-bay, the newest release comes with separate sprues that contain a better-molded GBU-10, as well as a GBU-29, CBU-87 and AGM-154A, and other ordinance that isn't used for the Wobbly Goblin. Plus, the earlier releases also contained the "bumps" that were added to the surface of the F-117, to help with radar tracking while at home (this was the Stealth Fighter, remember). Those bumbs, though, are not on the current mold.
Construction
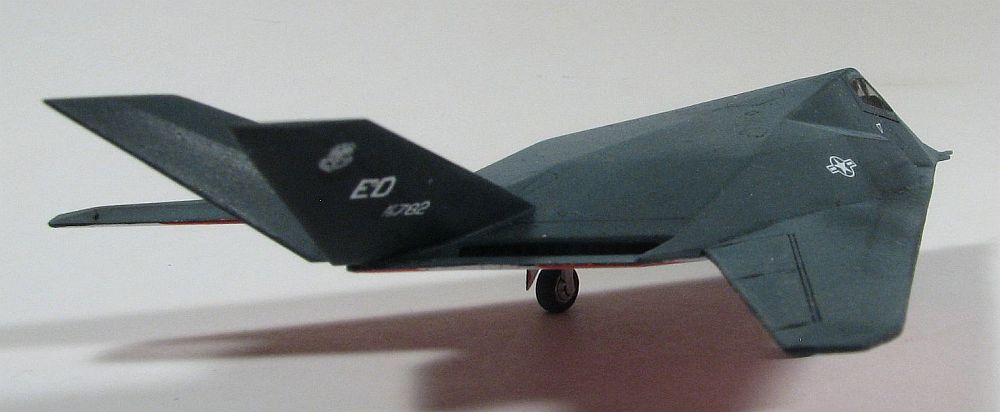
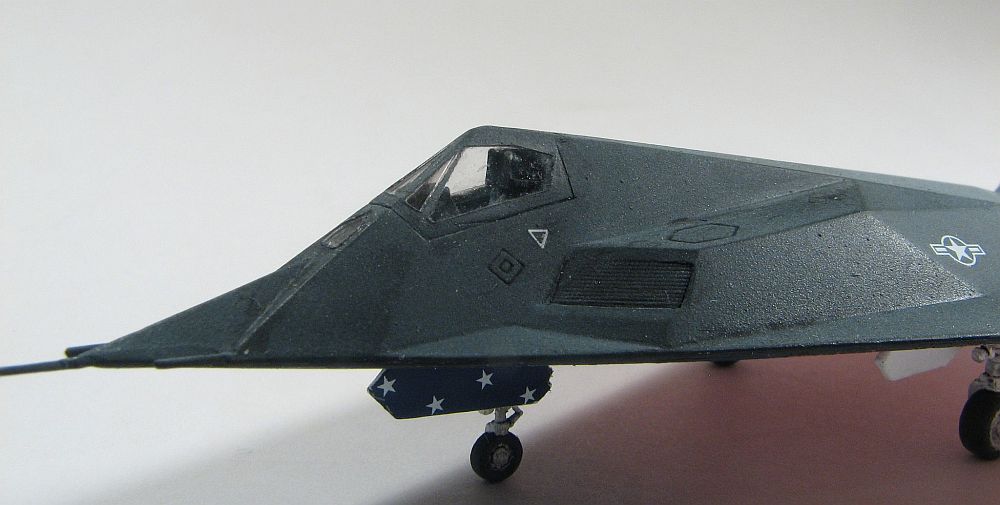
 Originally I was going to build this as the "Grey Dragon", the one F-117 experiment where it was painted in the same, basic greys as the F-15. This first release I had of the newer Dragon F-117 was finished in black plastic, so I primed it white. Well, as I said that good things come to those who wait, and this time I was given another set of F-117s that contained a decal for the underside, in the form of the U.S. flag, painted across the entire underside. So, the priming was now moot. Ah well.
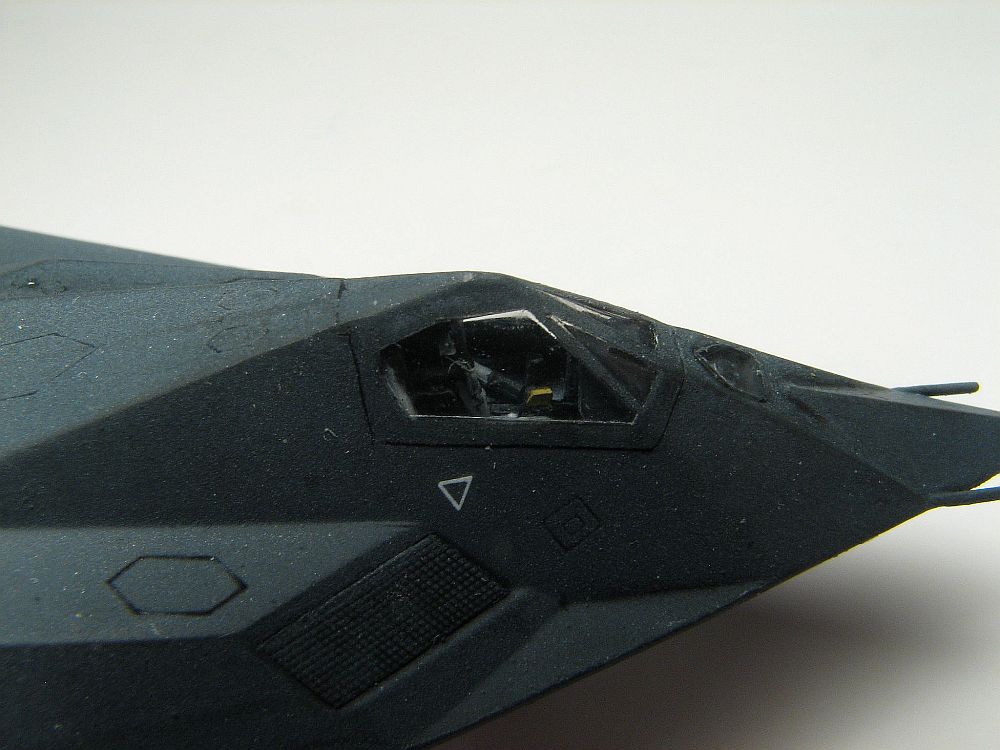
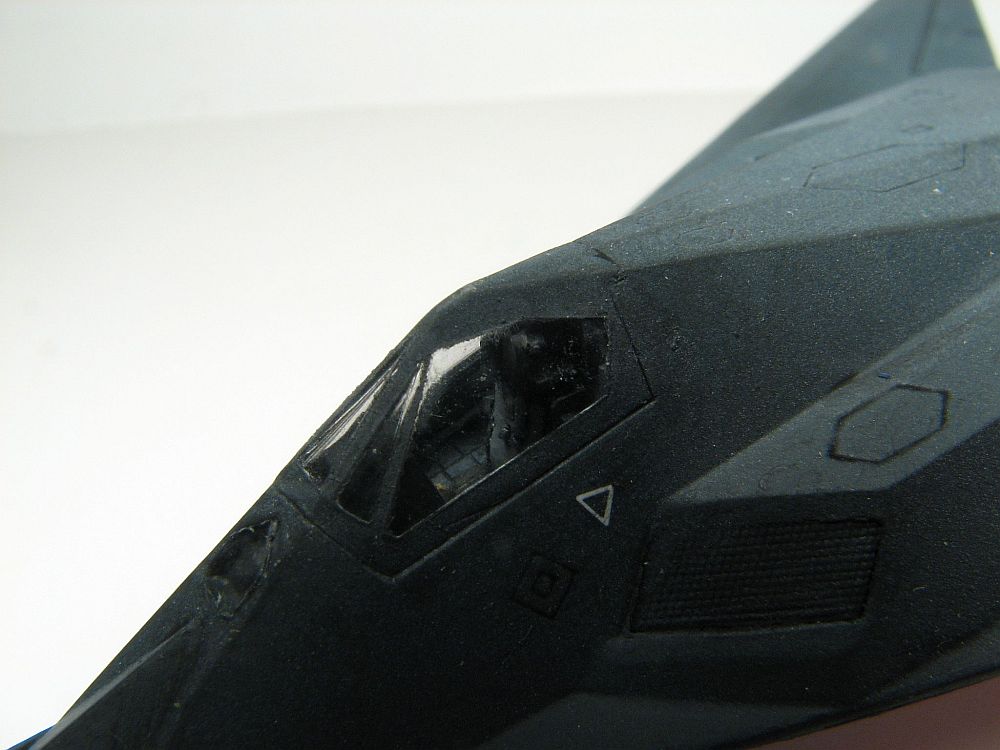
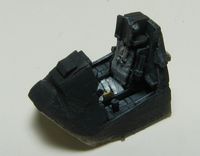
 The kit comes with a "lump" of a pilot sitting in a cockpit tub. That's it for the cockpit-area. I wasn't happy with that, so when I first started the kit I was going to scratch-build a new cockpit. Thankfully, when your modeling building stalls for one reason or another, good things come to those who wait, and in this instance it was a new cockpit, put out by RetroWings.
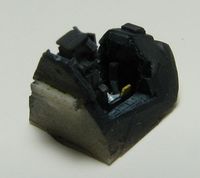
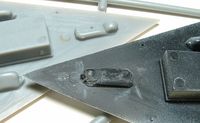
 To fit the new cockpit into the kit, there is some surgery to perform. First you need to remove the forward part of the cockpit area, from the top fuselage half (see the picture for more information). In addition, you'll need to thin the underside of the resin cockpit tub as much as possible, as well as thin the top of the nose wheel well on the bottom fuselage half. I thinned that until I could see daylight through the thinned plastic, but didn't want to go any farther for fear of "breaking through" the top of the nose gear well. Even with all this thinning, I was still forced to use CA in this area when I joined the fuselage halves.
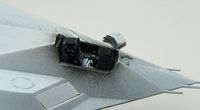
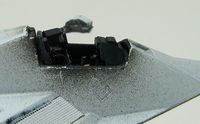 I also thinned the forward upper fuselage so the new instrument panel coaming would sit better. The new cockpit was painted dark grey, and then was given a white oil dry brush. Once that was dry I went in with some color, especially the ejection handles on the seat. Now the cockpit was finished and was glued into the top fuselage half.
Construction from here is quick, since there are two halves - an upper and lower - to the fuselage/wing. One thing you might want to do when you build this, is keep the sprue protecting the nose probes intact until the very, very end. I didn't, and kept breaking of the longest probe at least six times. These are a little out of scale, an maybe it's best to just remove them anyway, and replace with some other material later. I decided to keep the kit parts.
There was a little bit of putty needed also for attaching the vertical stabilisers to the fuselage, but the fit wasn't too bad. And now you have a 1/144 F-117.
Painting and Decaling
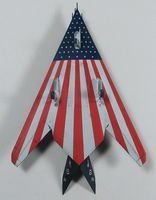 I used Vallejo Black Grey as the base color for the model. I lightened it in some areas, and darkened it in others, but after I applied the Vallejo dull coat, the subtlety was lost. Oh well. Once the paint was cured, I sprayed a coat of Future over the whole model, and once that was cured, added the decals. I started on top and had all the decals applied there, as well as on the landing gear doors - and another coat of Future put over them - before moving to the large, underside decal. Well, the first application was a disaster. For some reason I decided to try to use Future under the decal, which didn't work. The Future started to dry as I was moving the decal into place, and it broke up into a bunch of pieces. That was a bad idea. After waiting some more for replacement decals to come from "Domi", "MattP" and "David", I decided to float the large decal on a lot of water. That worked - the decal slid off the backing in one piece, and I was able to get it into position easier using a lot of water. At this point I just wanted the water to evaporate and see what I was left with.
 Once dry, I noticed it hadn't really "sucked into" the panel lines, so a few applications of different decal solutions (finally ending with SolvaSet) I had everything laying down nicely. Once it was all dry, I thin applied a black oil wash into all panel lines and once dry, sprayed the Vallejo Flat Coat.
Here's another lesson. Read the label. I decided to give the F-117 one, thick coat of Vallejo Flat, but the lable reads "multiple thin layers". I think if I would have done that, the dull coat wouldn't have lightened my finish even more. Oh well, chalk that one up to experience.
Conclusion
 Thankfully I have three more Dragon 1/144 F-117s I can perfect some of my trials and tribulations I came across on this kit. The biggest aspect needing to be fixed/added are the saw-tooth edges to both the canopy and FLIR cover, but otherwise this is a very nice model. Plus, one of the others I'll open the canopy, and open the bomb-bay doors. There is a lot of potential with this kit, even in terms of color. Sure, most F-117s were finished overall in "black", but there was the "Grey Dragon" and at least one had an experimental green and tan camouflage as well.
The RetroWings cockpit was a joy to use, and really brings this kit to life. If you could fix the saw-tooth edges and display the canopy open, you would be able to see all the great detail that is on the cockpit detail set.
Many, many thanks to RetroWings for allowing me to add his excellent cockpit to my F-117 kit.

