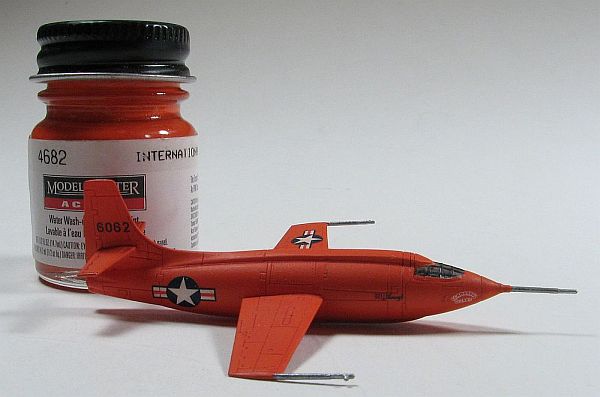
Dragon 1/144 Bell X-1
By Matt Bittner
Introduction

|
I just need to come to the conclusion that no matter the level of difficulty with a model - even if it's considered "easy" - it appears I won't be able to finish one quickly, let alone in a weekend. It was my intention when receiving the X-1 for review to build it quickly, maybe even in a weekend. It could be done - just not by me. It's not that it's a difficult kit - it isn't - I just find myself distracted in many other ways, some under my control, some not.
Construction

|
You can see in my First Look exactly what comes in the box. You do receive two X-1 models which you can build both at the same time, or like me, one at a time. I decided to make the first one gear-up in the hope that would propel me along a quick build.
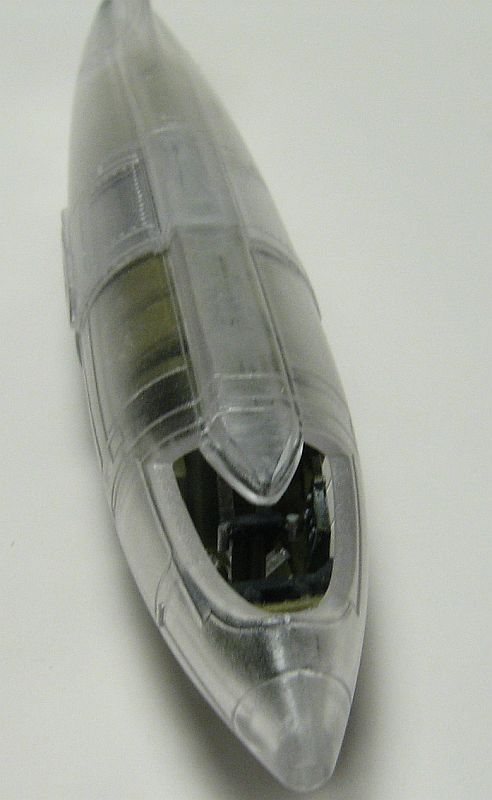
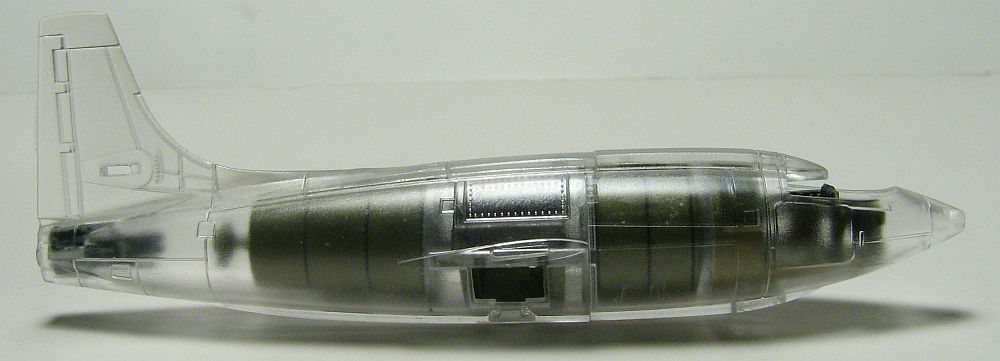
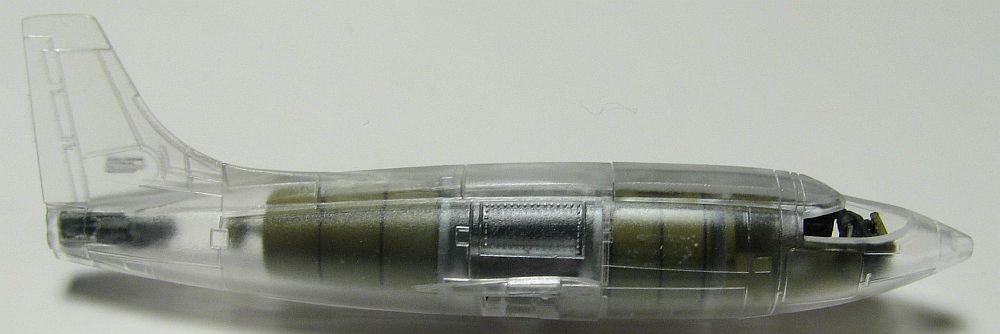
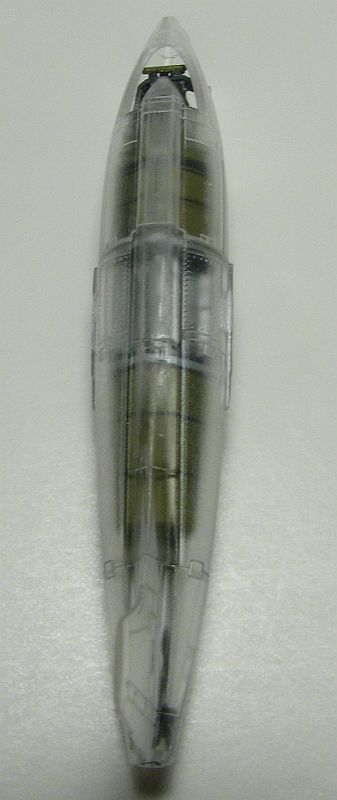
Even though I had no intentions of displaying my model with the clear fuselage, I wanted to put the pieces together so you can see exactly what you receive for the interior of the kit, and what those parts look like inside the clear fuselage. I initially thought I would have to put at least the main landing gear well anyway, to help hold the gear doors in place, but found it wasn't necessary. So, when I go to build the next X-1 I have some of the parts already finished. I'll just have to build the cockpit for the second one.
|
The cockpit out-of-the-box is very nice. It's a very accurate cockpit, and only things missing are the seat belts, which I added with tape. For the next build I will cut open the door and squash-cast a new canopy to show off everything in the cockpit.
Now that the cockpit is assembled and inserted into the front fuselage half (after spraying the inside of that fuselage half with interior green) I could build the rest of the model. Glue the fuselage halves together, followed by the wings and horizontal tail surfaces, and you have an X-1. I left off the nose-probe until the very last to avoid breaking it off.
At this point I glued in the landing gear covers. Unfortunately these were not a tight fit and had to be puttied.
|
One word of warning. It's very difficult to see the gaps between the dissimilar materials. With the clear fuselage it was hard to see if there was any filling needed. After spraying a primer coat, there were a few areas I needed to work on, especially with the landing gear doors.
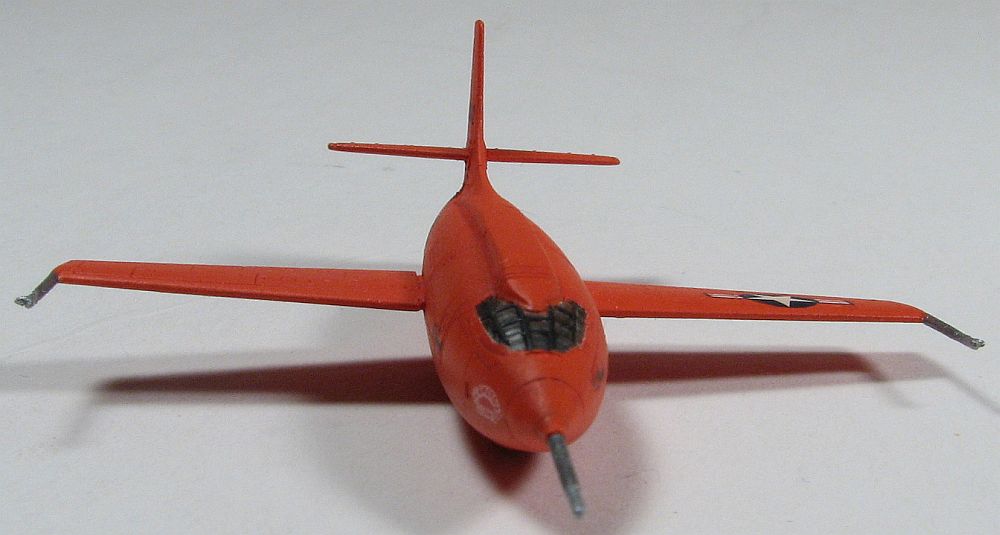
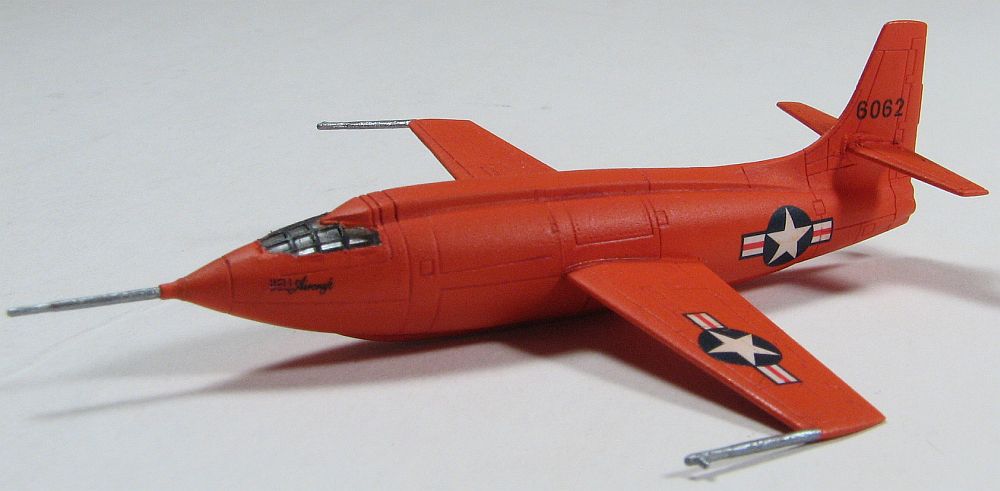
There's another reason why you want to spray some type of primer coat. That's so all parts have the same color to which you will spray the orange on (if you're going to paint the clear fuselage). You could spray the orange direct, but it's going to take a few coats to get the clear and the gray, injected pieces looking the same. I did not spray the orange straight. Because of the scale, I lightened it a little with some yellow, until I made the shade I thought was best.
Finishing
|
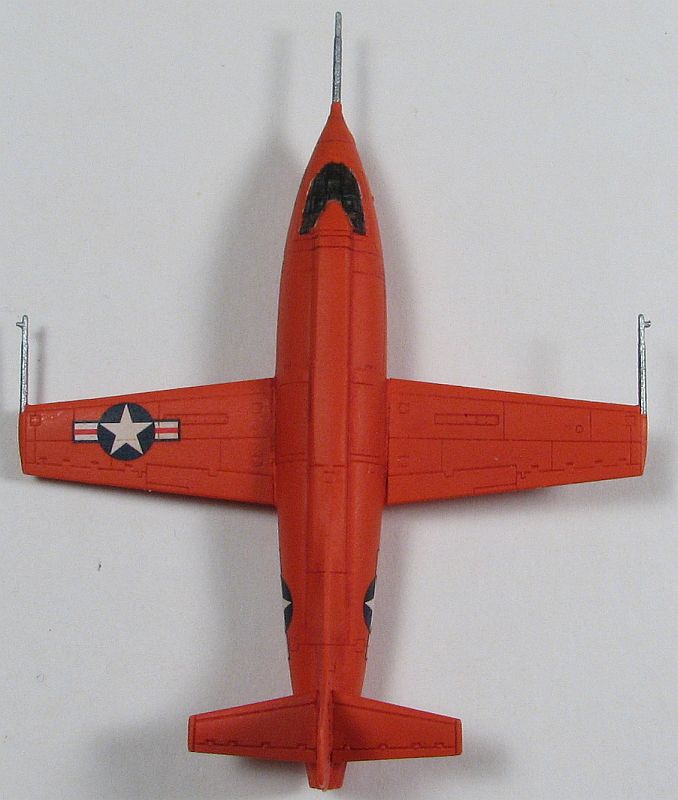
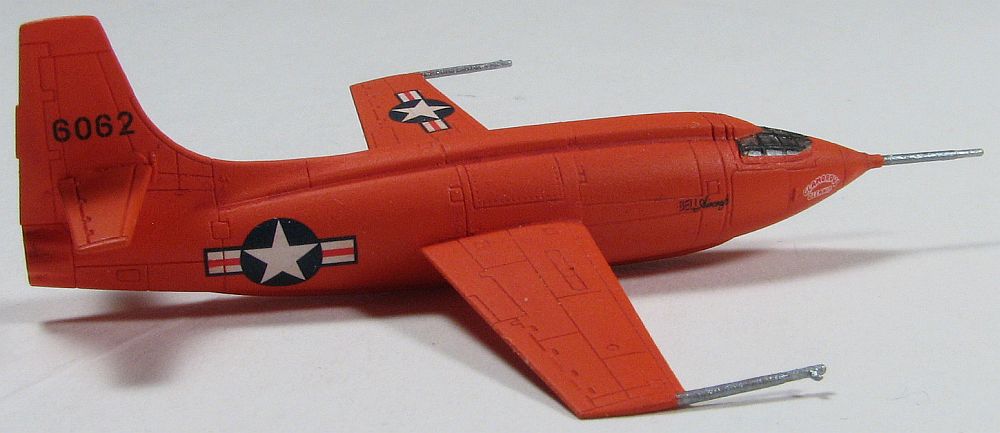
Now that the model was painted (and I thinned it with Future, so it was glossy enough) I added the decals. These went on with no problems at all and look great. I used primarily Micro Sol once they were on and they set really well. Once dry I applied a coat of Future over the decals, then figured out how to accent the panel lines.
I knew I did not want to paint them black - much too stark - so after asking a fellow modeler, decided to mix Raw Sienna, Alizarin Crimson and Cadmium Yello Pale Hue oil colors until the right hue was achieved. This was then thinned with Turpenoid and flowed into all panel lines. The first application came out a little thin, so I flowed a little more in all panel lines to darken them up a bit. Perfect.
|
Now it was time to dull coat, attach the nose-probe, paint all probes, then hand-brush the canopy's frames with black.
Conclusion
Not a difficult kit at all and it looks really great when finished. The Dragon 1/144 Bell X-1 is really a fun kit to build and will look great when finished. One of these eons I plan on attaching this one to the belly of a B-29. One of these eons...
My thanks to Dragon USA for supplying the review model.


