Downsize and Customize with Gashapon in 1/144 Scale
By David Haas
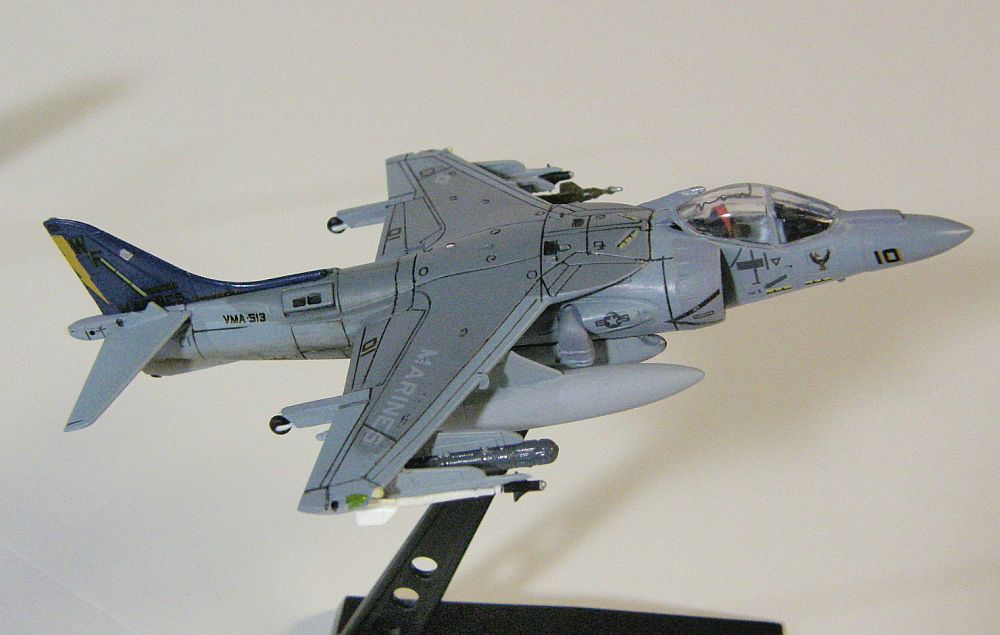
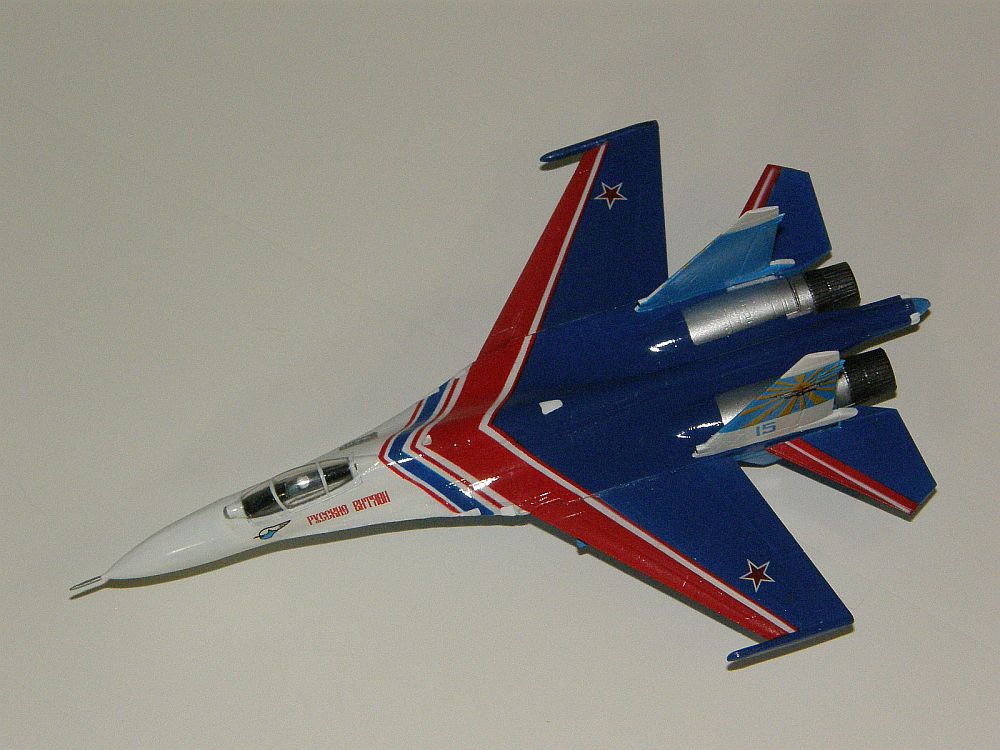
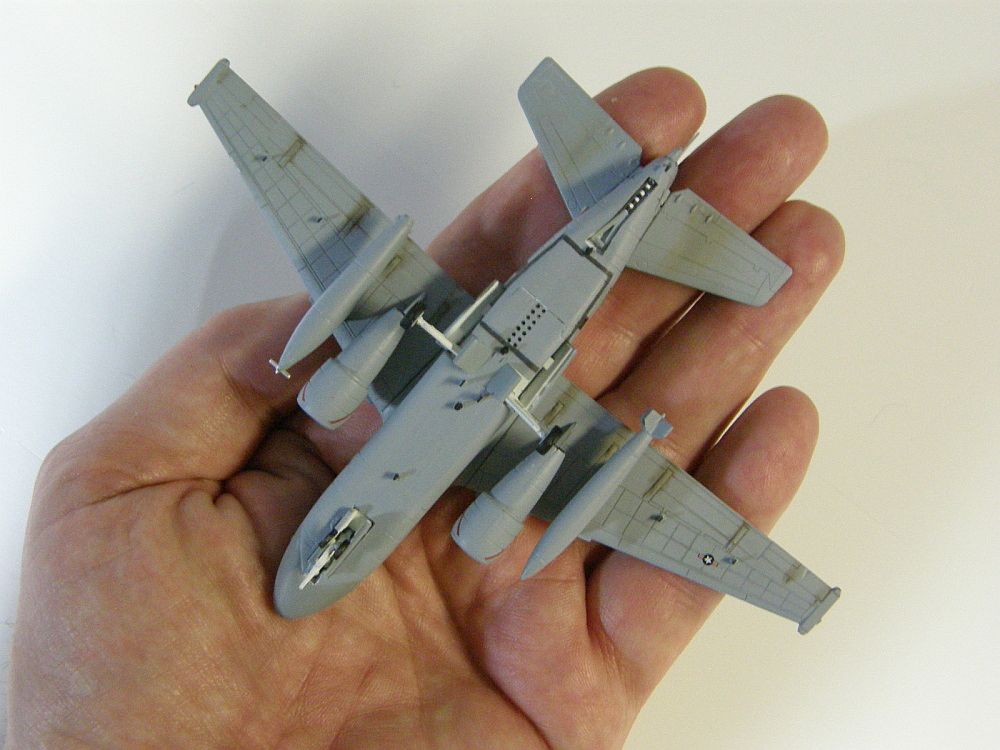
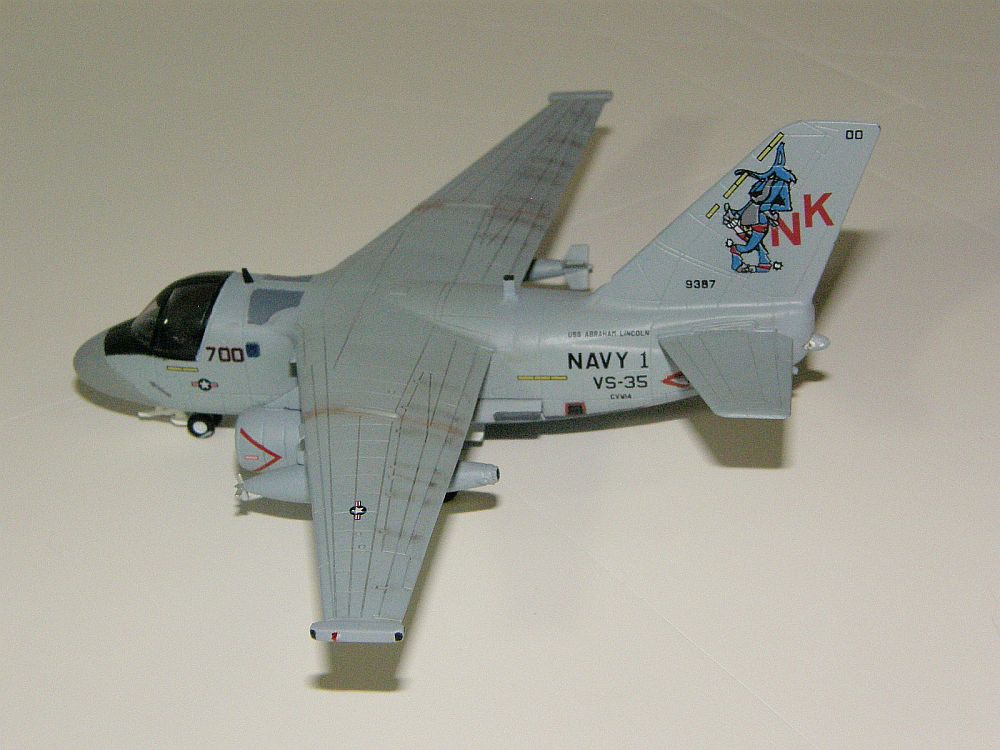
Most modelers recognize that Gashapon are those little Japanese trading kits that come in boxes that don't really tell you what they contain. As a result of that, most Americans won't buy them, so they're missing out on a lot of fun! Manufacturers' names include Furuta, Takara, F-toys, J-wings, Café-Reo, Tomy, and so on. Looking at our friends at HLJ, we find that most are sold in cartons of 10 or so models. Some distributors stateside are now marketing to Western modelers by breaking up the cartons and identifying the contents for their buyers (which is how I got into these little gems). So what have these reluctant buyers been missing? These models are pre-painted, usually with pad-printed markings, and often with additional decals; major assemblies are pre-built, and stands and parts are there to allow gear-up/gear-down options. The really cool thing is that most of them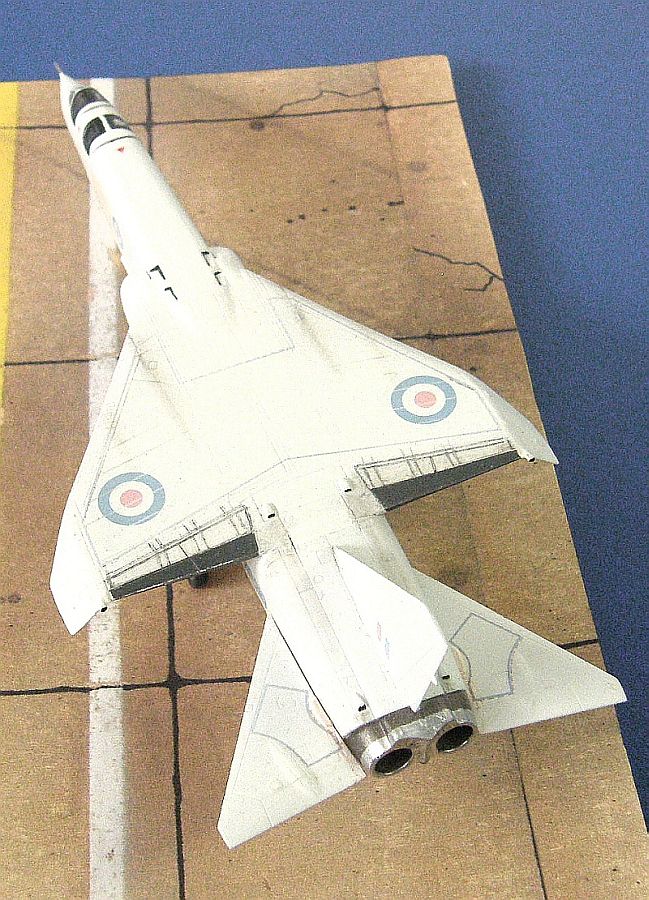 are 1/144 scale, and they are reasonably priced! Obviously, some models are better than others, but a few generalizations can be made: seams are usually a problem, details parts are often overscale or ignored, and transparencies are nothing to write home about. On the other hand, overall shapes are very good, color schemes are often quite interesting and accurate, and the colors themselves are usually well-researched and accurate (!). These nice little models are easy to upgrade to the high standards that serious modelers demand, and I would like to offer a few helpful tips on how to make it happen. All in all, Gashapon offer a great and economical way to expand your collection (without having to add a new wing to the house to hold your display shelves) and have fun doing it.
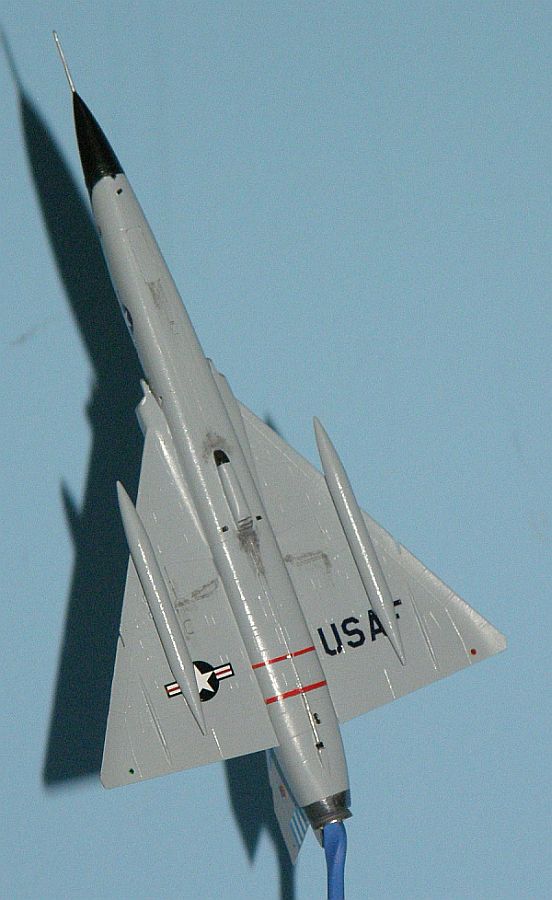
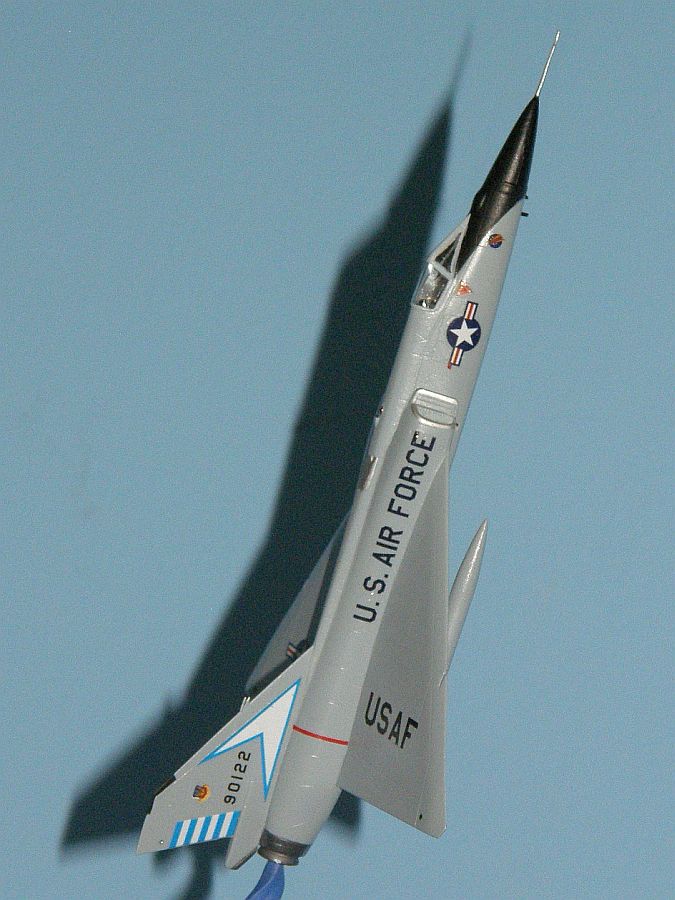
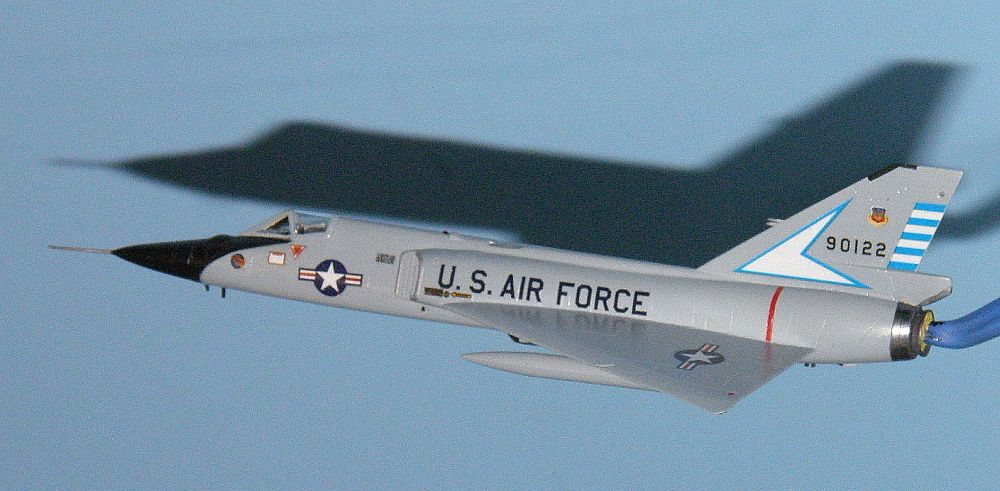
I start by getting rid of oversized antennas, pitot tubes, machine guns, and so on. Installing the replacements will, of course, be the final step of the build. Stretched sprue is excellent for that, but I have an even nicer "building material" provided by my building-buddy cat, Apollo: whenever he loses whiskers (naturally), I save them. They are infinitely stronger and more flexible than thin plastic, and work well with super glue. Next, I look for seams, panel lines, and the occasional misplaced markings that need attention. Sometimes, poor seams can be remedied by careful disassembly of the kit, with subsequent trimming, sanding, and re-gluing the major components. If you need additional refinement, try Mr. Surfacer or equivalent products before turning to superglue or putty. Remember to mask areas that you don't care to repaint. Most panel lines will be oversized, and can be reduced in various way, especially if you intend to do a complete repaint. For rescribing those lines, I use only my UMM-USA scriber: by varying pressure or cutting direction (push vs. pull), I can match any width or depth of panel lines. It is a superb tool. At this point, it is time to customize with some home-made parts, as I did with a Can-do Army Ju-87 and an F-106. My F-106 now has the add-on Vulcan cannon pod which turned it into a great high-altitude dogfighter.
Now it's time for the real fun to begin. I use Vallejo acrylics to mix up matching colors for detailing or repainting small areas by brush. If you need help to mix matching colors, find a nice color wheel at any art supply store. The practice at color mixing is beneficial for anyone who paints and is fun and rewarding! When I want to repaint larger areas, I tend to airbrush with Testors or other acrylics, after masking over any markings I want to save. Since these markings are always pad-printed (paint), masking will not harm them. Once repainting is finished it is usually necessary to clear-coat spray the model to even out the sheen, prepare for decals (if required), and allow for weathering, if you choose to do so. For final touch-ups of gloss,
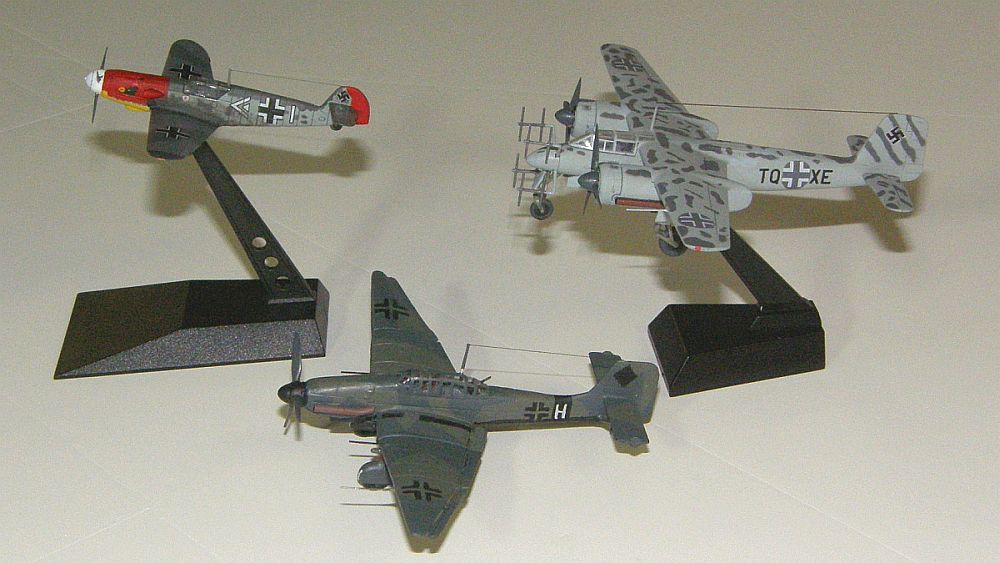 satin, or flat clear-coat, I have found that Vallejo Game Color clear coats can be hand-brushed with excellent results. It just takes a little practice to get it right, and I suggest using soft, flat, synthetic brushes to get that smooth finish you want. Next, it is time to look at transparencies. I usually take one of two basic options: a quick bath in Future, or a smash-formed replacement. If the model comes with a useful interior (amazingly, some do!), I choose the replacement route, which is why I now save those heinous blister-packs. Hey, it's cheap. You may want to add new antennas, nav-lights, etc. after the decals go on, but they really bring a model to life and they are simple to make. All you need is some thin sheet styrene, some sprue (or nice cat-whiskers) and very thin copper wire (look for coil-winding copper wire).
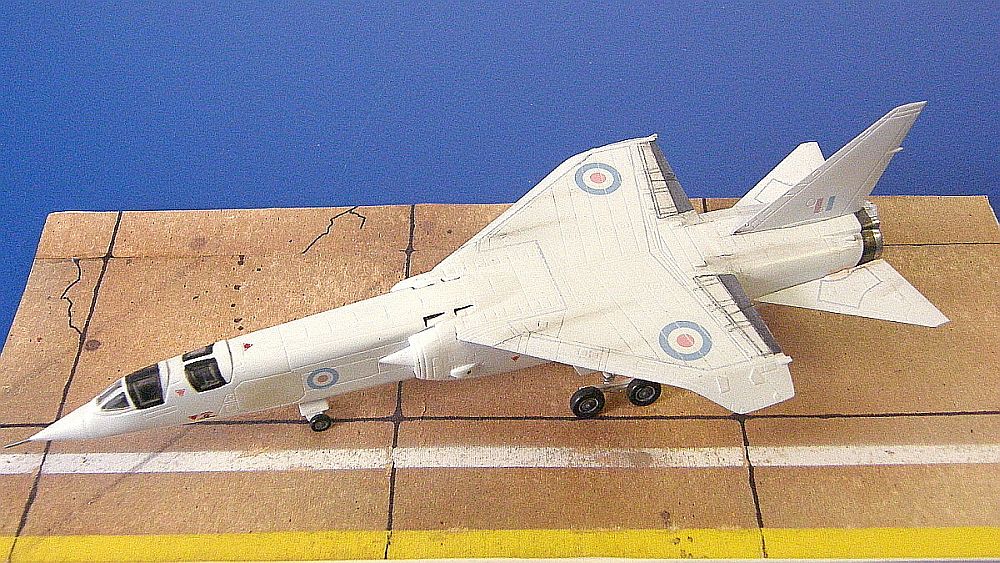
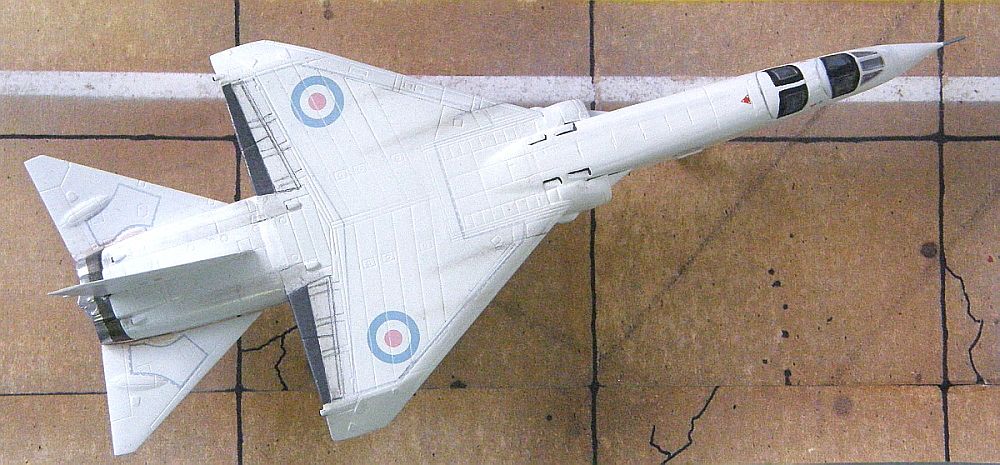
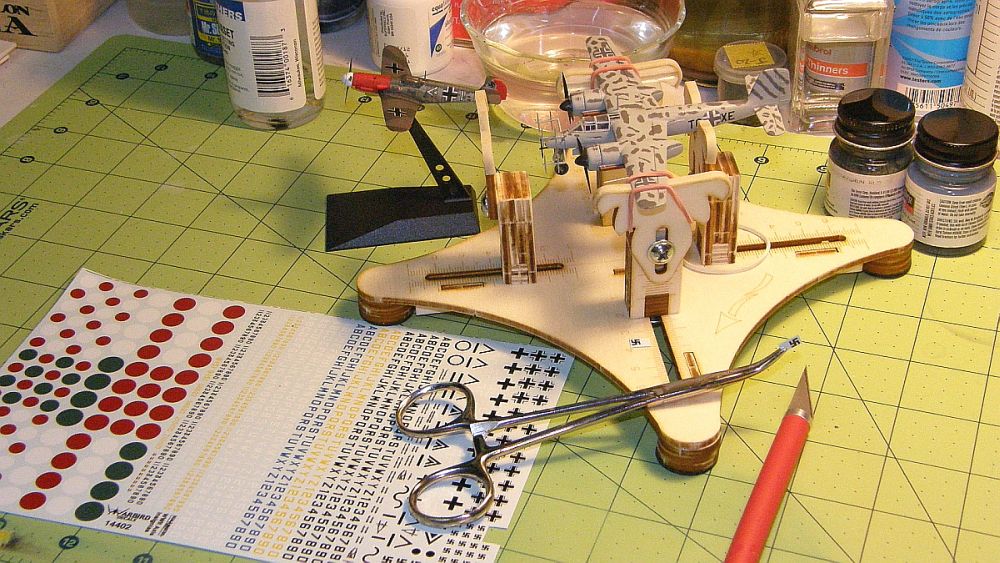
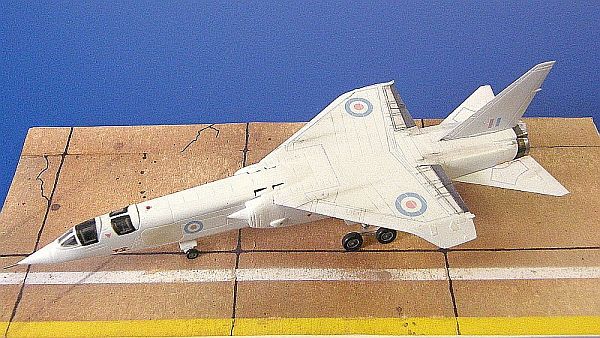
I used to find placing decals to be challenging with such small models, but the solution was a snap: a nice model-holding stand (again, from UMM-USA) for the kit, and a hemostat clamp for the decals. Suddenly you have about four hands. Cool...The decals that come with Gashapon kits are glossy and sturdy and present no real problems other than being tiny. I had an interesting problem building my TSR-2: how to make the powder blue and pink anti-flash RAF markings without making lots of circular stencils. Again, the solution was easy: a light mist of white acrylic over the entire subject, followed soon by a gloss coat. After that, I painted a few corrections based on internet research, applied the kit's decals, added some wear and tear, final touch-ups, and voila, not a toy any more! No extra decals were required. Fortunately, 1/144 decal sheets are now showing up on the after-market, as more modelers downsize. Look for them at Greatmodels and other online vendors. I especially love Warbird Decals' sheets of Axis insignias and equivalent Allied insignia, as they fix that old no-swastikas problem. They also allow me to sand away and replace printed markings if I find the original paint job too orange-peel like (that is not common, but it did happen with my F-106).
All in all, Gashapon models are fun to build, without resorting to expensive add-ons or high-tech fixes. Many sport exciting or exotic color schemes. Most of them are quite accurate in basic shape and size, and respond well to basic modeling skills. Their prices are quite reasonable--especially when compared to resin kits or diecasts--and they reward your efforts by giving you captivating little jewels you will be proud to put on display.

