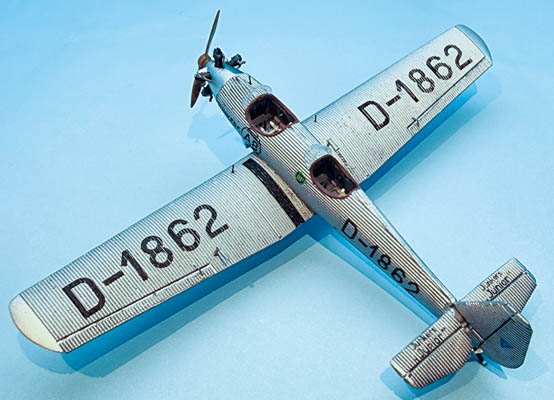
Dekno Models 1/72 Junkers A.50 ce Junior - International Challenge de Tourisme 1930
By Matt Bittner
Overivew
Some time ago I provided the First Look on the Dekno Models 1/72 Junkers A.50 ce Junior - International Challenge de Tourisme 1930. It truly is a wonderful kit and building it was a joy. Even with all my blunders.
Construction
Naturally construction starts in the cockpit and out-of-the-box it's nearly complete. Dekno calls for the cockpit area to be light gray but I sprayed it aluminum and by the time I added all the washes and dry brushing, it came out a little grayer than "metallic". The only thing I added were Eduard German WWI seat belts (figuring that would be closest to the time) and Tom's Modelworks German WWI throttle quadrants to the starboard cockpit sides, in both cockpits.

|
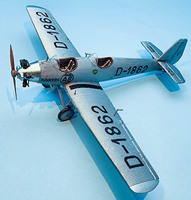
Once the cockpit is finished the fuselage halves can be glued together and the rest of construction goes quickly. There are three points to keep in mind while assembling this kit. First, the corrugations do NOT extend to the leading edge of the wing: I made the mistake and started to add them and then when consulting photographs - and Gabriel Stern's magnificent build - I sanded them away. The second point to keep in mind is there should be gaps in the tail, but not significant ones. I had to add some sheet plastic in this area to get it to sit correctly. Gabriel Stern has excellent photos on his page showing how the real aircraft looked so follow his example on how to acheive this effect. The third point to keep in mind is there was a "ridge" on the top and bottom of the fuselage where Dekno's seam is. Keep this ridge.
|
I did have to add putty to the wing joint on the underside; the top side just looked like extensions of the corrugations but I thought the bottom was too much so used Apoxie to shore it up. The 3D printed nose goes on flawlessly and the engine cylinders are beautifully printed. I left the nose off until after applying decals and any overcoat because I wanted the Vallejo Chrome to shine through.
|
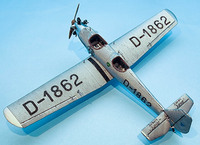
Since the model was all one color I added the undercarriage. Ah, trials and tribulations there. Dekno has excellent customer support and I hugely thank them for that. After airbrushing I dropped the model, shattering the landing gear; Dekno sent a replacement. Then when finishing up the model prior to adding decals, I dropped a bottle of paint on the model. Dekno to the rescue again. I can't make this stuff up.
I do have to say the Dekno provided 3D printed parts are marvelous. Very few - if any - print lines and the detail is exquisite. Top molding, all around.
|
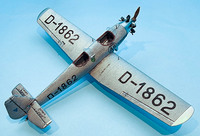
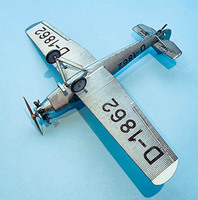
After priming the model with Vallejo's gloss black I then sprayed Vallejo's Aluminum over the entire model. Then various washes and dry brushes, followed by a light mist of Vallejo Aluminum to blend it all in, and after using Vallejo's Metal Over Coat I applied the decals and they went on like a dream, even over all the corregations. The only thing missing was the port wing walk, that was added with leftover decal from another build.
|
I lost one of the kit's aileron actuators so scratched new ones out of wire; not 100% accurate but it looks the part. In addition, while Dekno provides one venturi tube, the specific aircraft catered for by the markings actually carried two, so the other was sourced from a set by Croco. Finally, the small "rods" (and I'm still unsure of their use) were added to the wing and in front of the forward cockpit. Finally, the vac windscreens were sanded and glued on with white glue.
Conclusion
This is truly a brilliant kit and builds into a very beautiful Junkers Junior. I like it so much I picked up another to make the A50 ci, and am waiting on the delivery of "Fougete", the Portuguese single-seater that flew in the Cleveland Air Races.
Huge thanks to Dekno Models not only for supplying the review kit, but also with perfect customer service even after all my blunders.
