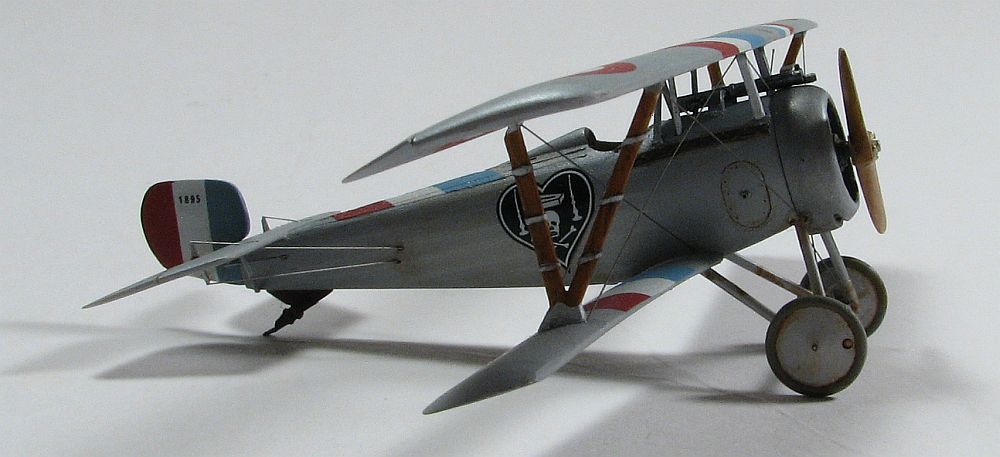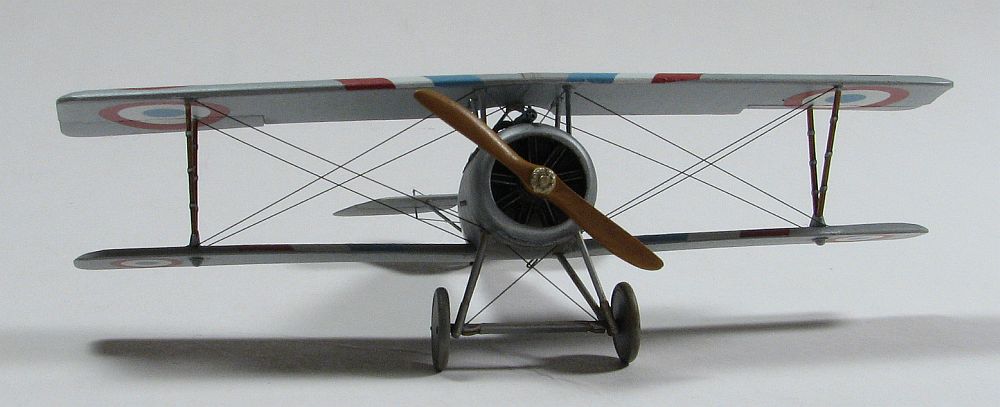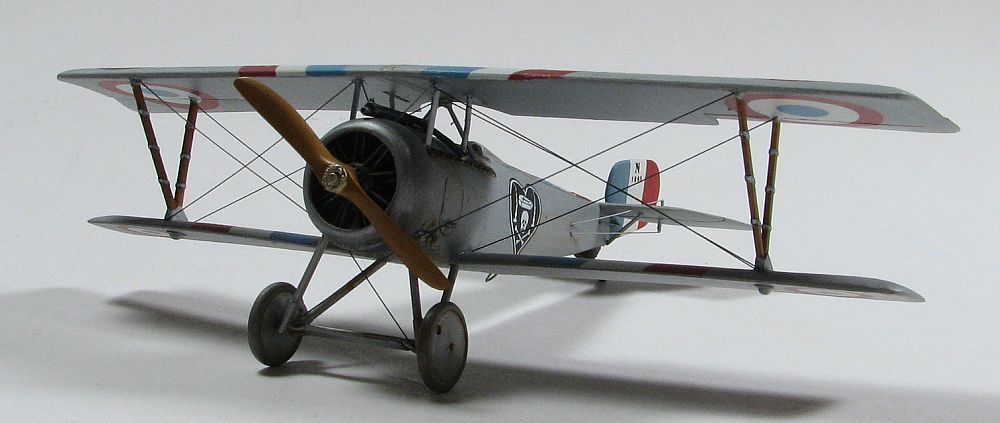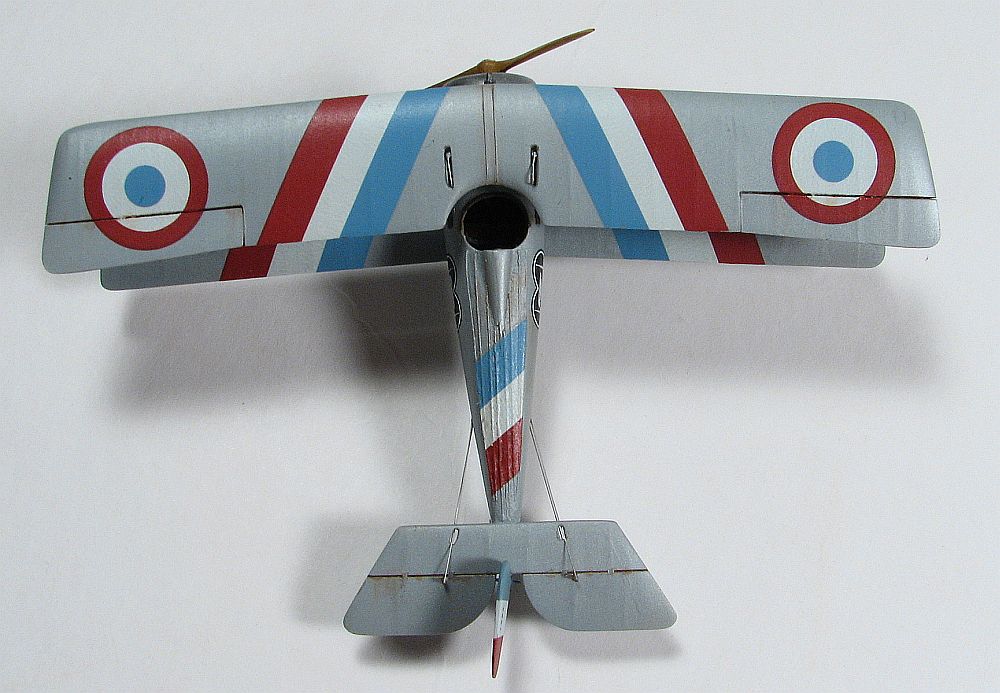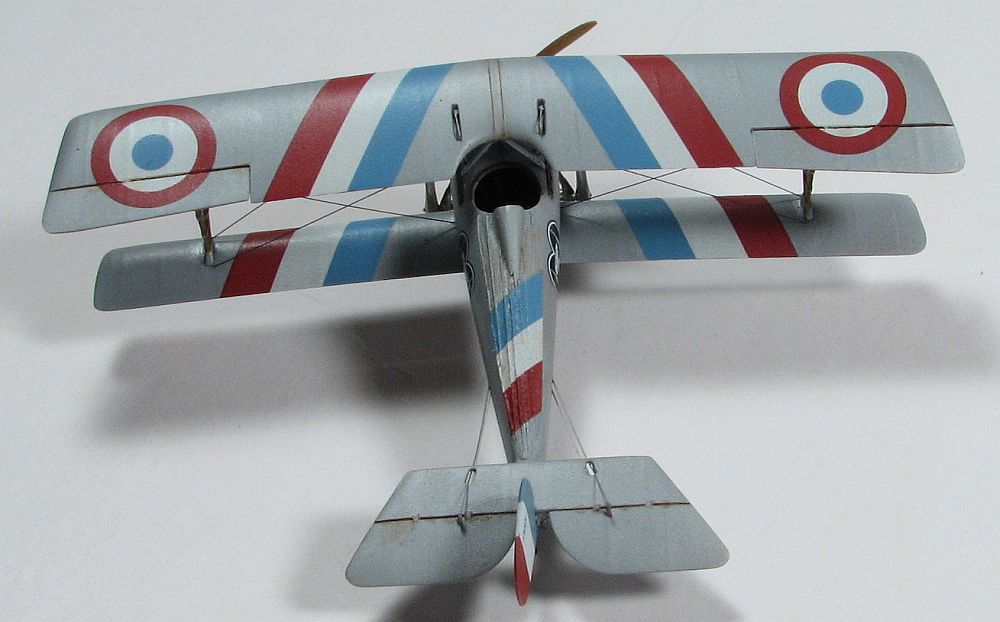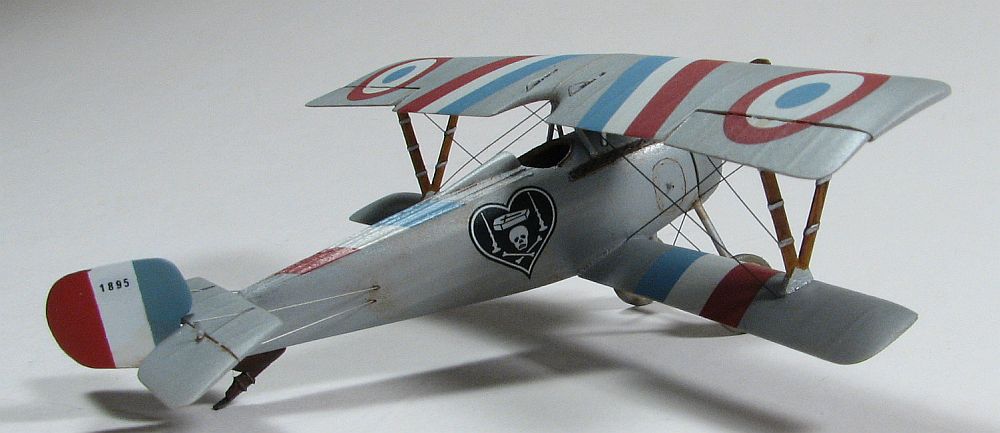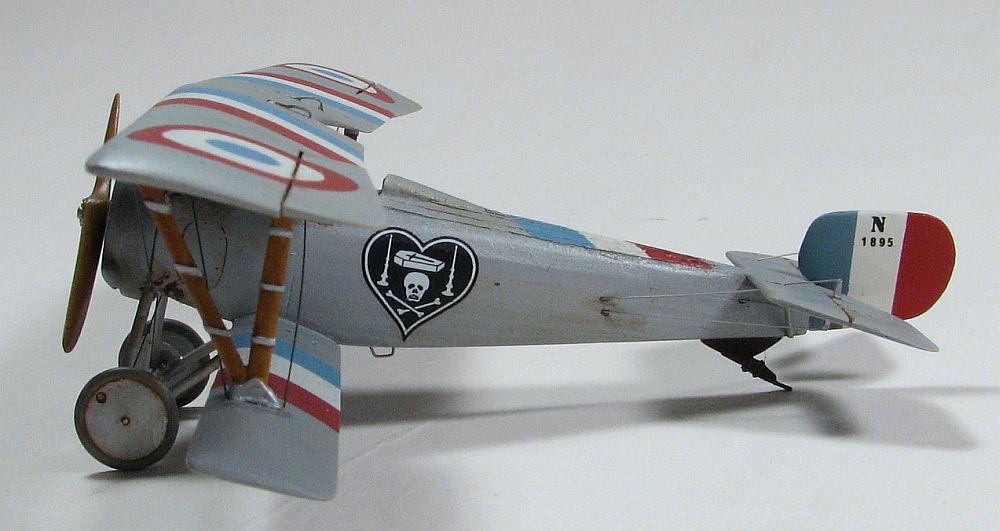
Choroszy 1/72 Nieuport 17bis
By Matt Bittner
Introduction
Wanting to naturally improve one of the best fighters of the early war, Gustav Delage took the Nieuport 17 (Nie.17) and first added stringers to the fuselage sides, to give it a more streamlined appearance, and then he added the 130hp Clerget 9B, at which point the aircraft become the Nieuport 17bis (Nie.17bis). The Aviation militaire française decided to give it a pass, since it was only marginally better than the "standard" Nie.17, but the RNAS decided it was good enough to bolster its ranks, and purchased it to be built by the British Nieuport company. Even though the Aviation militaire française didn't order it, Charles Nungesser took one of the very first examples and flew it in combat.
The Kit
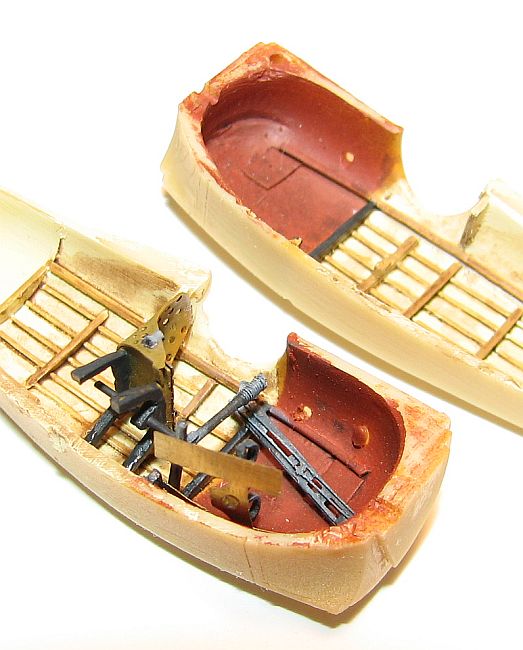
It turns out I wrote a First Look on the Chorosy Nie.17bis way back in 2003. Yikes. There were various reasons why I stopped working on it, but the number one issue was the port fuselage-half wasn't cast well, and I did a lot of work on it to try to make it better. There are still some issues with it, but overall it came out decent enough.
|
Construction
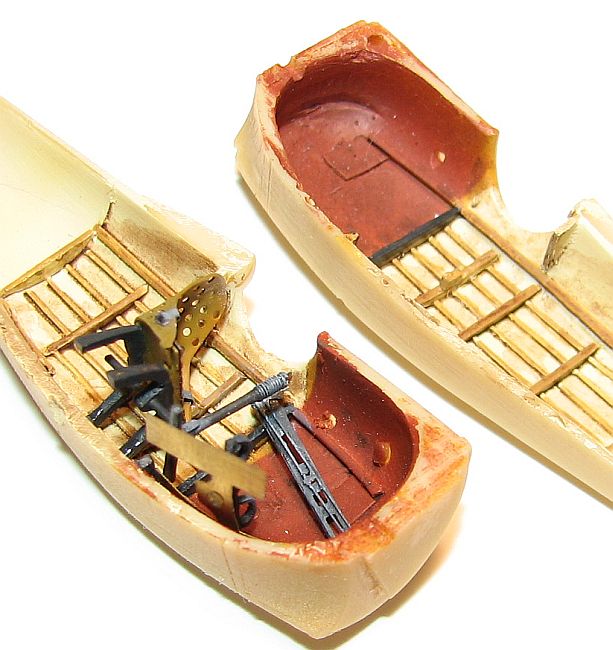
Hmmm...nine years doesn't help with the memory. If I remember correctly, I replaced a lot of kit parts, especially in the cockpit. Eduard seat and seat belts, and the rest from Tom's Modelworks (throttle and plate, and rudder pedal kick-plates). The seat supports, control stick and rudder pedals I believe are still from the kit. Plus, the molded-in cockpit side detail is extremely well done.
|
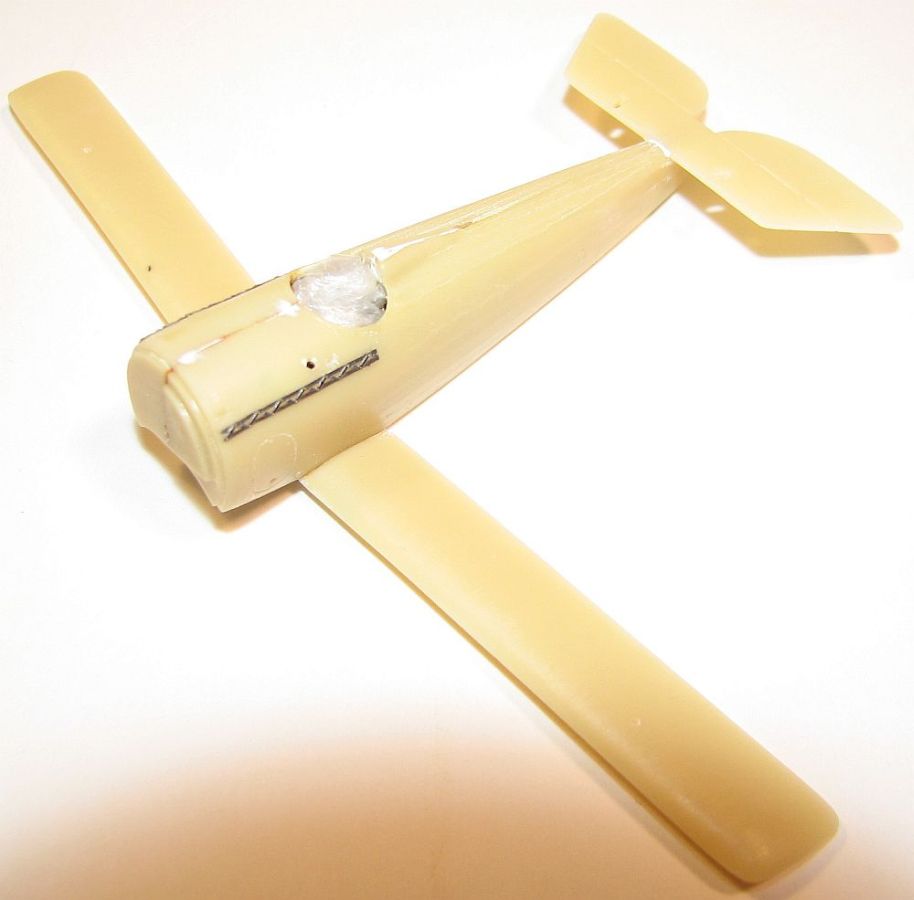
As far as seams go, I think I had the usual issues - some putty needed on the fuselage seams, and some on the wing-to-fuselage joint and tail. It was because of the mis-molded fuselaage half I needed to replace the fabric stitching on the nose sides'. I did this with Eduard photoetch and think it came quite nicely.
|
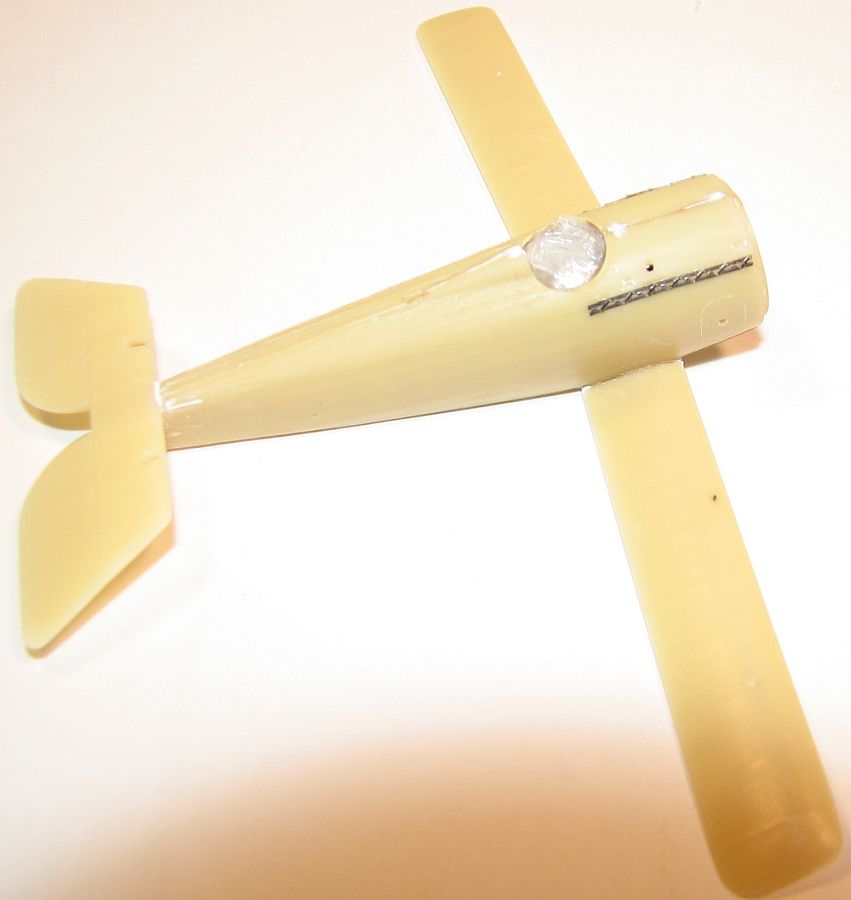
There is one advantage to letting time pass on finishing a model. In my case, it was the release of Eduard's excellent "straight" Nie.17. With thanks to Eduard, I replaced all Choroszy struts with those from an Eduard kit. That made quite a huge difference and really makes the kit look better. I didn't like how Choroszy did the 'V' struts, so at the least it was great replacing those with Eduard items.
|
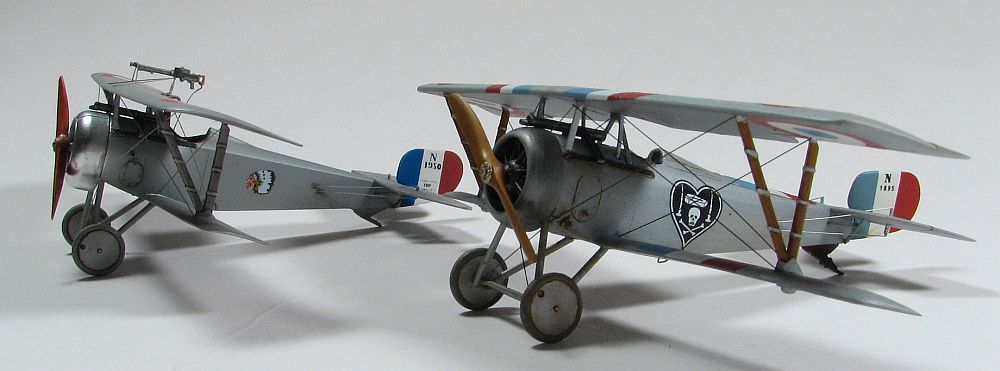
Another item I decided to replace was the kit Vickers gun. The kit one is good enough, but I wanted a little bit better, so used one acquired from Mini World. It's an excellent aftermarket gun, and I will go to this manufacturer from now on when needing a replacement gun. The only thing I had to do was remove the "cocking handle" as it didn't appear on Vickers that were on most aircraft.
|
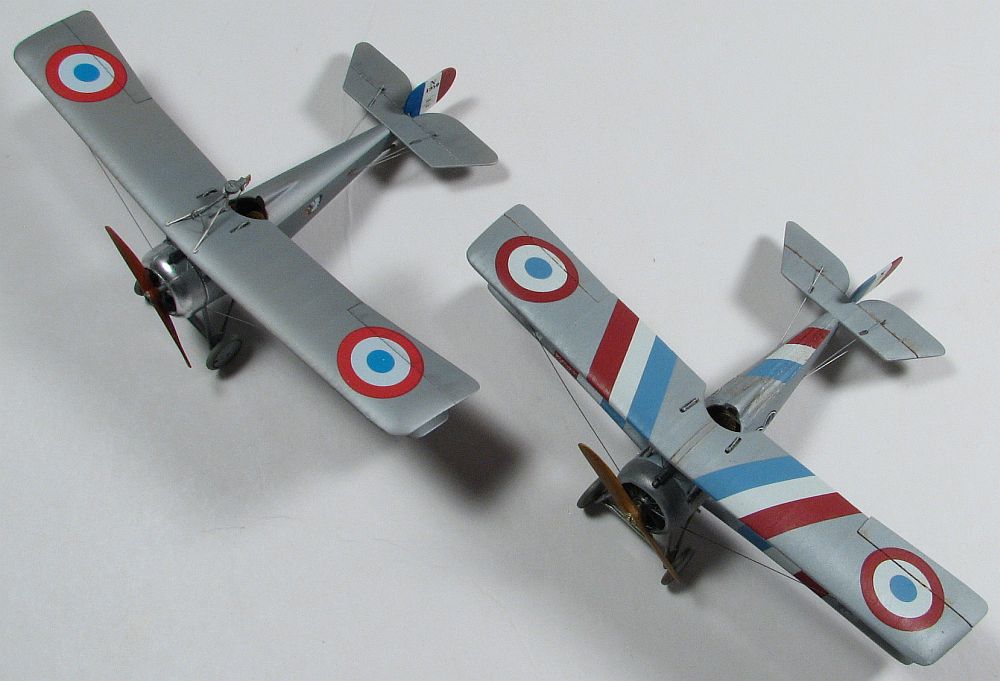
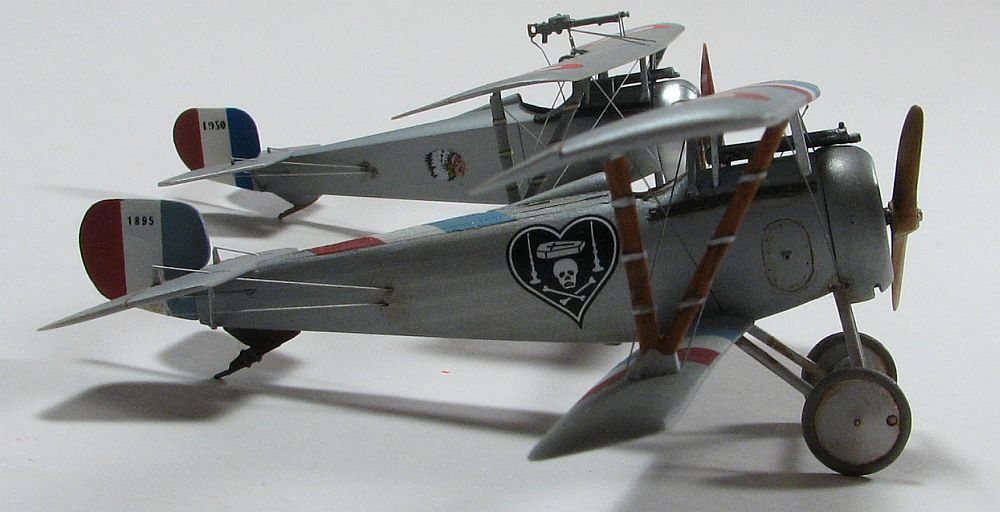
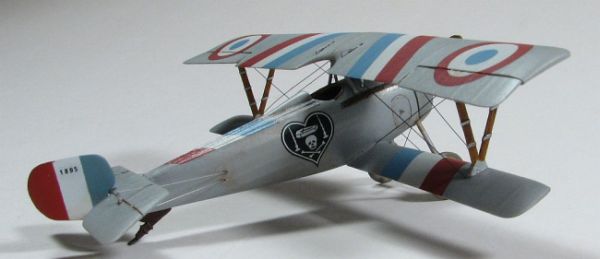
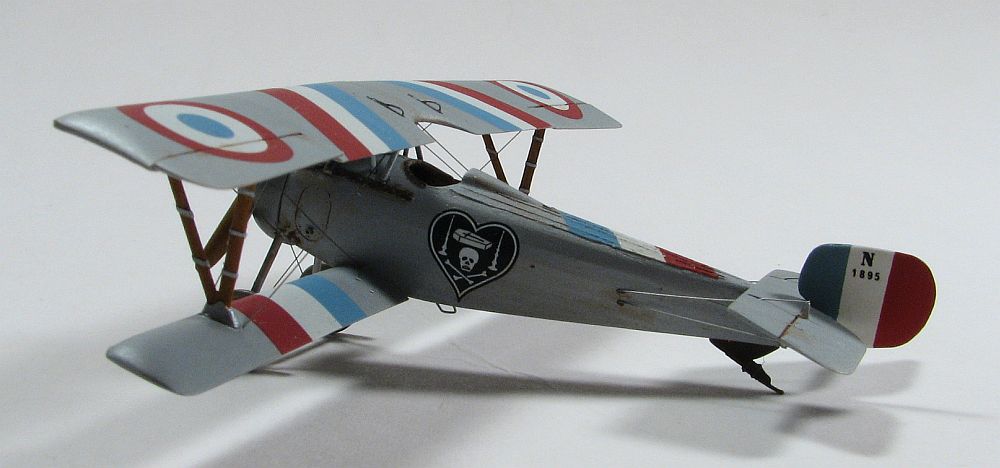
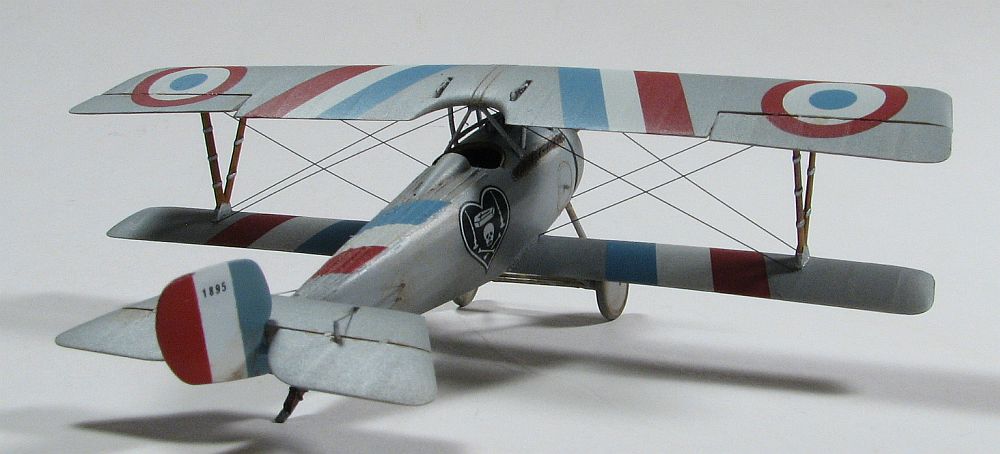
Because I have to finish at least one of every Nieuport type as a French machine - and don't particularly care for the British Nieuport schemes - I decided to finish this Nie.17bis as the only French-flown bis, flown by Charles Nungesser. Logic tells you that you want to paint those large stripes on the wings and fuselage. However, being stubborn - and I wanted the marking colors to match all 'round - I used up some older Pegasus decals I hadn't touched yet, both for the stripes and for the national markings. The 'N' and both '1895' on the rudder came from a Microscale sheet, and Nungesser's personal marking came from the Choroszy Nie.17.
Painting and Final Finishing
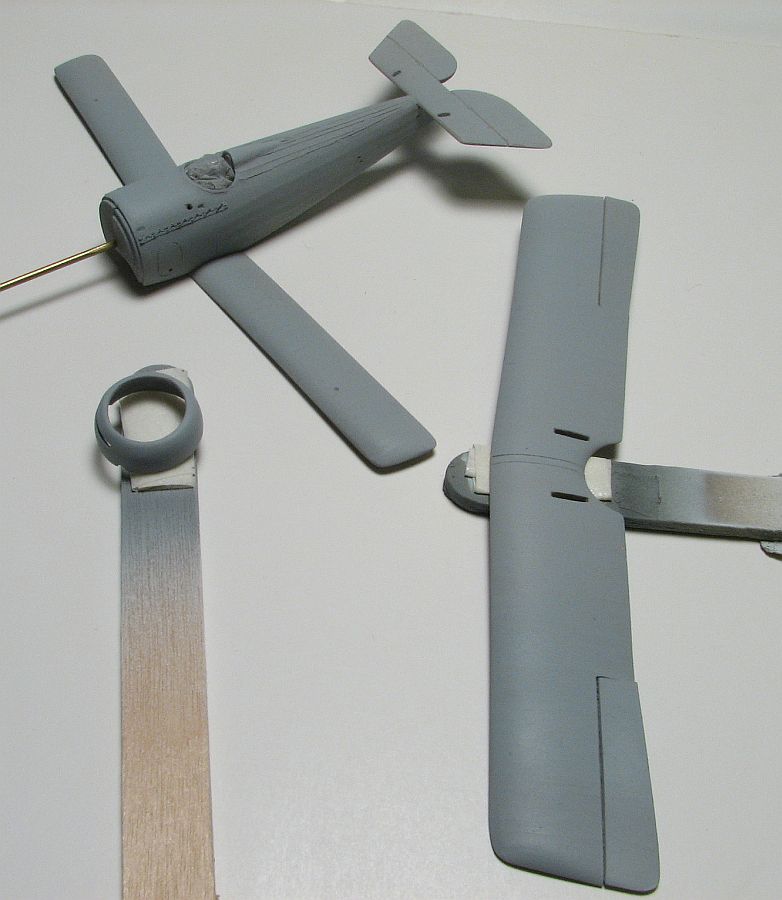
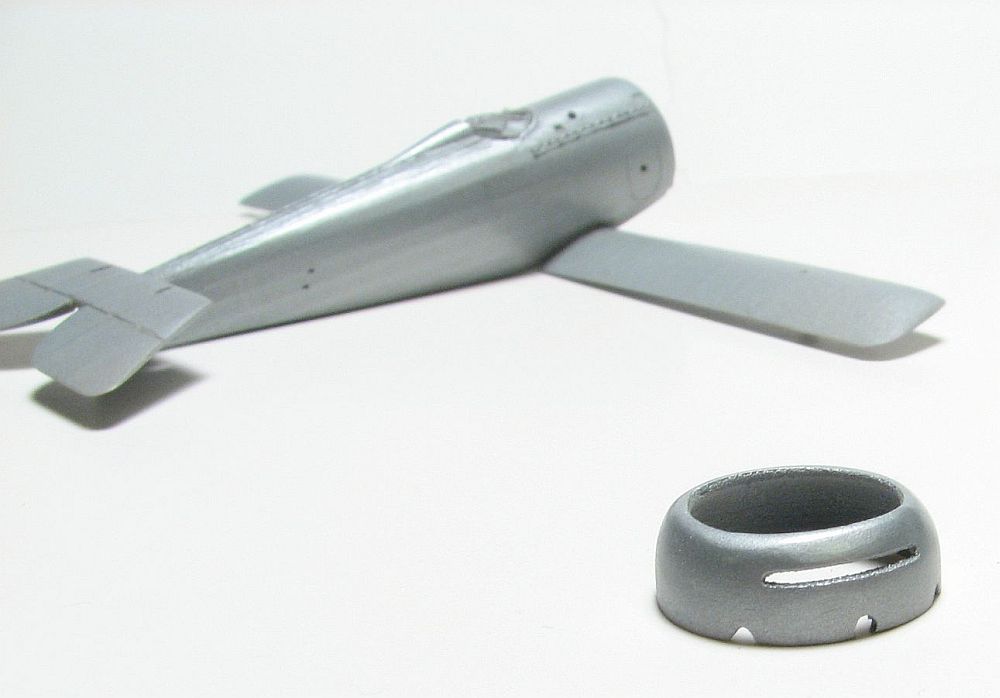
Because I wanted to use Hawkeye's Hobbies' Talon acrylic NMF paints, I thought I should prime the resin first. I did that with Alclad's gray primer. Once dried - and sanded in a few places to even out the finish - I sprayed Talon Aluminum on the entire airframe, including the cowl. To finish the cowl, though, I used the Talon Aluminum and Steel Polishing Powders mixed. I'm not sure I like how it came out, but you can see the Polishing Powder does give it a different look.
|
The decals didn't want to adhere, though. It took quite a lot of work to get them snuggled down, and part of that was because of how thick the decals were. After using just about every decal softening solution known, they finally snuggled down and now really look good.
I decided to keep the weathering to a minimum. An oil wash was just about it around certain areas, especially around and under the cowl, concentrating in the exhaust channel. (For those who aren't familiar with WW1 aircraft, the pipes on the side of the fuselage, near the nose, are not for exhaust. Those are actually air intake pipes for the carburator, and I scratched those out of plastic rod, drilled out.)
|
The rigging is actually a mix. I usually use .005" stainless steel wire one can find from Small Parts. However, I recently read about a new wire called Nitinol and decided to give it a try. Wow! The claim to fame with the Nitinol (which I obtained through Amazon, but I think you can find it at Small Parts as well) is its flexibility. You can kink it if you try hard enough, but bending it by just "warping it" between your fingers will not bend it - the wire will snap back to shape. Excellent! So, no more worrying about accidentally bending the wire as you're installing it on your model.
Now that the wire was on, it was time for an overcoat of Xtracrylix Dull followed by the final parts - the prop and (still waiting on) windscreen (which I still have to scratch-build). (You'll notice I took some photos of the Nie.17bis next to an Eduard Nie.17 I built a couple of years ago.)
Conclusion
It took awhile, but I finally finished another that's been sitting on "The Shelf". What a great feeling! I had one issue with this Choroszy Nie.17bis that wasn't my fault (the badly molded port fuselage half) but I decided to "stick with it" instead of asking for a replacement. I haven't seen any other issues like this with any of the other Choroszy kits I have, so no doubt it's a "one-off".
|
My thanks - and huge, huge apologies for taking so long - to Choroszy for the review kit. Thanks also to Hawkeye's Hobbies for the Talon paint, Eduard for some "parts", and Mini World for the replacement Vickers.

