Building the Yak-17 in 1/72
By Chris Banyai-Riepl
 |

 |
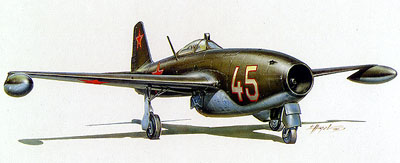
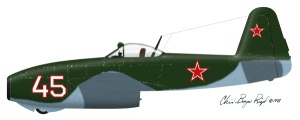 The Yakovlev design bureau thought that the best way to transition pilots from the old piston engined fighters to the new jet engined ones would be to build a jet fighter by replacing the piston engine with a jet engine. This they did with the Yak-15, which was basically a Yak-3U, but with a Jumo 004 in place of the Klimov piston engine. The Yak-15 was a taildragger, just like the piston engined Yak-3 it was based on, and as such it had all the problems of a taildragger, such as limited forward visibility on the ground and poor ground handling.
 around this, Yakovlev used wingtip fuel tanks similar to those of the P-80, adding about 200 liters of fuel, and allowing the Yak-17 to have a range of around 420 miles. Compared to many contemporary piston-engined fighters of the time, this was a very short range, and given that most of the wooden construction of the original Yak-3U had been replaced with metal in the Yak-17, the acceleration and climbing performance of this jet fighter was not very good, either. A top speed of about 470mph was all this plane could do, which really wasn't all that great compared to what it was replacing. But the big factor of the Yak-17 was that it was based off of a proven, well-used piston-engined design, and as such it became an excellent conversion trainer for the Soviet pilots of the time. The handling, aside from acceleration and climbing ability, closely mimicked that of the Yak-3, so all the pilot had to get used to was the differences in the powerplant. The success of the Yak-17 in this role can be seen by the 430 planes built.
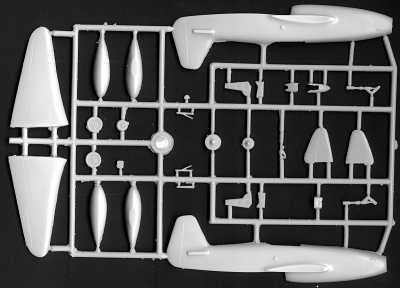 detailed resin cockpit and a crisp vacuformed canopy finish off the kit. Everything was nicely packaged, with the resin parts separate from the plastic ones, protecting them from damage. Upon removing the plastic parts from the bag, the first thing I noticed was a rough, pebbly feel to the plastic. It looked shiny, but in running my fingers over it I could feel the texture. I don't know if this was just a problem with this one shot or a characteristic of the plastic in general. Some light sanding will take care of it, and the lack of panel lines on the real plane makes that easy.
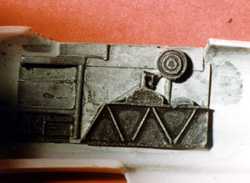 most likely has to do with either the kit not being removed fast enough from the mold or being removed too fast. At any rate, some 400 grit sandpaper quickly took it down, and I didn't lose any of the surface detail.
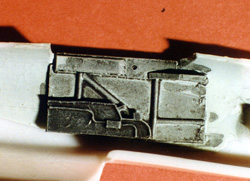 out the paints. The color references in the instructions are given in Humbrol colors, with a generic conversion chart on the last page. I couldn't find any reference as to what the colors of the actual cockpit was, so I just painted it in a blue gray. The seat was painted up in browns, with green seatbelts. The instrument panel and various boxes were painted black, then everything was given a wash of black oil paint. Once that was dry, I went over everything with some light drybrushing to bring out the detail, then I started fitting everything together.
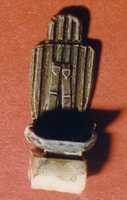 Here's where I ran into trouble. The cockpit floor and instrument panel were too wide! Out come the files and after some very
 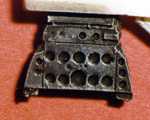 careful filing, I get it so that everything fits nicely. With the cockpit looking good, it was time to button up the fuselage, so I get the engine parts ready. The rear engine blanking plate fits nicely, but the front one is too small, so I glued it to a piece of card stock and trimmed the card stock to fit as a bulkhead. With the engine pieces done and fitted, the interior is starting to look a little cramped, but there was still enough space to cram a couple lead fishing weights. No tail sitters here!
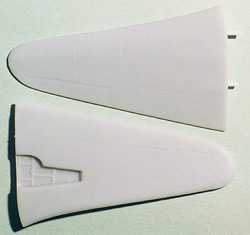 While not having any locating pegs for the fuselage didn't present a problem, not having anything for the wings and tailplanes made things a bit more difficult. I got around this by making my own. I started by drilling a pair of holes in the wing and then gluing in a piece of styrene rod. After cutting the ends off and sanding them flat, I took a black marker and drew over the flat ends of the pegs repeatedly. With those nice and wet with ink, I set the wing up to the fuselage and aligned it, then pressed the pegs against the wing root. Taking the wing away, I now had two black dots on the fuselage showing me where to drill my receiving holes. I did this for both wings and the tailplanes, and it helped keep each side aligned and
 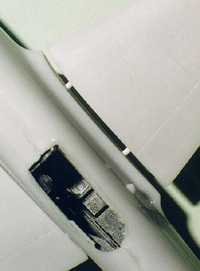 at the proper dihedral while the glue was drying.
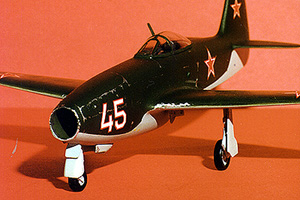
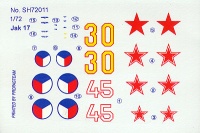 white in the nose numbers, but they went on without a hint of the green showing through. The only problem I had with these decals is that because they are so thin they tend to fold over easily. In fact, there are a couple of places on the finished kit where the trim film is folded over and I never unfolded it. They're so thin, though, that you can't tell once they're dry, so it really wasn't a problem after all.
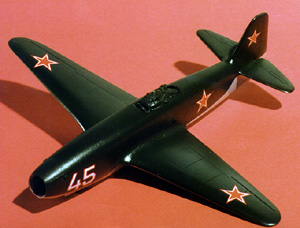 With the decals on, the kit was really starting to look good. After letting the decals dry for a couple of days, it was time to put on a nice flat coat and start with the weathering. I grabbed the bottle of acrylic flat, dumped some in the airbrush, added a couple drops of water to give it a slight sheen, and sprayed it on. AAUUGGGHHH!! The flat coat just beaded up! It wouldn't settle down! I quickly grabbed a rag and wiped it off, but it left a white, chalky residue. After calmly setting the model down (cursing the whole time), I took a look at the flat coat bottle. Aeromaster ENAMEL flat coat. What's that saying about oil and water not mixing? Well, after beating myself repeatedly with my tube of putty, I came back to the Yak several days later and saw that it wasn't as bad as it first looked. The wings have a nice white sheen to them, but with some very careful sanding with 600 grit sandpaper I was able to remove most of it. I then shot it again with the flat coat, properly thinned this time, and things turned out better.
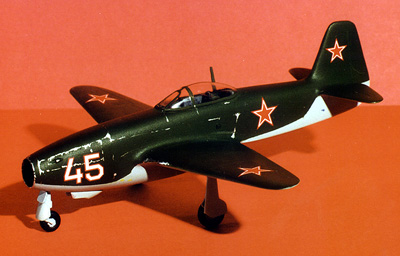 the wings on some of the trouble spots. This helped break it up and added a lot to the weathering, too. I also used Testors Metalizer Aluminum and chipped the paint around the gun panels and air intake, then I turned to the landing gear. The landing gear is very delicate and some care needs to be taken to ensure that the proper stance is acheived. I had to trim both the main gear and the nose gear to get the plane to sit right. Straight out of the box it would be sitting way too high, with the nose sticking up at an odd angle.
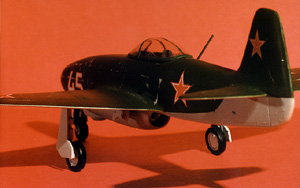 Setting the Yak-17 up on the shelf next to a Spitfire and a Hurricane I can't get over how closely it resembles those fighters from WWII. It's no small wonder, considering that it was a close follow-on of the Yak-3. Now that it is done, I think that I will build a kit of the Yak-3, just to show the lineage. The Special Hobby kit is not a kit I would recommend for someone just starting out in this hobby, but for someone that has built a few kits and wants something a little different than the usual Mustang or Bf109, this kit is a pleasant starting point.