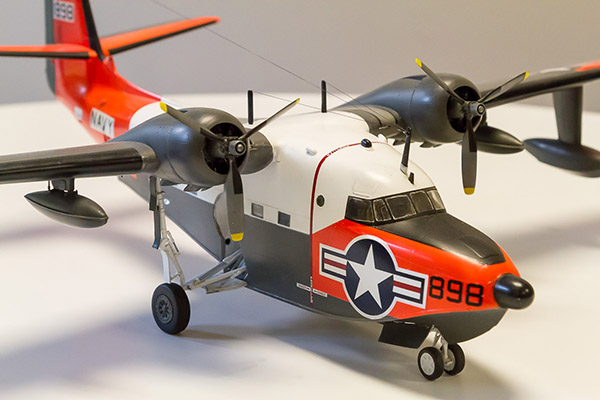
Building the Trumpeter 1/48 HU-16A Albatross
By Gerry Nilles
The Changes
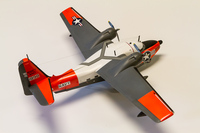 To begin the review I should point out that, as has been noted in other such reviews, there are several significant accuracy problems with this kit. However, with exception of the most glaring of these inaccuracies I pretty much built the kit out of the box. I am aware that there is an aftermarket correction set, but considering the original price plus the extra cost of the resin corrections, I chose to do the work myself.
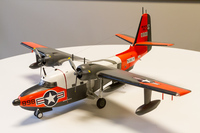 These changes and additions include correcting the shape of the forward chines (see attached photos), the addition of a circular window on the right side of the fuselage that is just aft of the cockpit windows, as well as the elimination of the same style circular window at the aft end of the fuselage on that same side. Please note that the circular window on the left side, aft of the main hatch, is correct. I also added a number of antennas that were unique to the Navy UF-1 including the half loops that are located at the top of the vertical stabilizer.
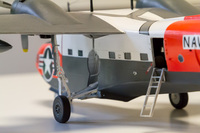 I corrected the shape of the cockpit rear windows merely by a little filling and then masking them so that the top and bottom frames are parallel and not completely trapezoidal as molded. Last, I added a boarding ladder. The problems I did not address were the obviously incorrect engines, and the over wide cord of horizontal stabilizers (by about 1/8th of and inch). Interestingly the elevators themselves are the correct size. Fortunately, these problems are not that obvious to the casual observer.
Fixing the Chine
As I noted above the most obvious item needing some attention is the shape forward chine. The curve of this chine should be less angular and a little more sweeping. To correct this inaccuracy I made an enlarged, 1/48th scale, copy of the side view drawing of the HU-16A that is in the Squadron "HU-16 Albatross in action" publication. Taking that copy, I made a template of the curve out of some heavy card stock to use as a guide for a new section of chine.
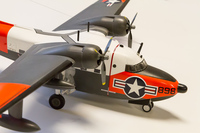 Next I overlaid the template on the forward fuselage sections to determine how much of the kits chine to remove and where to place the new one. Using Evergreen .040 X .060 strips, which are very close to the same size of the chine molded on the kit, I attached the strip styrene to the fuselage halves. I should note here the need to add about a ½ inch long attachment tab of .040 X .100 strip styrene to the bottom area of the fuselage where the new chine drops slightly below the hull. Once in place just fill, trim and contour the fuselage bottom accordingly.
Assembly of the kit, although tedious at times, is not that complicated and overall fit is good. However, if I were to build another one I certainly would not bother with most of the electronics boxes other than those in the cockpit area. Once assembled, interior detail within the fuselage is pretty much indistinguishable even with the main entry door in the open position.
Colors & Markings
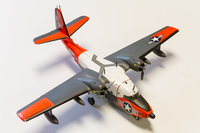 As for the choice of markings and color scheme, I went with aftermarket from Caracal Decals. I noted in my original "In Box" review that additional markings for the HU-16A kit were in the works and as predicted a number of alternate color schemes and markings are now available. Being an almost lifetime resident of the State of Washington and having been to numerous air shows at NAS Whidbey Island, Caracal Decals made the selection of a color scheme easy with their offering of markings for the very colorful UF-1 based there in the early 1960s.
