Building an Israeli Bristol Beaufighter Mk.TF.X in 1/72
By Stephen Tontoni
 |

 |
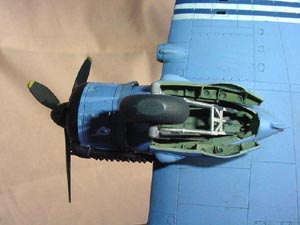
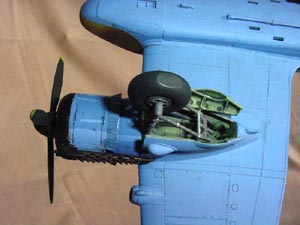
 I decided to build my Beaufighter starting with the splendid Hasegawa kit. I accumulated various aftermarket odds and ends to dress it up. The first that I started to fiddle with was the set of resin wheel well inserts from Aires. These came with really nice wheel covers as well. Using this set requires you to remove the existing styrene wheel wells which are molded into the lower wing. It's really not terrible to remove as the plastic is soft enough and cuts easily with a scalpel. Getting the insert to fit is an entirely different story; those things just didn't want to go in and there are compound curves everywhere. It took a lot of carving, filing, fudging, cajoling, and filling (and some amount of cussing) to get them to look right. There are pictures of the finished product on this page; I'm glad I did it because Aires rocks!
 I got ahead of myself; as for painting the interior and the wheel wheels, I sprayed Floquil Interior Grey-Green (British) then made a wash of IGG mixed with a Floquil Grimey Black and thinner. I got that in all the nooks and crannies then dry brushed slightly lightened IGG on all the protruding bits and corners to simulate more depth. After that, I just had to spray some Dull-Cote on it and pick out bits here and there with a detail brush.
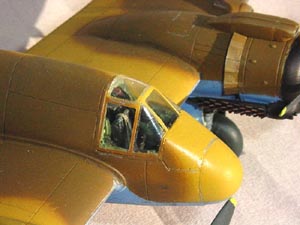
 I tried to make a new canopy using an ancient Mattel Vacu-form so that I could easily open the upper hatch (an omission on the Hasegawa kit) but wasn't able to get any of my clear styrene to melt enough to make a decent one. If there's a source of original plastic stock for those Mattel machines, or some sort of equivalent, I'd be happy to hear from any and all about it. In the end, I used the Hasegawa canopy which is thin and clear, but I wasn't brave enough to attempt surgery on it to open the upper hatch.
 I was supposed to be building a MkTF.X but started with a MkVI. For the most part, they look very similar as MkVI's were often updated with the new turret and all that. The one question that I wasn't able to answer regarding the Israeli Beaufighters was if they came from Fleet Air Arm stocks; if they had, they'd have had 'wet wings' rather than 'gun wings'. The 'wet wing' variant had large wing fuel tanks instead of wing guns to increase their patrol range. Not knowing which Israel used, I reasoned that they wouldn't have needed the excess range but would have valued the guns; I went ahead with the MkVI with the updates and I'm now calling it a TF.X. Purists out there can gather up a lynch mob if they deem it necessary. I made sure to have the correct turret, the correct air intakes, no dorsal fin, dihedral on the horizontal stabilizers (NB: I've seen drawings with and without, but my more recent references show the dihedral. Also a cause for more rumination: with such accentuated dihedral, are they really horizontal stabilizers? Food for thought on a Sunday morning), no Sperry autopilot, and no radar antennae so that it would look correct.
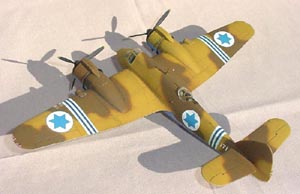
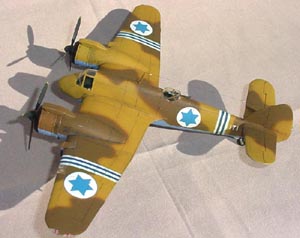
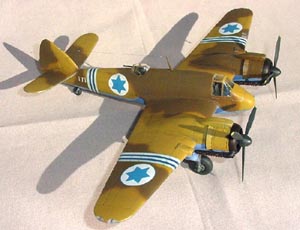 Of course I decided to experiment. I figured that if I did all the camouflage first, I could mask and paint the blue - which would have no problem covering anything - then mask and paint the white. The reason that I reversed the process is that I was still tracking a source for masking tape as I didn't want to cut ultra thin strips of Bare Metal Foil to do this job. I went ahead and shot Floquil Midstone (British), then free handed Floquil Dark Earth (British), masked, and shot Floquil Azure Blue (British). That color scheme makes me happy.
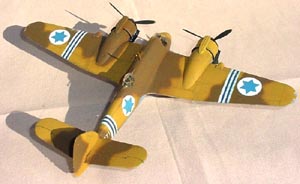 Decals were extremely simple; I just used Isradecals Mogen Davids (Israeli insignias) and applied some numbers from my spares box. Isradecals lay down really well and respond very well to Solvaset. These are among the least cranky decals I've used as they are quite opaque, they respond to solvent, yet they don't disappear in a glob by it.