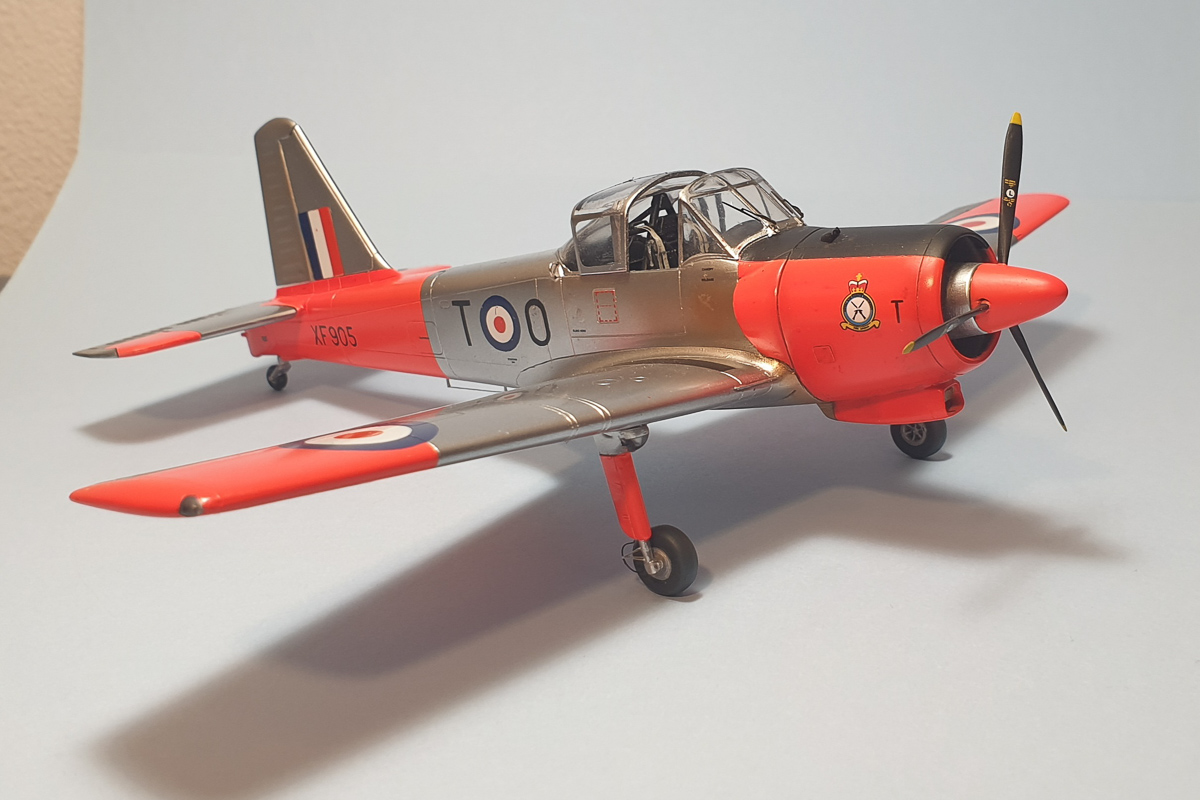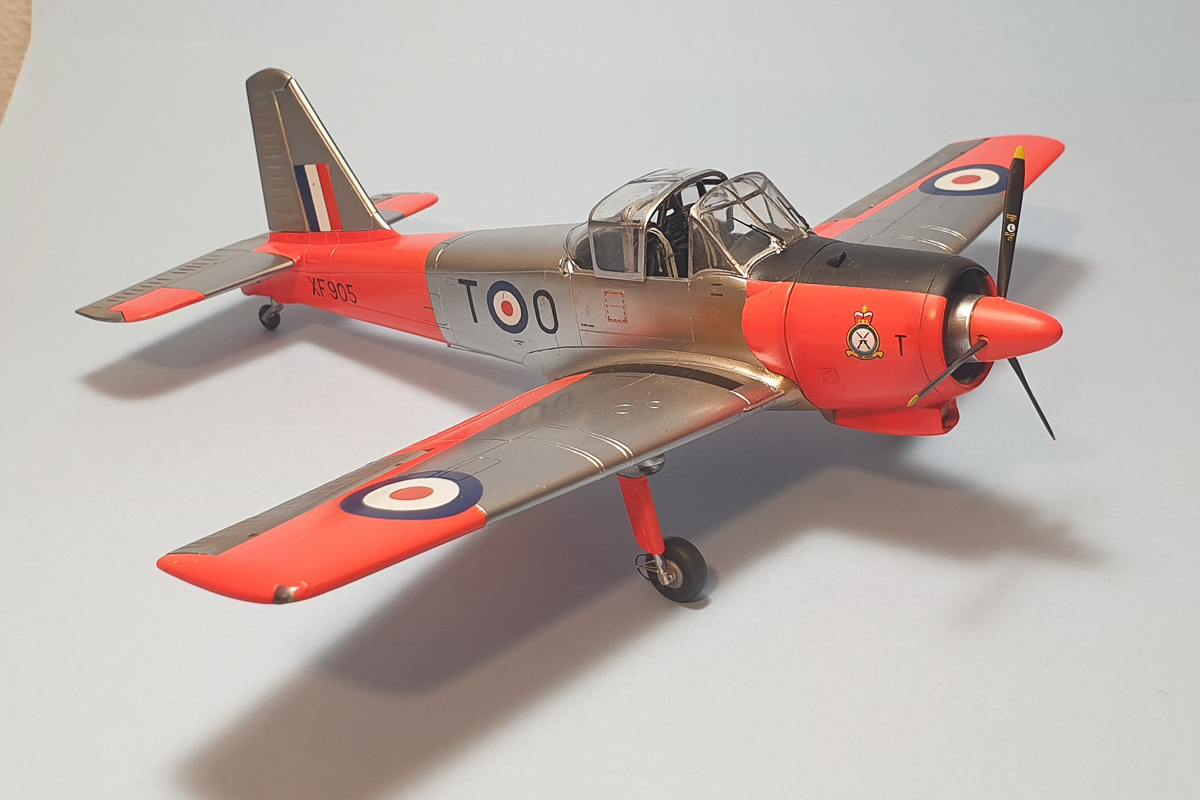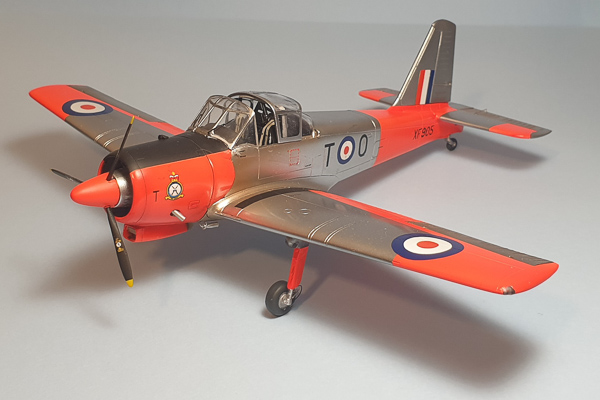
Building MikroMir's 1/48 Hunting Provost T.Mk 1
By Denzil Charles
Overview
In 1948, the British Air Ministry issued a specification calling for a single engine basic trainer. Percival's response was a 2 seat, all metal monoplane with fixed, conventional landing gear called the Provost. The prototype first flew in February 1950, and the first of 391 Provosts entered service with the RAF in 1953, where it remained as primary trainer until it was replaced by the Percival Jet Provost in the early 1960s. The Piston Provost was also exported to Rhodesia, Ireland, Malaya, Burma, Iraq, Oman, and Sudan, whose variants had provisions for the carriage of bombs or rockets below the wings. A handful of Provosts survive in private collections, flying on in the hands of lucky owners.
The Kit
Piston-engined training planes are usually underrepresented in the scale modelling world, and whilst the Piston Provost has been represented by a few 1/72 kits, this is the type's first foray into 1/48 scale. Ukrainian company MikroMir have an interesting catalogue of limited-run injection molded kits, and when they announced a Provost in 1/48, I knew one would be destined for my stash.
The kit arrived in a sturdy-enough top opening box and comprises 3 light grey and 1 clear sprue of parts, a photo etched fret, a sheet of vinyl cockpit window masks, a comprehensive decal sheet for 4 paint schemes and a full color instruction sheet. The plastic components reminded me of early eastern bloc injection molded efforts; smooth shiny plastic, with fine engraved detail, surrounded by a generous ocean of flash. Everything supplied in the kit needs a good cleanup, but happily the plastic is soft and carvable. Once trimmed, fit of components was very good.
The Build
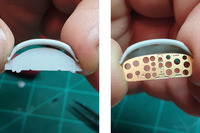
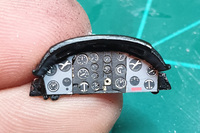
Construction started with the cockpit and this is where I came across the kit's first hurdle. The builder is provided with a choice of plastic instrument panel with a decal representation of instruments, or a photo etched part, with instrument insert. Strangely, neither of these instrument panels is shaped correctly to fit the glareshield. I resorted to chopping up the etched panel to fit. The interior got a coat of flat black, which was then dry brushed to pick out details.
|
|
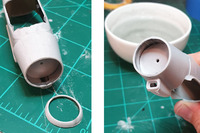
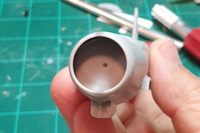
The engine cowling as depicted in the kit, is molded integral with the left and right fuselage halves. I didn't like the idea of trying to clean up the seam line with engine in place, so I assembled the fuselage, sans engine, cleaned up the seams then, using a razor saw, chopped off the nose ring, allowing me to glue the engine in place. The nose ring was then glued back on and the external seams were quickly sorted out.
|
|
Remaining construction was straight forward, with every component requiring sanding and carving to shape. I rescribed most of the panel lines, to create a uniform finish over the airframe.
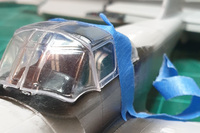
Next up was the canopy. In early issues of this kit the canopy supplied comprised a one-piece windscreen and two-part rear canopy. Unfortunately, the mating faces of each part were completely different profile to each other. To their credit, MikroMir acknowledged the error, tooled up a brand-new canopy assembly, offering it to anyone who has the early issue of the kit. I sent off a message to MikroMir, via Facebook, and got an immediate response with the promise of a replacement canopy.
|
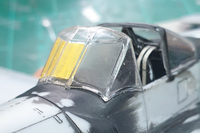
|
By this stage I was glad to have a breather from wrestling with the kit, so it earned a visit to the naughty pile, where half-built models go to think about whether they'd prefer to spend the rest of their days in a cardboard box in the cupboard, or in the cabinet with all the other finished models. A few months passed and the canopy hadn't arrived, so I shot off another message to MikroMir, who responded with apologies and promises to send another canopy. This time, two new tooled clear sprues arrived, packaged safely, and ready to be fit, so the Provost moved its way back onto the bench.
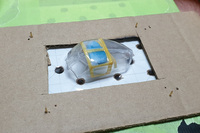 With new canopy in hand, I glued on the windscreen and, whilst trimming the rear section to fit, decided that I'd like to have the canopy open, entirely negating the saga of obtaining the new parts from MikroMir. Such is life.
I used the new canopy parts to smash form a new sliding section, and prepared the kit for paint! The kit supplied canopy masks looked nice, but they didn't fit at all, so the job done using masking tape and Maskol. The canopy frames and anti-glare panel were sprayed with black then masked.
Painting & Finishing
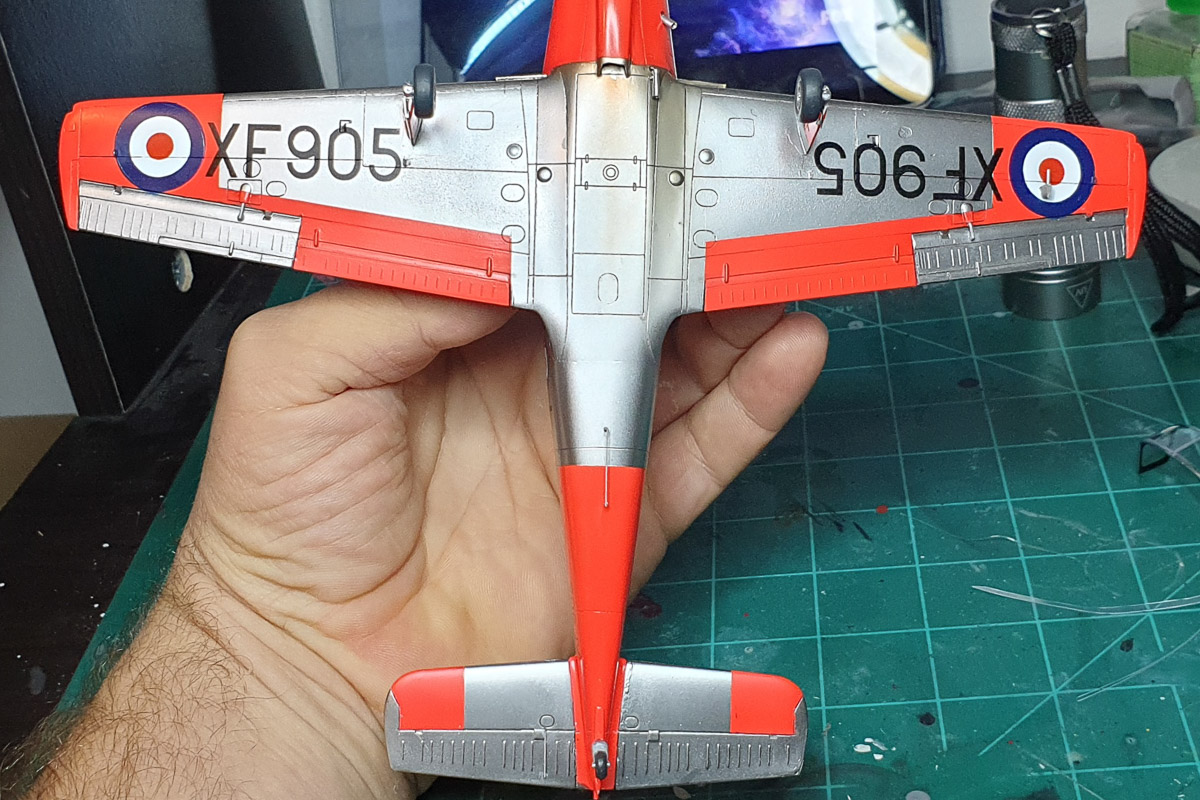
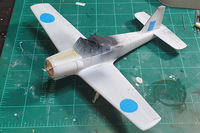
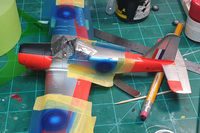
I had planned on using the kit supplied decals for all the markings, until it was noticed that colors of the supplied roundels were far too pale for the correct color for 1960s RAF insignia. I looked around for replacement decals, but ultimately decided to cut paint masks with my Silhouette cameo cutter.
|
|
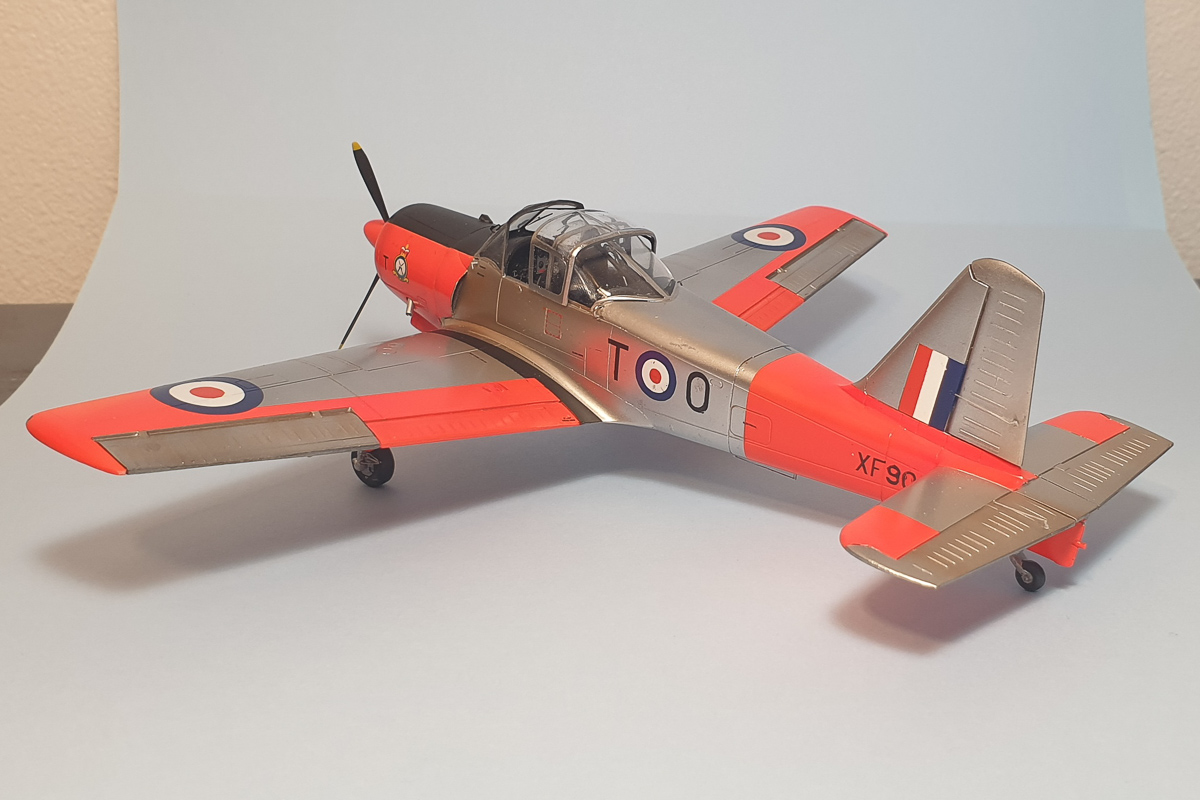
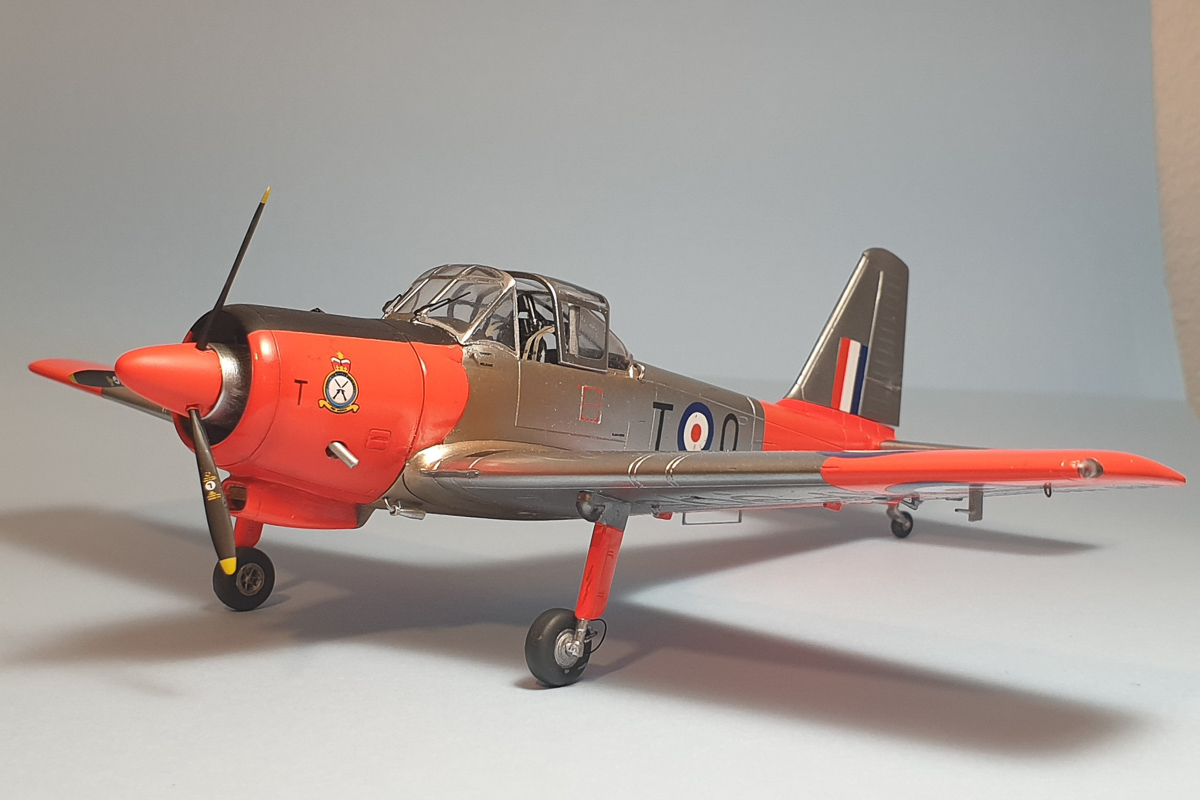
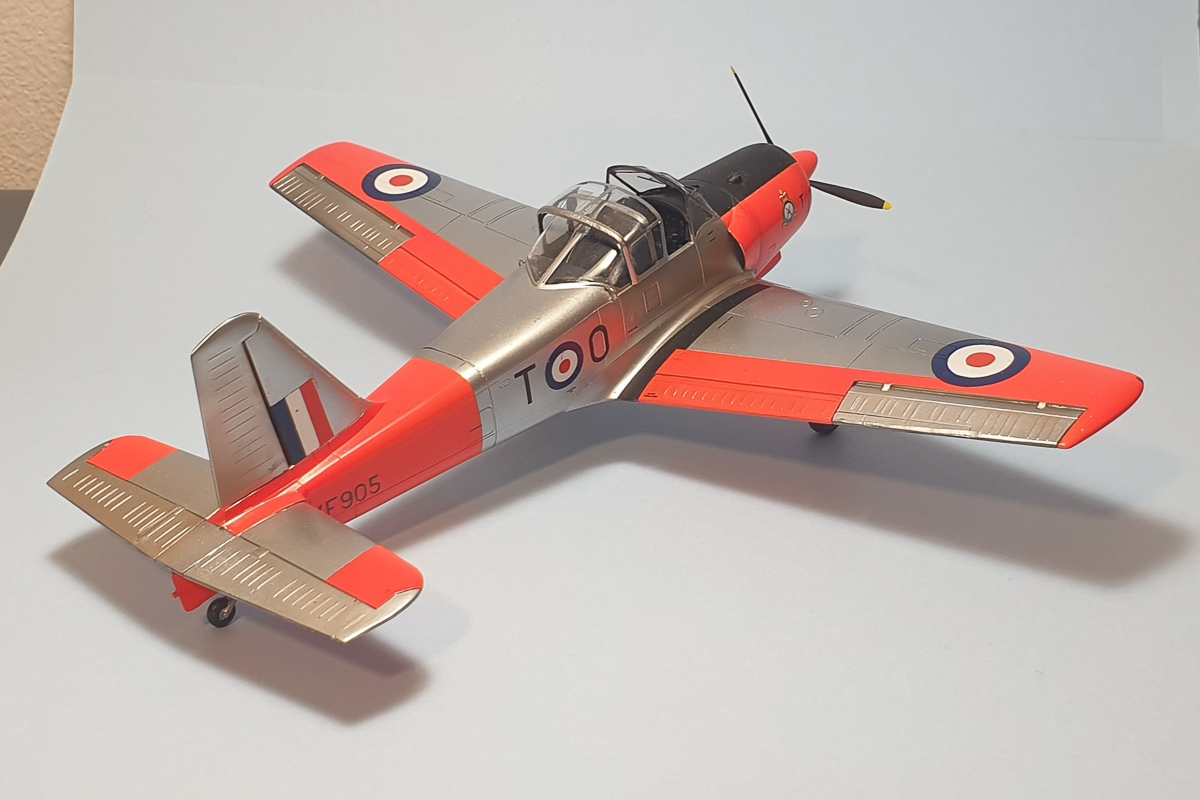
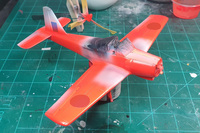
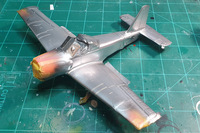
I chose to finish my kit in the early 60s RAF trainer scheme, comprising painted silver with Fluorescent red trim. The plastic was primed with Tamiya fine white primer, straight from the spray can and masks for the RAF insignias were applied. After many hours scouring the internet for references to precisely which color to paint the red sections, I settled on a homemade mix of Mr Hobby Fluorescent red and MRP Insignia Red which was applied in many, many thin coats, to build the color density. In the wild, this painted finish faded quickly, which is why this paint scheme was quickly replaced by all-over silver aircraft, with large fluorescent colored vinyl stickers. I chose not to weather my build too heavily, because look how cool and shiny it looks!
|
|
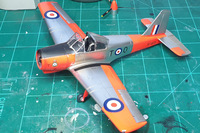 The red sections were masked off and the airframe was given a coat of Mr Finishing Surfacer 1500 Black, as a base for the Alclad II RAF High Speed Silver. All masks were removed and I was left with a strikingly colorful aircraft!
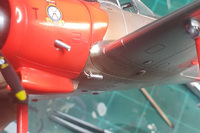
Since I was already cutting masks for the roundels and fin flash, I made stencils for the code letters and serial number of the aircraft in my reference photos, just to be different. These markings were all sprayed on, and the kit decals were used for the various airframe stencils, and the unit badge on the cowl. It's a shame the colors were so bad, because the decals worked really well, being nice and thin, and responding well to setting solution. The airframe was then given a very light oil wash and exhaust staining around areas that would get dirty on the real aircraft.
|
|
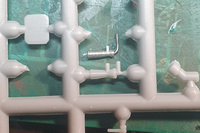
Aerials, brake hoses, grab handles, control surface pushrods and other small details were added to the airframe, and I turned a new venturi from aluminum tube because it seemed easier than trying to carve and drill the kit supplied plastic part to shape. The sliding section of the canopy was fitted, and with that, this Percival Provost earned its way to the cabinet!
Conclusion
I'm glad that companies like MikroMir bring us these previously un-kitted aircraft. They're not for everyone, and you've REALLY got to want the subject matter in your cabinet to see the build through to completion. Every time I finish a build like this, I swear I'm going to treat myself to a brand new, state of the art Uber-kit, but the appeal of something unusual and colorful always seems to win out. Variety being the spice of life, or something.

