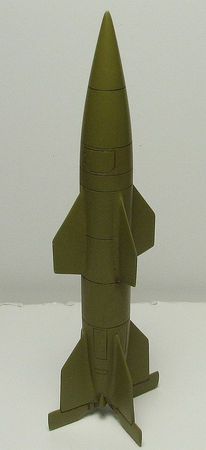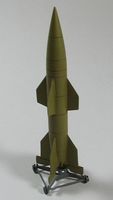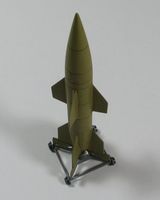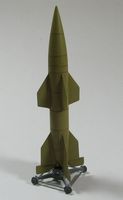
Brengun 1/72 EMW Wasserfall C2
By Matt Bittner
Introduction
When I first wrote the First Look on the Brengun 1/72 EMW Wasserfall C2, I thought it probably would be a quick build. Well, in terms of how long it usually takes me to finish a model, it was. Granted, in someone else's hands they could probably finish it in a weekend, but in either way, it's a great kit and with not too much work, turns into a fine looking model.I suggest reading my First Look to get a better understand of what the Wasserfall was, and what the kit's box contains.
Construction
While the instruction sequence starts with the "launch base", I decided to do a little multitasking. I first cleaned up the parts for the "launch base", replacing parts numbered '8' with round plastic rod. Once I started to glue pieces together for the base and letting them dry, I then turned to my attention to gluing together the two missile halves. While there was some clean up needed on the seams, it wasn't too daunting, and once I restored lost panel lines, turned my attention back to finishing the "launch base". In all honesty, the "launch base" turned to be the most problematic of the entire build. Lining the legs up with the base, and being sure not only it was perpendicular to each other, along with being straight, took a little bit of time. There were gaps to be dealt with, and I thought it best to deal with those using CA, not only to fill, but also for strength. Take your time and you'll be able to get the wheels sitting flat on the ground. After the photoetch part (that sits between the missile and the "launch base") is folded then it too is glued to the base, and I used a little more on the inside, to be sure the dissimilar materials would stay together. This was now set aside to finish the missile.I decided to glue on all the upper fins before moving to the lower ones. I had to pay close attention to fit, to make sure the gaps weren't huge, but even so I used some Apoxie to smooth everything together. Once the upper fins were on, then attention moved to the lower ones and the same procedure was applied: fit, sand, fit, etc., then smooth out the joins with Apoxie. Thankfully the control fins didn't need any seam attention, so those were easy to add. Although, do dry fit anyway, because you don't want obvious seams, just enough of a line to give them impression of where they moved.
Finally the last four parts were added, and I think they're control rocket nozzles, although I'm not 100% sure. In any event, after dry fitting, the were attached with liquid cement, which filled in any gaps that were noticeable. After all parts were on, dried, and attended to, then I had to clean up some of the panel lines, especially towards the bottom of the missile, because they were a little soft.There are four schemes represented on the kit bottom this missile can be finished in. While I think three of them are "what-if" schemes, I can't be sure but the "black and white" scheme is probably what the prototypes were finished in. In any event, I decided to go with the Dunkelgelb scheme just because I had the Vallejo paint available for it. I sprayed the missile with it, and the "launch base" with Aeromaster's (actually Vallejo) acrylic. The panel lines were picked out with an oil wash of Van Dyke Brown while the "launch base" received a dary gray wash, and a light gray, oil dry brush. Once that was all dried, I sprayed both missile and base (after gluing together) with Xtracrylix Flat, and finished it all by applying a graphite rub to the wheels (to give it a worn, metallic sheen without being too bright).
Conclusion
Although it took me a few months to finish, don't go by my time to judge how quick this could be built. While there is a little work to attach the fins, it's nothing Earth-shattering and the missile could be finished in little time. It looks great, and is the first "large" missile to enter my collection.My sincerest thanks to Brengun for allowing me to review this kit.


