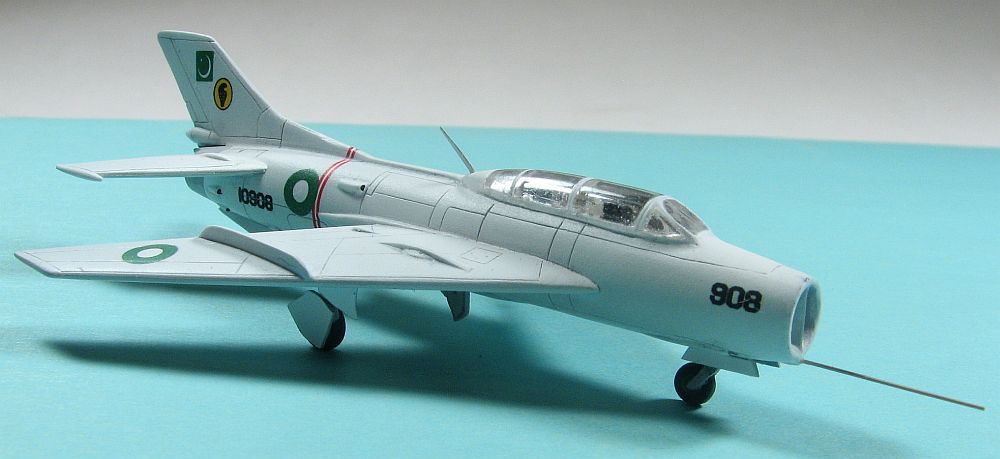
Attack 1/144 Shenyang JJ-6 (FT-6)
By Matt Bittner
Introduction
|
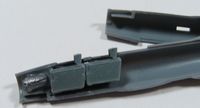
There are more and more producers of 1/144 kits on the market these days. One of them, Attack, has released a number of nicely done Soviet and Chinese jets and it was because of their "newness" to me I wanted to give a shot at building one of them. When the JJ-6/MiG-19UTI (sic) arrived to the Internet Modeler "offices", I knew I had my chance. While the sprue gates are a little larger due to the "limited-run" nature of the kit, they are not bad as some other manufacturers. Plus, when you look at the level of detail that is contained within the box, it's a really nice change to some of the more "chunkier" kits. Since there was never a MiG-19UTI (as I mentioned in my First Look) I decided to build the Pakistani bird. In all honesty I wanted to build one as flown out of Bangladesh, but there are no decals for the country, and I was too lazy to make my own.
Construction
|
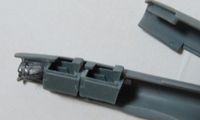
Of course construction starts with the cockpit and forward-fuselage area. Since the JJ-6/FT-6 was a two-seater, Attack provides two of their resin cockpit "tubs" to fill in both areas. To each tub is added a seat and instrument panel; I also added a control stick and tape-seat-belts to each cockpit. There was some work needed, though, to get both tubs to sit correctly. The tops of both instrument panels need to be removed, and the rear of the forward cockpit-tub, and the front of the back cockpit-tub need to be thinned down to get the rear cockpit-tub in the right spot. Everything was painted gray in the cockpit, with the seat cushions being painted gray-green. Before closing the fuselage halves, I added weight in front of the forward cockpit tub: be careful here, though, and don't add too much in front, because the separate intake still needs to be added.
I now glued the fuselage halves together. I did a little bit of "vac sanding", meaning I sanded each mating half on my "vac sanding board" to level them out. Not too much, though, otherwise you'll throw off the fit of the rest of the parts. Once they were dried, I then worked on the seams, and thankfully most of it was taken care of by sanding. Since the fin/rudder was part of the starboard fuselage half, there is a slight gap where the port meets that section that needs to be dealt with. The way I found to work best was using Apoxie, and smoothing it out with water and a brush to avoid sanding. The same can be said for the underside, since the longer fin-strake was also part of the starboard fuselage, and Apoxie was used to fill in that gap as well.
|
|
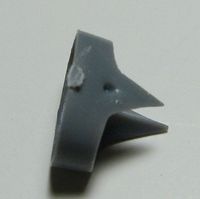
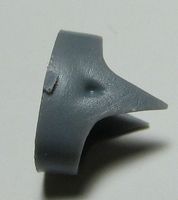
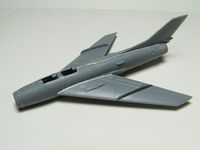
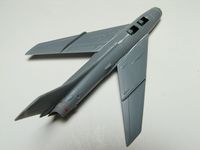
You can see in the photos above the rear section of the fuselage has a sink-mark that needed to be attended to. Between sanding and Apoxie it was smoothed out. Before I glued the exhaust-fan-blade-part (part number 3) to this rear fuselage section, I sprayed the piece with Alclad Jet Exhaust and then punched out two tape discs to place over each fan blade, to protect them when spraying the rest of the model. Now the exhaust-fan-blade part was glued to the back of the rear-fuselage piece. In addition, the intake was glued to the front of the assembled fuselage.
|
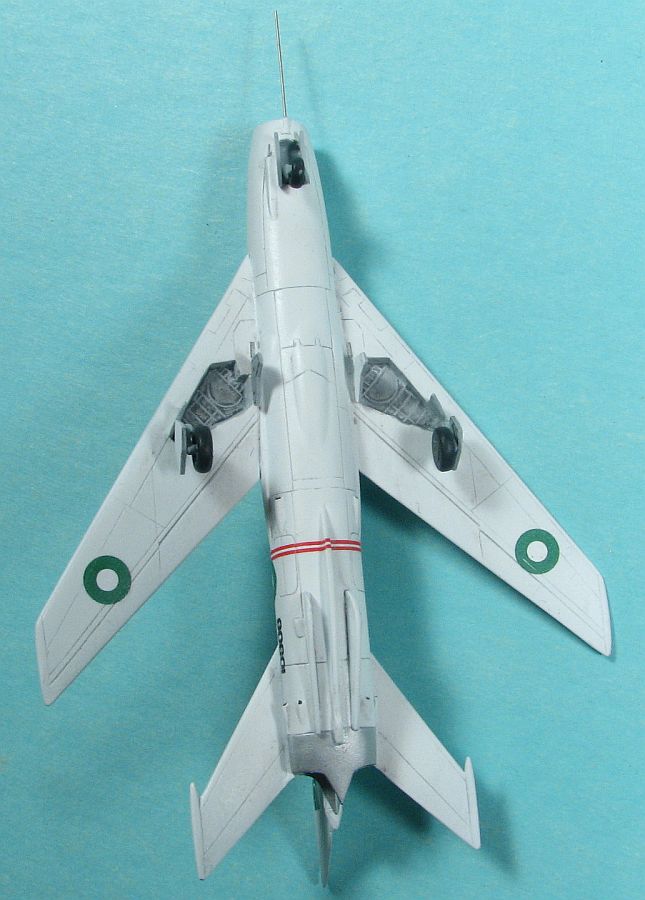
It was here the first problem arose during assembly. There's a gap between the intake and the nose gear well – and a gap within the well where the fuselage halves meet. All I did was fill in the forward gap with putty until I had enough in. This took a couple of applications of Apoxie, and since it was difficult to sand in that area I cleaned it up with the tip of a knife blade. The gap in the nose-gear well was also filled, and between scraping the area with a #10 blade tip and some careful sanding, the gap was mostly eliminated. It became evident again during spraying of Future, but now that the dull coat is on, isn't as noticeable.
|
After removing the cannons from the wings, the wings can be added to the assembled fuselage. Thankfully no sanding was needed on these seams since water-brush removal of Apoxie worked really well in this area. There was a slight "depression" in my wings, right near a panel (which was reflected on the underside ammo chutes) which was carefully sanded out. I had to reinstate the panel lines, but most of the "depression" was taken care of. Now I turned my attention to the worst fitting part of the kit, the horizontal tails.
|
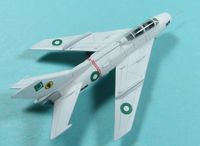
I ended up using more putty than I probably should have to blend in the horizontal tail pieces, but in the end it worked out and looks smooth. Hopefully it's not "too smooth" and looks good enough. After plenty of time "worshipping" this area, I had to go back and re-scribe those panel lines lost during sanding. However, now I had what truly looked like an FT-6. The next area I needed to concentrate on was the canopy. It's a little thick, unfortunately, and if I was to build this again I would replace it with a vac/squashed example. But at the same time, if you do that you'll want to add more to the cockpit, as you'll be able to see more through the clearer canopy. So, it's kind of a Catch-22 – canopy too thick, or cockpit needs work. I opted for the canopy being too thick. After dipping the canopy in Future I masked it, first using Jammy Dog to outline, then filling in with Tamiya tape. After it was masked was when I glued the canopy on, and noticed it too needed some filling. So back out with the Apoxie to smooth it in.

|
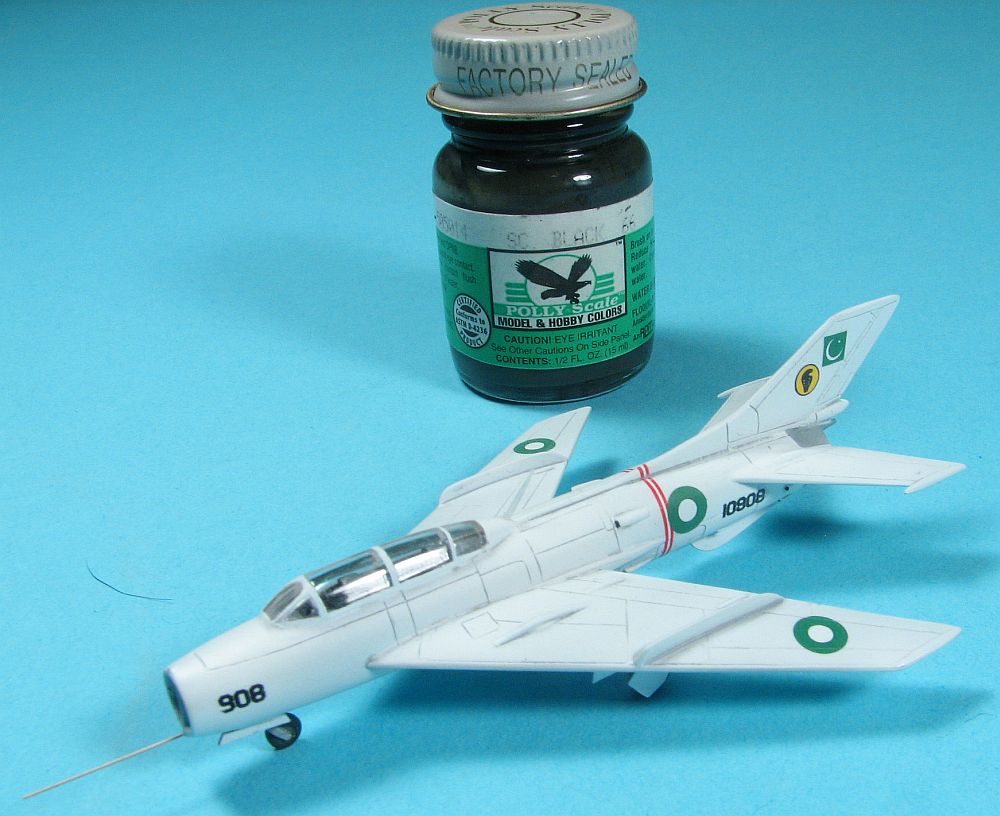
Now I was ready to paint. I used Polly Scale white, thinned with Future and windshield-washer fluid, which left a nice semi-gloss surface. Once it was all dried, I then coated it with Future and after that was dry - a couple of days - I masked the areas for the aluminum (rear and nose intake). After that was sprayed and masks removed, I then started to add the decals.

|
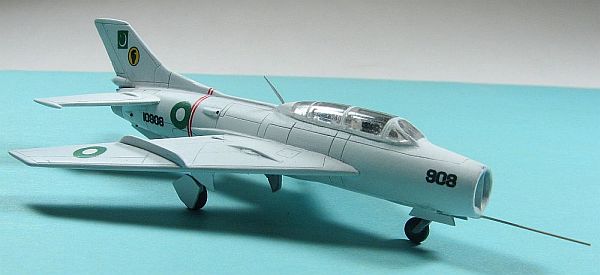
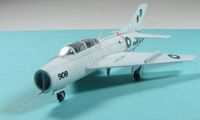
I had no problems at all with the decals, and they responded well to both Future (using it as a puddle underneath most of the decals) and Micro Sol. Once all the decals were in place and dry, I then coated them with more Future to seal them in. Once that was dry, then I mixed up some gray oil paint, and applied a wash to the whole model. The landing gear was then glued to the model, along with the gear doors. I then finished the model with a scratchbuilt spine-antenna and Albion pitot tube, since neither was supplied with the kit. Finally a coat of Xtracylix Flat was sprayed over all. Once the masks were removed from the model, I now had a completely built 1/144 FT-6.
Conclusion
All-in-all I had fun putting this kit together, and in the end that's all it's about. When I was almost finished, I noticed the outer-wing fences weren't big enough, but at that moment it was too far along to worry about, so I'll live with that one minor discrepency. But still, I'm glad I built it and now have an FT-6 in my built collection.
|
My thanks to Attack for sending the kit to review. It is appreciated and I enjoyed building it.

