Arma Hobby’s 1/72 P-39Q Airacobra
By Chris Banyai-Riepl
Overview
The Bell P-39 was an impressive design, undergoing an incredible number of variants throughout the Second World War and serving in the forces of several nations. Because of the vast number of variants, it has always been a challenge for kit manufacturers, with loads of different subtle changes across the variations. Arma has entered the challenge of making an accurate scale model of the P-39, and the result is what can be considered the best option in 1/72 scale.
The Kit
From the beginning I decided to build this as close to out of the box as possible, and after giving the kit a thorough once over, I honestly don’t think there is much aftermarket can provide. The cockpit detail is simply superb, and the external details are similarly well detailed. So with that knowledge, I dove in with a straight out of the box build.

|

|
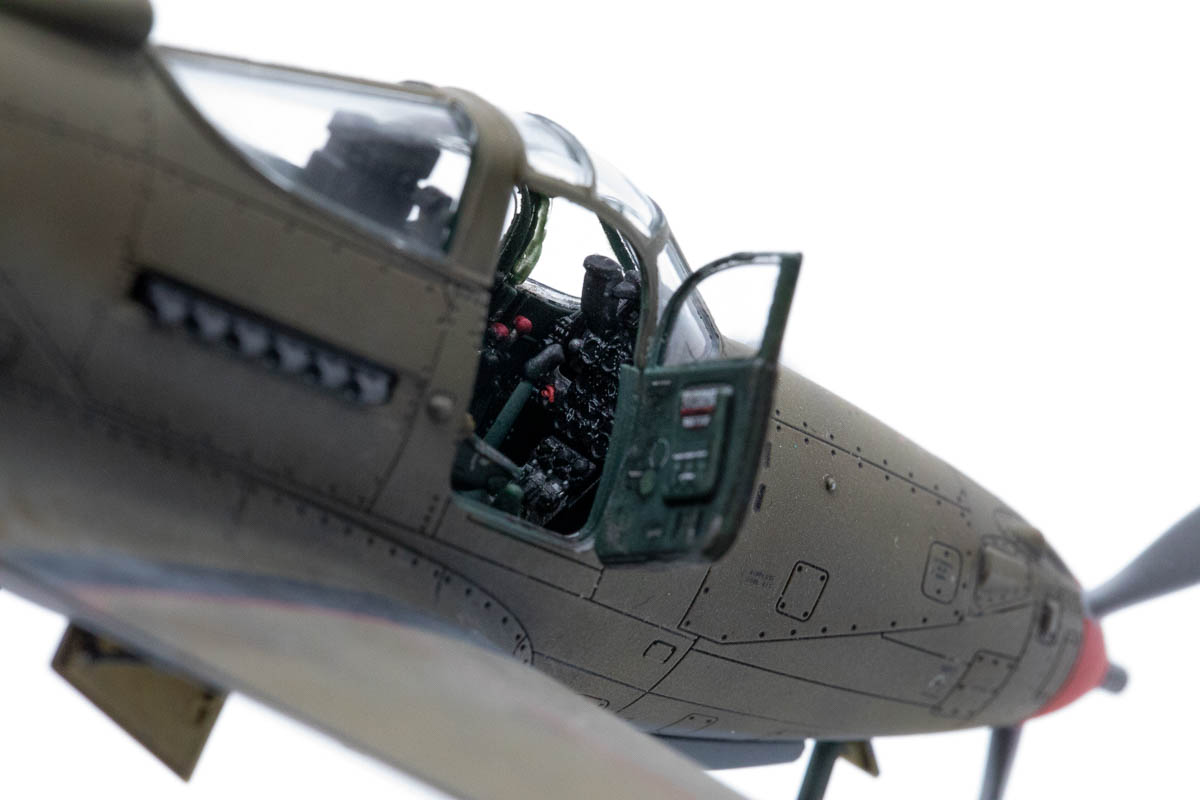
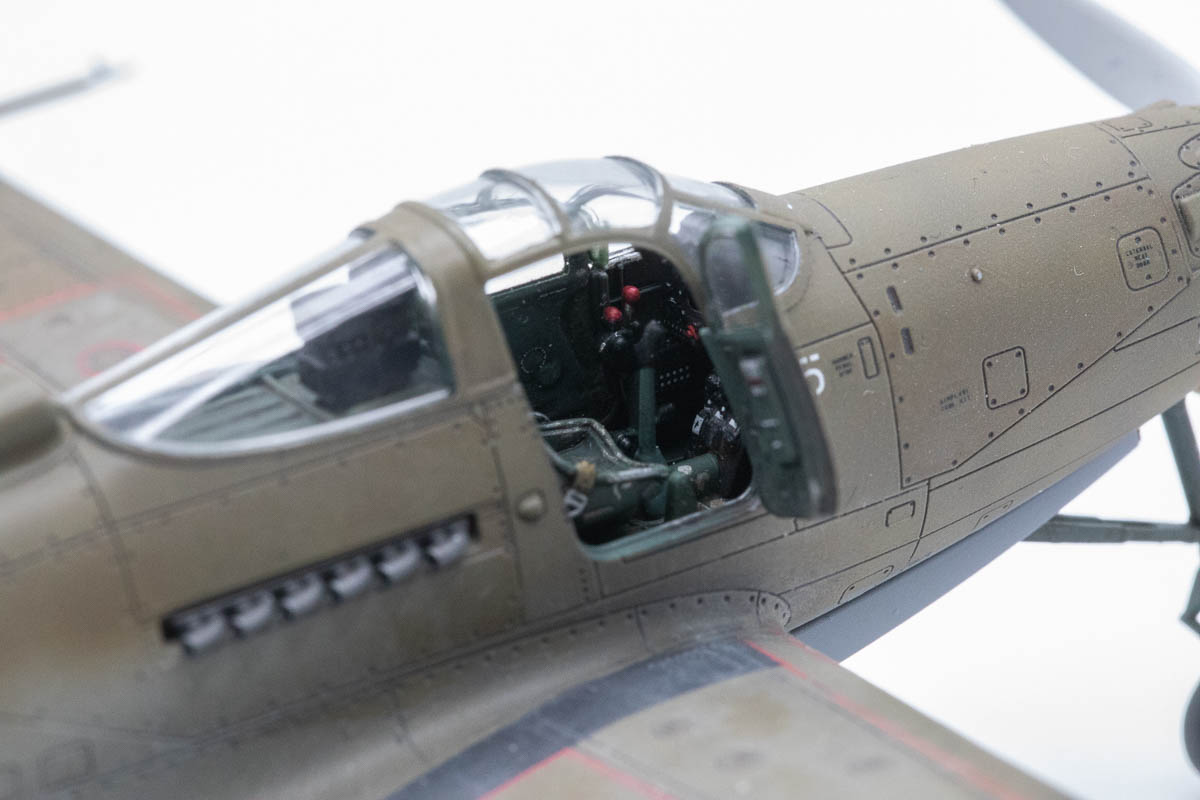
The first stop was the cockpit, which was a complex assembly made easy by the engineering Arma did. By incorporating the cockpit with both the nose wheel well and integrated nose weights, it is clear that Arma knew the challenges of building a P-39. This release included a 3D printed seat, which is absolutely amazing in its detail. One of the advantages of this 3D printed seat is that the decal seatbelts fit the raised seatbelt detail perfectly, giving those far crisper color details than what most of us could achieve with a paintbrush. With some careful painting on the rest of the plastic parts, plus the application of the instrument panel and other detailing decals included in the kit, the cockpit out of the box is simply stunning.

|

|
Turning to the nose wheel well, this is built up from several parts as well, with incredible detail, including the centerline cannon barrel. Sitting on top of this assembly is a part with indentations for the included three nose weights. The way Arma engineered this is to be commended, and while I was a bit nervous throughout the build when it seemed like it wouldn’t be enough weight, upon completion it worked out to be plenty. Should you want some extra assurance, though, you can fill the spaces in between these weights with additional weight.

|

|
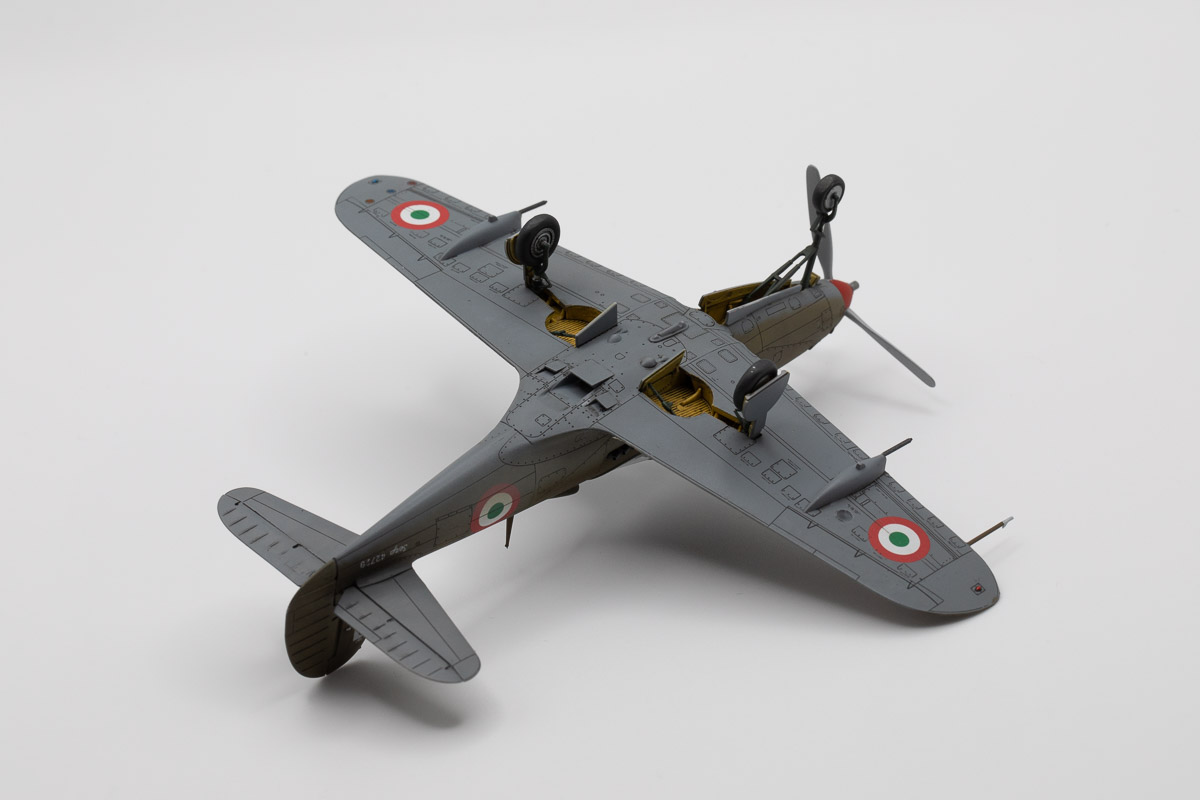
Moving on to the required modifications for this kit, Arma has clearly planned on releasing multiple versions of this P-39 kit and so there are going to be minor changes in terms of panels to fill, holes to open up, etc. The wings get a fair bit of these changes, with the four gun openings needing to be filled. I opted to glue the gun pieces in place as use those as plugs, minimizing the amount of filler needed on those. I also opened up the holes for the underwing gondolas and centerline drop tank. Another thing that I filled in was the square panel on the left upper wing near the trailing edge root. This is scribed on both sides of the kit, but is only present on the right side. Similarly, the elevator trim tab is only present on the left side, not both, so that was another spot to fill in. The instructions also indicate a few other panels to fill in, but they missed some others. Given the vast number of variants that the P-39 went through I’m not surprised, and for those who want to have every single panel exactly right, there are lists out there that highlight those. Me, I’ll go for a close enough look and get this one buttoned up & ready for paint.

|

|
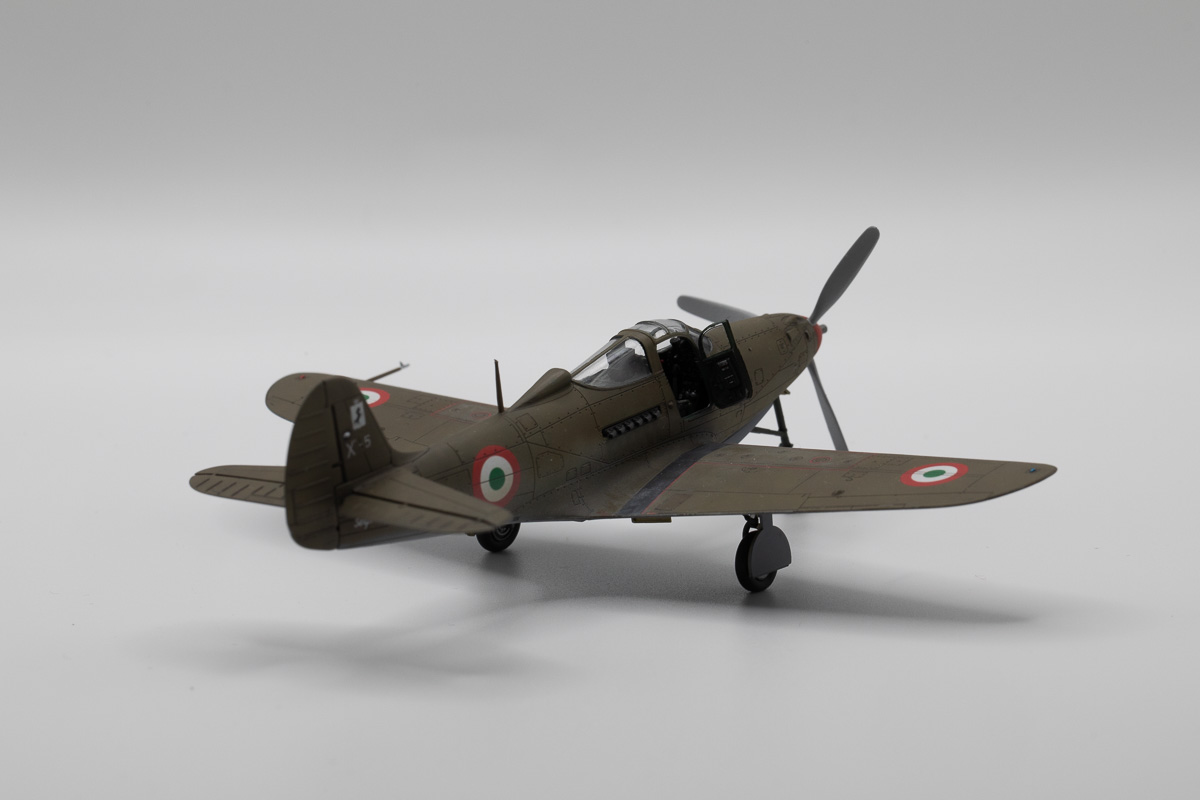
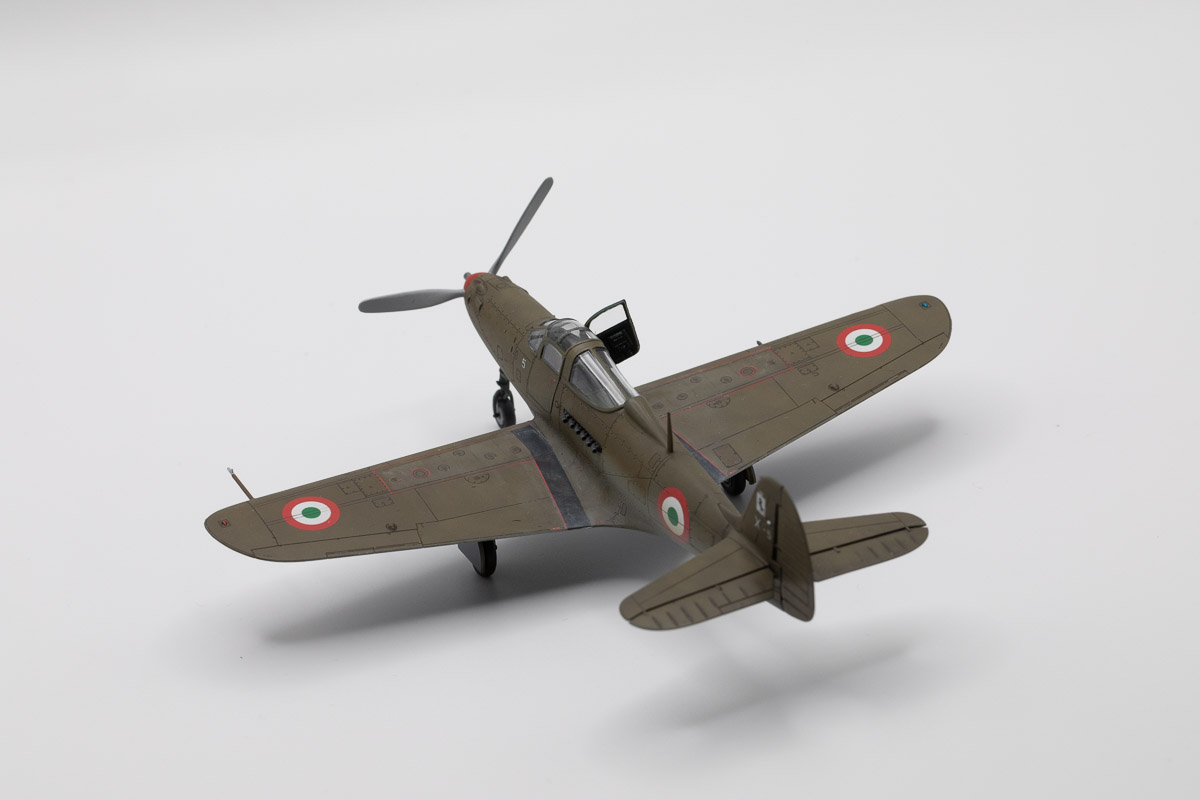
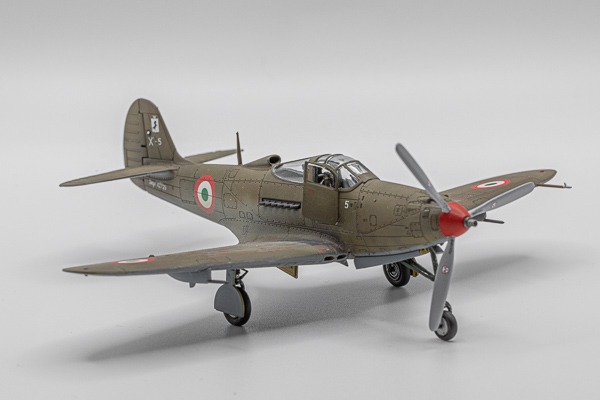
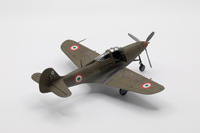
The option I chose to do was the Italian aircraft from the decal sheet, as I didn’t have any Italian subjects in my display case yet. As these were ex-US aircraft, they were far from factory fresh, so I went with multiple layers of different tones of olive drab to highlight that fact. I lost count, but I think I ended up using about five different shades on this paint job, with some painted on specific panels and others just randomly painted over for an overall faded effect. I was pretty pleased with the outcome, and a gloss coat prepped it for decals.

|

|
The Arma decals are excellent and go on with no fuss at all. The Italian option is a P-39Q-15 from 10° Gruppo, 4° Stormo based at Galatina Air Base in Italy in November of 1944. It has the Italian roundels in six positions, a unit emblem on the tail, serial number under the stabilizer, and small individual aircraft numbers on the tail and forward fuselage. Overall a pretty minimalist scheme, and the Italian-specific decals went on pretty fast. Then came the real challenge: the stenciling. Challenging only because there’s so many of them. Applying them went fine, but several breaks were needed because, as I said, there’s so many of them and remember, this is 1/72. Squinting at tiny decals of text takes a toll, believe me. But in the end the result is well worth it, and after another clear coat to protect them, I could turn to the final steps.

|

|
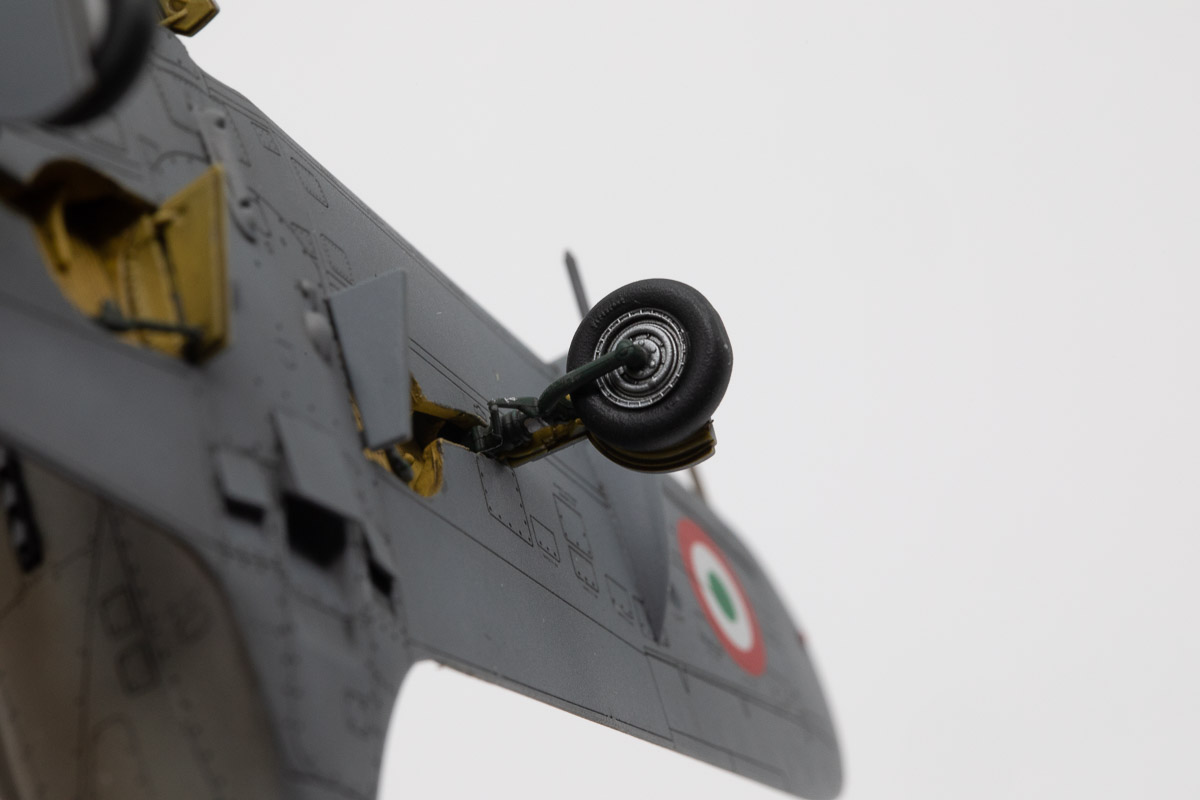
Weathering was fun on this one, especially getting the staining from the center exhausts. I decided to use Blutack to create a rough mask around the exhaust opening, and then airbrushed layers of brown, tan, and gray feathered back. I also built up some dust & dirt layers on the upper wings where pilots & maintenance people might be walking or kneeling, and added some paint chipping to the nose wheel strut as it was exposed to all sorts of abrasion being close to the propeller. I also tried one of those chrome pens for the strut oleos and I was quite pleased with how those look, so I’ll be using that technique in the future.

|

|
Final assembly got the exhausts stuck on, the landing gear legs & doors added, and the prop glued in place. The side door I attached in the open position to help show off that interior, and I was ready to call this one done.
|
|
Conclusion
This was easily the most fun kit I’ve built in a long time. The combination of amazing detail coupled with thoughtful engineering and a near-flawless fit had it being a relaxing build that looks amazing when finished. I am already planning on my next couple of builds of this kit, as I want to do a French one for sure, and at least one Pacific one as well. Thanks to Arma for putting out such a great kit.

