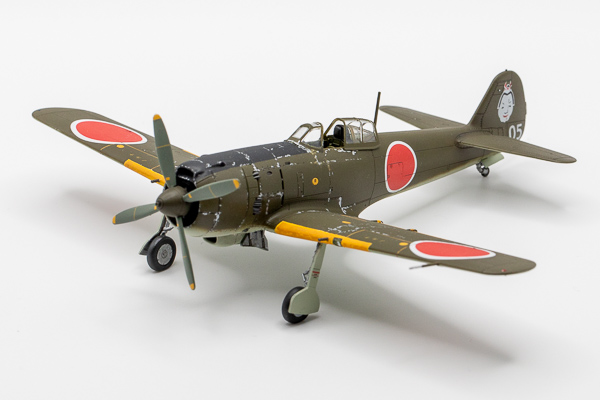
Arma Hobby’s 1/72 Ki-84 Hayate
By Chris Banyai-Riepl
Overview
Japanese World War Two aircraft seem to go in cycles of modeling interest, and right now that interest apparently is on the rise. This is good news for us modelers in the trenches, as we are starting to see some excellent models of important Japanese subjects. Such is the case with this kit from Arma, a notable departure from their other subjects that tended to focus on Allied aircraft. Well researched and highly detailed, this little nugget also builds up well, and with only a bit of attention during assembly, no real surprises are there.
The Build
Arma’s 1/72 Ki-84 Hayate looks amazing in the box, so building this one up had me excited to dive in. While the kit decal options were interesting, I had an Empire City Decals aftermarket sheet with an interesting Ki-84 that I had always wanted to do. So armed with this decal sheet and the kit, I jumped into building this one up.

|

|
Like most of my builds, I started with the interior. This has lots of details molded separately, including a separate throttle assembly for the sidewall and a handful of photoetch detail bits for the cockpit floor. After gluing all these bits in place (which went real fast as the fit was excellent) the next step was to break out the paint brushes. After some detail painting and adding the kit decals for the instrument panel and other details, the interior was done pretty much straight out of the box. The only modification I did was to drill out the holes in the seat.
With the interior done, next up was the assembly, and that went surprisingly fast. So much so that I forgot to take photos of the process, unfortunately. But suffice to say, aside from building and painting the engine, the actual airframe build took hardly any time at all. The only spot that needed some careful work on was the underside of the fuselage forward of the wing, where a bit of careful attention is needed to ensure a perfect fit. The engine cowling, while a bit more involved than most, went together very well and overall there was no need for any filler. Some light sanding on the seams and I was ready for painting.

|

|
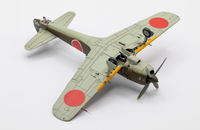
While many Ki-84s suffered from poor paint adhesion, the scheme I chose had only a moderate amount of chipping. I opted to replicate this after the fact by hand, rather than utilizing some of the other techniques out there such as using chipping fluid. So I painted the underside gray green, followed by the upper olive green, and finished with the black anti-glare panel. A thorough gloss coat had me ready for decaling.

|

|
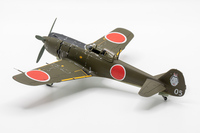
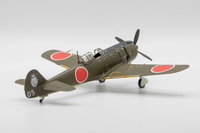
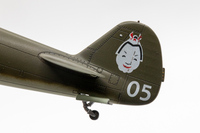
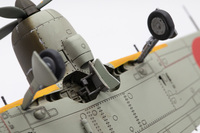
For the decal options, while the Empire City sheet came with hinomarus, I opted to use the superb kit decals for everything but the special tail markings. In both cases I had no problem with applying either of these decals, with about the only big difference being the opacity of the whites being slightly different. The stenciling included in the box adds so much to the finished model, which is a nice touch to have included.
|
|
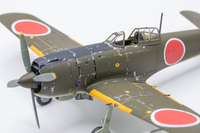
About the only thing I wish the decals included were the leading edge yellow areas, to guarantee a match of the yellow used elsewhere in the decals. My initial painted leading edges didn’t match the decals very well, so I ended up trying to fix that with some touch-up that didn’t turn out the best. I have since found a better paint match for that color, so my next Ki-84s should go better in that regard (and yes, I have plans to do at least three additional Ki-84s, if not more).
|
|
Final assembly got the landing gear, open canopy piece, and propeller bits all glued on, and after some additional paint chipping around various edges and a flat coat to unify everything, I could call this one done.
|
|
Conclusion
This was a fun, relaxing build that presented challenges really only in the painting process, as there is so much detail included in the kit. With so many great Ki-84 marking options out there, this kit will likely become a nice palate cleanser model to build up when I just need something simple & relaxing to throw together.
