The Kit
I have always been a typical modeler in that I build mostly out of the box. I will change a set of wheels if I think it makes the car look better, but for the most part, I build my models as they appear on the box top. I received this kit as a Christmas gift from my brother. Now, at this point, I need to express a little remorse. Models are always on my Christmas list and I appreciate all the ones I receive. But when I opened this Christmas gift and saw a Monster truck, my first thought was: "This is awesome!" However, my second thought was: "This thing will never fit in my curio cabinet." As a result, it was put on the back burner for a while. So, I would like to publicly apologize to my brother Ricky. Ricky, I am sorry I dogged you for getting me this kit!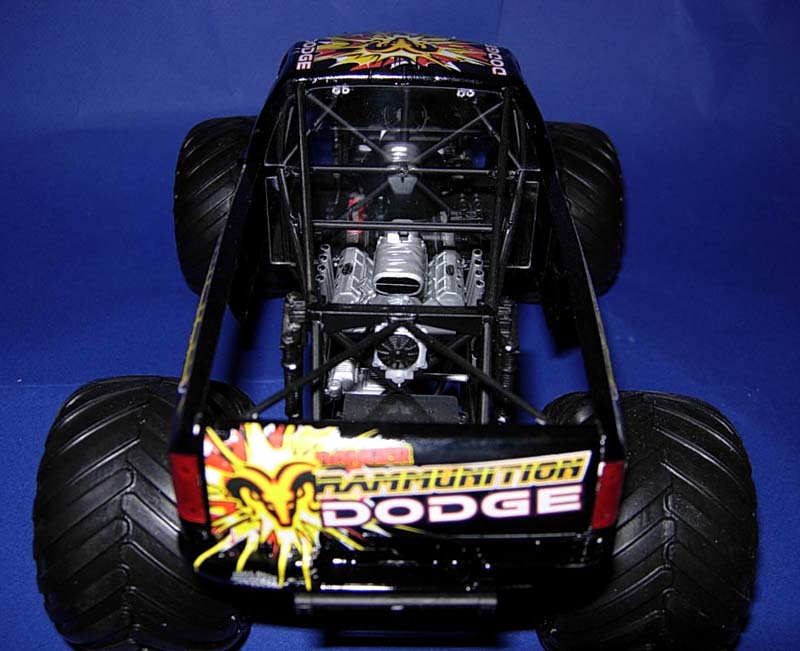 Part of the reason this kit went on the back burner and sat on my shelf for a while was because I was a little intimidated by the "Skill Level 3" classification stated on the box. I am somewhat embarrassed to admit this. I should have nothing to fear with a skill level 3 kit. I have assembled a lot of models and I understand kit directions. I think this fear stems from failing miserably at a level 3 kit when I was a kid. For example the roll cage was a multi-piece assembly and I assumed I would be unable to get the various pieces lined up correctly. Well, I was wrong on this one!
The kit is very well engineered and it was much easier to build than I expected. I am very impressed by this kit's quality The Rammunition was my first Lindberg kit and was I pleasantly surprised while building it.
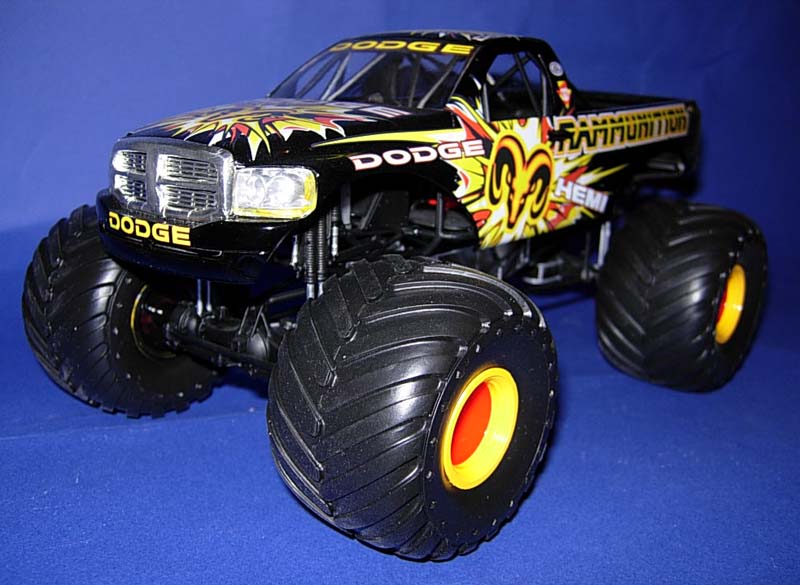
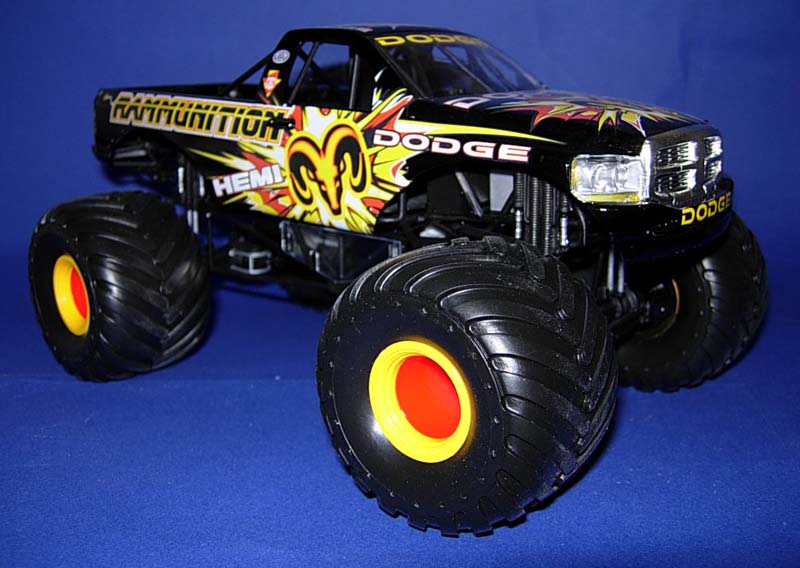
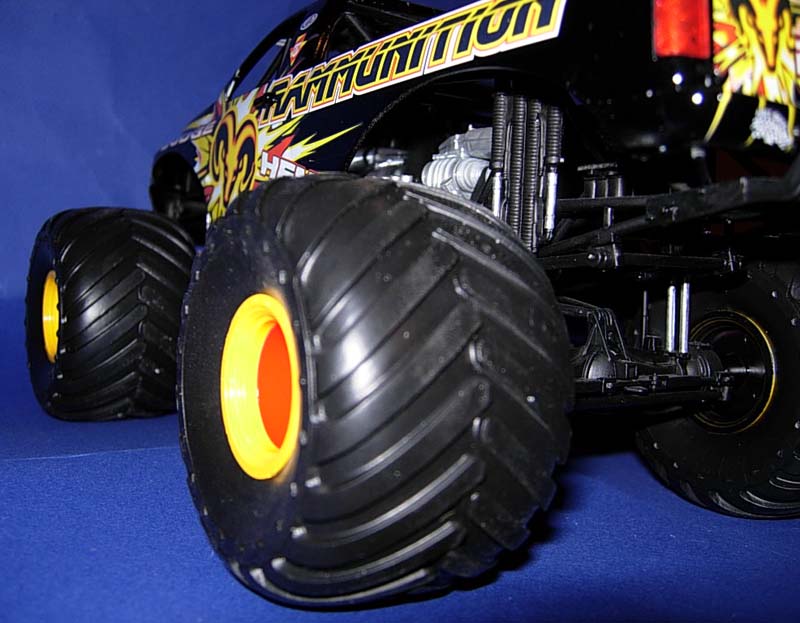
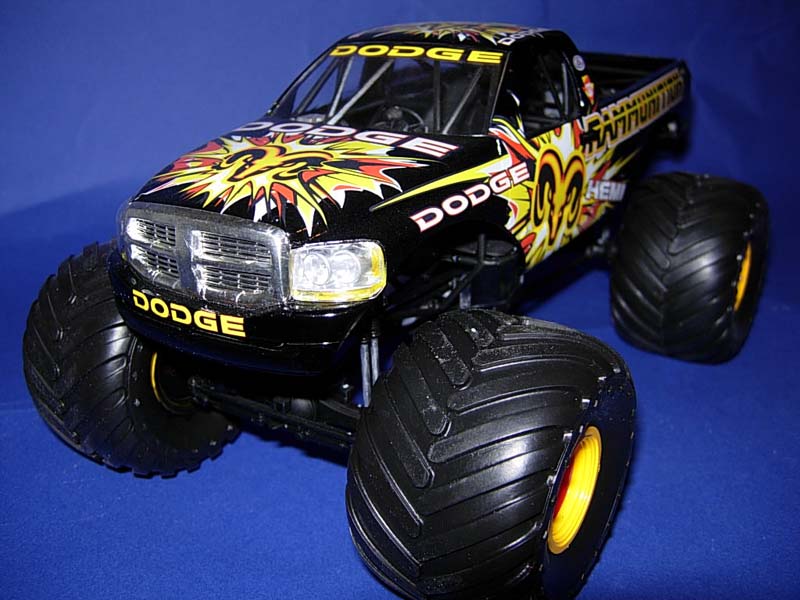
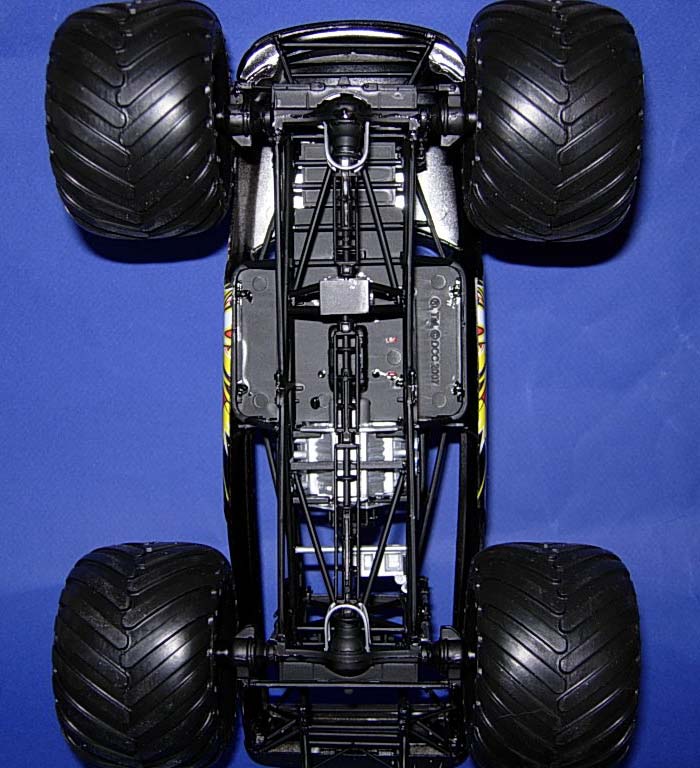
The HEMI engine is painted with TS-17 Aluminum from Tamiya. I painted the roll cage with TS-6, Tamiya's matt black color. For the body of the truck, I sprayed the truck's body it with TS-14. The TS-14 is gloss paint by Tamiya and it looks pretty good when applied. The kit directions were very detailed and easy to follow.
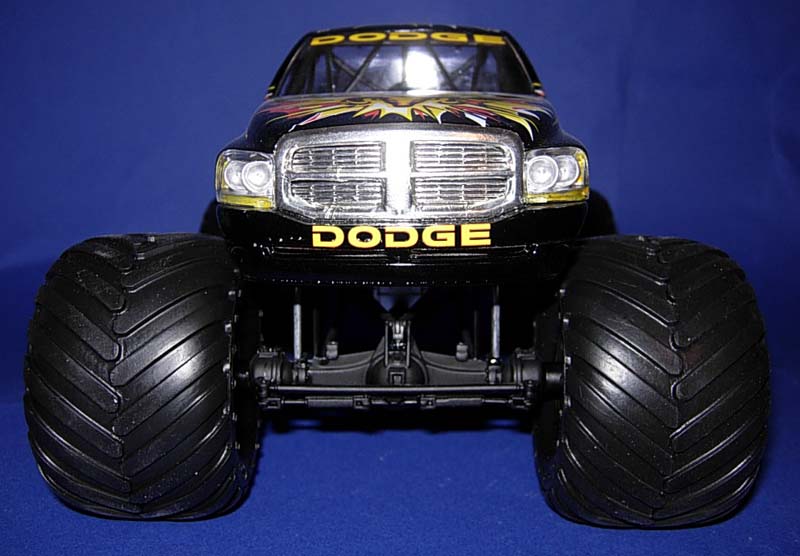
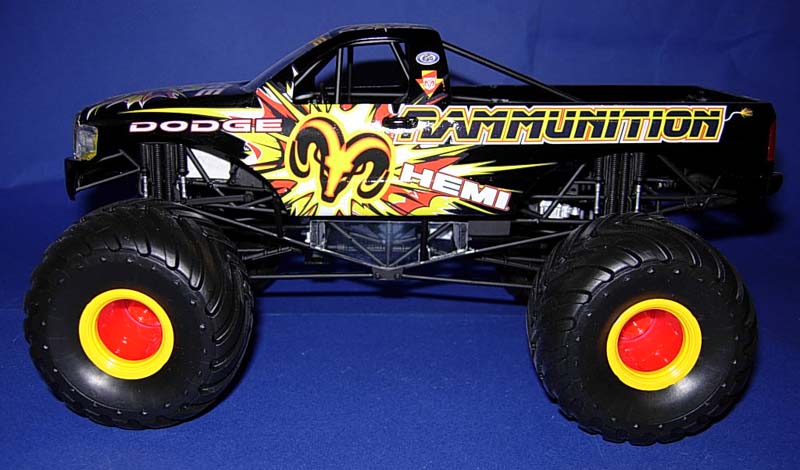
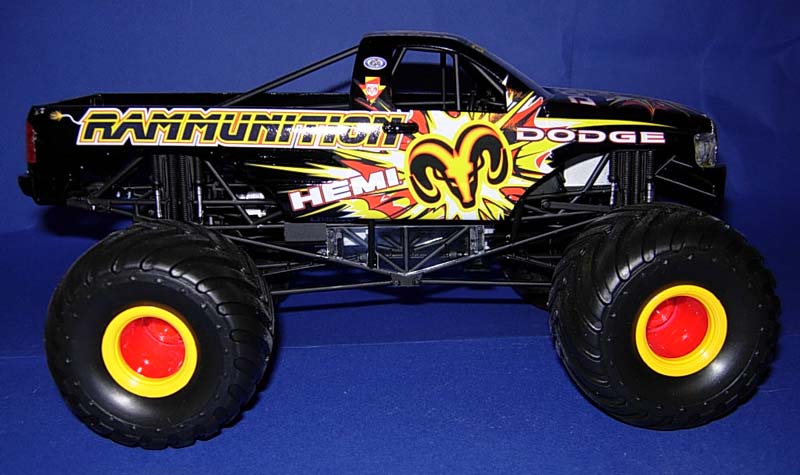
The wheels and tires are one of my favorite parts of most model projects and this kit was no different. The tires come in a separate bag and take up a considerable amount of space in the box. They fit perfectly over the wheels, which are large, thick, heavy pieces of plastic. Surrounding the lip of the tires over the wheels are the circular wheel edges. These were painted TS-47 chrome yellow and give the truck its signature look along with the combination of red wheels. For this I used TS-8 Italian Red. The last stage of course was applying the decals to the truck body. I was apprehensive about this step, because nearly the entire truck is covered in decals. The decal sheet for this kit is also large and includes a second set of instructions. The roof, the hood, and the sides of the body are all covered by a decal of some sort. I was amazed to find that the decals were not difficult to apply. They are large of course, but the decal sheet was very easy to work with, much easier than other sheets I have used in the past. The decals just slid easily off the backing sheet onto the truck body. I allowed the decals to dry overnight and coated the body with some TS-13 clear. You have to be very careful when spraying this clear gloss. Start by spraying light mist coats, or the decals will react with the clear and bubbles will appear in them. Give the clear plenty of time to gas out between the mist coats, and then move on to some heavier coats. The front grille was a little challenge as well. It is a piece of plastic with a molded grille on it. Along with the perimeter of the grille, I decided to keep it looking like the Heavy Duty Dodge trucks you see on the road. To accomplish this, I covered the area with Bare Metal Foil. The edge of the grille looks great, so I also used it on the billet style grille as well. To do this, I cut a piece of Bare Metal Foil so that it covered the molded bars of the grille. After I was happy with the coverage, I took my trusty Exacto knife and cut out the grille pattern. In between each bar of the grille, I ran the blade down the middle so that each little strand of Bare Metal Foil straddled each bar. From there, I used a Q-Tip to push the foil down onto the bars, which gave it some much-needed depth.Conclusion
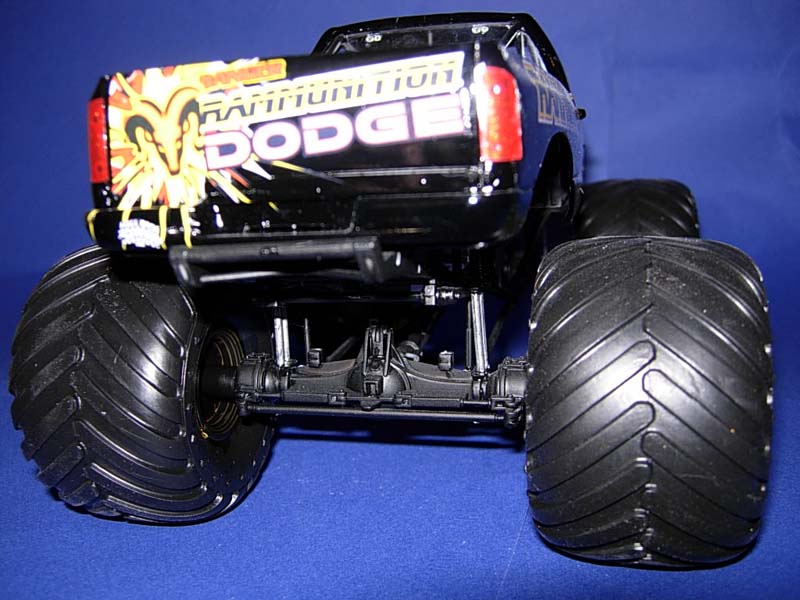 I really enjoyed building this kit. I loved the quality of the directions, the amount of detail of the parts, and the overall look of finished model. Lindberg has done a wonderful job with this kit, and I also appreciate Lindberg's approach. I have seen other monster truck kits with pre-painted metal bodies-I'd rather paint the body myself. I much prefer the Lindberg kits to any other monster truck kits. As a matter of fact, I had such a good time building this kit, that I look forward to the day to building the sister truck of Rammunition, The Ramminator, also available from Lindberg. I definitely recommend this kit to any modeler and especially those who enjoy monster trucks. Thanks for reading and happy modeling!
