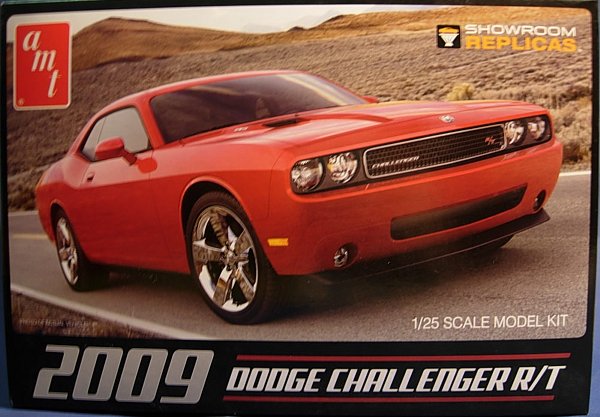
AMT 1/24 2009 Dodge Challenger R/T
By Tommy VanNess
The Car
Here we are with a fresh new generation of pony cars from the "Big 3", or what is left of the "Big 3." How many of you out there like the newer, throwback pony cars? I personally like them a lot. If you are like me, and if you build models you probably are, you can pick out these retro cars on the roads as well as their earlier models. These cars seem to stick out and attract attention. One pony car I see often is the new Dodge Challenger. It's a beautiful car that really draws a crowd. It was released in 2008 as an old model with a new spin. I have read that some hard-core Chrysler/Dodge fans were disappointed with the new Charger being a 4-door sedan.Well, after seeing this beauty, they shouldn't have much to complain about. In 2008, Dodge offered the Challenger with a 5.7L HEMI producing 372hp, which gave it the muscle to move down the quarter-mile in 14.1 at 100.8 mph. The new Challenger's performance lags behind the competition due mostly to its weight. Tipping the scales at 4,041 pounds, can we call this a "Muscle Tank?" In the first year, Dodge sold 17,423 Challengers and last year sales were over 25,000. Hopefully the success of this car continues because it is sure fun to see them driving down the road.
The Kit
I have mixed feelings about the kit. For one thing it's by AMT, a company with a history of producing less than stellar kits. I have built AMT kits before and was frustrated with design and accuracy issues. However, when I built the Challenger, I was pleasantly surprised with how well the car went together. Now, I will mention that the accuracy and great fit came with a few sacrifices, which I'll discuss later. For starters, the kit is listed as in 1/25th scale and a Skill Level 2. There are roughly 45 pieces in the box, but I'm still not sure if the parts count includes the axles and screws. The kit is molded in white plastic and the wheels are the only pieces molded in chrome. I really like the extra decals AMT provided with the kit. Your standard dashboard dials and body decals are included, but there are additional colors available for the R/T stripes. I used the black stripes, but red and white stripes are also included, which is a nice touch that gives you a few different color options. A very unique feature I found in this kit is that the seats, both front and back, are molded in rubber. That's right, the seats are made of rubber. I have never seen this before and I am not sure why AMT went this route. Maybe it's cost cutting, but who knows? In the end, I think the rubber serves as a good surface if you are looking for the black leather look with a satin sheen.
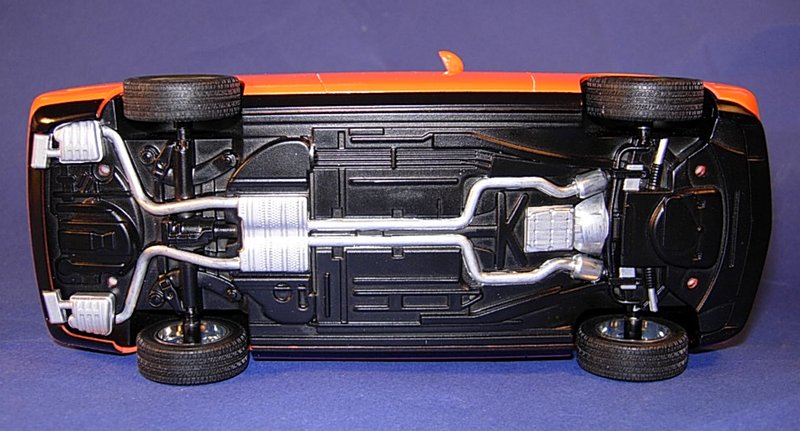
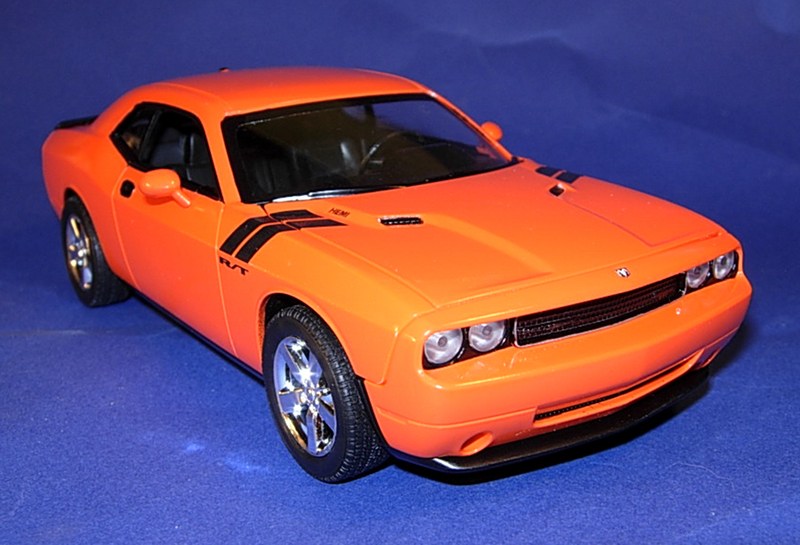
A major drawback to this kit is that it is curbside only, which means that there is no engine detail. Many people who are fans of the car and Dodge in general are huge fans of the HEMI engine. I was a little disappointed building the kit knowing I wouldn't be able to pop the hood and show off the HEMI. So, when people ask me in their Southern accent, "Hey, that thing got a HEMI?", I won't be able to show them. The only engine parts you will see are molded in the chassis. You will have to detail them yourself on the underside of the car. I made sure to hit the exhaust and bottom of the engine with a little chrome paint.
Since I am discussing shortcuts that AMT made, I want to mention the axles. The kit includes 2 metal rods in which the wheels mount to at each end. Unfortunately, this means no brake parts either. I also have a slight complaint about the decals. Across the back of the car, in the chrome section of the taillights, the "DODGE" script did not show at all. The decals for the front grille "CHALLENGER" and R/T scripts didn't show up much either. But although AMT skimped on detail for the engine, brakes, and suspension, they really did a good job on the body. Because I didn't have to worry about engine detail and could devote my attention to the looks of the car, I decided to try some new techniques. I painted the majority of the car in Tamiya aerosol lacquer semi-gloss black (TS-29). For the body color I used Tamiya orange followed up by the usual Tamiya TS-13 clear coat. However, I tried my hand at wet sanding this time around. Usually I paint the body, let it cure and then polish it up. In the past I have tried sanding, but it usually ends up a disaster. But I did a little homework and read up on wet sanding techniques. I used 6000-grit sandpaper, added a little water and I gently scrubbed. I found this easy to do and I was happy with the result. Another technique I tried was to add the decals before I applied clear-coats to the finished body. I am glad I tried this technique. The kit went together very quickly after painting and polishing. Most of the parts have tabs that slide into holes and you almost don't need glue. The only personal touch I added to the car was the black spoiler, which matches the body color on the 1:1 car. You will need a screwdriver for the final assembly stage to tighten the screws that fasten the chassis to the body.Conclusion
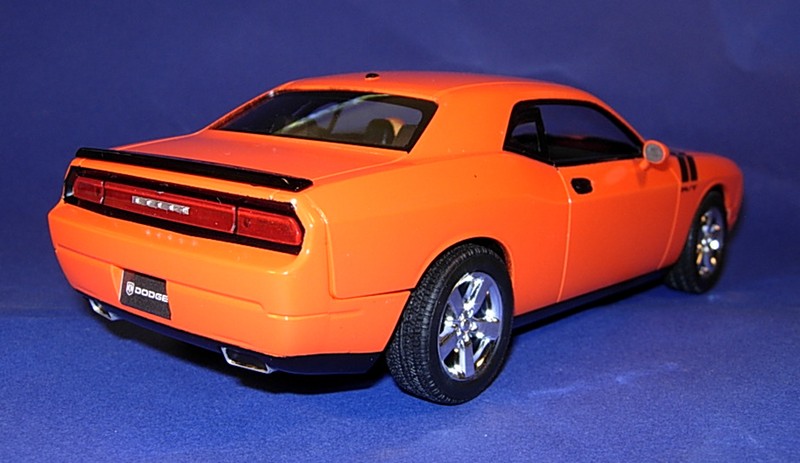
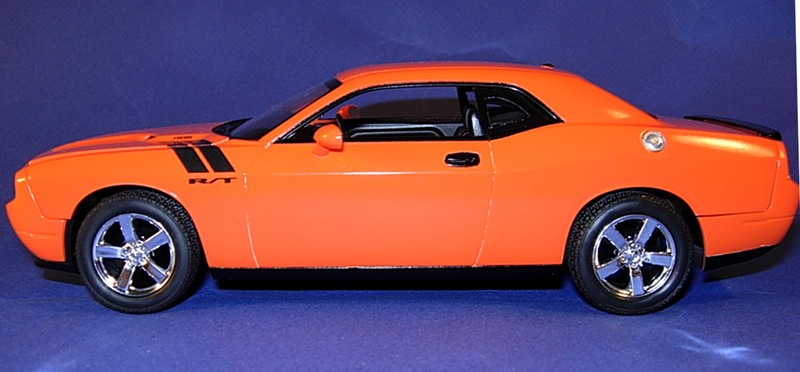
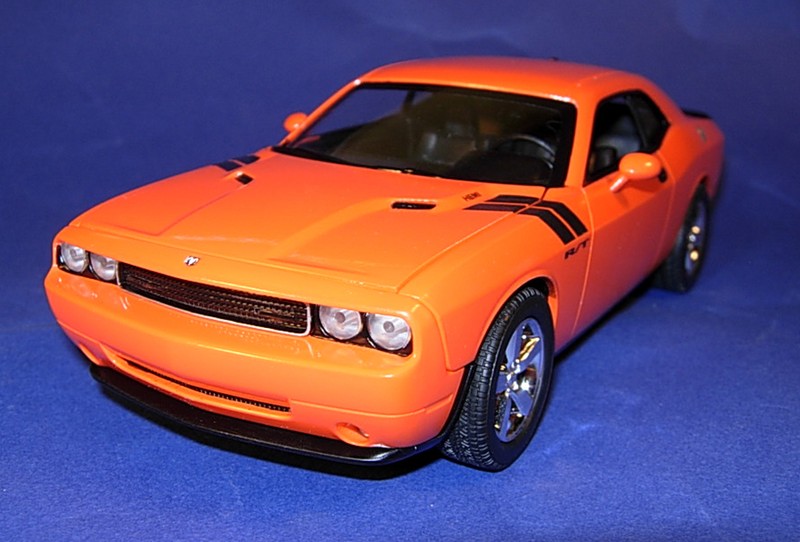
I really enjoyed build this kit. Most car modelers I know build 1/24-1/25 scale cars, but this one felt much bigger than the typical model car. Now I'm curious to see a real-life Challenger to see how big it really is. I mentioned how AMT made some shortcuts in this kit, but I think they were worth it when it comes to the finished product. The exterior parts fit great; you can see this right out of the box you can quickly mock up the kit by just plugging in a few pieces. If you like the way a completed model looks on your shelf, you will love this kit. The directions were clear and easy to read and I am really happy with the way it turned out. It is such a sharp looking car and I have a several friends who like it very much. I have intentions of building this kit for a friend, although, it may be a little while before I get to it. Thanks for reading and happy modeling.