Introduction
When you think of wargaming, you think of a large table-top with items you can move around easily based on the battle at hand. You need those items not only to be robust enough to handle constant physical contact, but you also want them easy to pick up. Zvezda's wargaming pieces do just that. While they're not metal - as wargame pieces have in the past - the plastic they're made of definitely helps in the handling arena. Not your typical "harder" plastic, but also not your soft plastic as wargame figures in the past have been made of. However, what do you do if you're more detail-oriented and the only thing available is a wargaming piece? With the right amount of painting, washes and dry-brushes, you can make any model look more than it truly is.Construction
There is actually nothing to construction with Zvezda's 1/72 German Motorcycle (and you can read about the pieces in my First Look).For me, the first step of construction was removing most of the parts from the sprue (I kept the handle-bar/front-fork piece attached to the sprue for ease of handling during painting). I then assembled the parts to the sidecar, so I would have one piece to paint. However, I kept the wheel off until later.
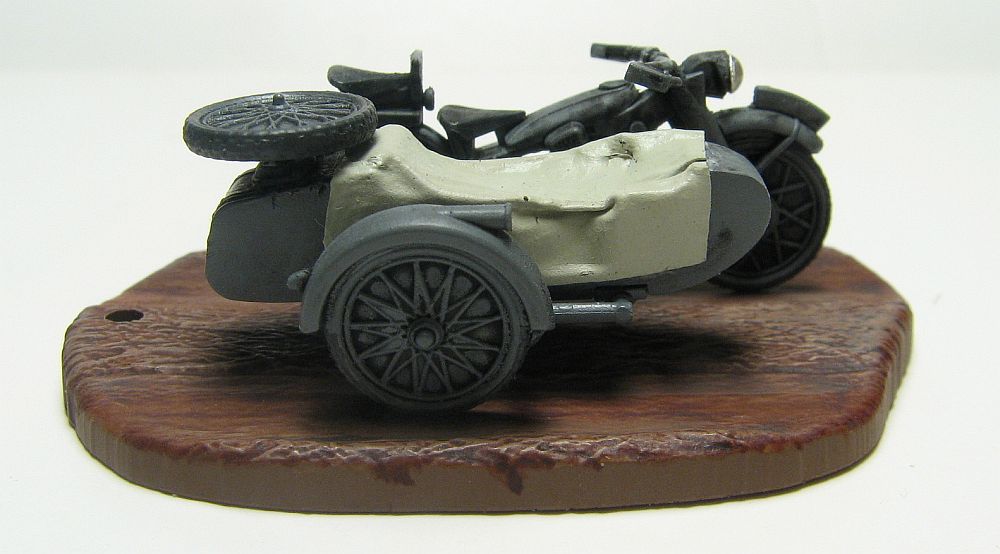
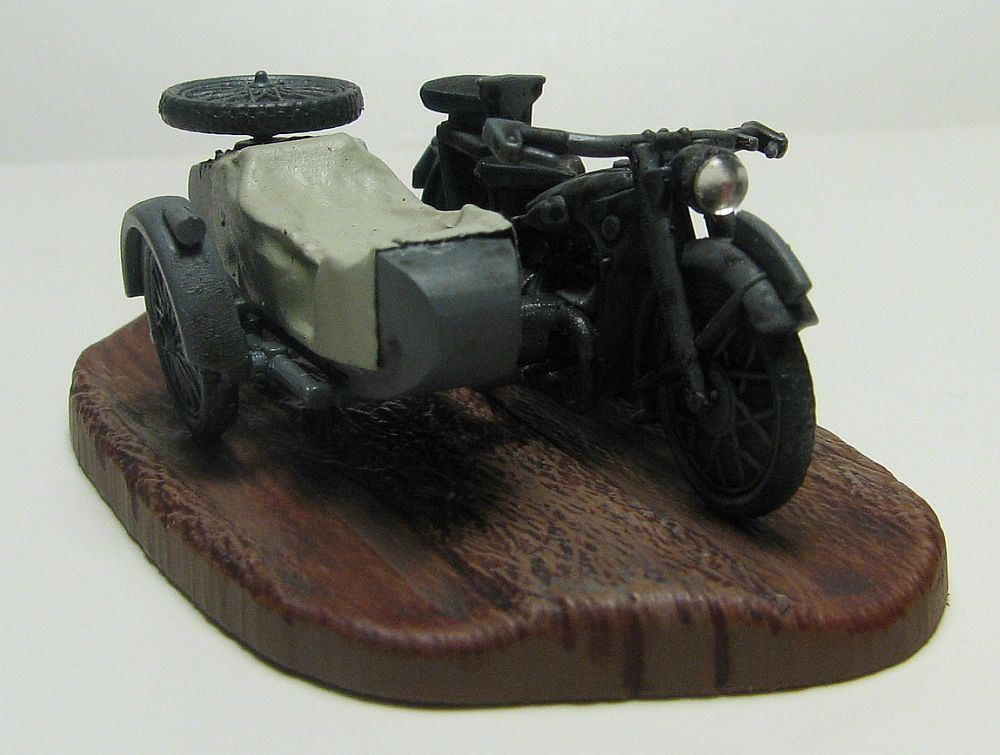
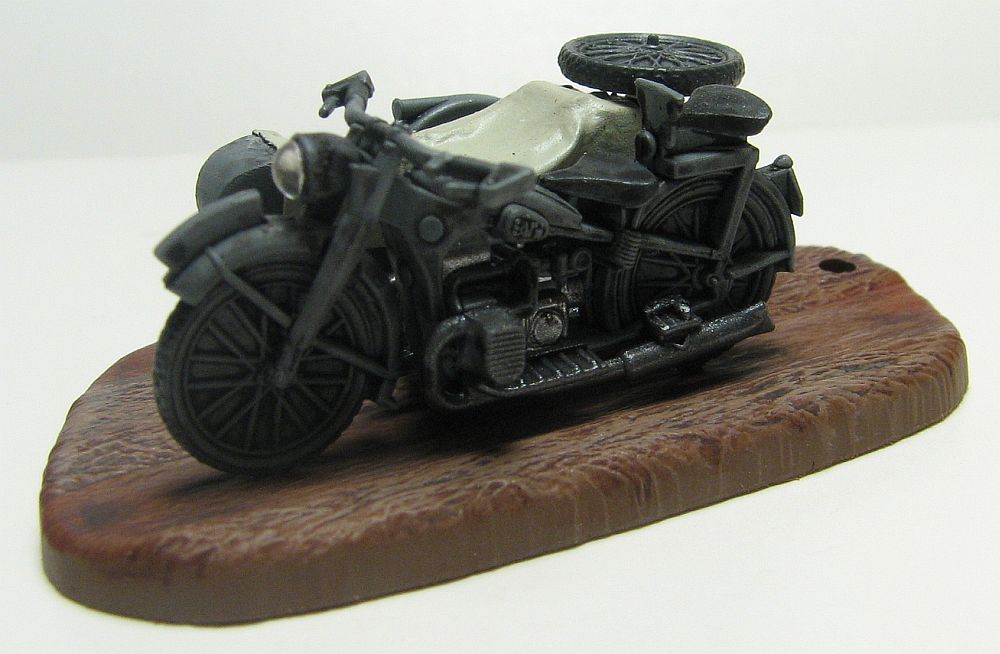
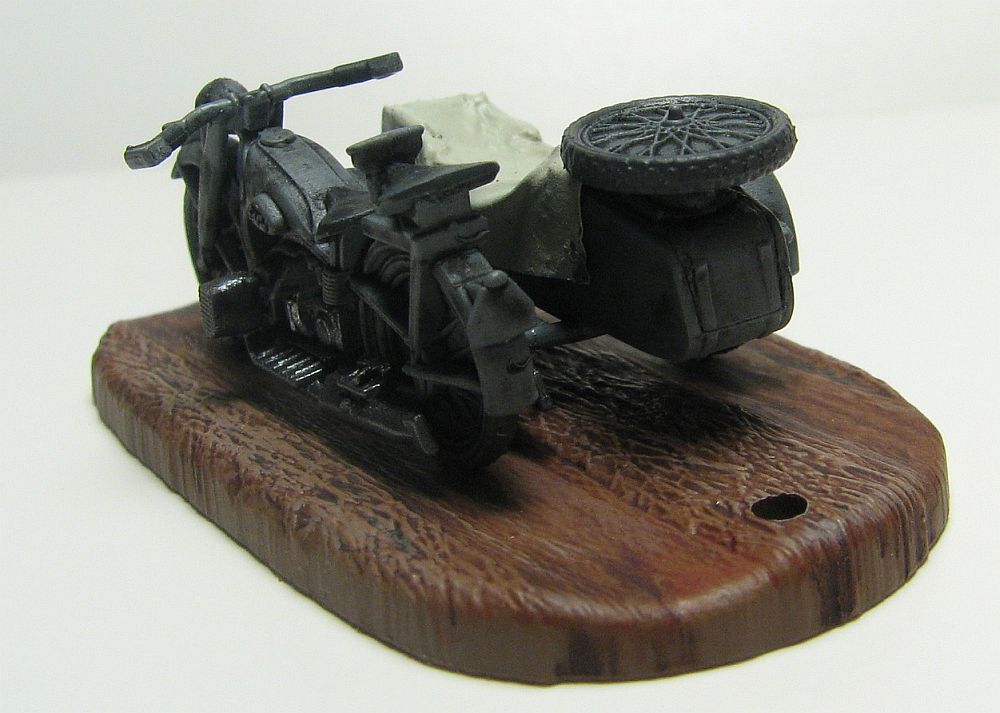
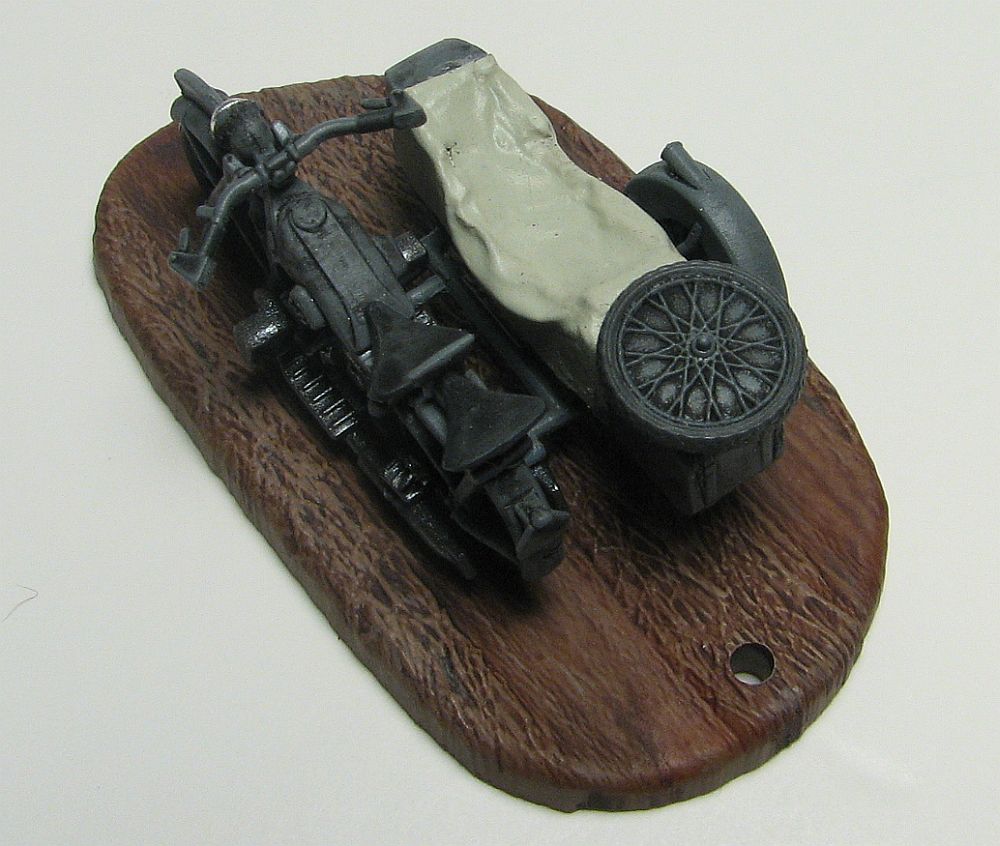
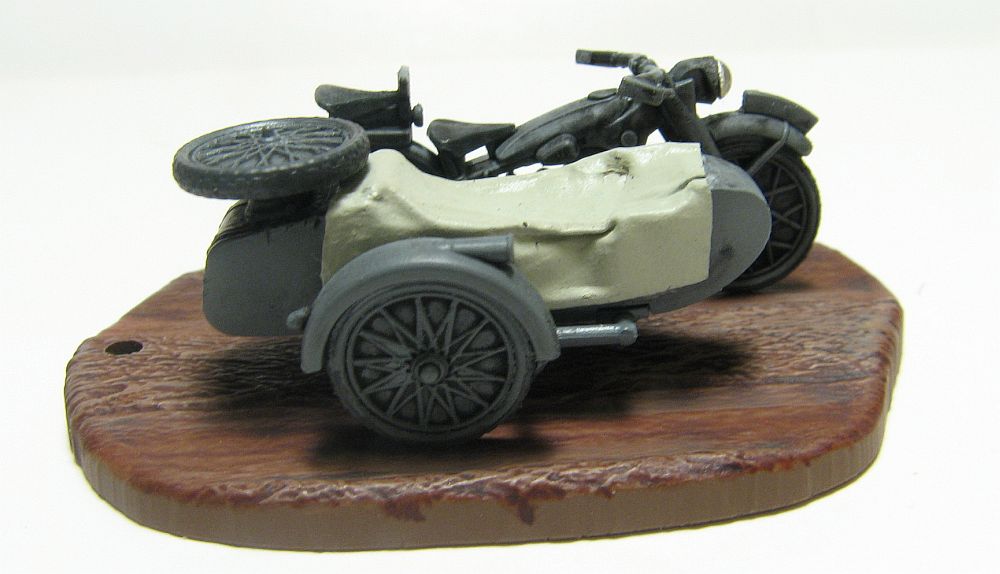
I then mounted each piece to some type of holder for painting (toothpick, tweezers, etc.). I sprayed all pieces with Polly Scale Panzer Gray and once dry, added a wash of black oil color. I went back a couple of times over certain parts - for example between the spokes - to try and make those parts "look more than they are". Sure, if you want you could drill out the wheels and add spokes, but I would have started with a model that was more suited to something like that to begin with.Once the oil wash was dried I then tackled the base. I started with a coat of Polly Scale Chestnut Brown followed by oil color washes when dry. After everything dried for a few days, then I lightened the Chestnut Brown and dry brushed that over the raised detail.
It was here I decided to go just a little further. I drilled out the headlight using a Dremel bit so I could fit an MV lens. (Unfortunately the only lens I had wasn't the exact size, but for me it was "good enough".) I also decided to cover the barren side-car interior. First I went with facial tissue dipped in thinned white glue, but when that didn't work, I went with UMM-USA's Lead Sheet Stock. Once I had that fitted to the side-car I then painted it carefully, so it wouldn't bend. I then added it to the side-car and glued it down with spots of white glue and CA. Now that was finished, it was time to build up the whole assembly.I had to enlarge a couple of holes before putting everything together, mainly the rear hole for the side-car, the front hole for the side-car's wheel, and the holes in the base to mount the motorcyle in. I drilled the side-car's rear hole a little too much so had to put a spot of CA on it to keep it in place.
Conclusion
And there you have it! A wargaming piece that with a little bit of work can look more detailed then just by straight-painting it only. With the right amount of painting technique you can make a wargaming piece one you can put out for show.My thanks to Dragon USA for sending the Zvezda German Motorcycle to review. It was fun!
