Background
The ML-20 was capable of firing 3-4 rounds per minute with an experienced crew and was used extensively during the war.
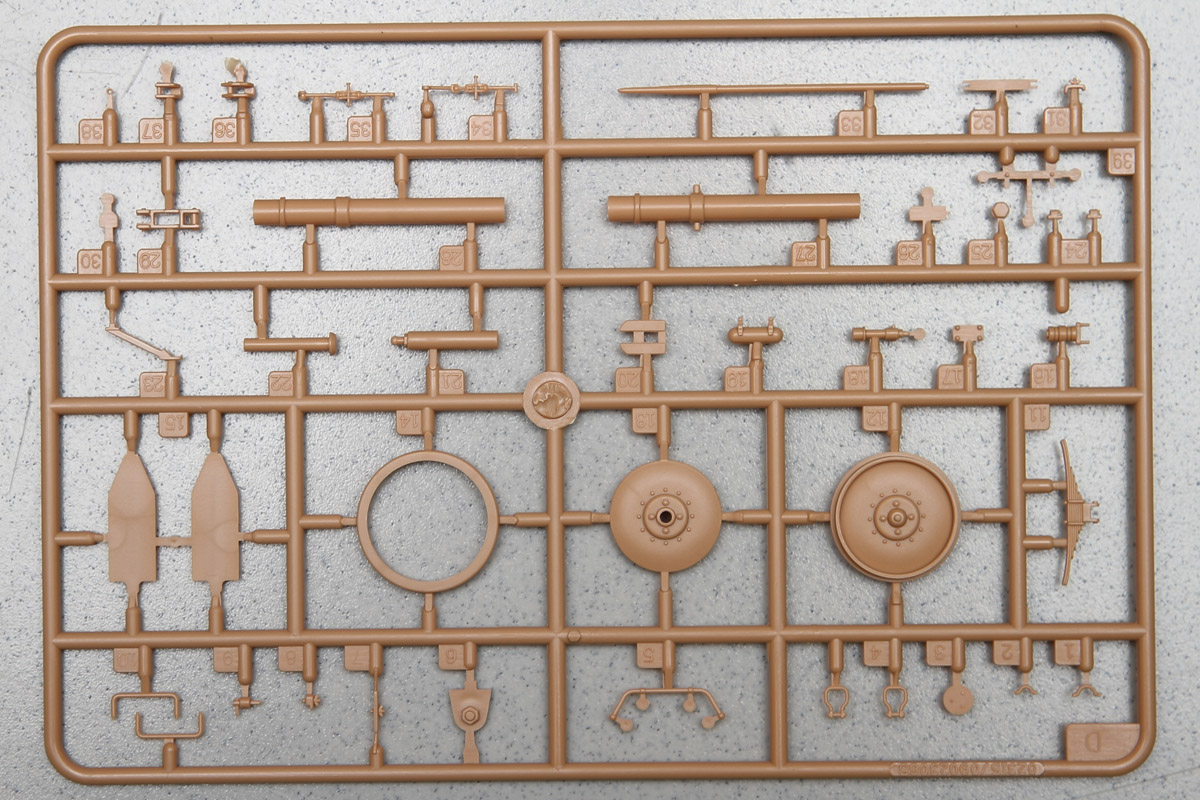
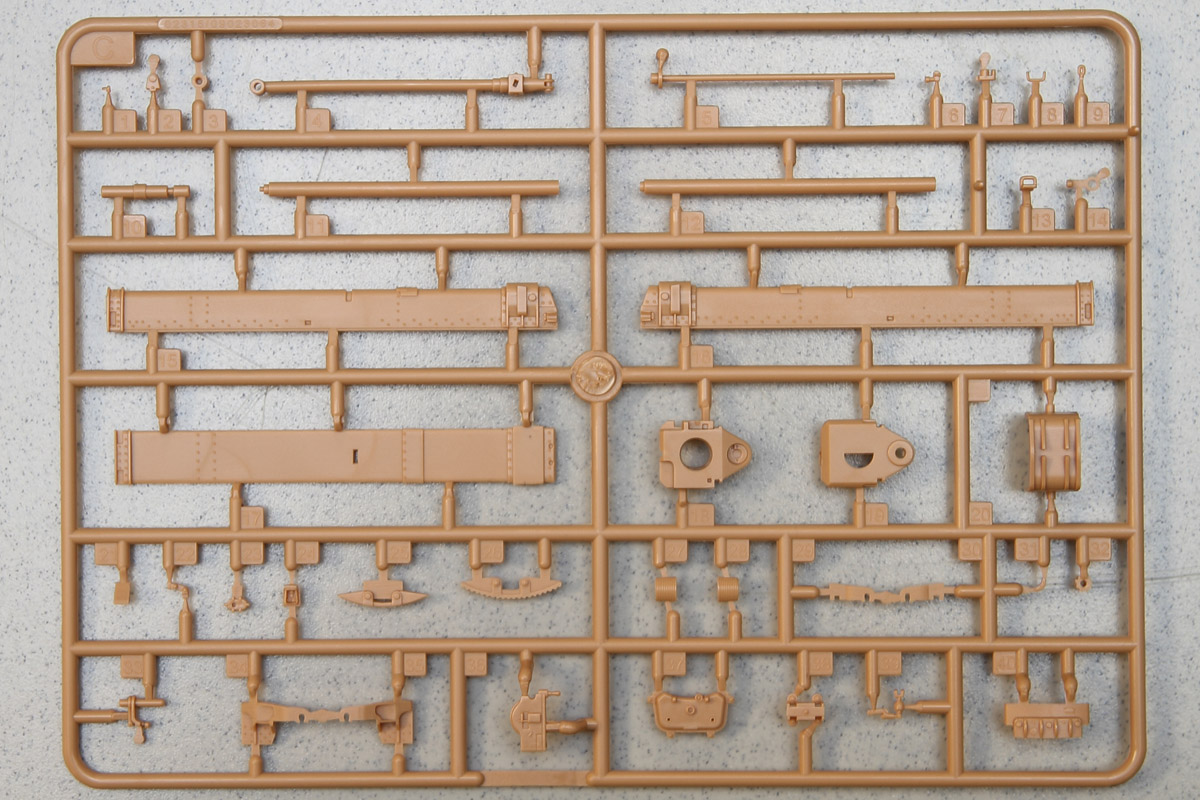
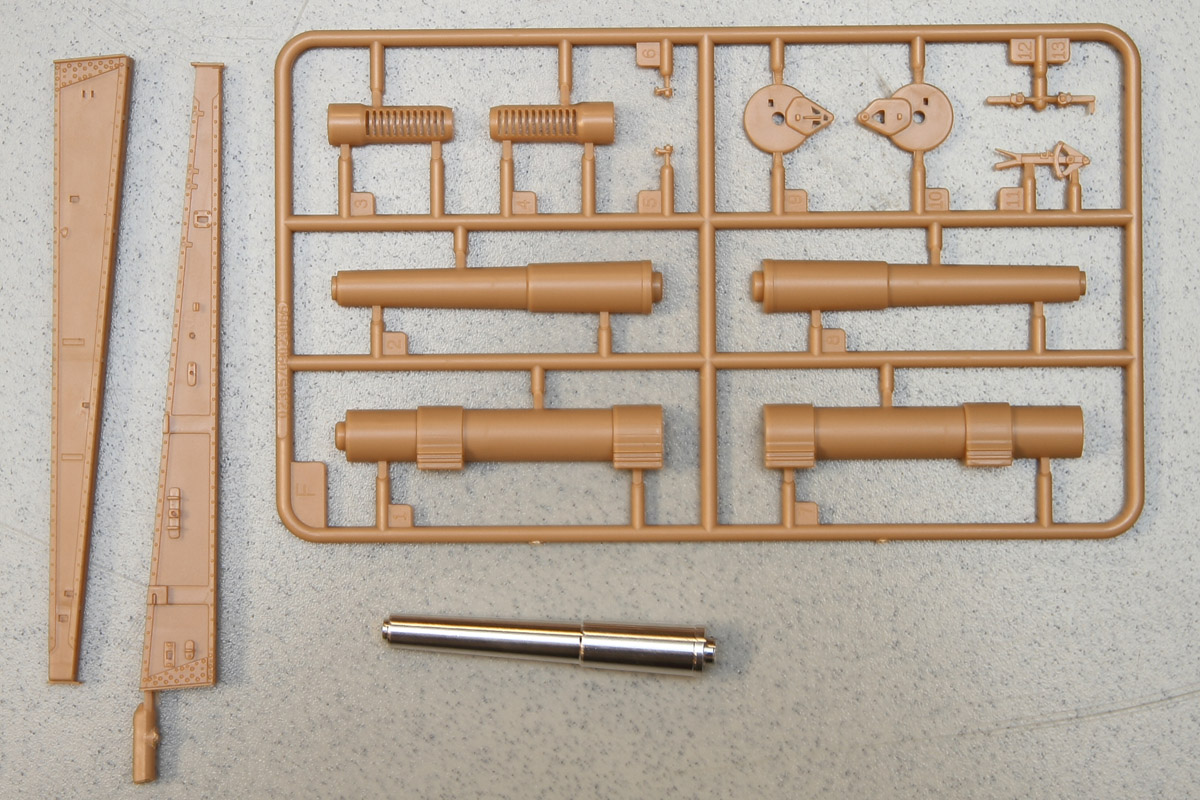
The Kit
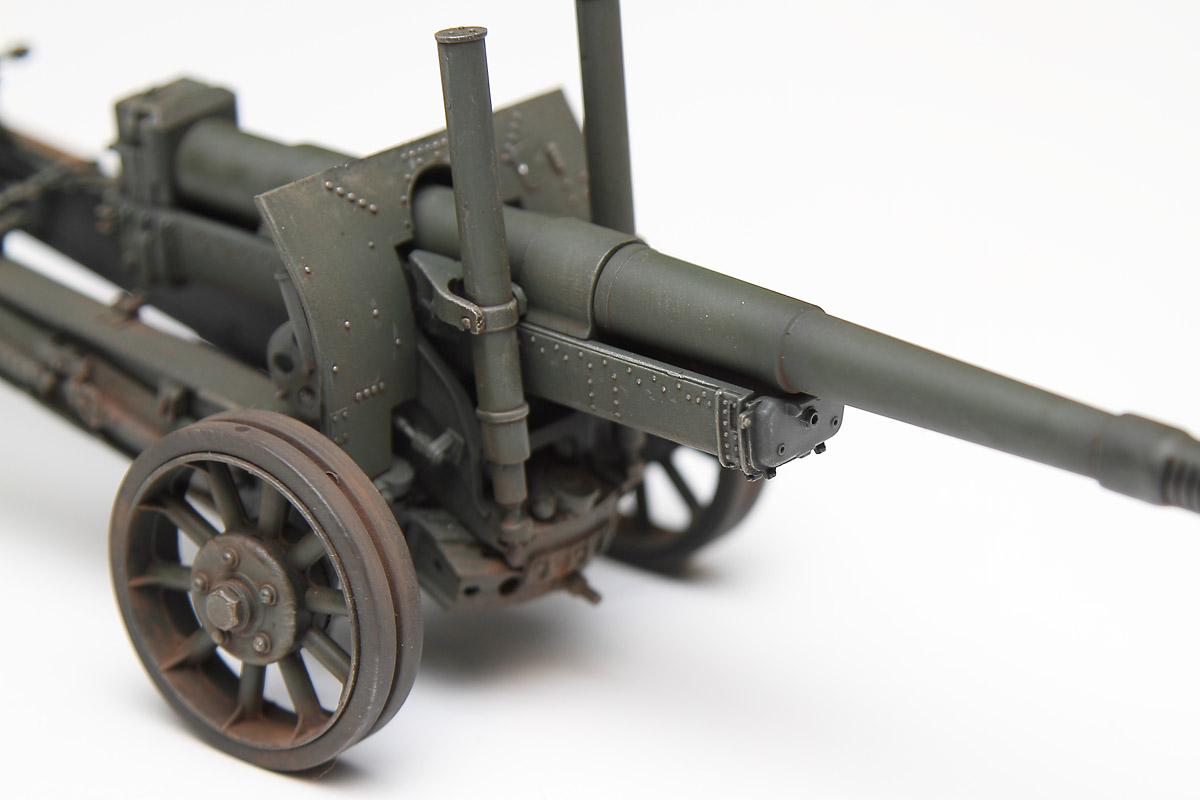
Also included are two sheets of photo-etch and an aluminum barrel. The barrel lacks the slotted muzzle-brake however – a two-piece, plastic muzzle brake is included that attaches to the end.
The 12-page instruction booklet is well illustrated and easy to follow. A separate, glossy five-view color Painting and Marking Guide is included and provides a standard color scheme of Russian Armor Green, showing the gun in its towed configuration.
A second Trumpeter color promo-sheet includes break-out images of the various features of the kit. Two images show what would appear to be a solid, one piece muzzle brake, although the one provided in the kit is in two halves.

|
|
|
|
|
|
|
|
The Build
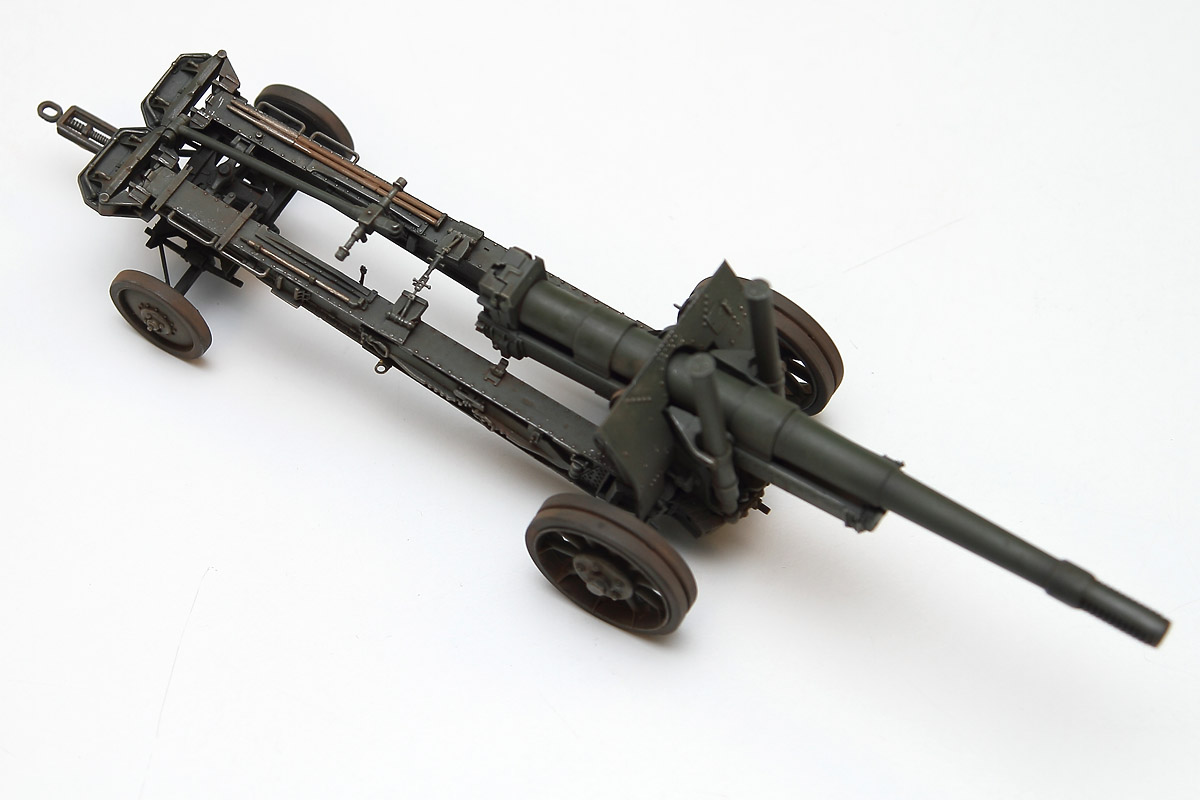
You will need to decide early on whether to build your howitzer in its towed configuration or as a static emplacement. I chose the build the gun in its travel mode.
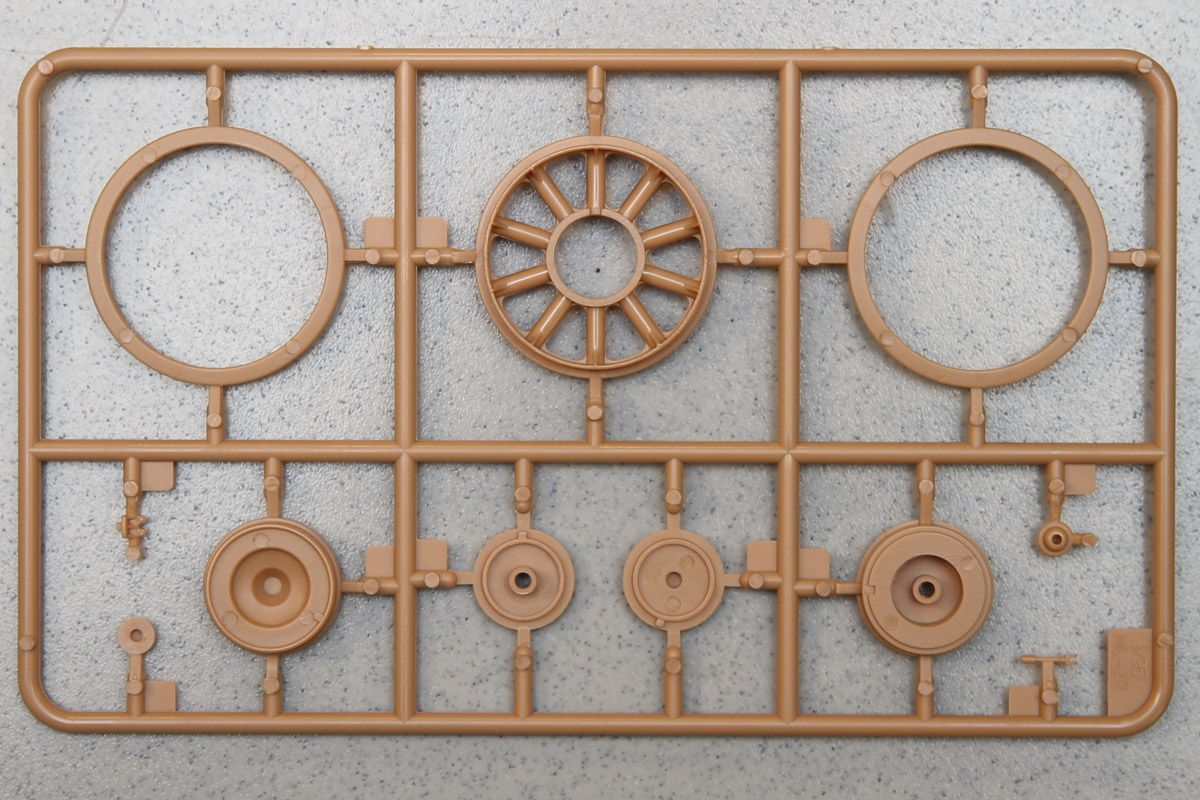
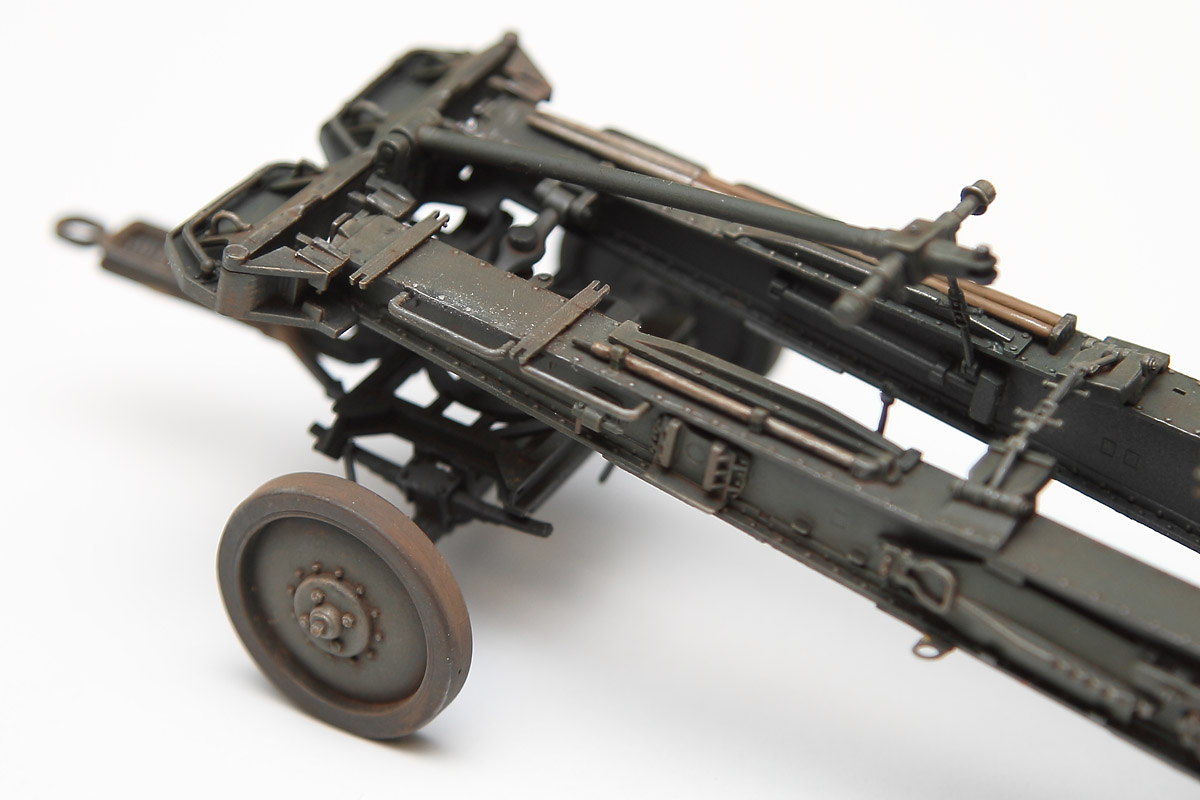
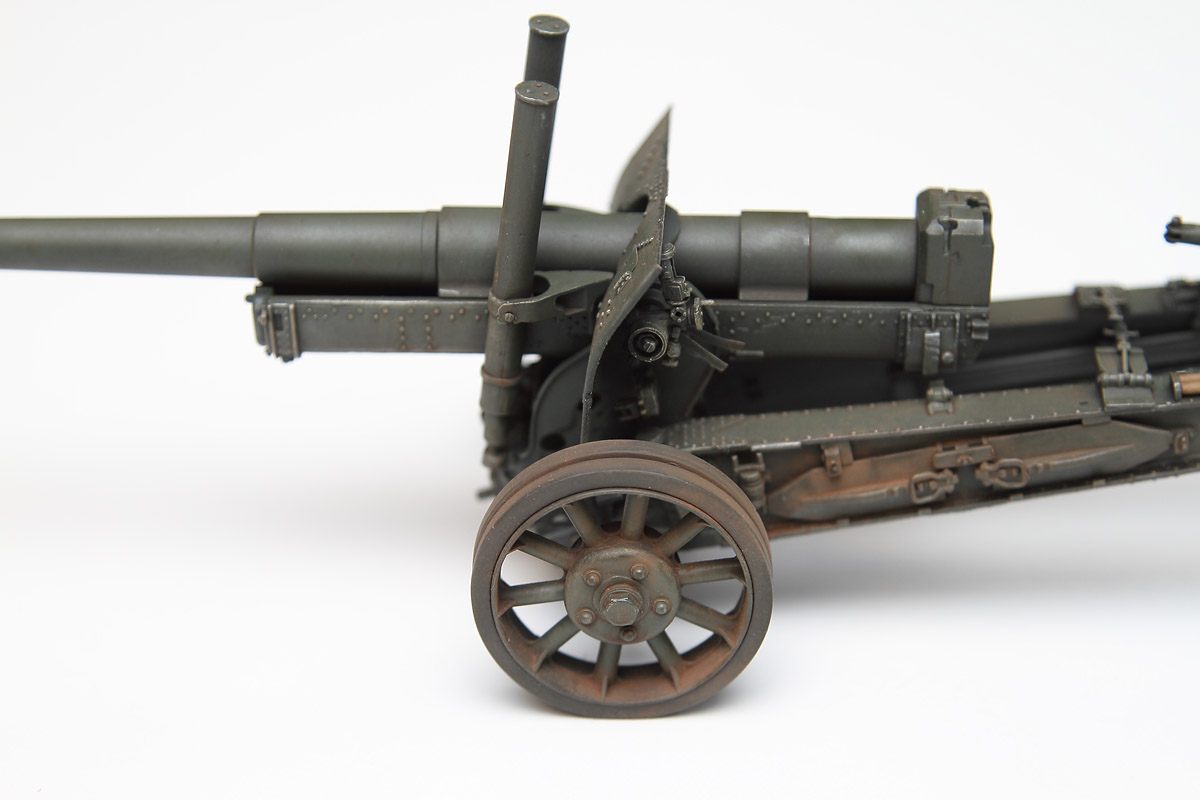
Tires and Wheels
Step 7
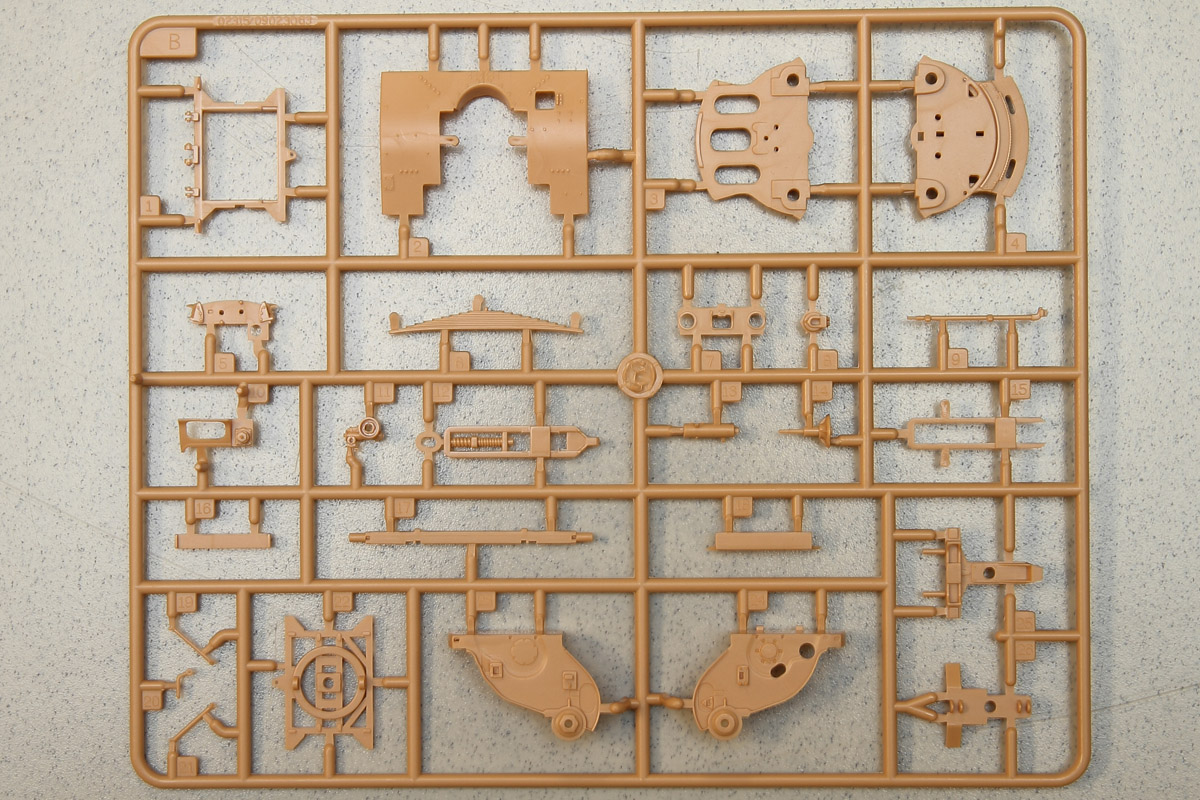
The tool box (parts A2 and A45) do not have any attachment points behind the shield, and it does not lie flat against the shield – it must be carefully attached using glue along it’s thin back edges,
Step 8
Parts C16, C17, and C15 make up what I would consider the Achilles heel of the kit. Together they form a U-shaped housing that the main gun assembly slides forward and backward in. Unfortunately, these three pieces do not have any positive attachment points; the alignment of this crucial assembly relies on a long, thin trough along each side of the three pieces. This design approach requires that the three pieces be glued solid enough to bear the stress of many other attached parts, yet at the same time, flexible enough to adjust the alignment as other parts are attached. I went back and fourth with this conundrum and never really got the alignment correct. Later on, when the main gun was fitted to the gun housing, I had to break parts and glue them slightly off center to gain a semblance of overall alignment.
Step 11
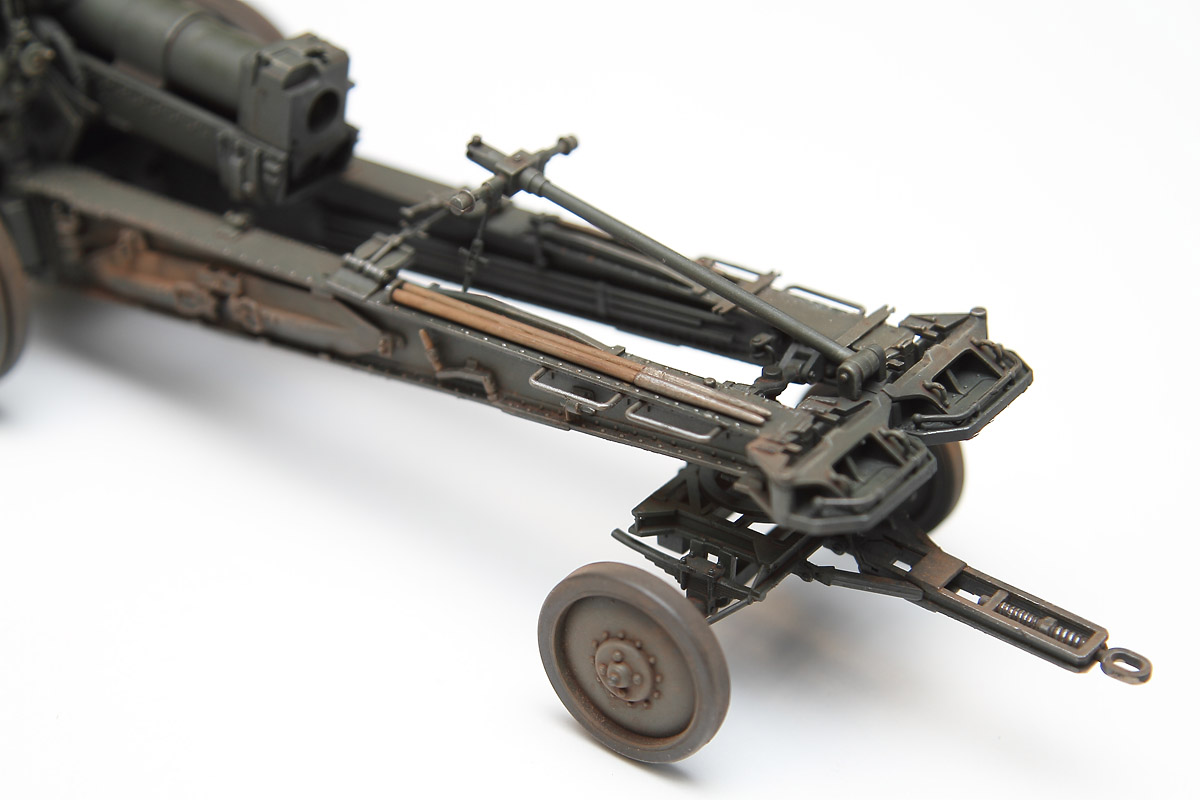
I solved the problem by gluing the two (bottom halves of the) D35 parts to the main howitzer trails and let them dry, followed by the top halves. Once these were dry, I assembled the main bar and its two handles, addressing fit problems regarding the attachment points. Once this was dry, I attached the bar to the trails and simply dropped it down on the (now somewhat sturdier) D35 parts and called it a day.
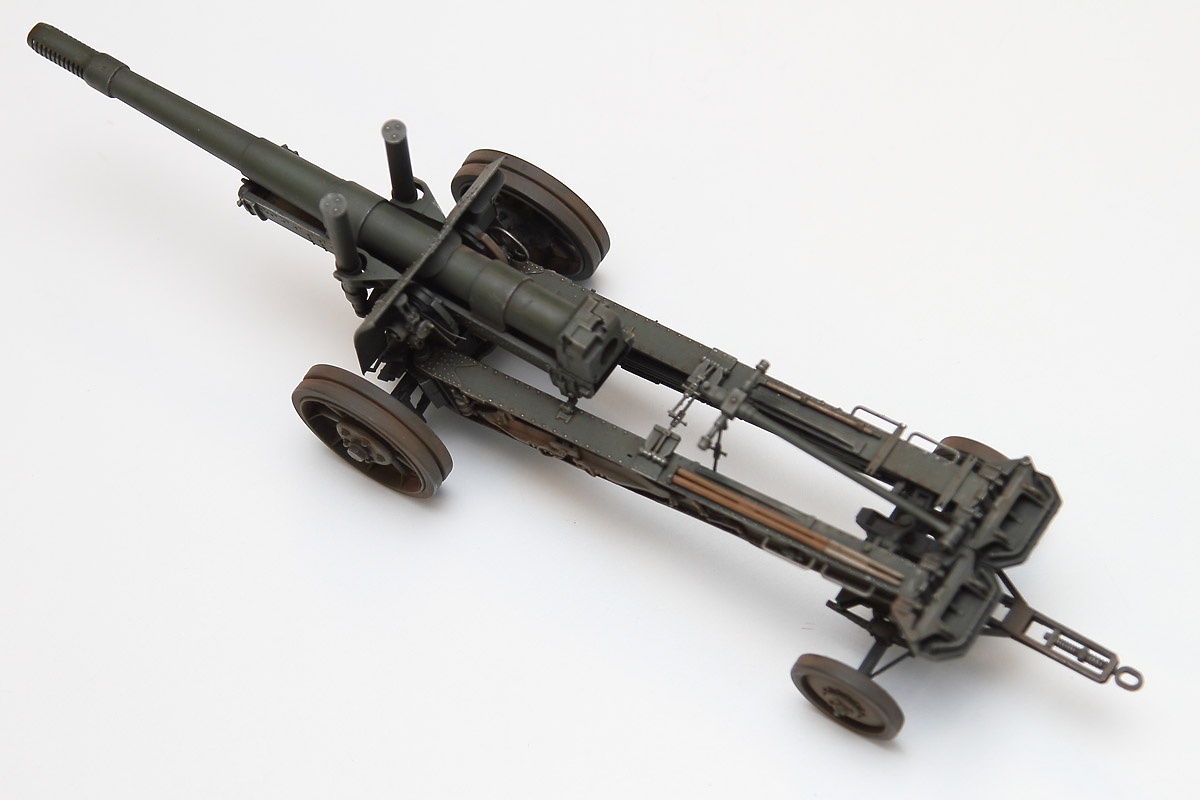
Note – the illustrations for this step show the main gun in its fully extended position – which would not be the case if it is built in travel mode. The color Painting and Marking Guide shows the position of the main gun in its correct (traveling) configuration.
Final Assembly
 Once you finish the sub-assemblies and have accounted for all the parts, the kit comes together pretty quickly, although there are fit problems with each main assembly. I had to enlarge receiving holes or remove posts altogether to make things fit.
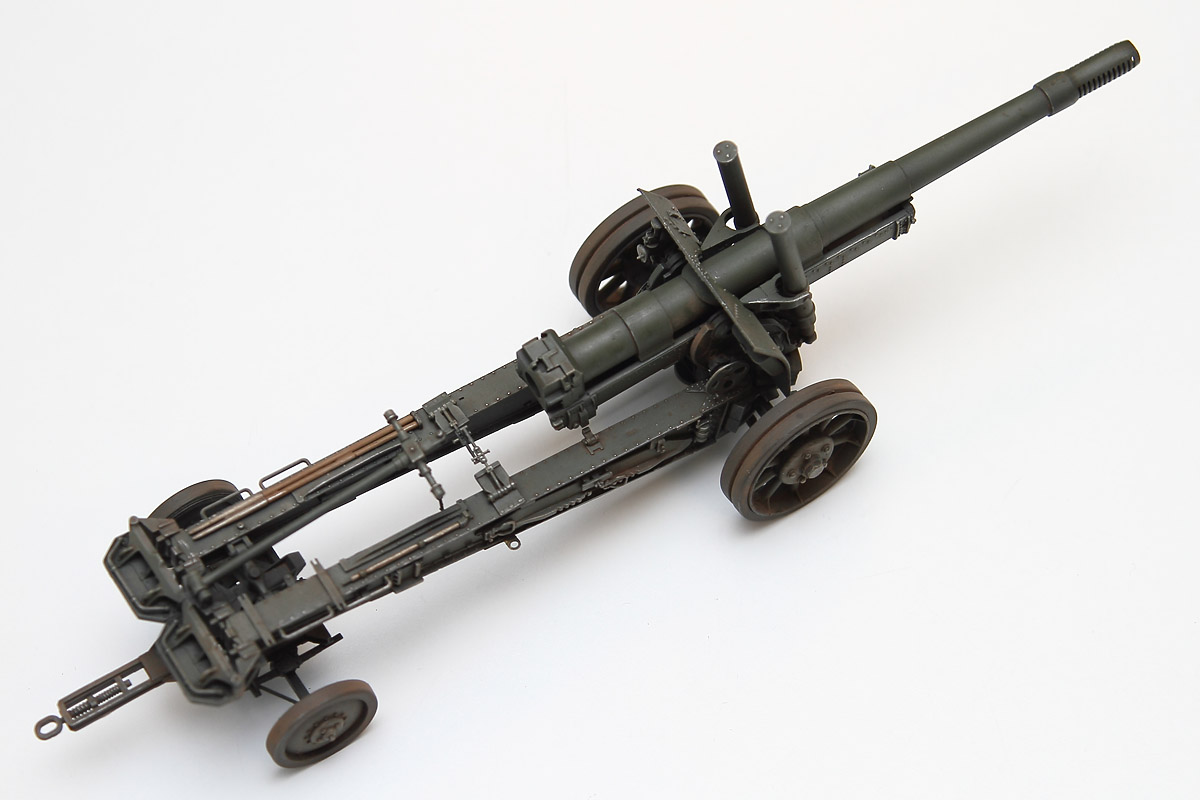
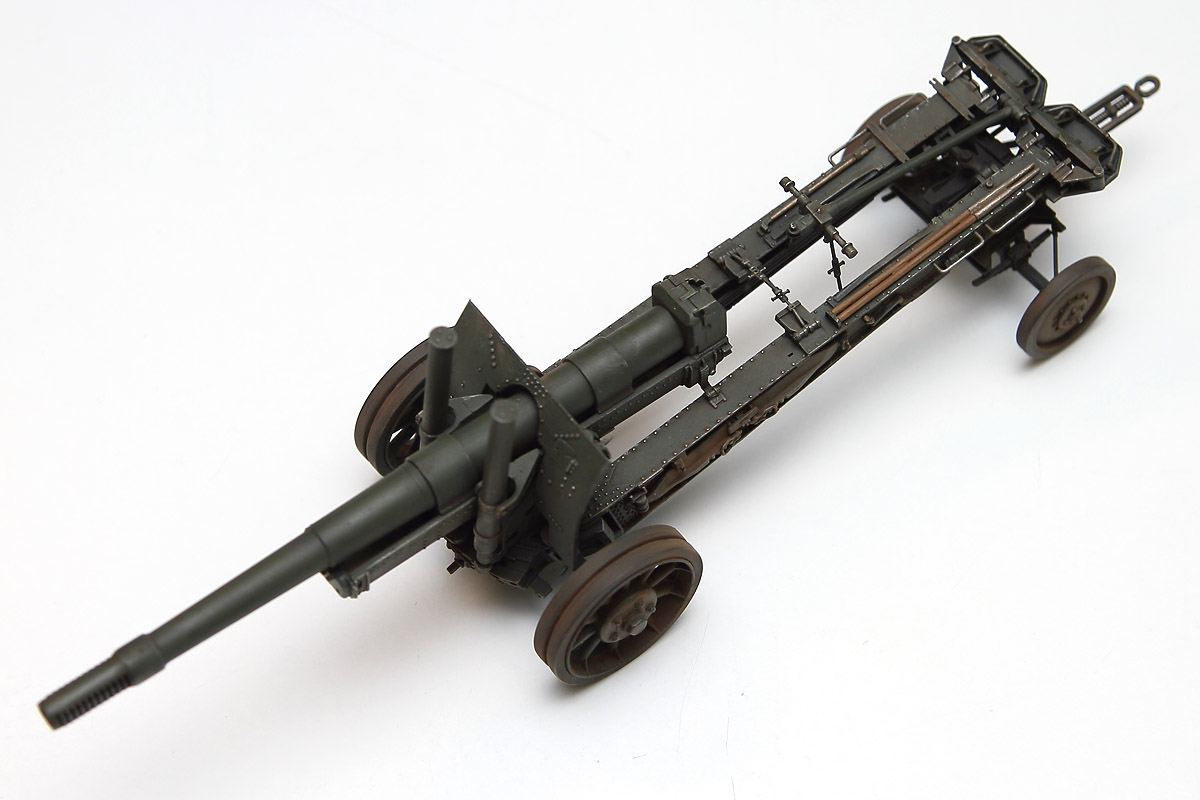
That said - with a little effort, I think the final result looks pretty good and complex – which is the look I am always after with artillery pieces.
Painting and Finish
After removing the tires, I started with an overall coat of Model Master Russian Armor Green. Once dry, I followed this with a post-shading coat of Model Master Topside Green, applied to the exposed flat surfaces, leaving the darker color to mix with the background black in the shaded areas.
I then painted the tires Model Master US Army Helo Drab, and attached them to the wheels.
Next, I shot the whole thing with a coat of Future to prepare the surface for a wash and let everything set for three days.
Once dry, I applied a pin wash of Windsor Newton Raw Umber thinned with Mona Lisa thinner.
Next, I dry-brushed the exposed edges with Model Master Afrika DunkelGrau, followed by a pass with a Prismacolor silver pencil here and there to bring out a metallic glint.
Finally I dusted the lower portion of the howitzer with a mix of MIG Black, Russian Earth and Old Rust pigments.
The build took me about eleven hours to complete, most of the time spent on assembly.
Conclusion
The number of small parts and complexity of the assembly made building this kit a challenge. The attachment points for many of the parts in the kit could have been better-designed. Many such points were simply non-existent or would not fit. Also, I would like to have had a one piece muzzle brake, or at least a muzzle brake with better engineered sprue attachment points. The Soviet 152mm gun’s slotted muzzle brake is the ‘sexy’ part of the whole artillery piece, and all eyes will be attracted to that part like they are to the cockpit of an aircraft. It must be flawless.
On the positive side, however, the completed kit conveys the rugged, rivet-smothered look of a high-caliber Soviet field howitzer and I think it will look great behind a Voroshivolets tractor or other prime mover.