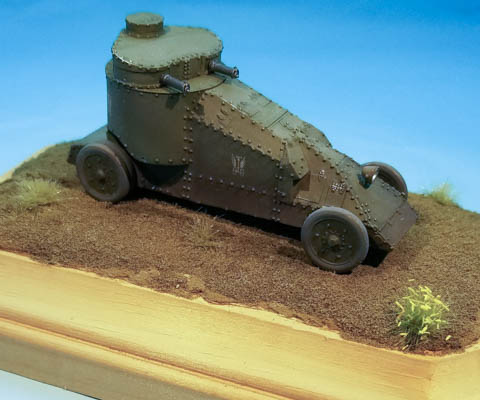
ModellTrans Modellbau 1/72 Mgebrov-Renault One Turret
By Matt Bittner
Overivew
The Tank Encyclopedia Archives has an excellent article on the Mgebrov-Renault series of armored cars. It appears there were 11 built and Mgebrov went through an iteration with the turret, creating this single one but settling on a double turrret. Plus, the Tank Enclycopedia Archives contains an excellent article on all of the Mgebrov armored cars. Unfortunately there isn't a lot out there on this Mgebrov-Renault Single Turret, but the book Armored Cars in Russian Army (now unfortunately out of print) does have a single photo of it. This photo is also reproduced on the already linked Tank Encylopedia Archives Mgebrov-Renault site.
|
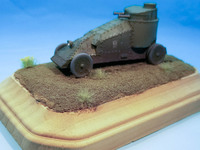
ModelTrans Modellbau has produced a number of WWI (and later) armored cars (and other pieces of armor) and this is my first foray building one of their kits. And it won't be my last. I truly enjoyed working on this kit and aside from the one problem I had - laid out in the text below - there were no issues at all with the build. This kit consists of a single piece of resin for the entire body; a resin large and small turret; while the rest of the parts are 3D printed (wheels, front light, front body extensions and guns).
Construction
After cleaning all the parts, I glued the large and small turrets to the body, followed by the "body extensions" to the front. I decided to leave the front light off until the end not only because I was afraid of it breaking off during painting, but also because I hollowed it out and at the very end of construction painted the inside silver and filled it with KristalKleer, to give it a "lens effect".
|
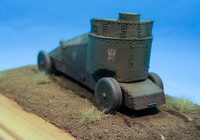
The one area I had difficulty with - and it wasn't during construction - were the rear tires. There was a spot on both sets of double-tires that would not cure, no matter what I did. Sprayed different types of clear overcoats prior to and after painting; tried multiple types of paints with overcoats on top; nothing I did mattered and those spots still remained "soft". So, I did what any modeler would do in that circumstance: I mounted the model to a base. But I'm getting ahead of myself.
|
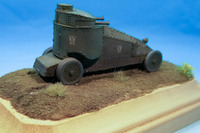
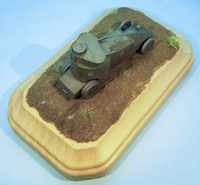
Once the main parts were attached I primed the entire model with Vallejo's 4BO primer; not an exact match for the color, but one "close enough". What I decided was the filters and washes would add the rest of the "life" to the model, the underlying coat not being a prime concern. So on top of the primer I used True Earth's Filter & Washes on top - both airbrushed and brushed-on - and their Dust Wash Dull Earth on the lower parts of the model. I also applied various Vallejo washes to the model and drybrushed some of the areas with graphite and silver paint. There weren't any markings with the kit, instead I added the "eagles" from the Black Lion decal set "WW1 & Russian Civil War - Tsarist & White Armies".
|
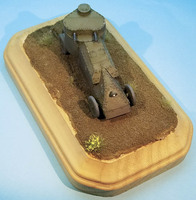
The base was one I had laying around for a number of years, made for a model I can't remember. The Celluclay was already on it so I just needed to carve some wheels marks in it then applied Woodland Scenics Fine Turf. Once that had dried I then added different "tufts" to add more ground cover. Once it all had dried, I then glued the model to the base and glued on the headlight.
|
Conclusion
I suspect at some point later in time - probably after I've shaken off this mortal coil - the model/display will look like the rear tires have been flatted. But for now, this is not my concern as the model is finished and everything looks right.
This definitely will not be my last ModellTrans Modellbau kit, as I truly enjoyed working on this model and they have a lot of WWI - and between-the-wars - armored cars and tanks worth building.
