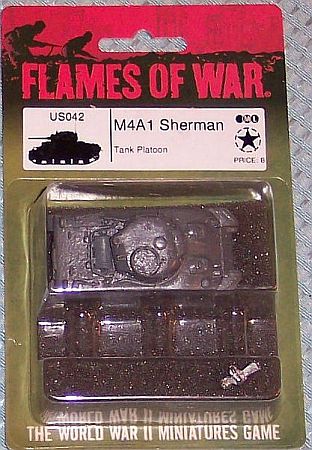
Flames of War 15mm M4A1 Sherman
By Don Joy
 Flames of War is a wargaming rules set for World War II ground battles. The company issues a rather extensive range of WWII armor, softskins, and artillery in 15mm (1/122nd) scale. The kits are simple and come in both blister packs and “platoon” packs. The platoons are usually 2 vehicles plus command vehicles. Since I’m not planning to game with these, I picked up the single kits. These run for about $11 each, depending on your supplier. Larger tanks (like Tiger II’s) are more expensive.
The kits are simple: resin cast hull and turrets; injection molded sprue with tracks, guns and hatches, white metal bits. The injection sprue is standard for Sherman and variants and has VVSS instead of HVSS.
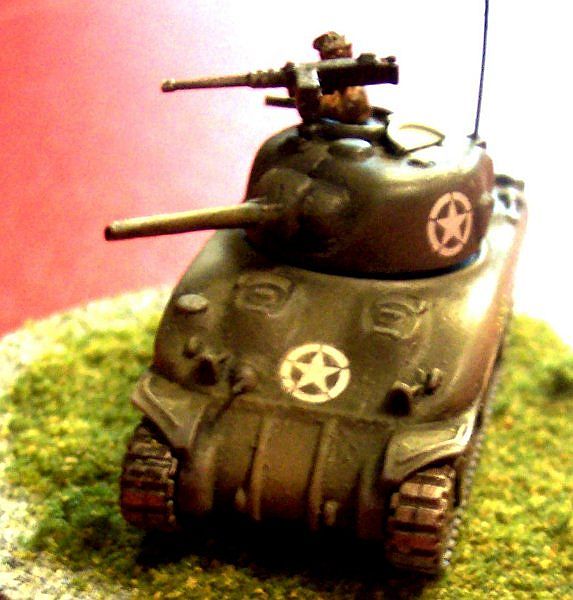 The castings are clean with no bubbles. Turrets appear molded into the hull but are actually “glued” in using clear silicone or hot glue. If you want to move the turret, you need to carefully pry the turret loose. Use something blunt: their resin is hard, but you don’t want to damage the pieces. Also, leave the glue in place inside the “turret well”. Otherwise there is considerable play in turret when it is set back in.
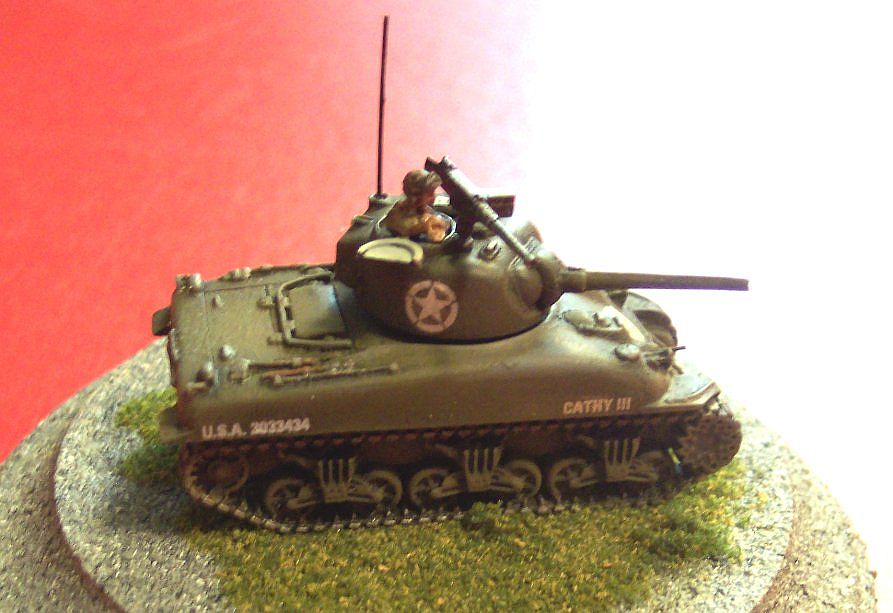
I painted the hull and tracks overall OD. I painted the tools molded on the hull with a brush: steel heads and brown handles. The gun and mantle for the tank are white metal and are attached with superglue. The turret was also painted OD, and then I weathered hull and turret as I described previously by over painting with a waterbased black pain and scrubbing off the excess with water.
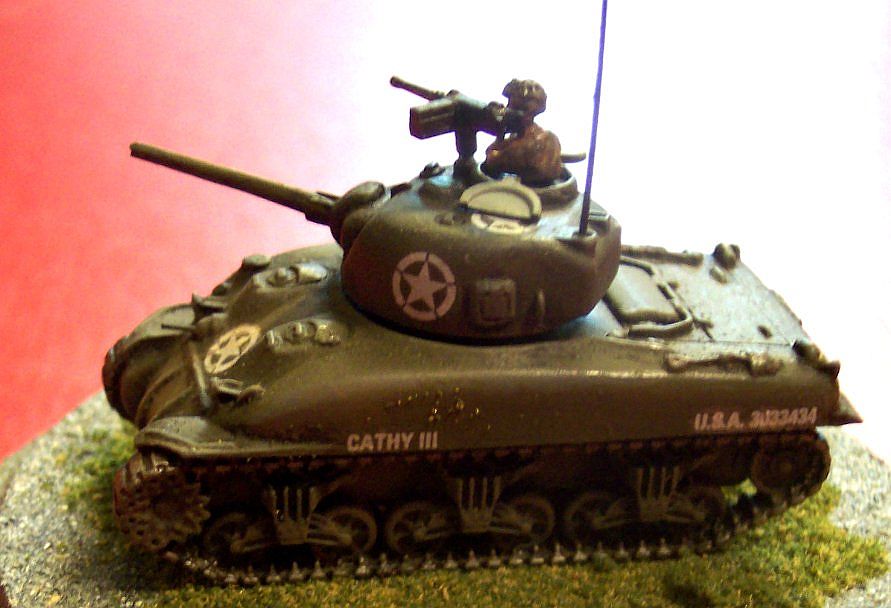 The tracks units were painted overall OD and the links as steel. I weathered with the black but also added a coat of a translucent, waterbased brown to simulate rust. Once dry, I used a paper towel to rub off the high spots and leave the brown in the crevices.
I assembled the model (all 4 pieces…) and added markings. The decal sheets are sold separately but are thin and tolerate Solvaset well. I sprayed some tan “weathering” along the tracks on the bottom of the hull. I also over sprayed the top with the brown, but very lightly.
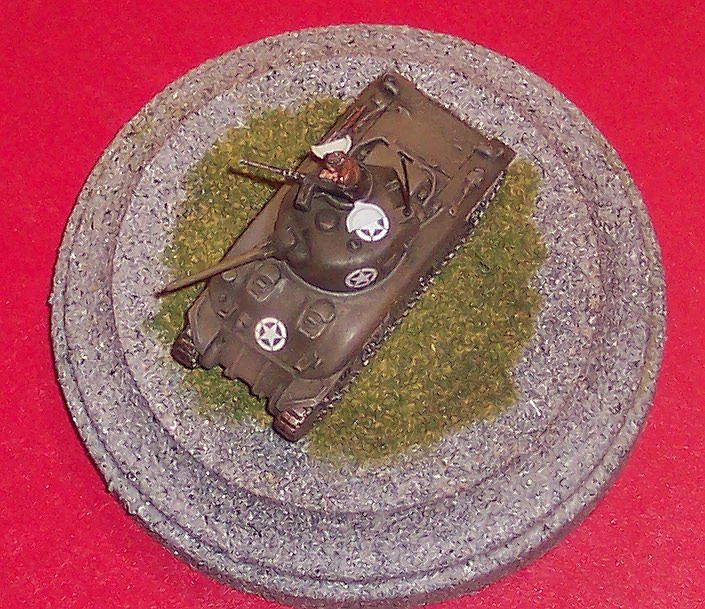 I painted the interior of the hatches in light gray and added the hatches in the open position. I painted the white metal figure provided in the kit and glued the “commander” into the open hatchway. I used a thin piece of stretched sprue for the bow machine gun and for the antenna. The kit’s .50cal was painted and added to the commander’s cupola.
Final Verdict: These are nice little kits. They are detailed without going overboard and the company does provide a separate pack of “stowage” if you are interesting in adding track links, bedding, etc to the outside of the vehicle. The 15mm scale doesn’t match standard modeling scales: 1/122nd compared to 1/144th is 18% too large. See my review of the M4A1 (105mm) for size comparisons to 1/72nd and 1/144th models. But the kits are an easy build, represent the subjects well, and have an increasing line to choose from.
