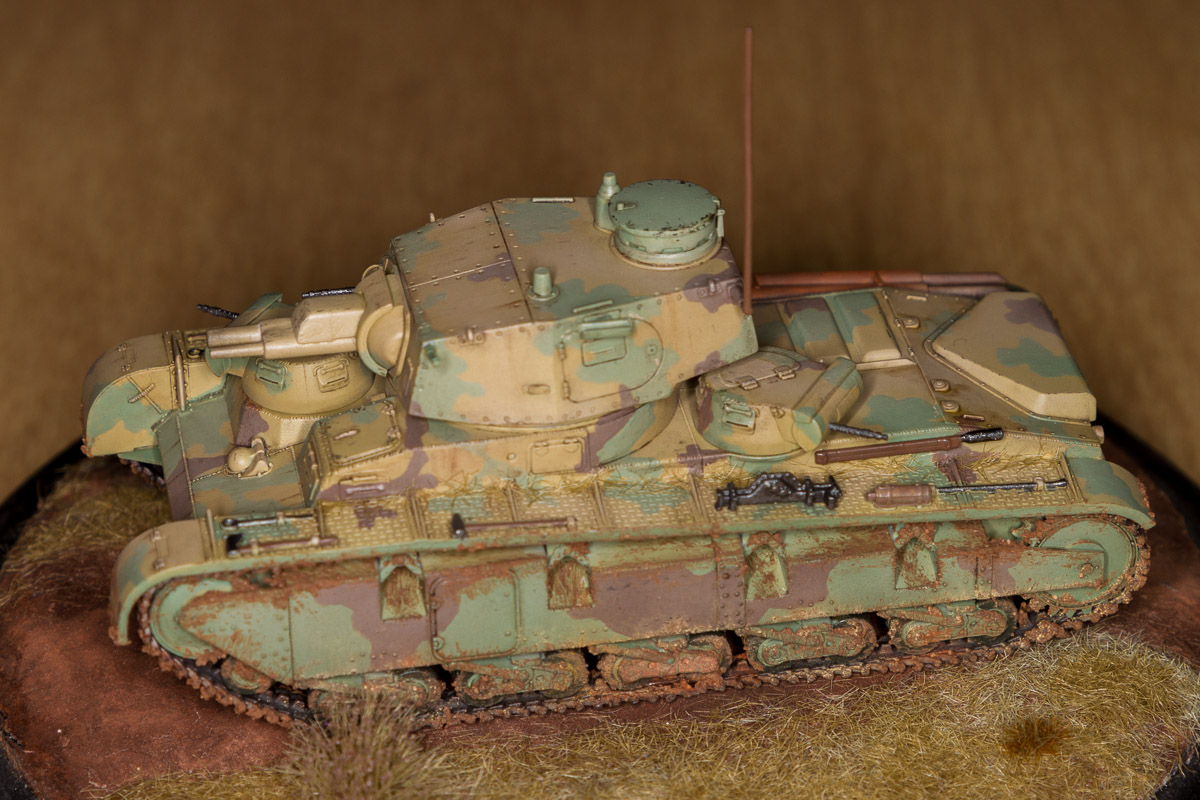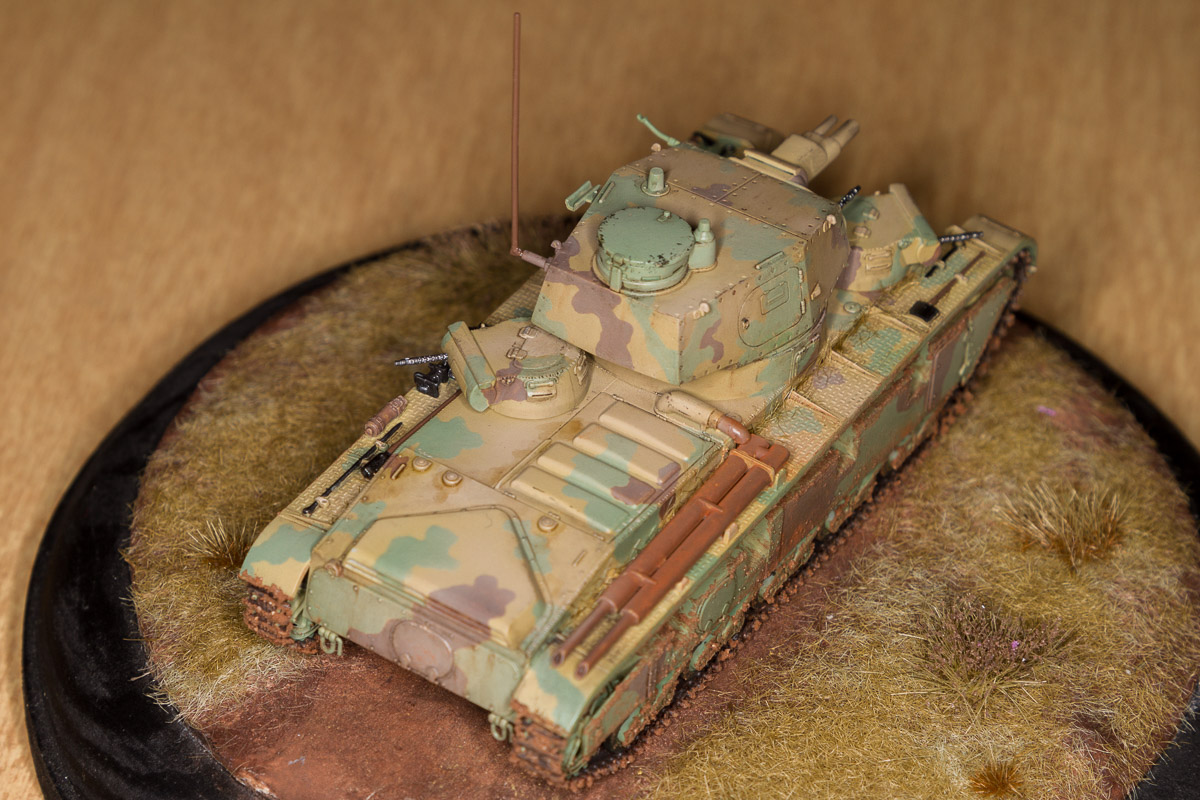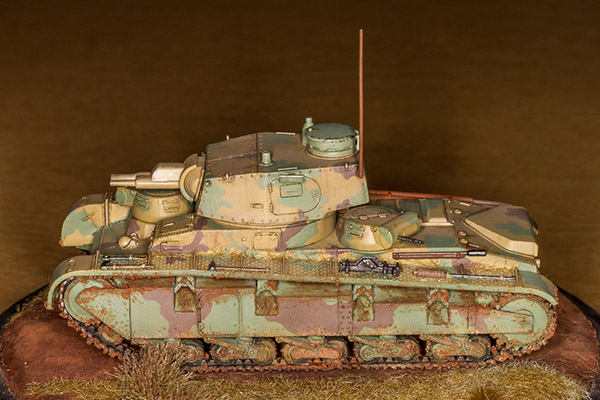
Finishing Dragon's 1/72 Neubaufahrzeug with AK Interactive & MiG Products
By Djordje Nikolic
History
 Development of the Neubaufahrzeug (German for "new construction vehicle" - a cover name) started in 1933 when the then Reichswehr gave a contract for the development of a Großtraktor ("heavy tractor") to both Rheinmetall and Krupp. Großtraktor was a codename for the development of a heavy tank, Germany being still forbidden to develop tanks under the terms of the Treaty of Versailles
Though these tanks were never placed in production, they provided a propaganda tool for Nazi Germany, for example being shown at the International Automobile Exposition in Berlin in 1939.
 This propaganda role was extended with the German invasion of Norway, when a special Panzerabteilung was formed which took the three armored prototypes with them to Oslo. They saw some combat there, with one being blown up by German engineers when it became stuck in swamps near Andalsnes.
Building the Model
 Inside of the box one finds two large and two small size gray colored sprues. All parts are molded very well with no flash. The detail is exceptional for 1/72nd scale tank. Parts come off the sprue easily and there are no major sink marks or ejector pins that need to be addressed. As most parts are located on the major hull, it comes together fast and can be handled easily with no finicky bits. The most challenging part is attaching the side fenders, as there is a large gap between them and the hull. This was filled with water-soluble acrylic putty twice as the putty shrinks some. Small parts such as tools, antenna and gun barrels were left off the model at this time.
The whole assembly of the tank up to painting took 2 hours.
Painting
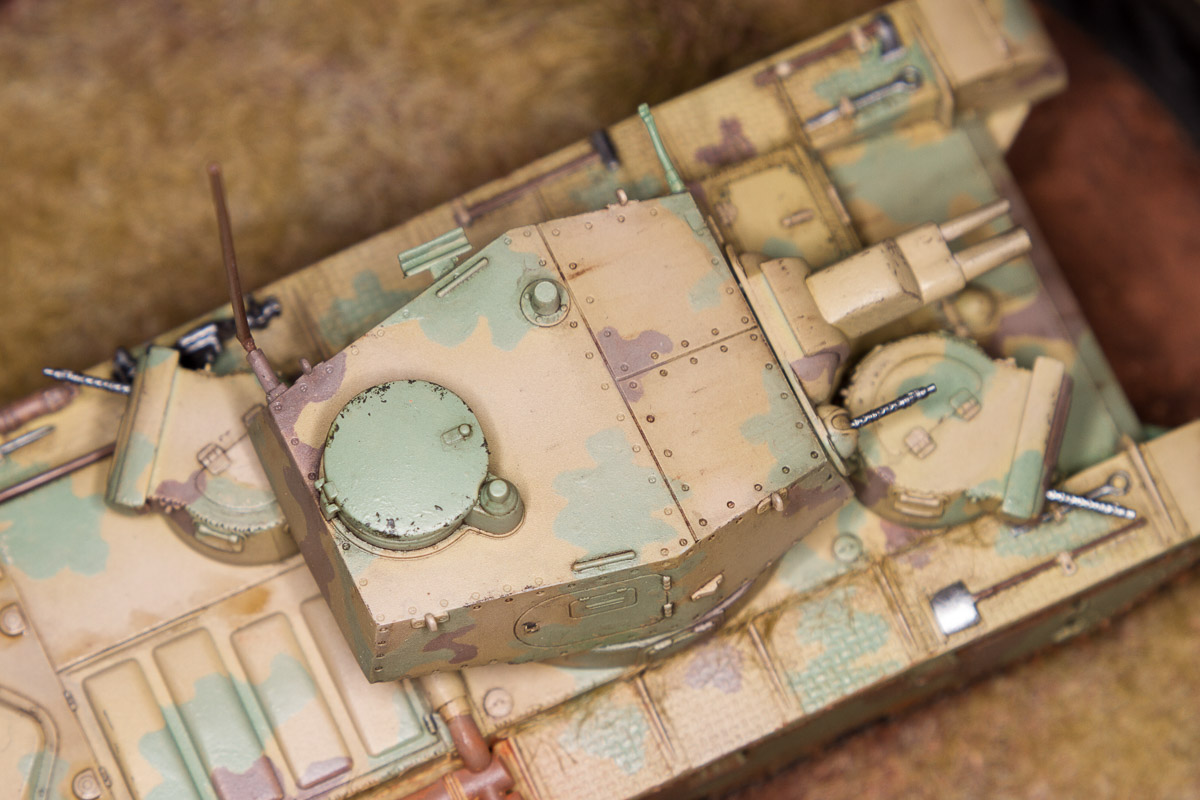
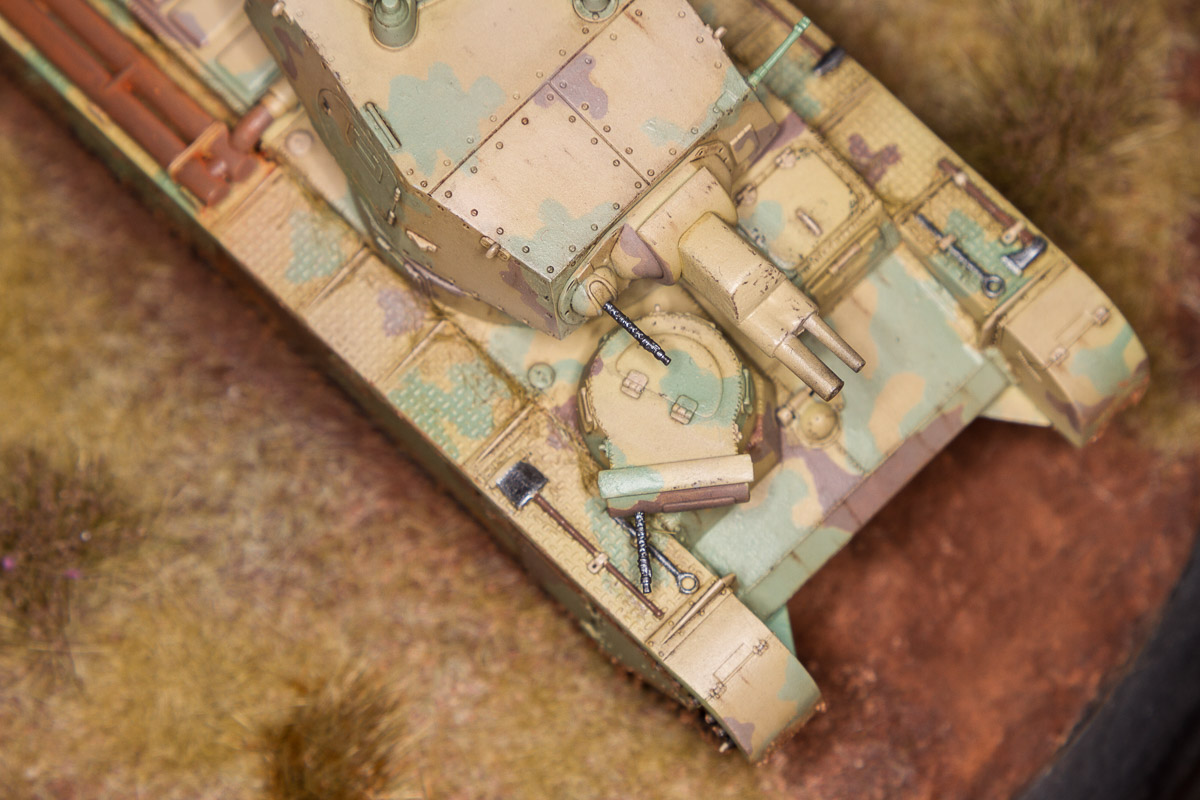
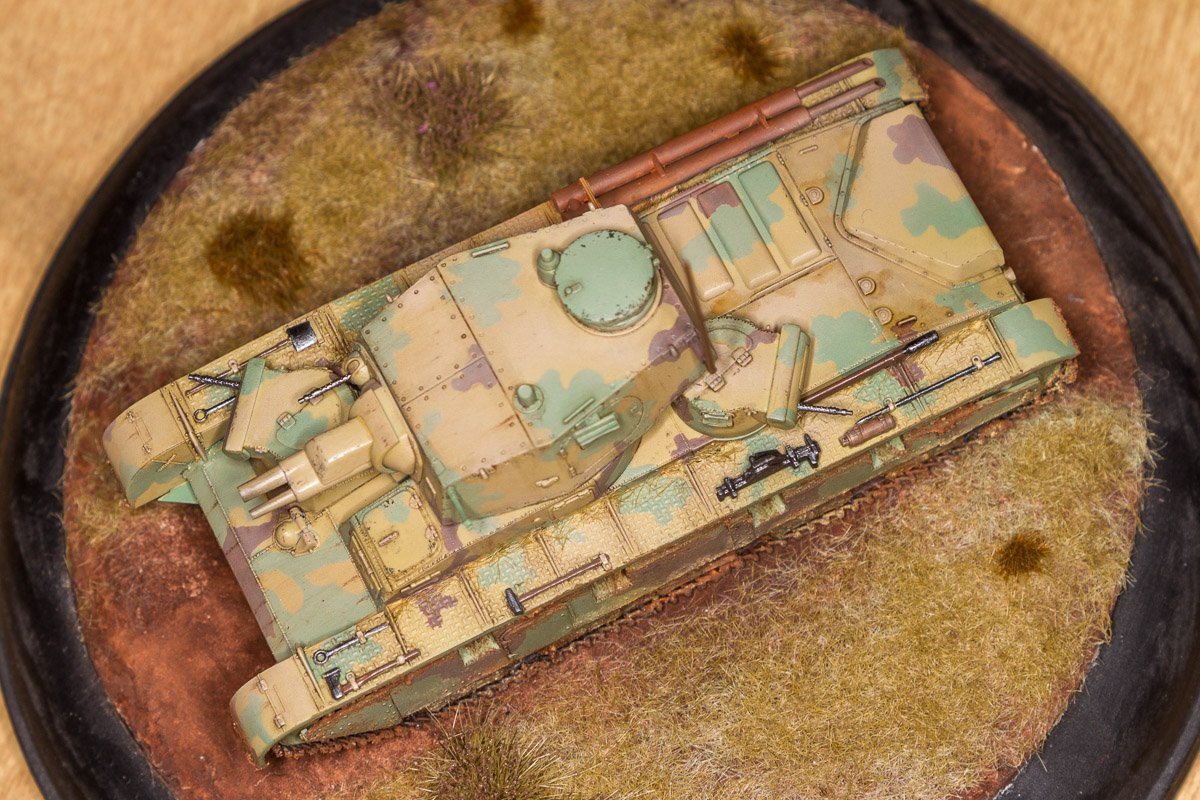
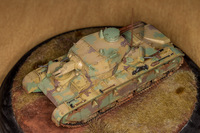
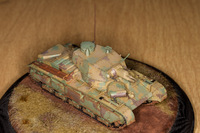
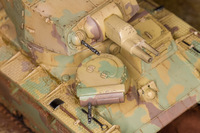 This is the first time I used Tamiya acrylic colors. Being a Model Master Enamel user, I had to adjust my airbrush by halving the pressure to around 20psig and thin the paint in different ratio. I first applied the sand color XF-60. Then instead of airbrushing the green XF-71 and the brown XF-64, due to potential difficulties in masking the complex camouflage, I decided to hand paint these on. I thinned these paints in a 2:1 ratio so as to not be too thick or too runny for brush application. To blend the three colors I airbrushed Tamiya XF-57 Buff that was diluted in 5:1 ratio. Painting took the longest out of the whole process; it was completed in about 4hrs.
Weathering
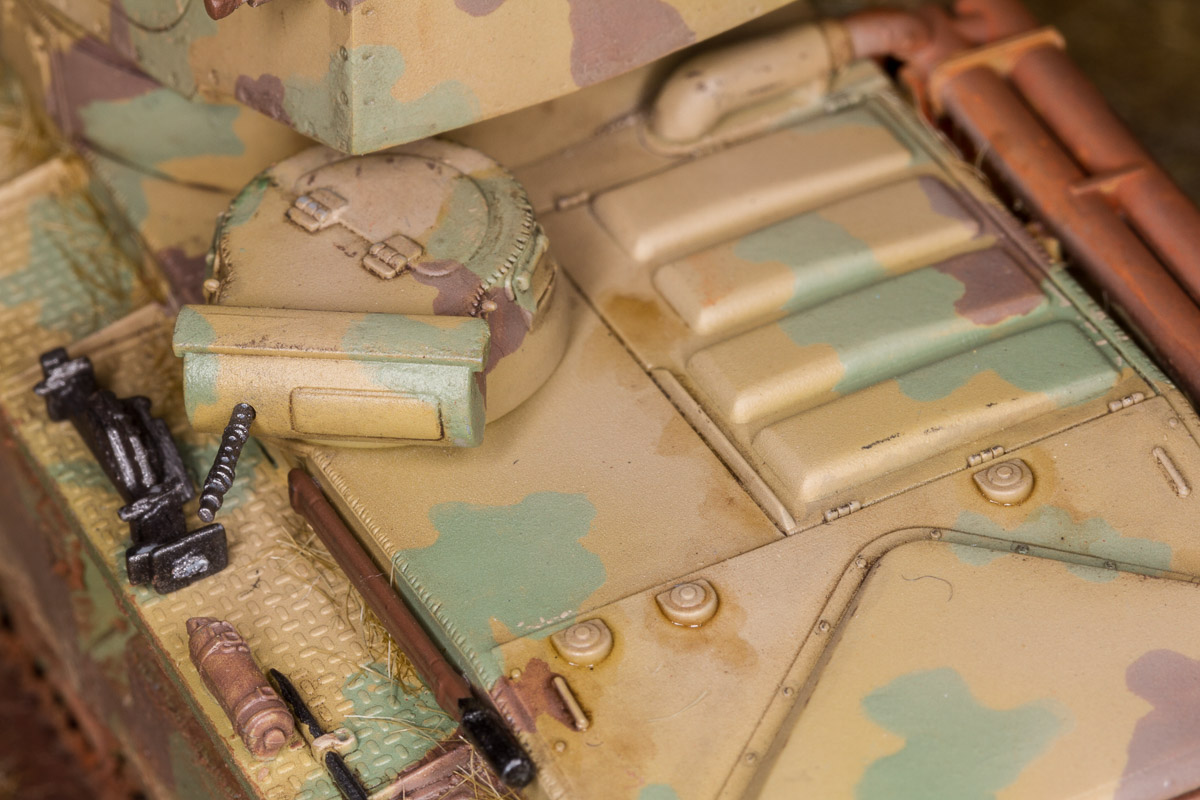
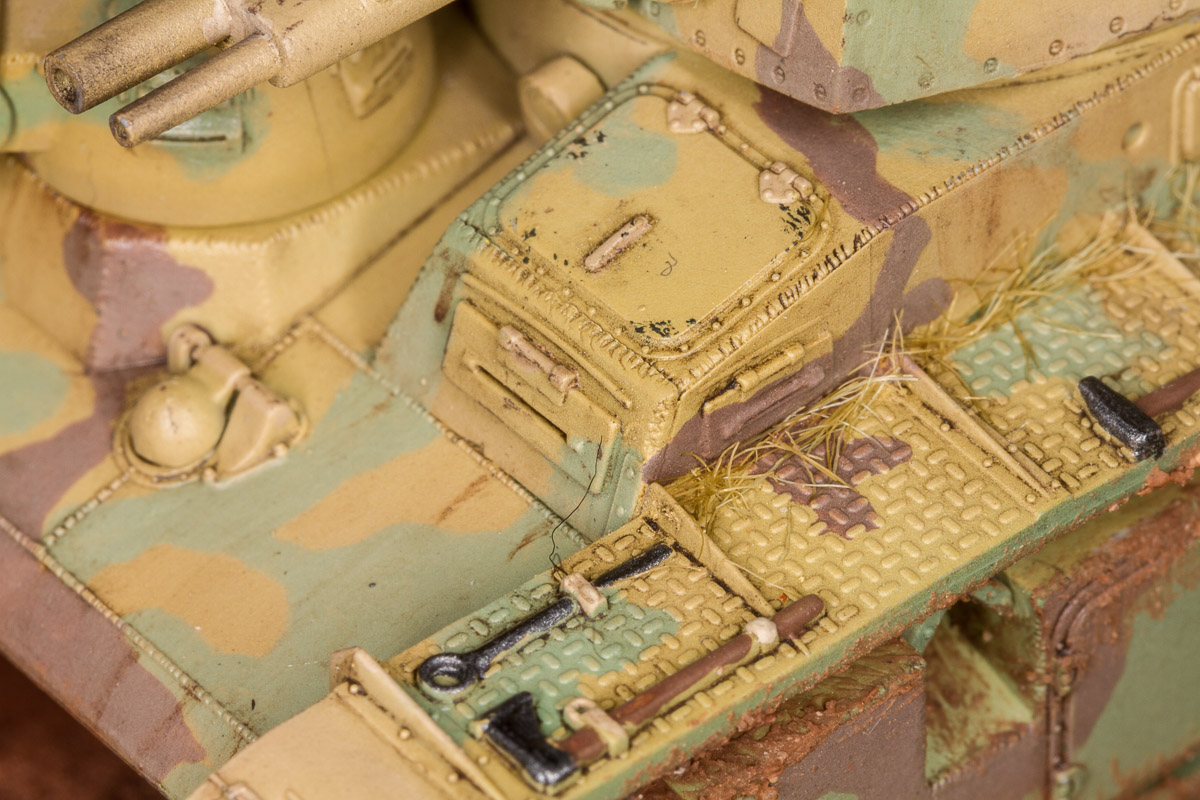
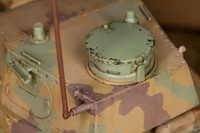 After reading a lot about the AK or MIG products, I decided to give them a try. Prior to applying any washes, I airbrushed Tamiya XF-21 Clear to protect the paint. I used AK's brown wash for the panel lines and pin washes, Streaking grime for the streaks and Fuel stains for the fuel stains around the engine hatches. I found these to work well and the excess to be cleaned off with thinner rather easy.
Chips were made with a dark brown pencil as well as graphite pencil to give corners some metallic shine.
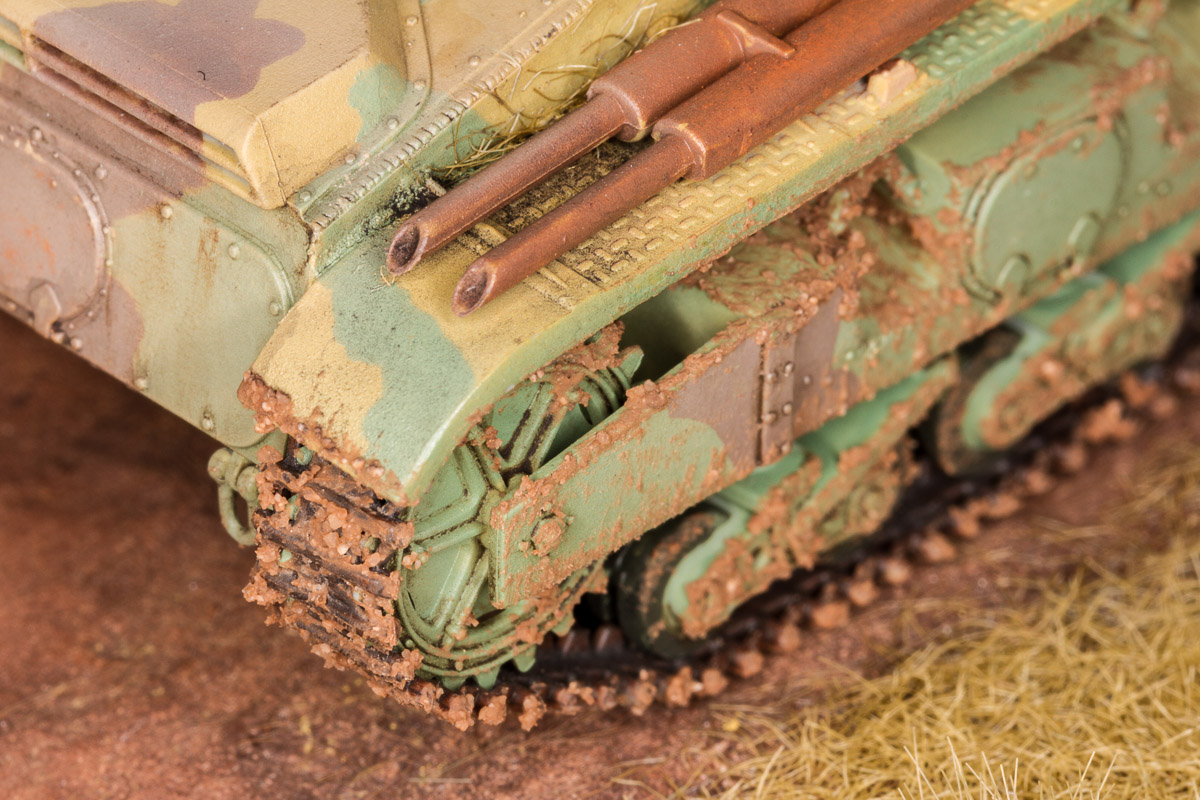
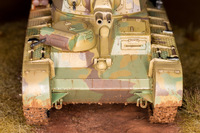
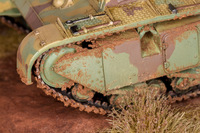 Mud effects were made with MiG Europe dry mud (fine) and were applied with an old brush all around and below the vehicle. Last but not the least some pigments were used for light dusting.
Weathering of this model took 2hrs, mostly due to experimenting with new products.
I highly recommend this model to all modelers who would like to add something unusual, intriguing, and simple to build to their collection.

