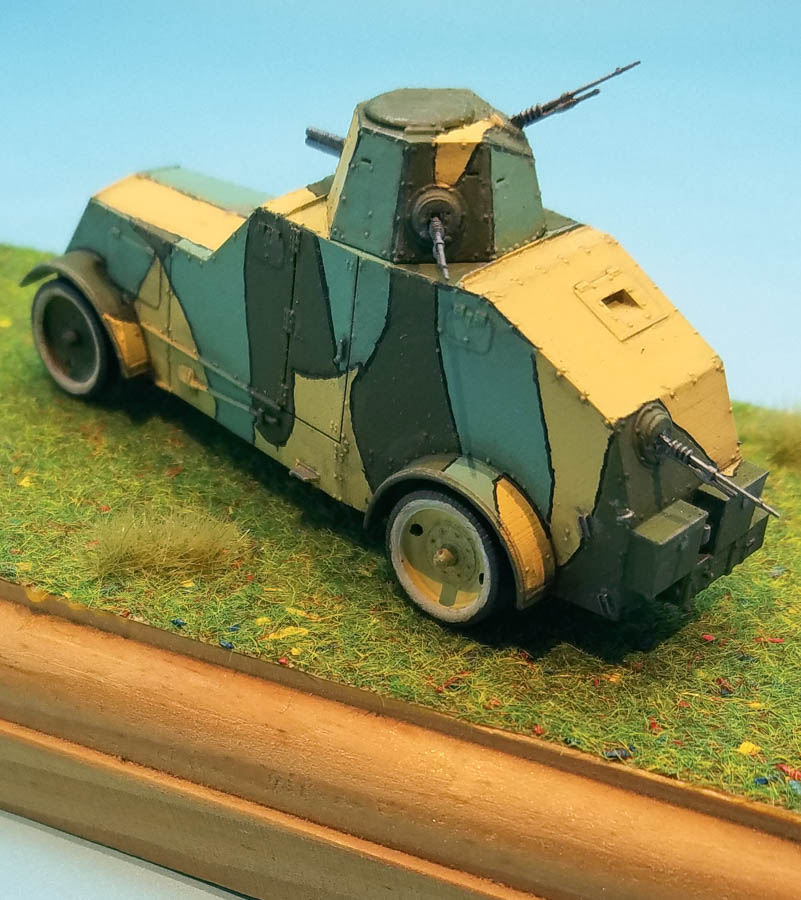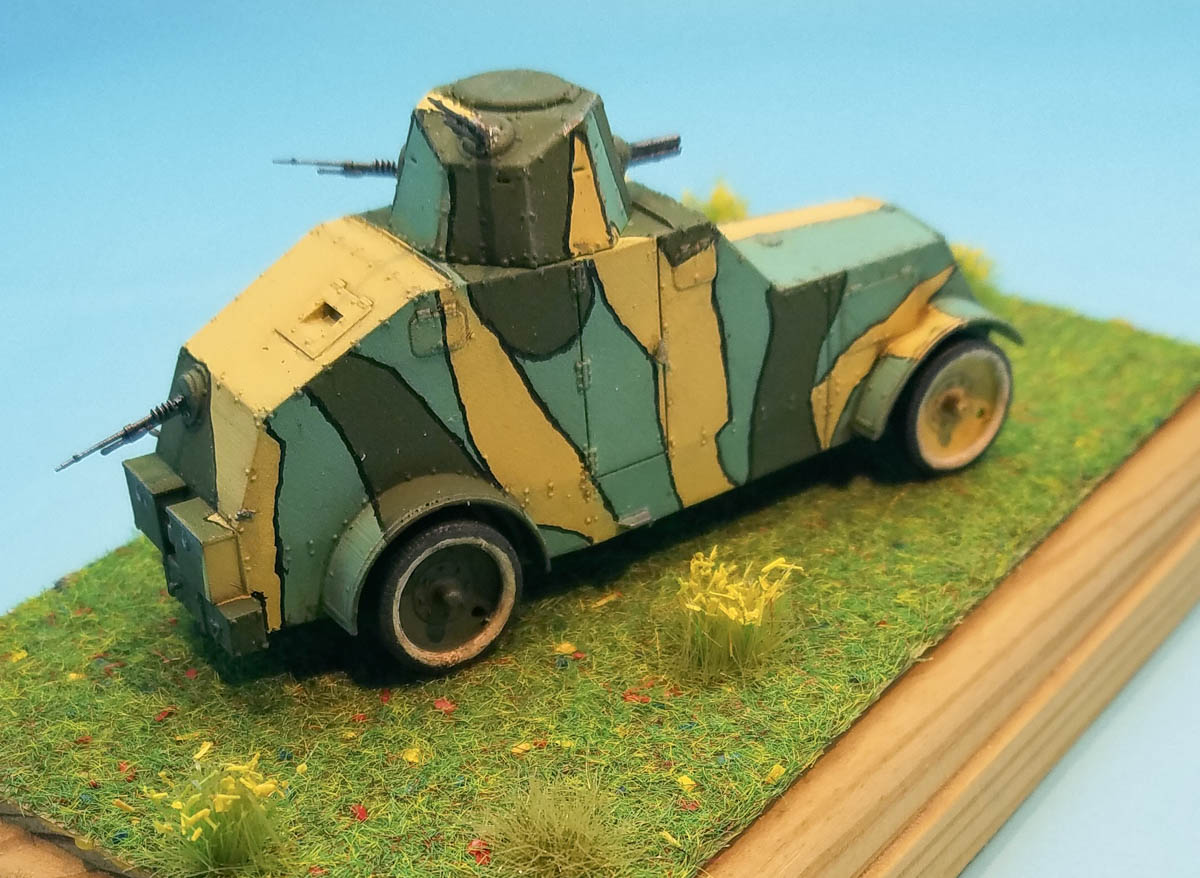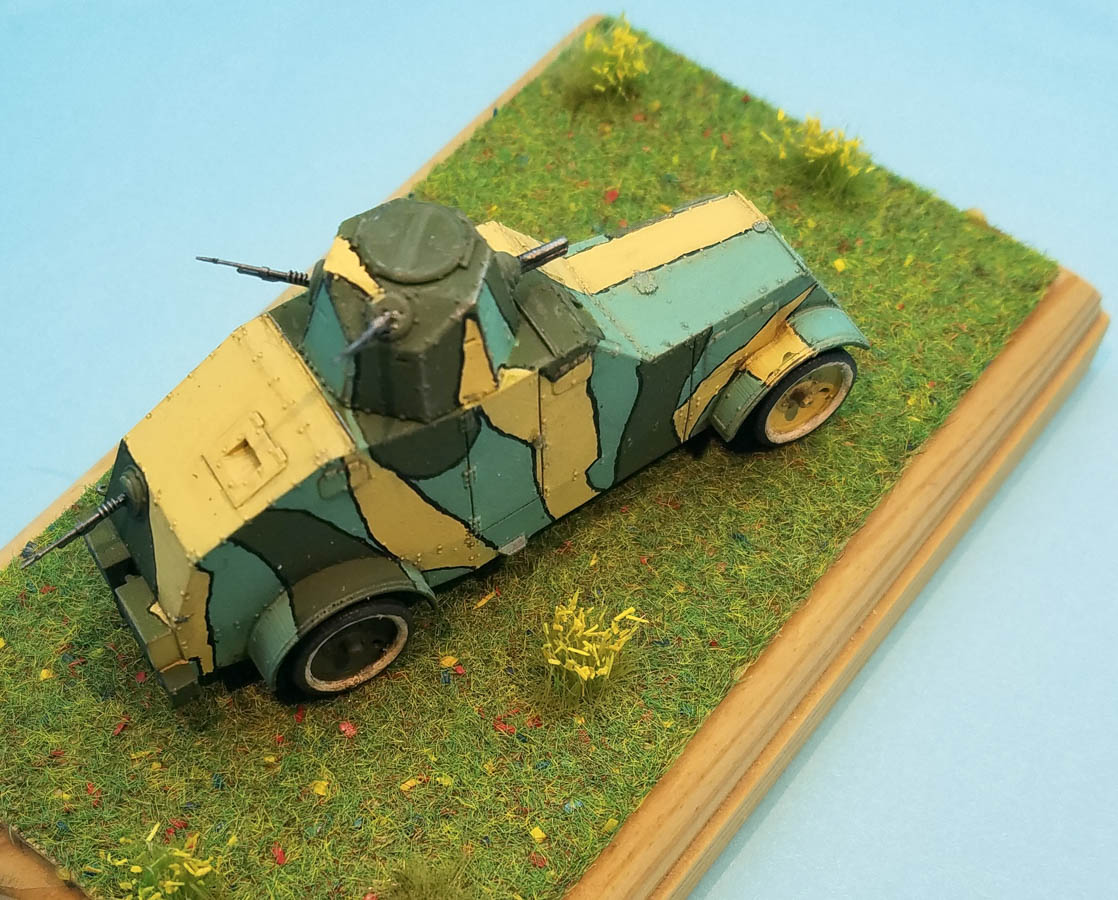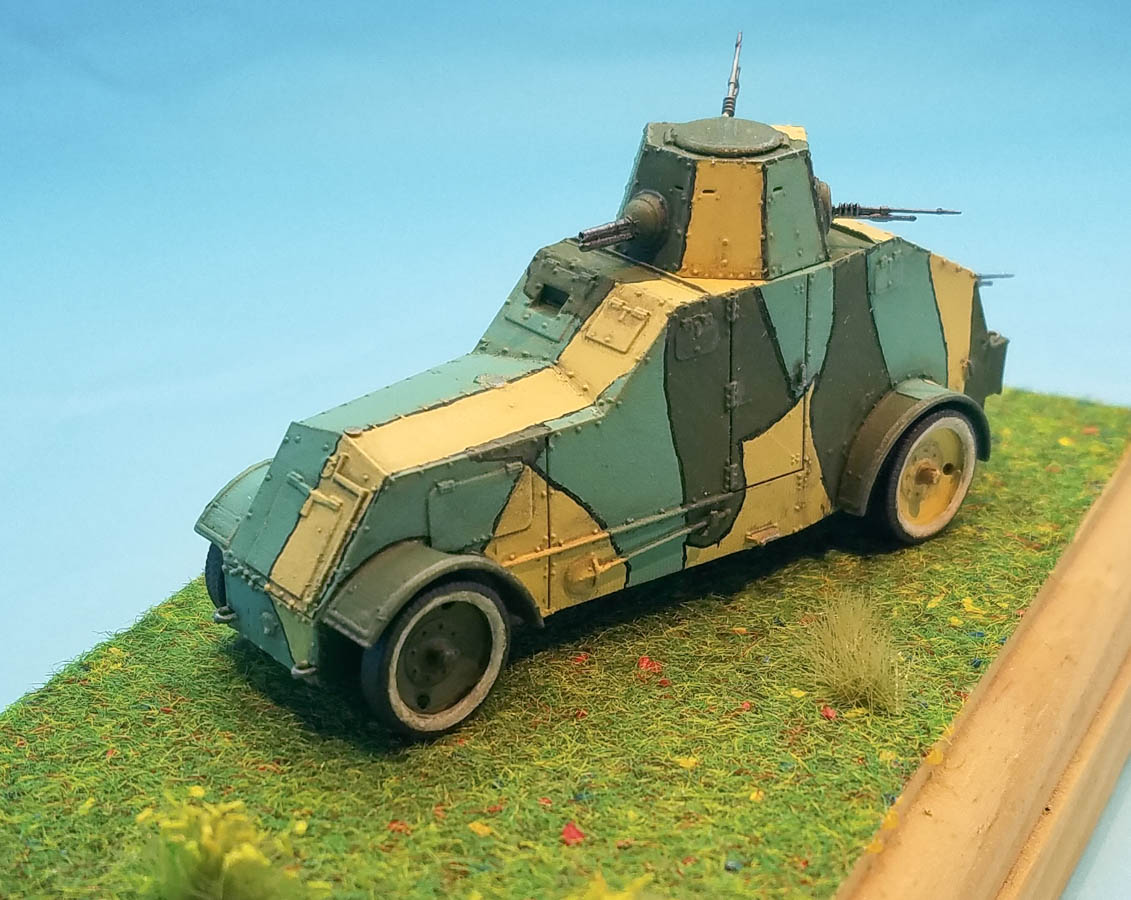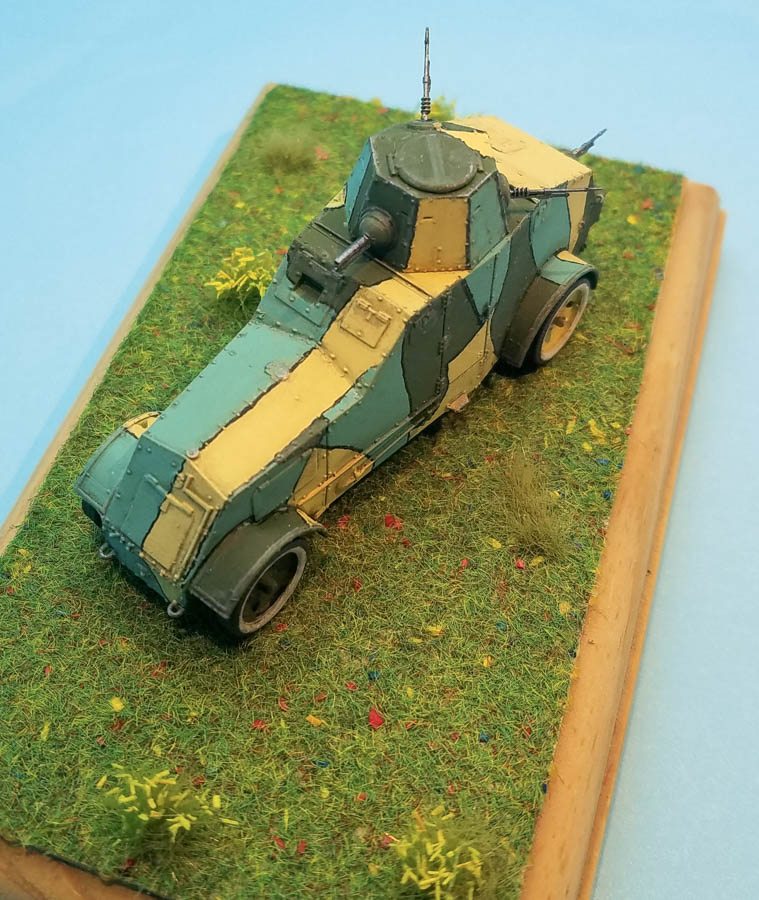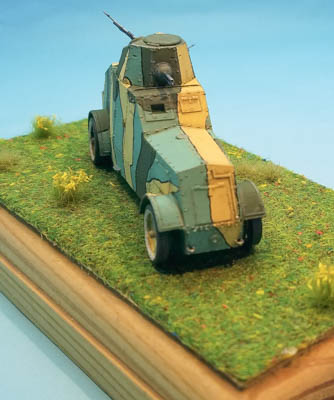
F&A Miniatures 1/72 Polish Armoured Car WZ.29
By Matt Bittner
Overivew
You can read what's in the kit and an introduction to the armored car in my First Look.
Construction
It won't take long to assemble the model. Where you'll spend your time is in the finish. There are a few ways you can finish this armored car, and the way I chose definitely took a lot of time and a lot of masking.
|
I based my model on photographs I found on-line. It appears there was some type of military parade and a number of WZ.29 cars partook in that parade, all sporting this same camouflage, which some call "Japanese-style".
|
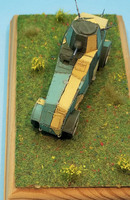
Once the model was cleaned and primed - all parts primed separately, but I decided to glue the turret on before painting, because in the pictures the camo was contiguous on the turret - then painting began. I didn't have what some might think was the right color of paint, but I used what Vallejo colors I had.
|
Each color was masked, which probably took the longest time. Once all colors were on, then I sprayed a gloss coat and weathering could begin. First a wash - again, using mostly Vallejo washes - then a satin coat followed by more weathering. However, I wanted to keep the weathering light, as it appeared for the parade the cars were pretty clean. And yes, all of them had white-walled tires, but it appears those white-walls were painting on, so that's what I did: hand paint the white on all the tires. I finished the car with a matt coat followed by outlining all the colors with a .005 Sakura Micron Pigma marker. To do that, I really had to steady my hands as they shake if I'm not careful. Finally, another dull coat sprayed to seal in the outlines.
|
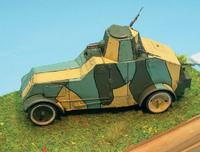
Now the rest of the parts can be glued together: all four wheels and all three machine guns. Like I mentioned above I glued the turret in place prior to painting so that was already in place.
As I mentioned in my First Look, the machine guns are works of art. The barrel-ends are actually hollow! Amazing.
The base is just a piece of wood from a local craft store and the grass mat is from Heki to which small tufts were glued on.
Conclusion
Even with all the pain-in-the-butt masking, this was a fun build. Having photographs to model against is definitely a huge help and the colors on this model really stand out amongst all the usual grays and greens/olives. I'm definitely glad I finished it this way.
I definitely want to thank F&A Minatures for sending this in for review.

