Dragon Models offers a complete lineup of the Pz.Kpfw. III family tree in 1/35 scale, including no less than three kits in this last year alone. The subject of this review is the PzKpfw III 5cm [T] Ausf.G from their 1939-45 series. The [T] stands for Tauchpanzer, or 'diving tank'.
A little History
After German forces had swept across Western Europe as undisputed champion in 1940, the lone resistance came from the British Isles. Germany planned to conduct an amphibious invasion of Great Britain under the code name Operation Sea Lion, and to this end a number of Panzer IIIs were especially converted into diving tanks. These were known as the Tauchpanzer III, and they had the ability to drive along the seafloor totally submerged thanks to a breathing apparatus. During the planned invasion, they would have been lowered from ships onto the seafloor near the coast and they could then drive onto the shore. In the end these tanks were not used to cross the English Channel as it was decided to bring Britain to its knees via the Luftwaffe instead.
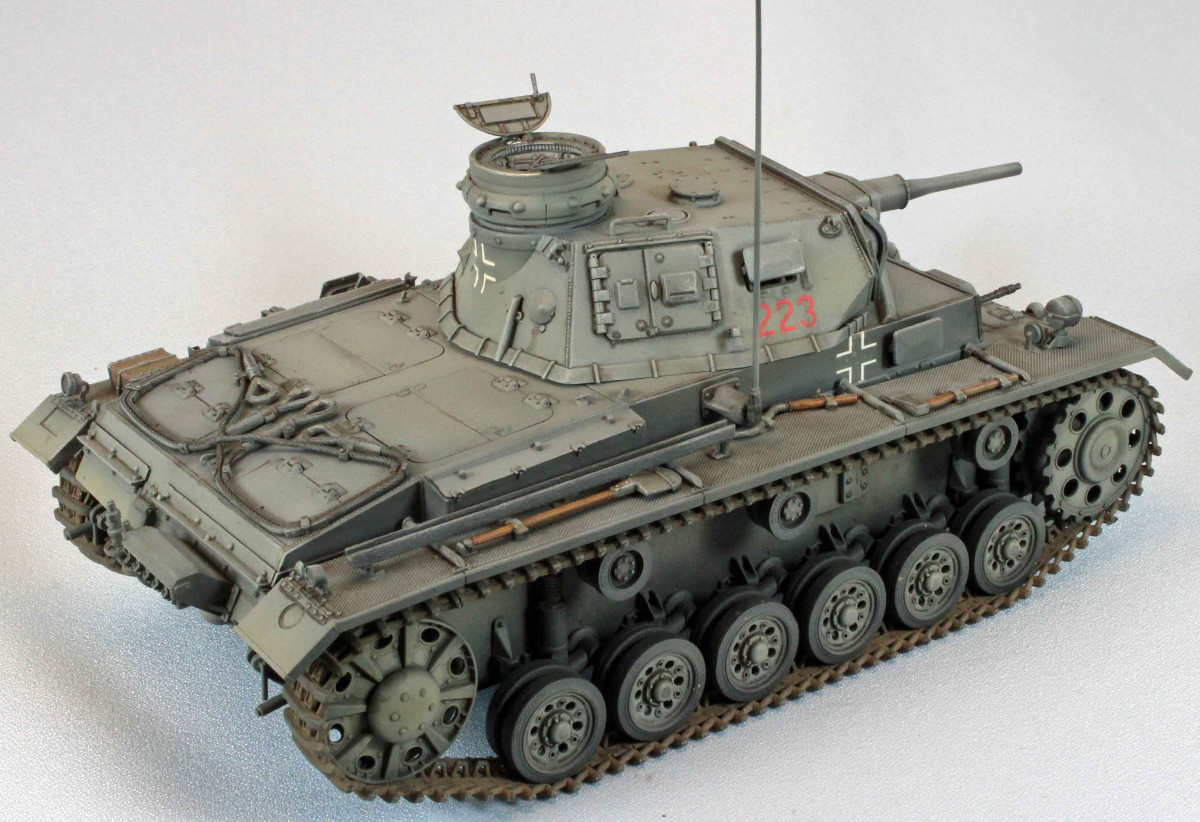
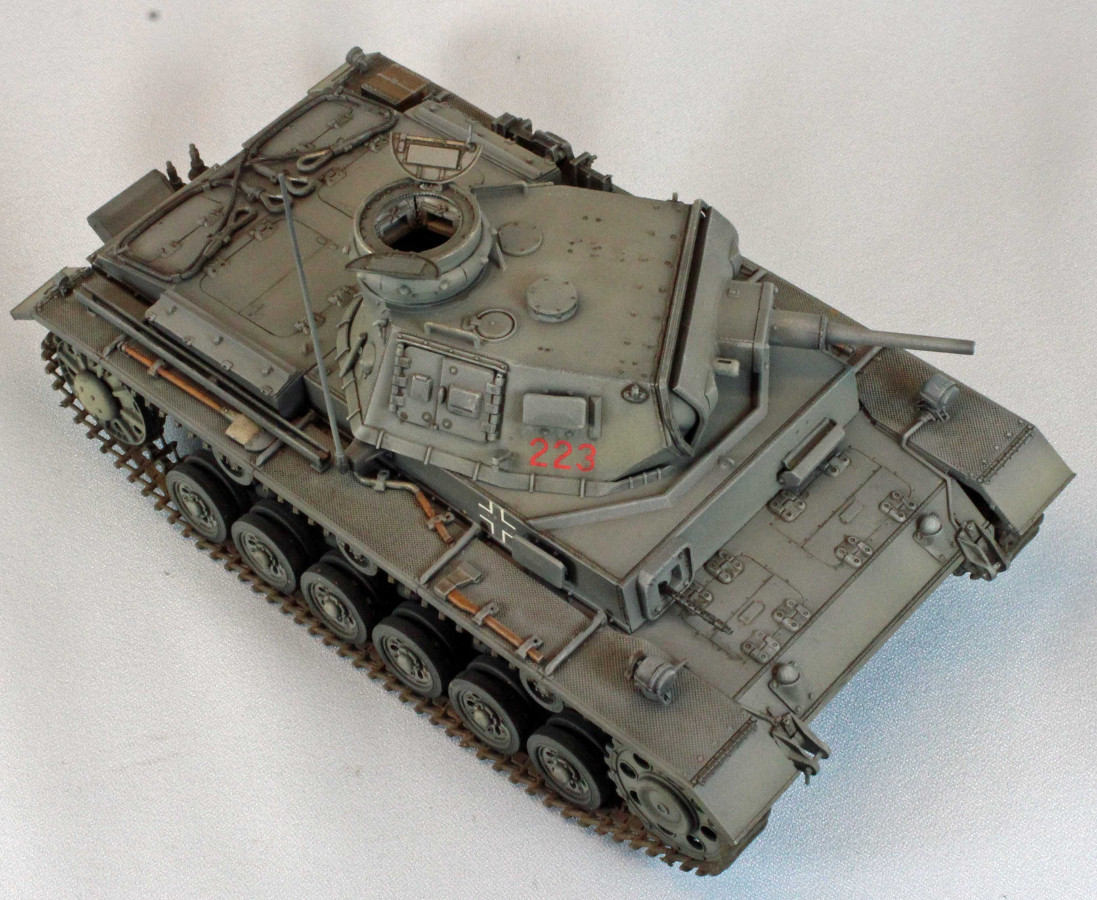
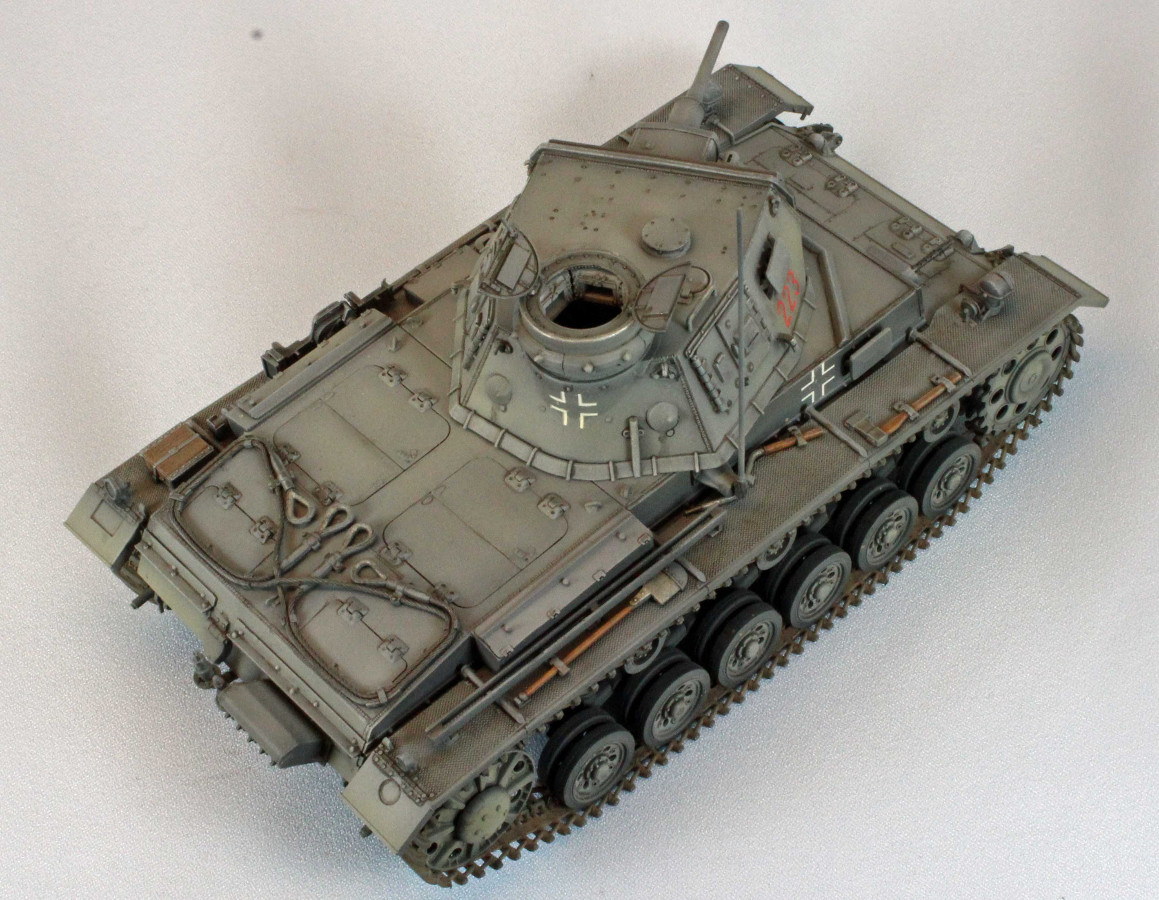
One of Dragon's newest 1/35 kits portrays a Tauchpanzer III Ausf.G, which was the most common version of this customized AFV. It carries a 5cm gun and is based on Dragon's previously released Panzer III G kit, as well as parts from the earlier Ausf. F Tauchpanzer kit. The box contains all the necessary parts to make the diving tank, including waterproofing parts for the gun shield and turret ring.
Opening the box
All of Dragon's Mk III's come with enough parts to completely fill the sturdy box and then some. There are extra parts on nearly every sprue for your spares box, including pioneer tools and fire several fire extinguishers.
The contents of the box include:
Lower hull, packaged separately.
26 sprues in soft, light grey plastic, packaged separately.
2 clear plastic sprues
2 photo-etch sheets, including sprocket ring detail
2 runs of yellow-tan DS track
1 6-page blue and white instruction sheet with 19 steps
The kit comes with a single color scheme represented across three vehicles, using blue-and-white ink three-view drawings, and a small (but perfectly registered) sheet of decals from Cartograph of Italy. These units include:
2/Pz.Rgt.35, 4 Pz.Div., 1941 (Dark Gray) (2 Vehicles)
Pz.Abt.D.35, 1940 (Dark Gray)
The Instructions
This is a 'fortified re-box', so there are sprues from no less than five different Dragon kits included in the box:
PzKpfw III Ausf J Initial Production
PzKpfw III (6)
Pz III (2.7cm) (T) Ausf F (1)
StuG III Ausf G (3)
PzKpfw IV (1)
As a consequence, I found several inaccuracies in the instructions which are documented where appropriate. If you make the mental adjustments, however, things will go pretty well.
Assembly sequence varies by modeler but the general flow of things go pretty much as Dragon intended. The exceptions I made are identified in the text below.
Things to consider before starting:
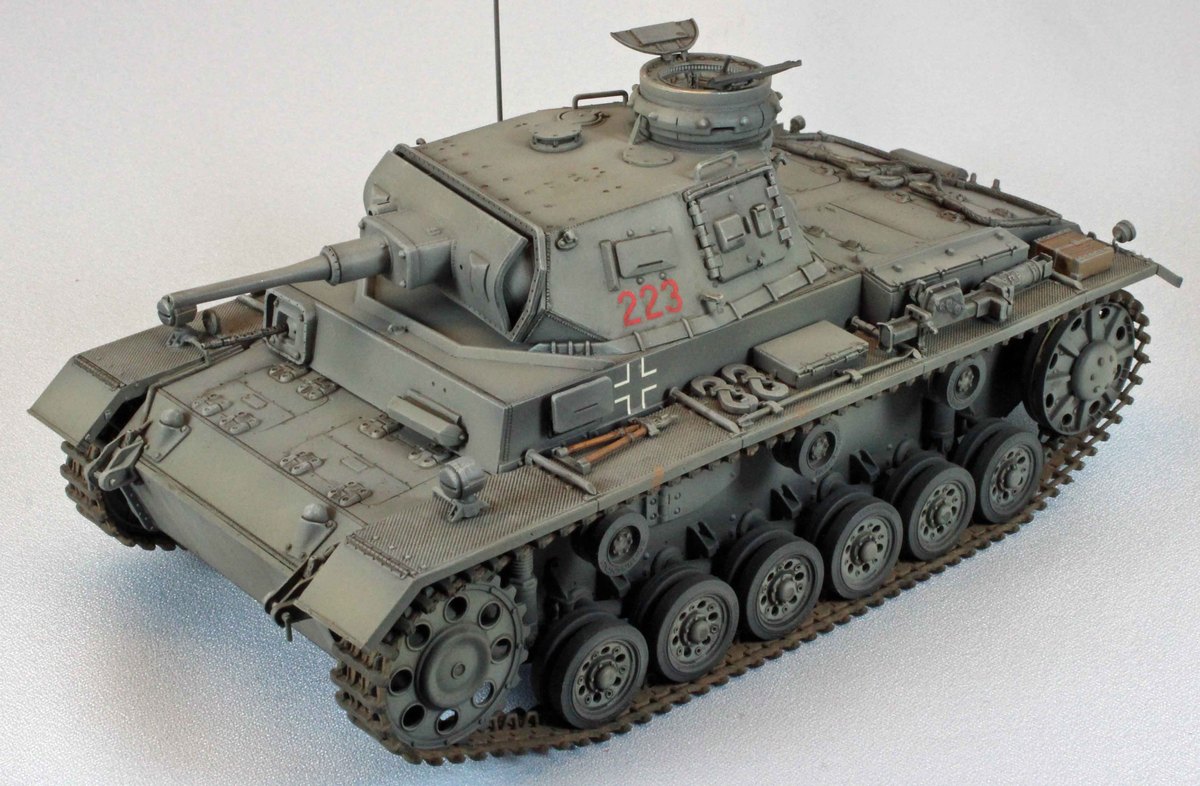
The Mark III is a pretty straight-forward tank. Chassis, fenders, main deck, turret, gun, hatches – it's all there. There are relatively few options (for Dragon) so there are few up-front decisions to be made. The area beneath the fenders is un-obstructed so the DS track can be attached at the very end without any problems. I built the entire vehicle before painting, with the only exceptions being the commanders hatch halves, the antenna and the fire extinguisher, which were painted separately.
The Build
Lower Chassis and Running Gear
The assembly of the lower chassis went together relatively well. The only hiccup here was with the two drive sprocket transmission covers (A3), which refused to fit in the spaces provided due to a blockage in the (female) receptacle. I used an X-acto knife to open up the holes which allowed the covers to seat properly.
In Step 4 I had to snip off a chunk of plastic from the end of one of the torsion bar assemblies (Z14) to leave room for the drive sprocket. I examined my work and the instructions but I don't see where a mistake was made – a mystery.
There is a little play in the wheels after they are attached and the wheels on the Mk. III really need to line up perfectly. I used a small steel ruler set along the slot between the wheels to do this.
Fenders
This step contains several areas that can cause you problems. Some are inherent to all Dragon PzKpfw III kits; others appear to be unique to this kit.
Decide what equipment you are going to attach and make sure that you have the proper holes drilled to receive it; the instructions are spotty here. For example, Dragon provides half-drilled holes for the axe but doesn't mention opening them up in the instructions. On the other hand, you are instructed to open up holes for the headlights but the parts don't have any (male) posts that will use them.
There is a nicely molded toolbox top (Part B19) that seems to be missing its sides. The picture shows a full box being attached to the bottom (Part A28). I had to hunt around in my spares box for something to use here to make it a full box.
The nicely detailed jack assembly interferes with the back deck if attached at this point in the build. I waited until Step 15 to find the right place for it. Dragon uses a four-part set of brackets to secure the jack to the fender. I find that attaching the lower parts (G54 and G56) to the fender first, then the jack, and then the two upper parts (G55 and G57) is the best way to go here.
Dragon provides a nice photo etched base for the fire extinguisher. I attached the base and painted the extinguisher separately as the base will interfere with painting otherwise.
So this is strange. The instructions tell you to use PE inserts with tab extensions for the rear fender drops. The problem is, the advantage of PE (scale thickness) is not used or needed here, and the (hidden) extension tabs that attach the fenders to the chassis need to be strong and are not. Fortunately, there are two other sets of (unused) fender drops in the kit; one set includes stronger plastic inserts, the other set is made up of simple one-piece affairs without inserts (Parts 40/41). Scale thickness is not an issue here so I used the latter set and moved on.
Rear Deck and Commander's Cupola
In Step 9 resist the temptation to open up any holes that Dragon provides for the tow cables – they don't line up with anything. I opened them up and then had to re-fill them with putty: doh!
The easiest way to assemble the nicely detailed engine intake vents is to attach parts A30(A29) to the rear deck first. Next glue parts R4(R3) and R1(R2) together. Once dry, glue the assembled covers to A30(A29).
The commanders cupola comprises no less than 20 or 25 parts, depending on whether you want the vision ports open or closed. Fortunately, everything fits perfectly and looks really nice when done. I found that gluing (5) Parts Q2 to the bottom of the main cupola instead of the bottom (Part Q9) was an easier approach than what the instructions had me do.
Main Weapon
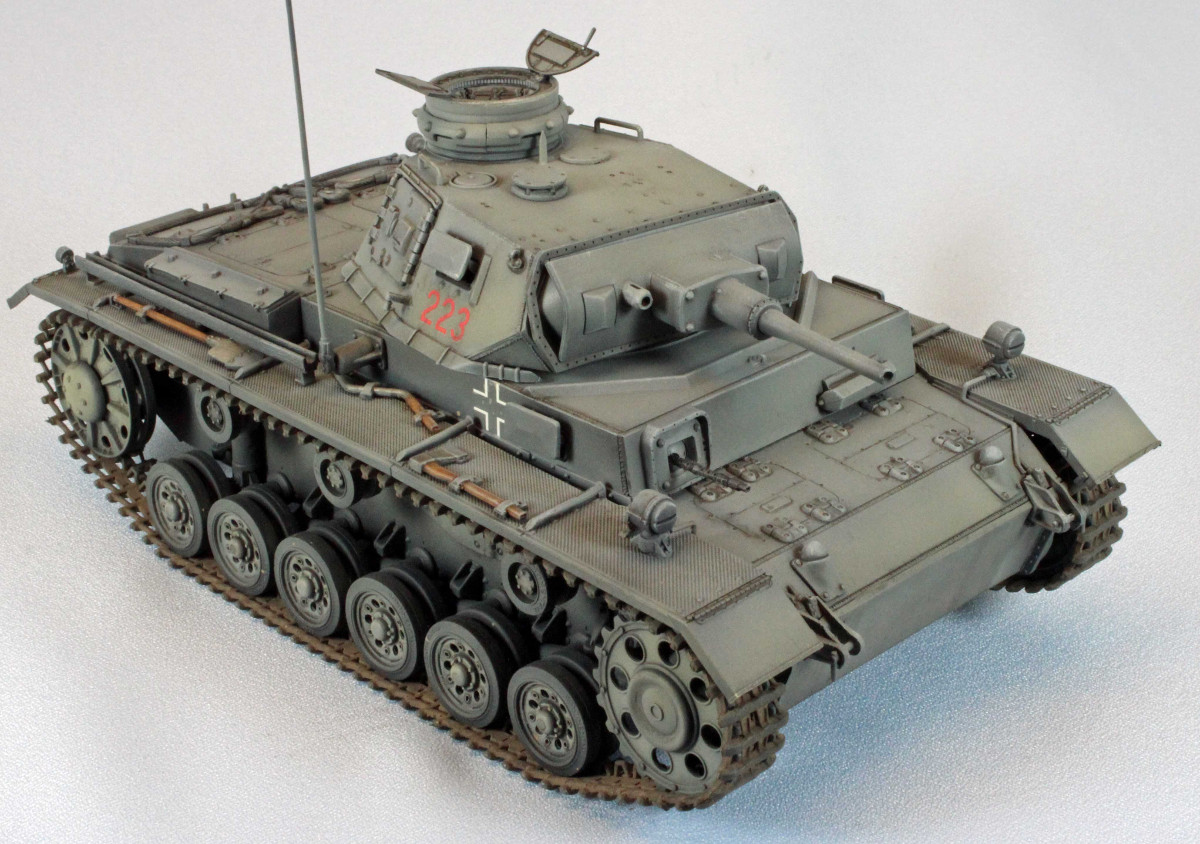
In Step 14, do not glue Parts E2 and E3 as shown in the instructions, unless you want the gun to point at a ridiculous, parade-appropriate up angle. I ended up taping together everything I needed (turret, mantlet, etc.) to find the right angle for the weapon and then glued these two pieces on. After sawing them off, of course.
Otherwise everything comes together pretty well. I really like the slide-molded main weapon – plastic is so much easier to work with than turned aluminum.
Main Deck
Everything comes together in Step 15. I attached the front deck and rear bulkhead first, then the fenders next, then the turret ring portion, and finally the rear deck. The rear bulkhead has two parts (U10 and U11) that you should leave off until it is attached to the back of the vehicle. Once that is done, it is easier to figure out how these are supposed to be oriented – the instructions aren't much help here.
Turret
Steps 17 and 18 bring the turret together. There are four vision ports that swivel out on the PzKpfw III, two on the turret and two on the hull sides. Dragon has a slightly fiddly design for showing open ports, but once you finish one they end up coming together pretty well, and they look great.
There are no holes provided for the two grab handles (Parts D4) so I just sort of put them 'there'. The commander's foot-stand that is attached to the turret ring is made up of two parts (D21 and D8) that are on the 'Unused' list. If you want to include a figure in the hatch, you will need these.
Step 19 adds nice looking cables that extend from the headlights to 'somewhere down there'. I had to experiment around to find the best way to attach them. Dragon gives you two PE parts (MA5 and MA6) that are meant to cover gaps in the lower front hull.
I couldn't figure them out so I left them off.
The Track
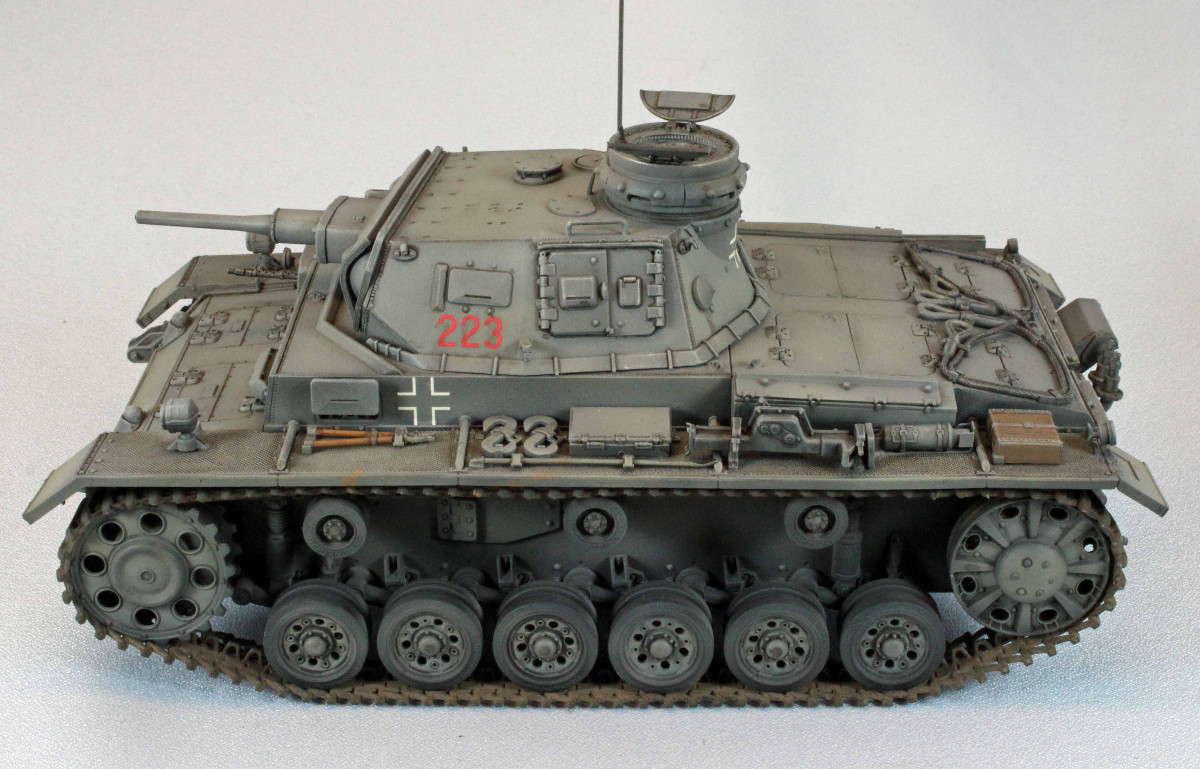
The two runs of DS track in this kit are very thin and beautifully detailed, and assembly was a snap. I connected the ends using Tamiya 'green top' thin cement and installed them without any problems. Unfortunately, Dragon did not leave enough slack in the DS track to adequately reproduce the sag common to the Mk. III, so it looks pretty tight when installed.
Painting and Finish
The Mark III can be completely assembled and then painted it if you wish, which is the approach I took.
Normally I use Tamiya paints for everything, but I thought I'd try something new for a German Grey finish. I came across a good article that fit the bill - modeler Glenn L. Bartolotti's 'Step-by-Step Finishing German Armor: Tiger I, s.Pz.-Abt. 503' (Bladerunner8u Production, © 2009 bladerunner8u@netscape.net). Glenn used Model Master paints, I had them in my paint rack – so with this build I was going to 'paddle down a different creek'. Painting and finishing followed the steps from that article.
(Note: I thin all Model Master paint and 50:50 with Model Master Airbrush Thinner. I use Vallejo's own thinner for all Vallejo paints. I use a Paasche-H Single-Action airbrush, with the number #3 tip, at 20 lbs. pressure for everything.)
I started by airbrushing a primer coat of Gunze Mr. Surfacer 1200 to give the plastic and PE some grip for the following coats
I followed this with an overall pre-shade coat of Dunkelbraun RLM 61 mixed 50/50 with Flat Black – this would fill in the dark recesses and provide the shadows near the flat surface edges, adding depth to the camouflage coats to come. Surprisingly, Dunkelbraun ('Dark Brown') comes out looking Grey, not brown. Go figure.
Next, a base coat of straight DunkelBraun RLM 61 was applied. I sprayed it carefully, allowing a hint of the black to show along the edges and behind the pioneer tools, etc.
Next I applied a post-shading coat of DunkelBraun RLM 61 mixed 50/50 with Flat Insignia White. I layered this on lightly, working from the center of each section outward. This gives the surface a little more depth – German grey can be pretty boring if you don't spice it up a little.
Once the paint was dry, I airbrushed just the areas that would receive decals with Future to give them a smooth surface to set up on.
While the Future was drying, I painted the wooden portions of the pioneer tools Vallejo Acrylics New Wood and all the steel parts Tamiya Metallic Grey (XF-56). For hand-brushing Vallejo paints I mix a tiny bit of Vallejo Slow Dry and water with each color until it flows smoothly off a red sable brush.
To give the wooden parts of the tools more depth, I brushed on a little Mig Productions Wash Brown oil paint straight from the tube and let that set overnight. Don't let this paint leach out its oil beforehand, like you would when you are using oils for dry-brushing. The oil helps it stay workable. In the morning I carefully removed most of the oil paint using a brush dampened with Mona Lisa white spinner, leaving the areas near the latches and metal parts darker than the center of the wooden shafts. I then let a little black wash puddle up on the horizontal surfaces of the metal axe and shovel heads. When dry, I think this gives them a convincing look of used steel.
I applied the decals using the Red and Blue Micro Sol/Set system without any problems, and then hand-brushed Future over the decals again to seal them.
After I was sure the Future was dry, I airbrushed the shiny areas that received decals with Vallejo Flat Varnish to prepare the surfaces for filters which need a flat surface to spread properly. I cut the varnish 50/50 with Vallejo Airbrush Thinner to improve flow.
I attached the commander's hatches, fire extinguisher and track so they would benefit from the weathering to follow.
With the flat coat on the model, I applied several filters to enhance the gray. I heavily thin all of my washes and filters with Mona Lisa White Spirit. This odorless paint thinner is very mild and will not react with the enamel paint underneath.
I applied a filter of Wash Brown to over the entire vehicle and Black over the jack and machine guns.
I then shot the whole vehicle with a coat of Future to create a glossy surface for applying washes. I applied washes made of Mig Oils (Wash Brown, Shadow Brown, Black and Rust) mixed with Mona Lisa with a small, pointed brush. I also used Mig Dark Wash (AKA Raw Umber) straight from the bottle, on the buckles, pioneer tools, wheels and tow cables.
Next I dry-brushed the vehicle to lighten things up a little, using Mig Abt170 German Grey Highlight oil paint that I let sit for a while on cardboard to leach out as much of the oil as possible before applying it the protruding detail.
I followed this with a 'road-dusting' coat of Vallejo Model Air Light Brown and then shot the whole vehicle with Vallejo Flat Varnish to kill any shiny spots still remaining. I cut each of these 50/50 with Vallejo Airbrush Thinner to improve flow.
I attached the antenna and this little guy was done!
Conclusion
The PzKpfw III is one of the iconic tanks of World War II, and it is no wonder that Dragon has taken on this family of AFV's to produce some of the very best models on the market. The build is challenging – there are a lot of parts and several areas require a little experience in problem solving. Still – the parts fit and are beautifully detailed; together making these kits a lot of fun to build. The design of the some of the parts such as the commander's cupola and opening hatch hardware is simply brilliant, and in my opinion, the very best available; Dragon sets the bar here. The thin DS track has evolved into an excellent alternative to the Magic Track, which itself was a wonderful product (and still is). I just wish the DS runs would come in a more 'military' color since they are such a chore to paint. The slide molding, included in all Dragon kits now, has really improved the detail and build-ability of their kits. This is nowhere more apparent than with their tank barrels which are, in my opinion, a vast improvement over the ill-fitting and hard-to-paint aluminum versions.
And last but not least, Dragon thoughtfully designs their models so that every hatch, door or access panel can be built in the open position, with more than enough interior detail to get you started if you roll that way. One of these days, when I have more time...
On the downside; while Dragon has been improving their instructions as of late, and what you get with this kit appears to be another rework toward that end, there are still enough errors to cause a novice to become frustrated. I breezed through most of the problems simply because I've already made the mistakes in prior Dragon Mk. III builds and learned from them. With such brilliant engineering and design, however, it is a shame that the instructions and related quality control issues detract from what otherwise would be a perfect build experience.
I can recommend this kit to all modelers who are up to the small challenges that a kit with so many parts and options will offer. If you mark up the instructions beforehand as suggested, and go slow, you shouldn't have any problems.
I would like to thank Dragon Models and Stevens International for providing this kit for review, and to Internet Modeler for giving me the opportunity to build it.