Airbrushing 252: Airbrushing Ship Models
By Tracy White
Hah! We got ya! You were expecting to read about airbrushing ship kits, but you've fallen for our clever ruse to discuss masking. In truth, ship kits involve a lot of tape masking due to the nature of their smaller scale than most aircraft or armor kits. The best, most important advice I can start off with is to not listen to comedy albums while trying to mask a straight line.
On to Supplies
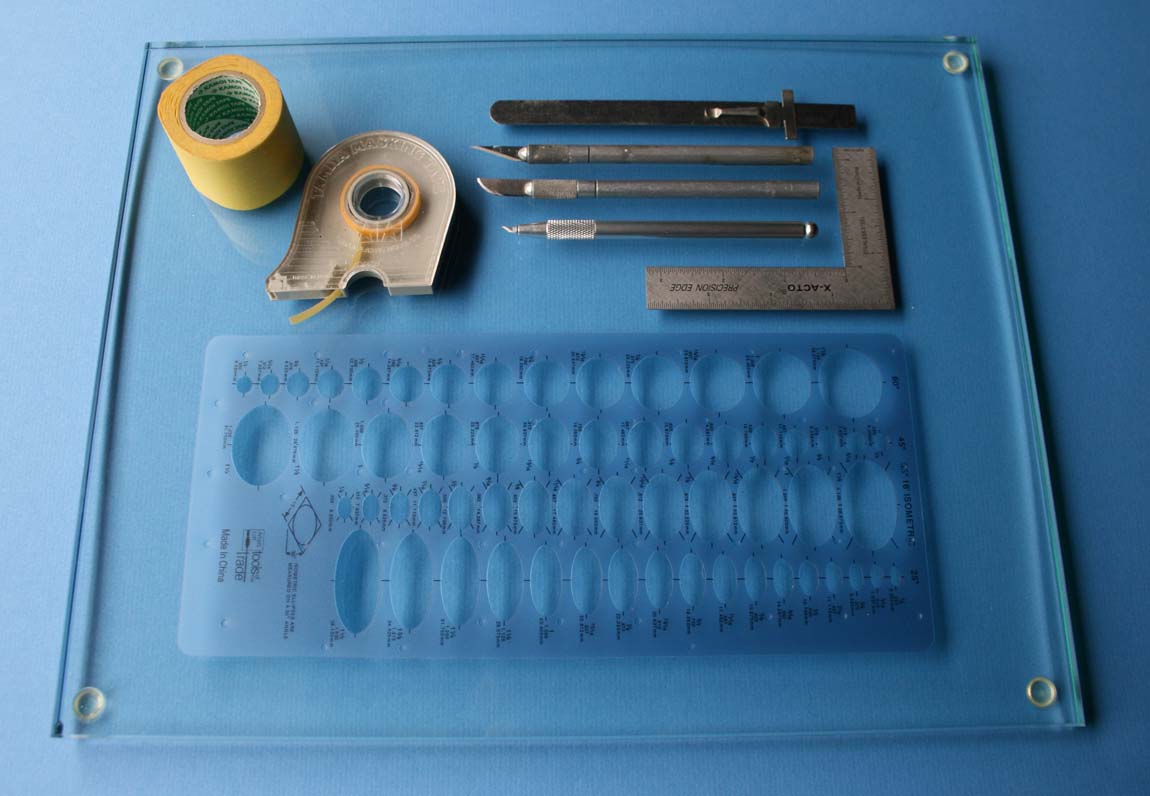
The tools are not exotic; a sharp pointed blade (such as X-acto #11 or #22), a straight edge, and tape. There are some additional tools I'll cover as well that aren't strictly necessary, but have benefits that make them well worthwhile in my opinion.
First is a tempered glass cutting board. It provides a nice, true surface that takes a blade very well and works well with tape. There are two added bonuses to this tool. It works extremely well as a cutting surface for photo-etched details, having no give that can allow for pieces to bend as you cut; and as a straight and true surfaces, it serves as a good platform for wet or dry-sanding resin pieces such as upper and lower hulls so that both mating surfaces are absolutely flat, leading to less filling work after joining. I found mine at a local glassworks store, but you can find them in some kitchen shops.
The problem this causes for tape is that it can pinch one side of the tape and stretch the other, leaving ripples in the inside diameter (pinch) that paint can flow under. Sometimes you can manage the ripples and fold the tape over itself, but most tapes are inflexible enough that it can be a challenge to get them to ripple right where you want them to, or to ripple at the right frequency as to allow you to curve it with the desired pattern or diameter.
There are two main solutions to this; first, switch to a more flexible tape; and second, use thinner widths of tape so there is less material to stretch and pinch. Tamiya's line of tape is my favorite for this as it sticks well enough to seal, but not so much that it pulls off tape when removed (unless the model itself still has lots of mold-release agent or oils from skin contact on the surfaces).
Masking a Simple Ship
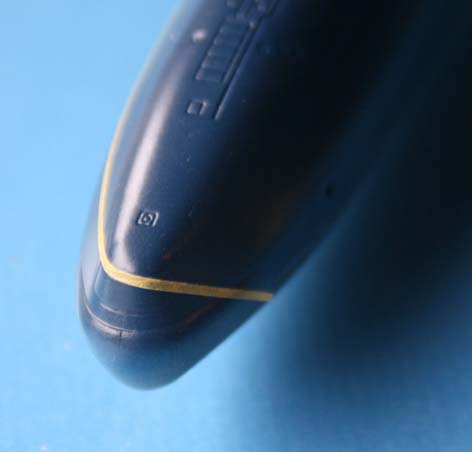
Let's use the Airfix 1/350th Trafalgar class submarine as our first example. It provides a nice, smooth surface with a compound curve at the bow and stern for demonstration purposes. I'm doing HMS Torbay, which has a deep blue (I mixed 2/3 Model Masters Blue Angel Blue with 1/3 Aircraft Interior Black) above the water line and black anti-fouling below, as far as I've been able to tell.
As was mentioned in "Airbrushing 203: Freehanding Multi-Color Camouflages," it is often best to start with the lighter color and work darker to minimize the number of coatings it takes to hide the color below, but sometimes it is easier to work backwards.
With a ship's hull I find it easiest to work from the bottom up, with hull red covered by boot topping black, folllowed by whatever gray/blue/white, etc., that your hull happens to be. This will leave a step of paint that would normally be visible due to the increased number of coats covering the subsequent layers, but because of the layer order the step is DOWN and it is far less visible. For this reason I would advocate the "bottom up" approach over the "ligher-to-darker" order (with the boot topping last).
With submarines, if there is a demarcation at the waterline, on the top of the hull, then you essentially have the same, but opposite, shape as a ship's bottom. So in Torbay's case I went lightest to darkest more from circumstance of ease of taping than anything; the step is not as much of a deal as I'll be going one dark color over another.
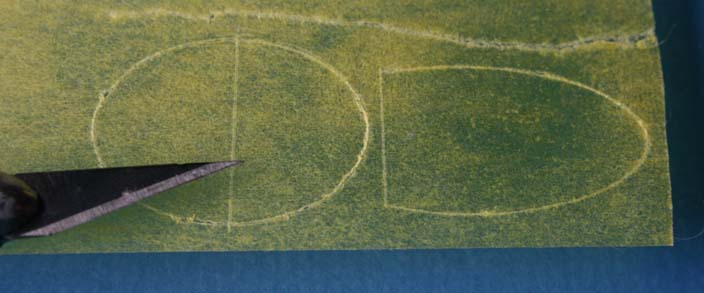
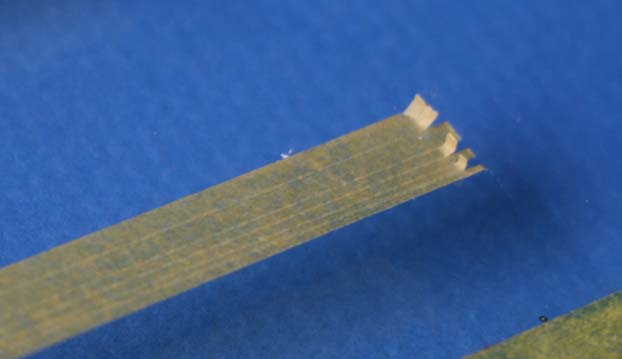
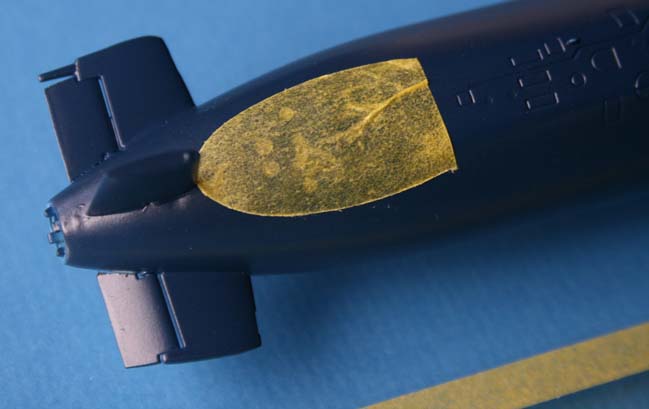
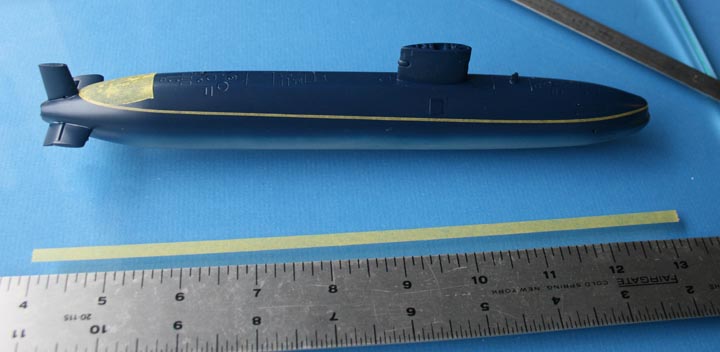
I will typically cut a length of Tamiya tape into 1mm or less strips on my glass cutting board and pull off as needed for the hull. It doesn't hurt to plan on a couple of test pieces in order to get a feel for how the tape is going to want to lay down on the surface and how you'll need to offset that desire. I find it easiest to start on the bow and work aft simply because it's generally cleaner and thinner (not true on modern submarines) and thus esier to look down the length to ensure that both sides are at the same level and straight.
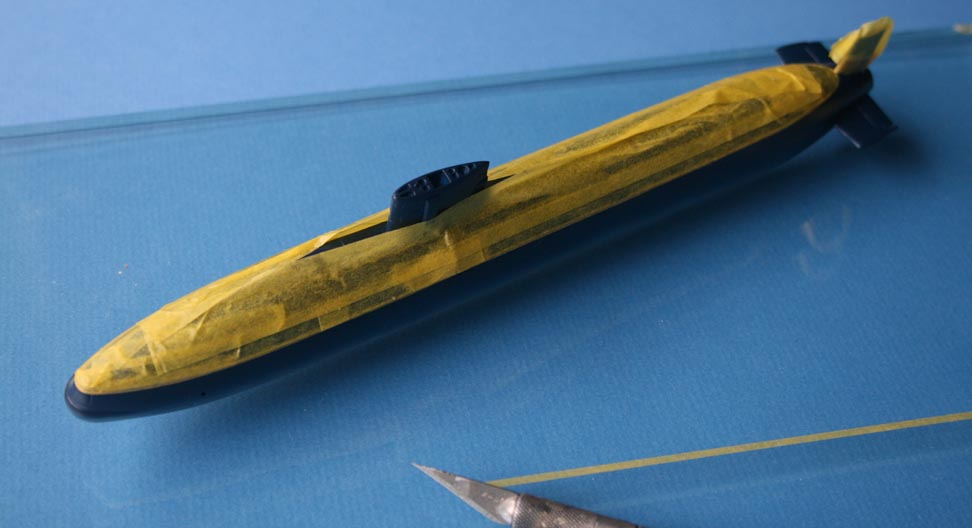
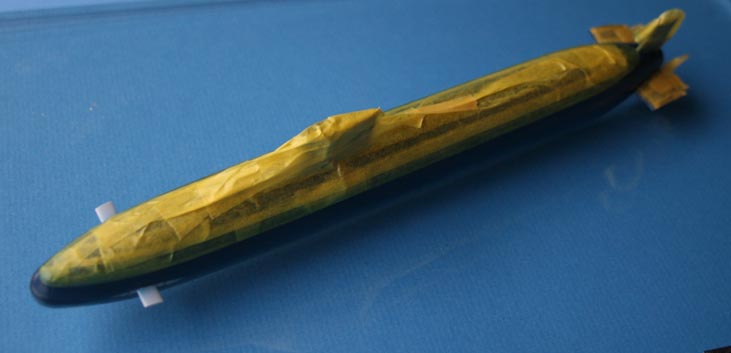
On Torbay, the very forward demarcation point was my reference for the entire "waterline" based on one photo, so I started there. I never found anything that showed the precise ending point on the stern, so I arbitrarily made it the base of the rear fin. Because of the compound curve, initially only a small portion of the tape was touching the plastic, making it more of a challenge to keep it from moving as I pulled on it to keep it tight and following the track I wanted it too. As you pull it "in" to get it to curve, you tend to pull on it such that it slides "in" and away from where you put it.
The black below was sprayed in three coats, and other than an area on the bow where some paint pulled off (it pulled off the primer too, meaning I must have not cleaned well in that spot) there were no flaws; no creaps or jumps in the line where i hadn't lined up correctly. Just one blue submarine and one wad of tape suitable for balling up to throw at the cat for entertainment.
On to the planks!
Another useful ability with the airbrush is to simulate wooden deck planking. There are slight differences in tone that can appear and I, personally, like the look of a deck that's not completely uniform in color. This technique original came to my attention from another modeler with a fine last name; Rusty White of Flagship models. The first exposure I had was through an issue of Fine Scale Modeler, but there is a similar explanation available on SteelNavy
The basic idea is to paint some contrasting colors first, and then overspray them with a thin coat of a final color in such a way as to vary the color tone a wee bit between planks. For our demonstration I've chosen the Verlinden 1/200th CSS Atlanta as it has HUGE planks, perfect for demonstration purposes. They also vary in width, so rather than measuring and cutting a bunch out to size first, I laid pieces down and cut them out using the planks as a guide.
We start with our primered model and a coat of dark brown. Once that is sprayed and dried, cut and place pieces of tape in a semi-random pattern. I typically spray about three colors before the final coat, so I try and roughly cover a third of the deck with each color. After the first round of tape comes the second color, I chose a light tan, but it actually doesn't matter as much as long as you have good contrasts between the colors. In fact, to prove that point, for the third color, I chose aircraft gray.
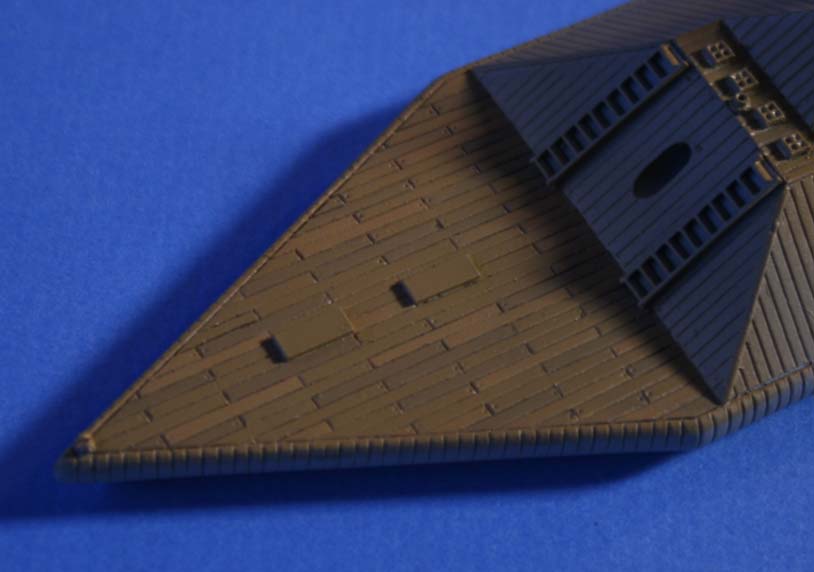
It's rather garish once you have all the tape pulled off, as you can see, but that's precisely what we need, because we're going to paint over it and we need for those differences to hang on a bit as we cover them with a thinner than normal for most of you coat. I tend to spray thin coats anyway, so I don't have what I'd consider a formula for how thin it should be, just that it should be of the right consistency that you can lay down even looking coats. So, below we have the first "coat," which is really me spraying one coat along the planks, then perpendicular to them, to give a more even covering. I leave the stern uncovered at first, so you can compare and see how the look changes with each subsequent coating. Finally, after our second coat, I think we're close, so I add a third, and then apply three similar coats to the casemate deck and stern deck.
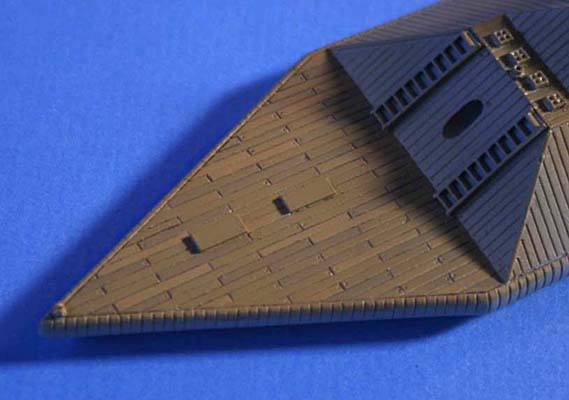
And finally, a close-up of the bow to show you that yes, you can still see the planks, but now you have slight differences between them that can really add some life to a deck. It's up to the modeler at this point whether or not they want to apply a wash into the deck plank recesses to make them pop out more, but given the over-sized nature of these planks, I'm inclined to leave them alone and not emphasize that fact too much.
Conclusion
I hope you don't feel like we sucker-punched you with a masking article! But, as you can see, ship models tend to require masking here and there due to their smaller scale and lack of feathered paint in real life. But given a little practice and patience, it's not difficult to step beyond brush painting of ships.. leave that for the deck apes!

