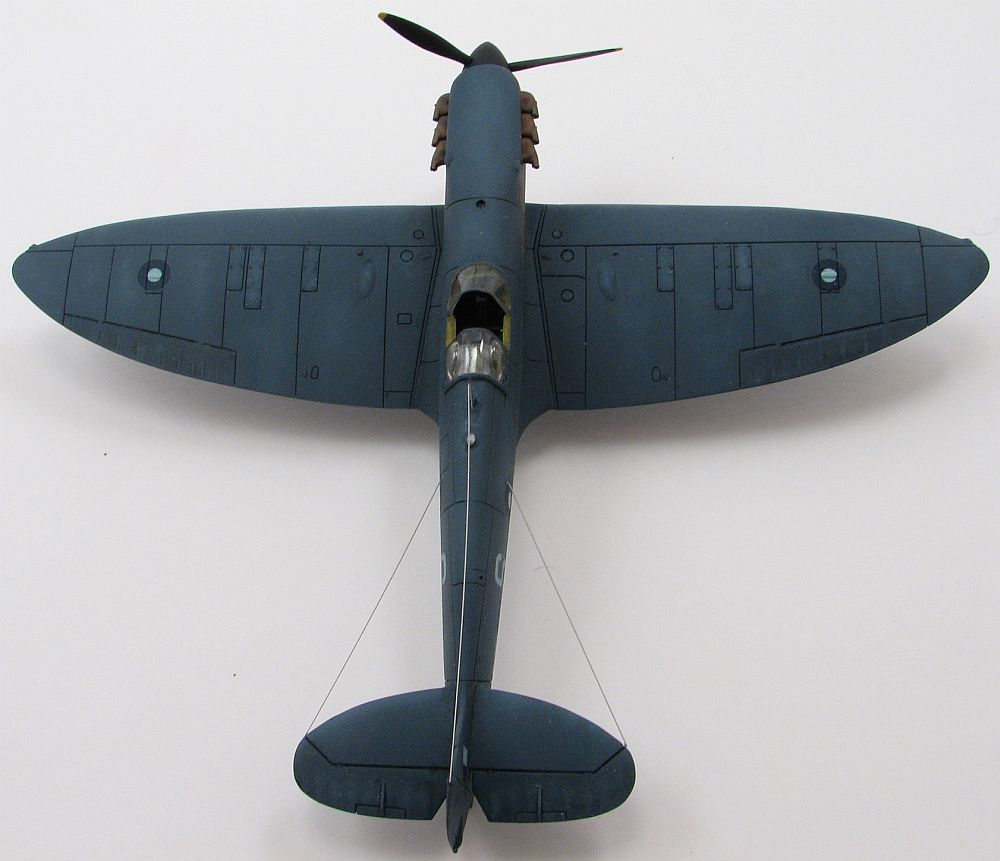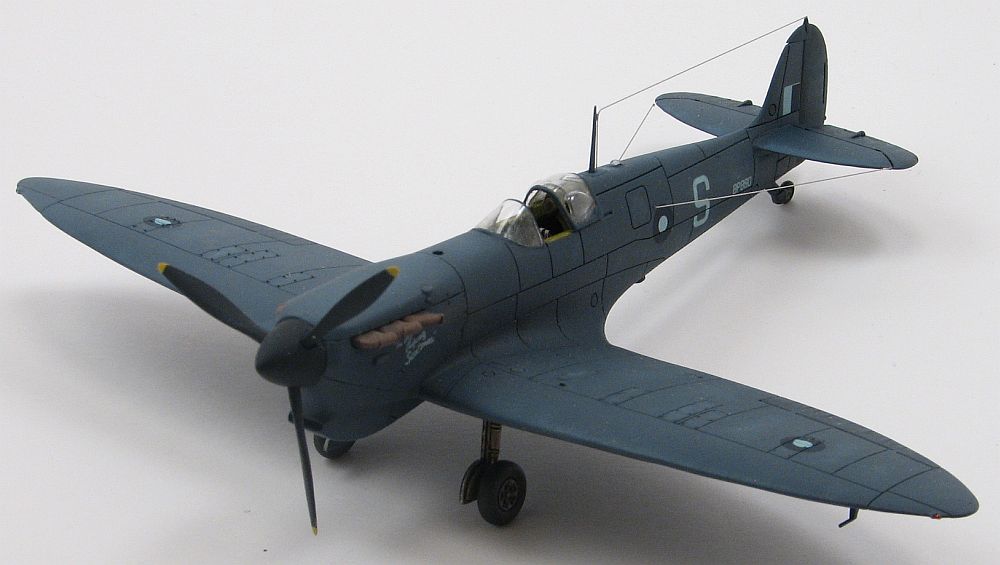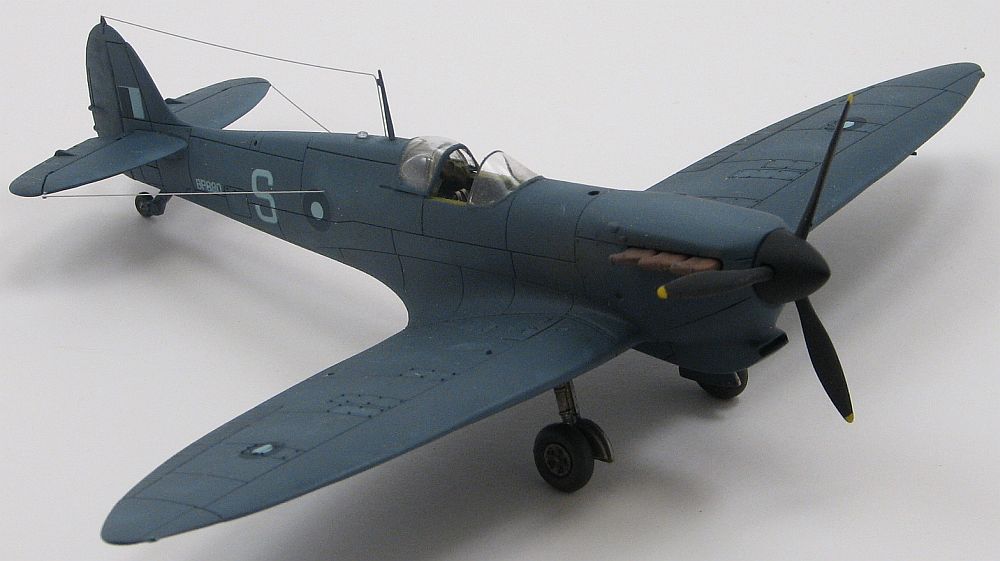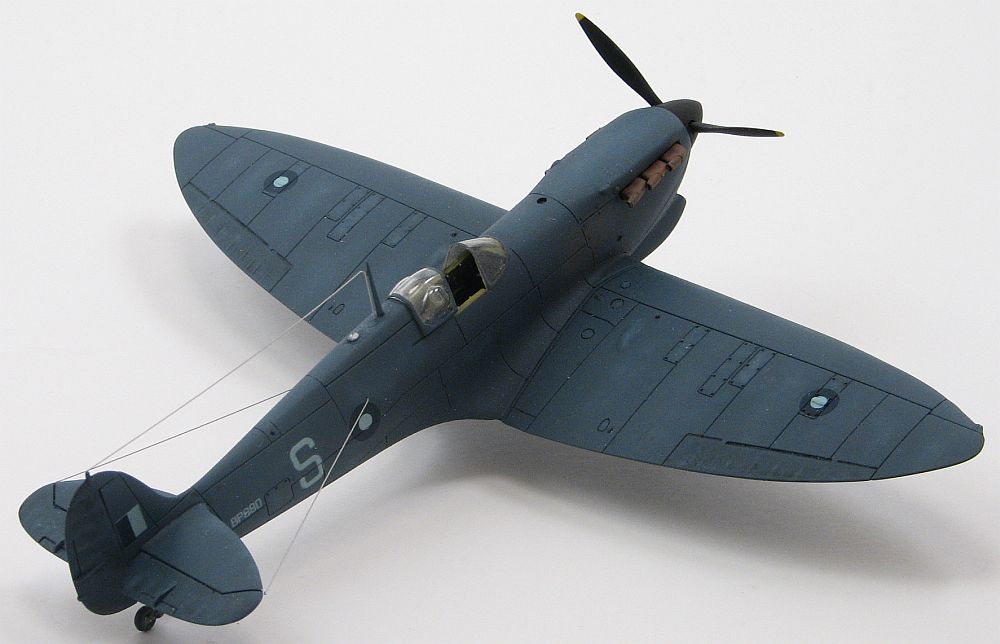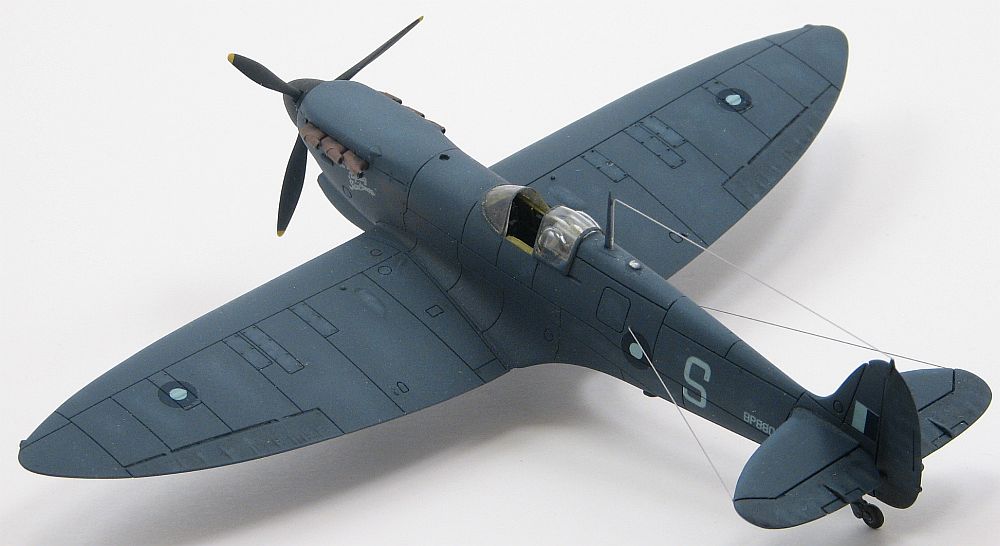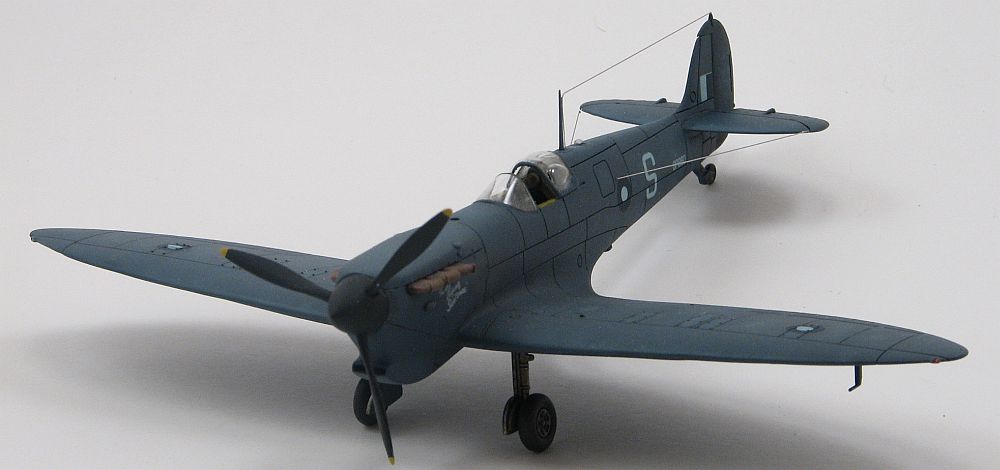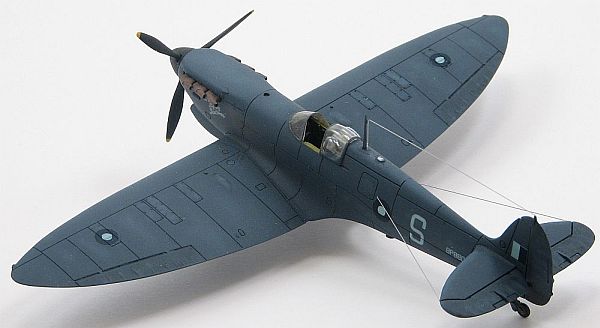
Converting Airfix's 1/72 Spitfire to a PR Mk.IV
By Matt Bittner
Introduction
One of the best new releases in the last couple of years is the Airfix 1/72 Spitfire Mk.Ia new-tool. Sure, there are issues with the kit - namely the panel lines - but to date, this is the most accurate injected plastic Mk.I/II Spitfire in 1/72. Because of this - and its low cost when compared to other kits - the kit lends itself to numerous conversions.
The first conversion on the street was the 3D-Kits Mk.II conversion. Little did we know at the time the "straight" Mk.I was released that Airfix would follow up with their own Mk.II. After the 3D-Kits conversion were a number of conversions by Pavla, nearly all aimed at the Photo Reconnaissance (PR) versions, and there are a number of them.The easiest conversion one can make with the Airfix kit is the PR Mk.Ia conversion. This was just a straight Mk.I with cameras added to the underside of the wings. After that the actual PR versions were more robust.
Construction
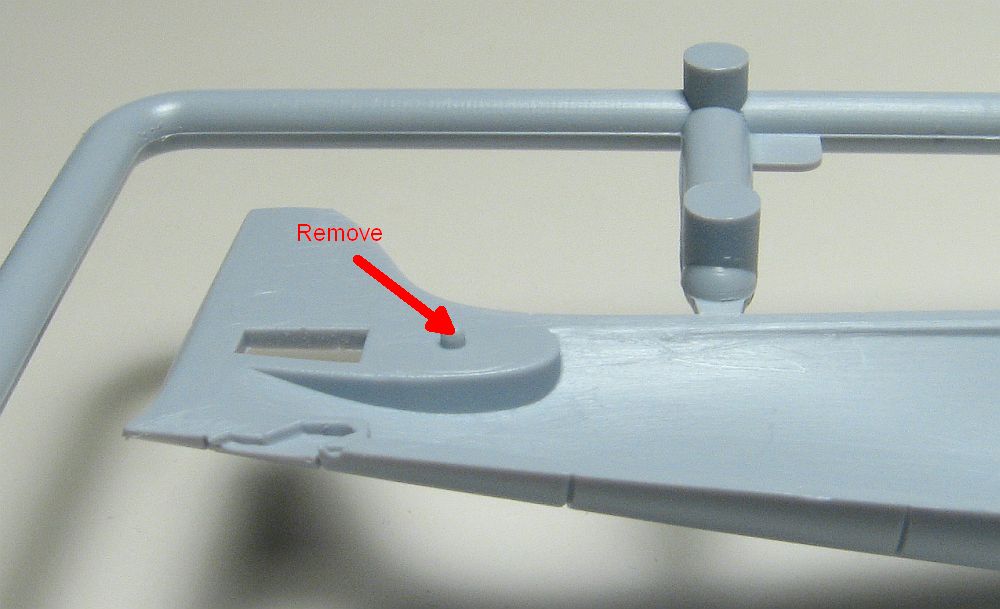
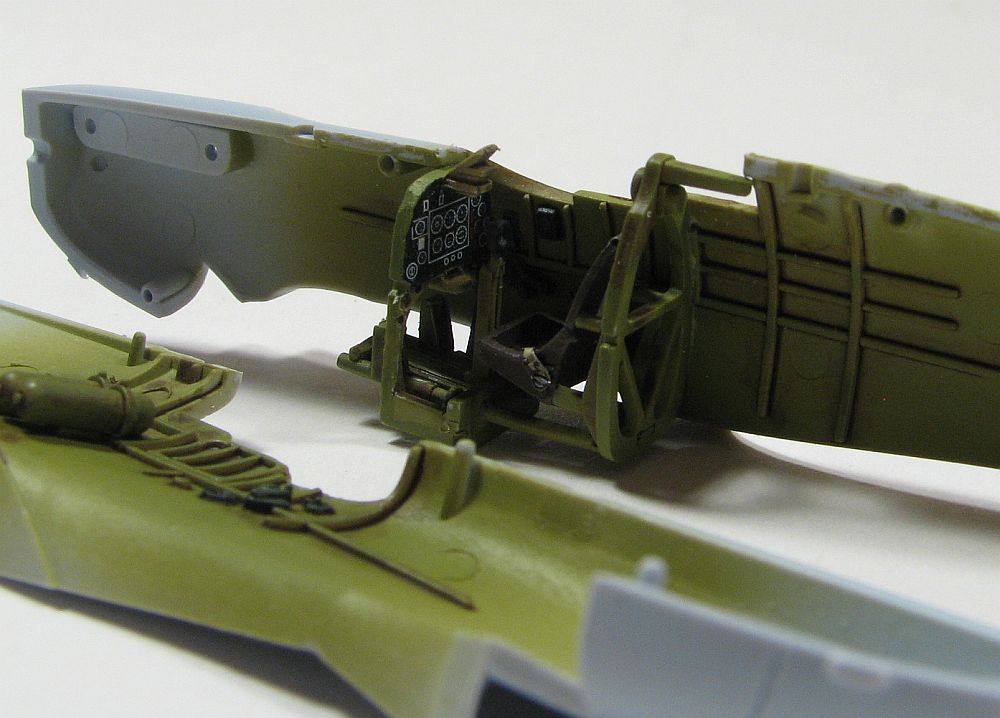
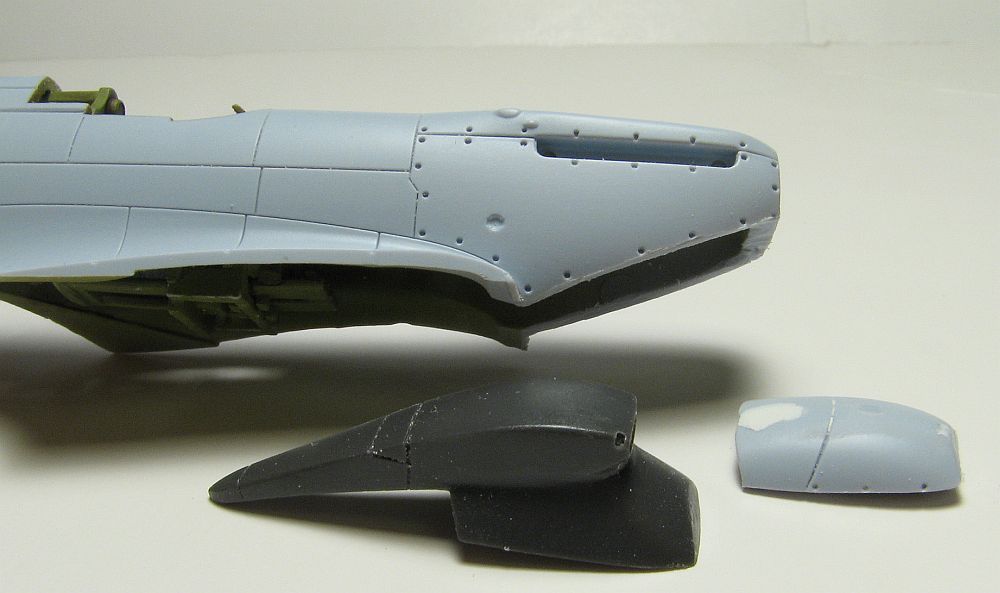
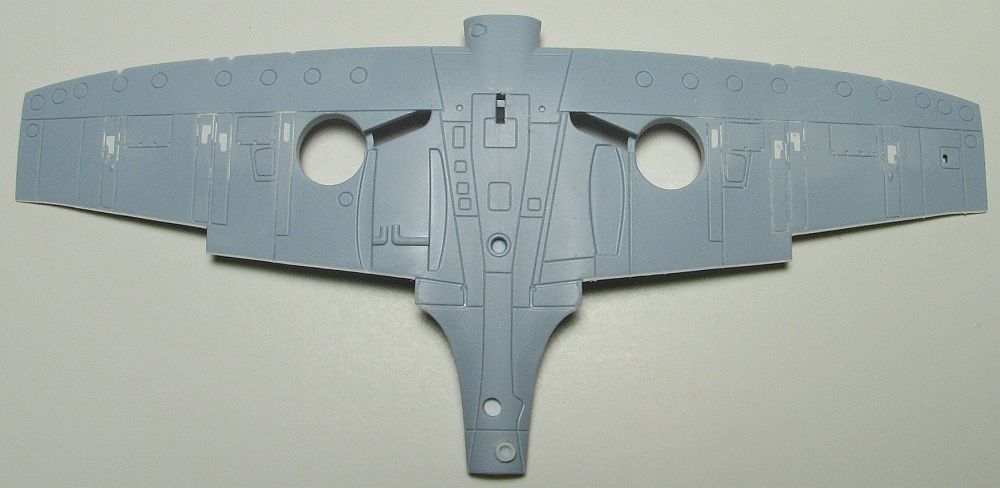
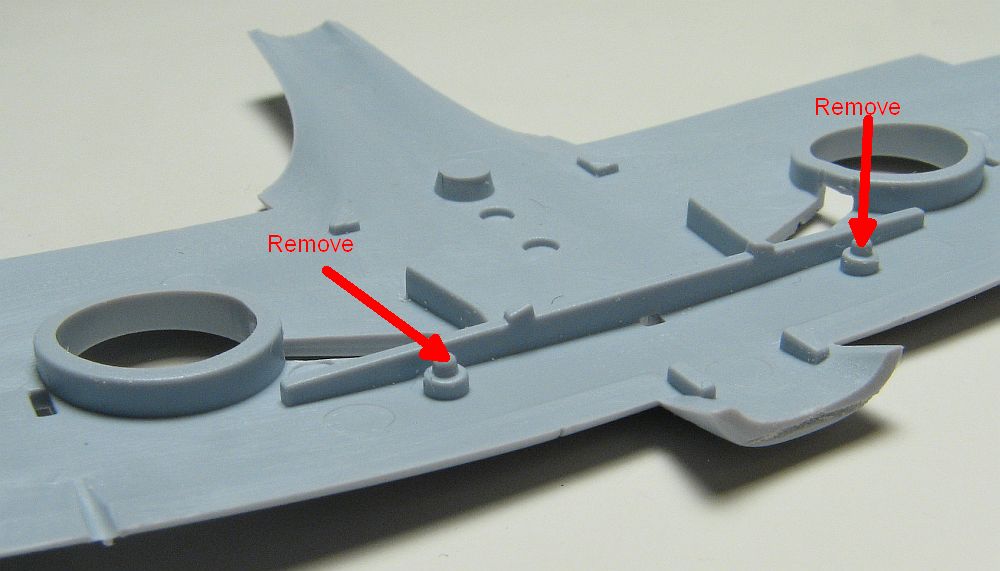
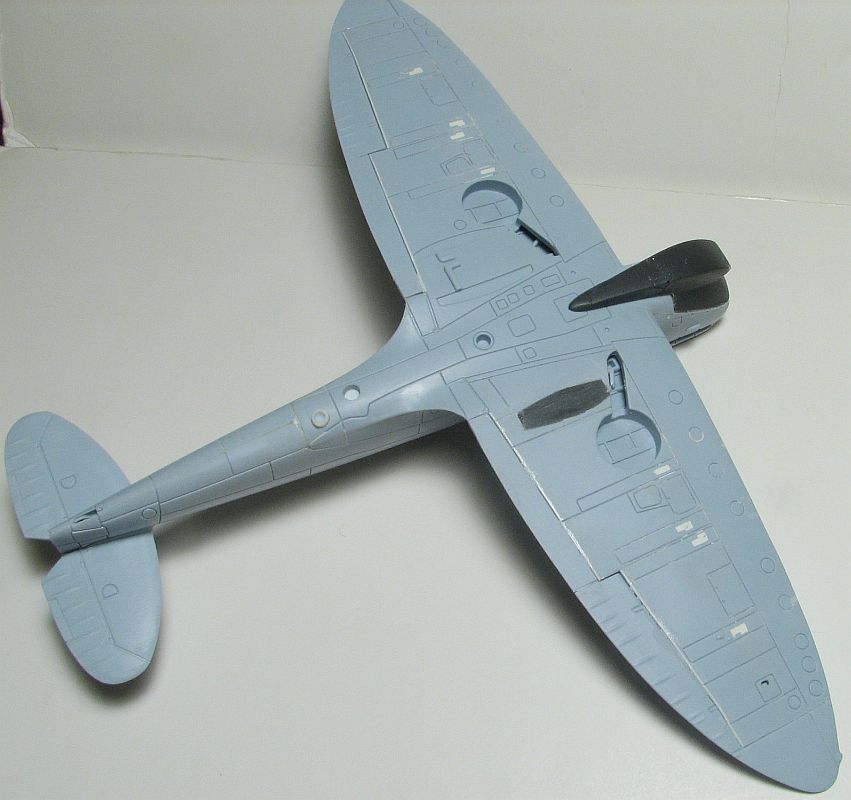
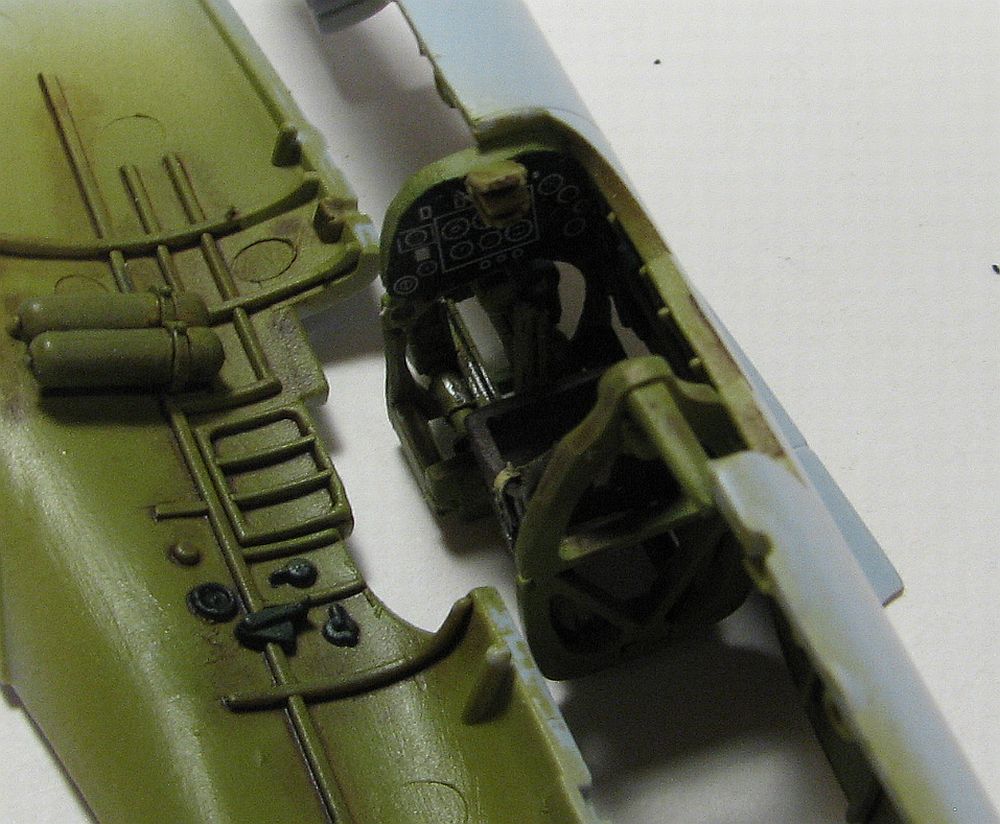
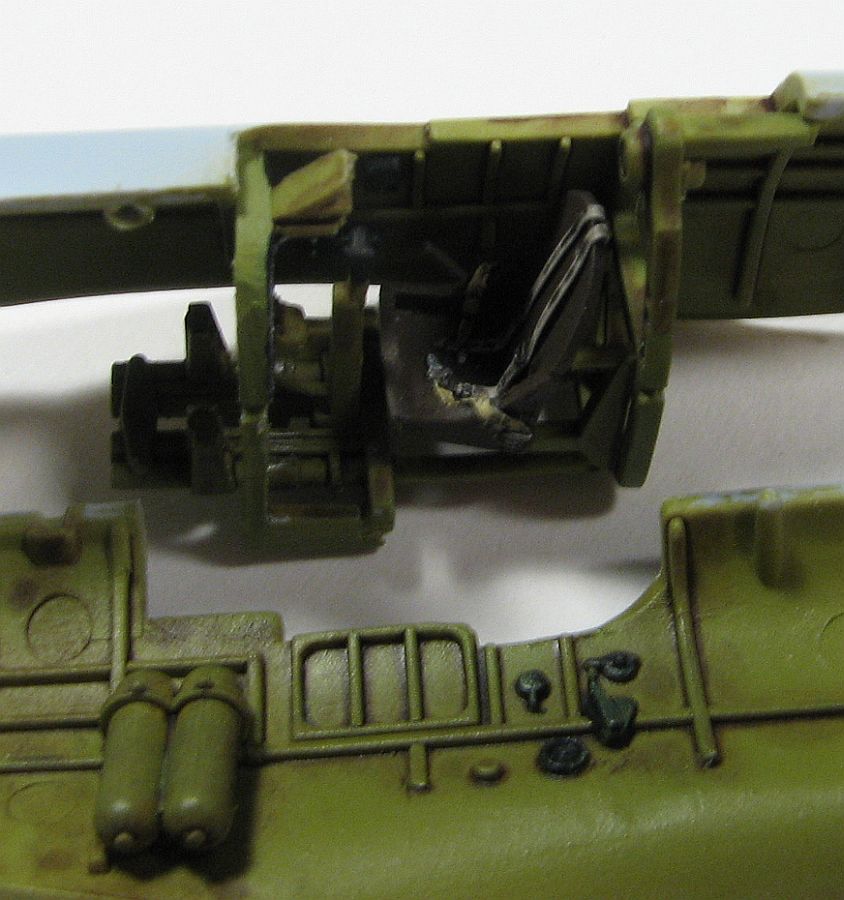
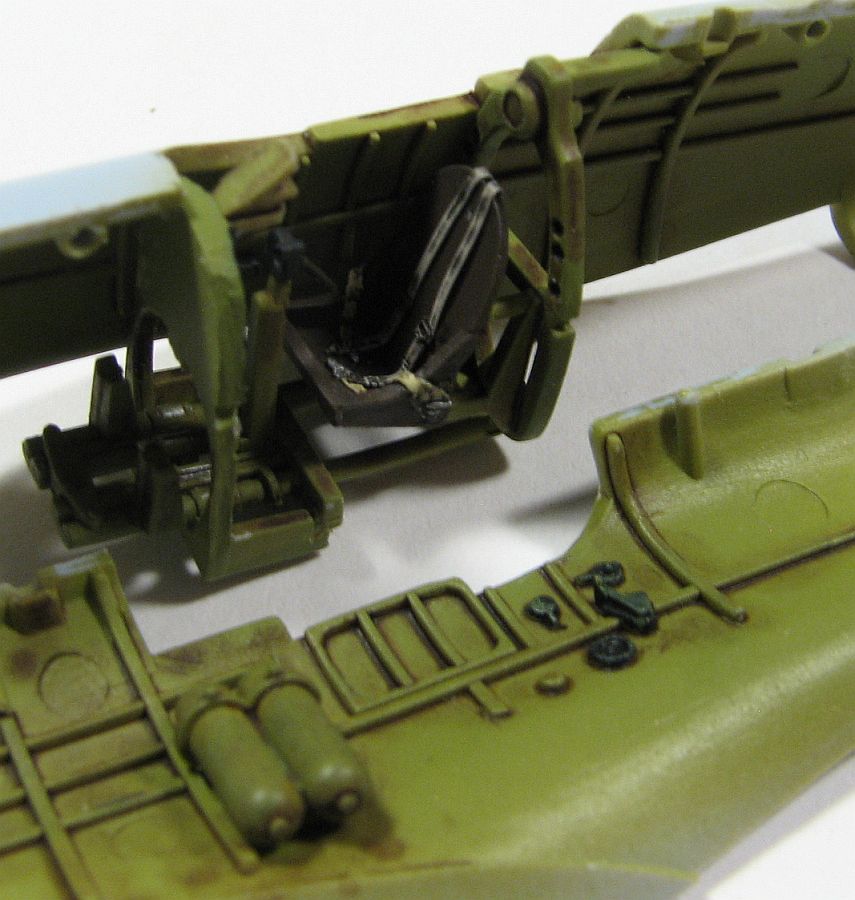
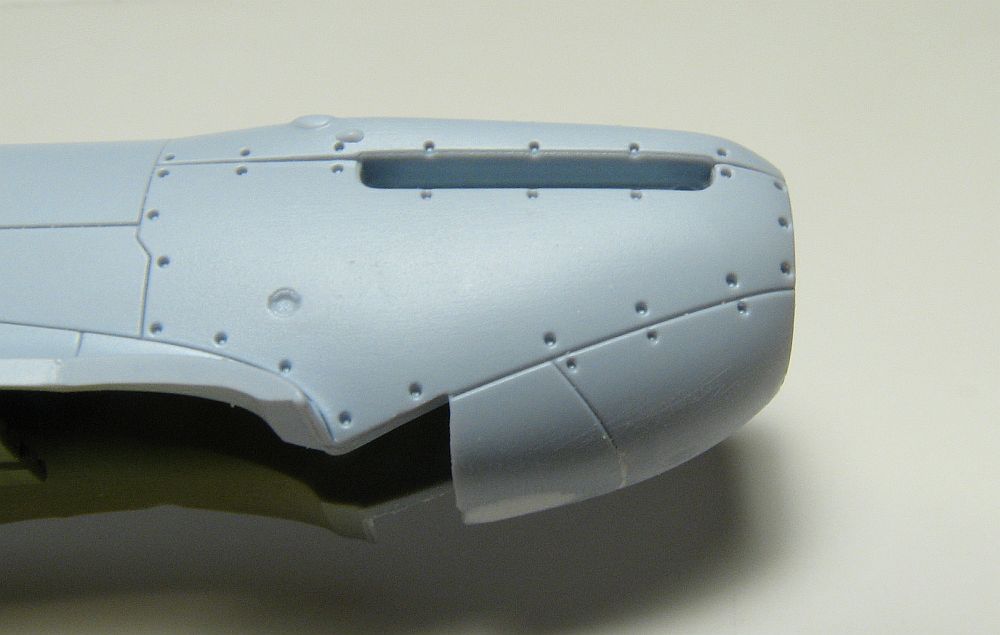
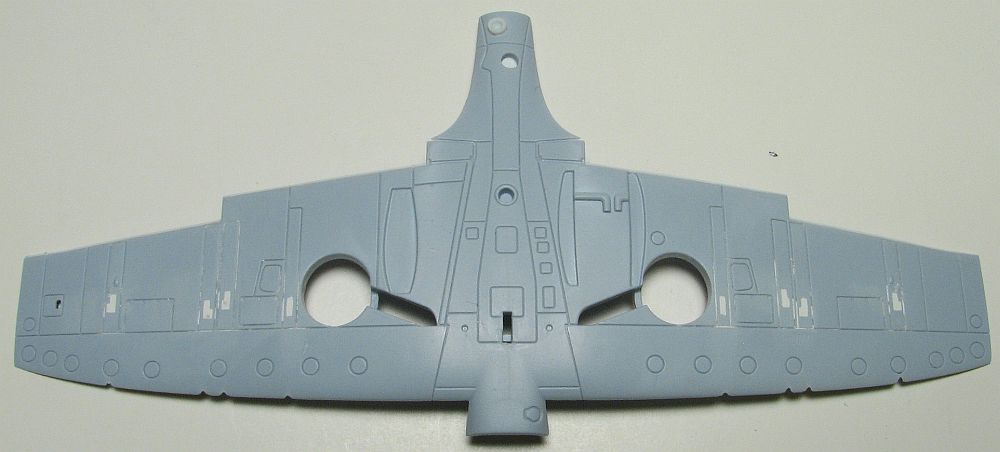
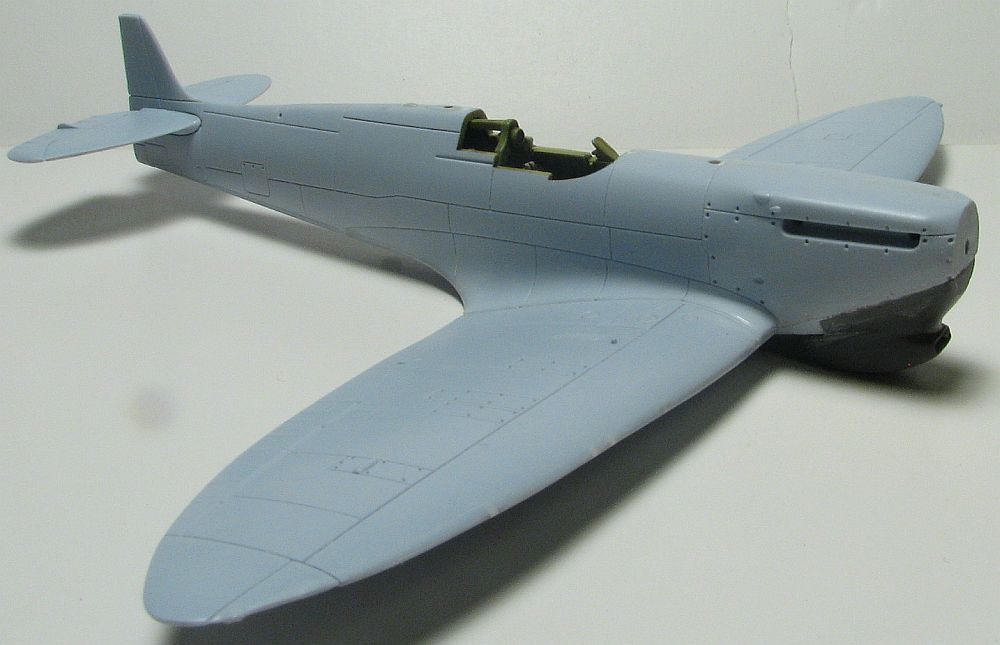
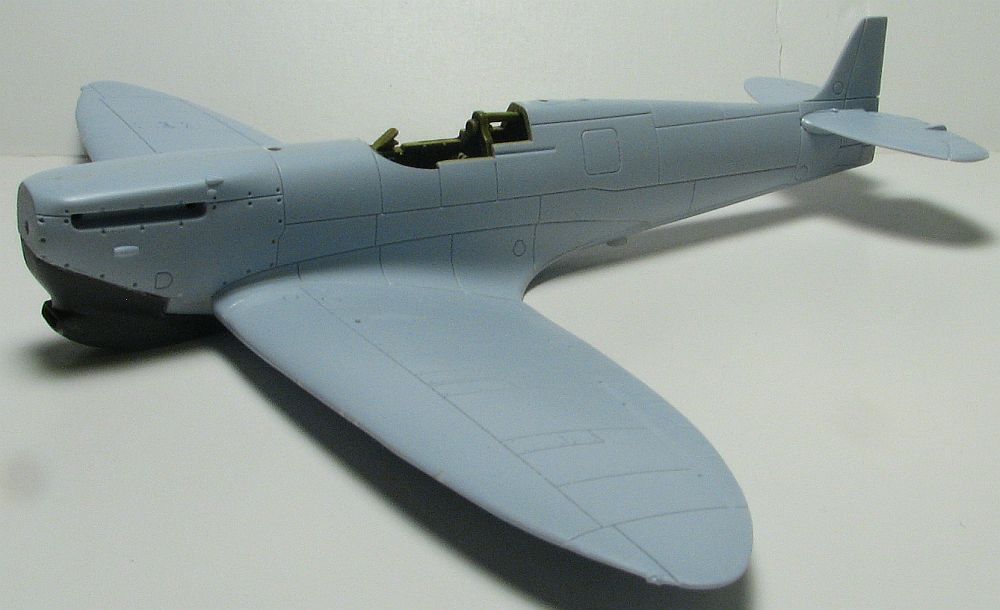
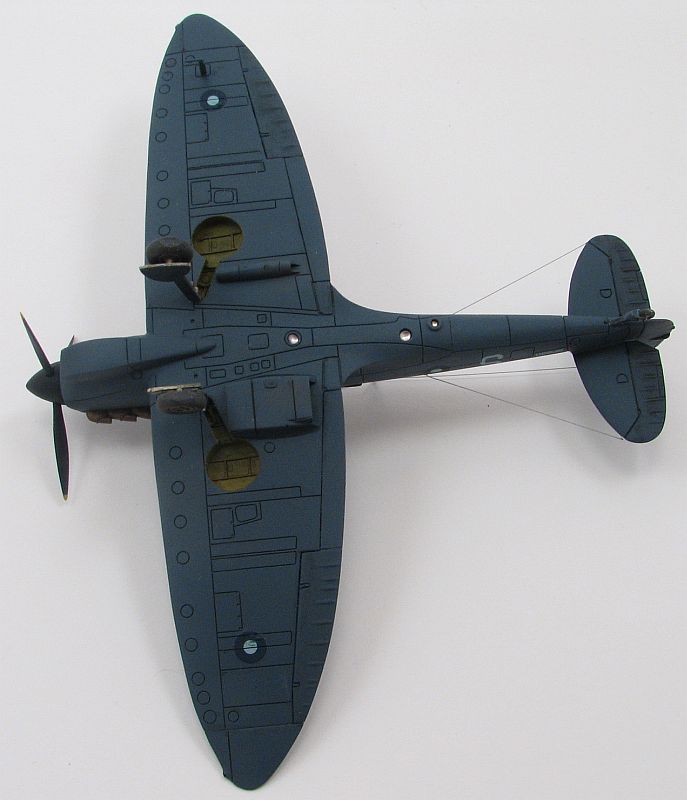
Building the Airfix 1/72 Spitfire Mk.Ia is not difficult at all. Before you start, though, I found it best to remove the mounting peg in the port fuselage - part A17 - back by the rudder. It will help to align the fuselage halves if this peg is cut off. For the most part I used all the cockpit parts that were provided in the kit, except for the seat. This was a provision in the Pavla conversion set. I painted all parts before assembly, this time with Polly Scale RLM 67 German Dark Olive. I wanted to use a paint I already had and thought this one was "close enough". By the time I did a dark brown oil wash followed by a highlighting with lightened RLM 67, I thought it looked "close enough". I used Eduard's WW2 RAF pre-colored seat belts since there are none with the kit. Now the cockpit was glued into a fuselage half - along with the separate oxygen bottles - and the halves assembled. I had decided not to glue the prop and spinner on now, since that would just make the rest of assembly difficult. It was here the conversion actually started. I cut off the bottom of the kit's nose off, preparing it for the Pavla replacement piece. If you cut on the molded-in panel line there there are no problems and with the right amount of dry fitting you can get the replacement nose on with little putty. I did use some, though, but that was just to smooth things out. It was also at this time I decided to do something about the over-pronounced fastener holes on the nose. I used Apoxie to fill them in, then wiped them with a damp rag to level them off. It worked perfectly - the rag was both stiff enough (but not too stiff) to actually remove just a little of the putty from the holes, leaving a much better representation of those fasteners. Now it was time to work on the wing. Since this was a PR version, and most PRs flew without armament, I had to first fill in the spent ammo holes on the bottom of the wing. I did this by first gluing on sheet plastic on the inside of the wing, then filling the holes with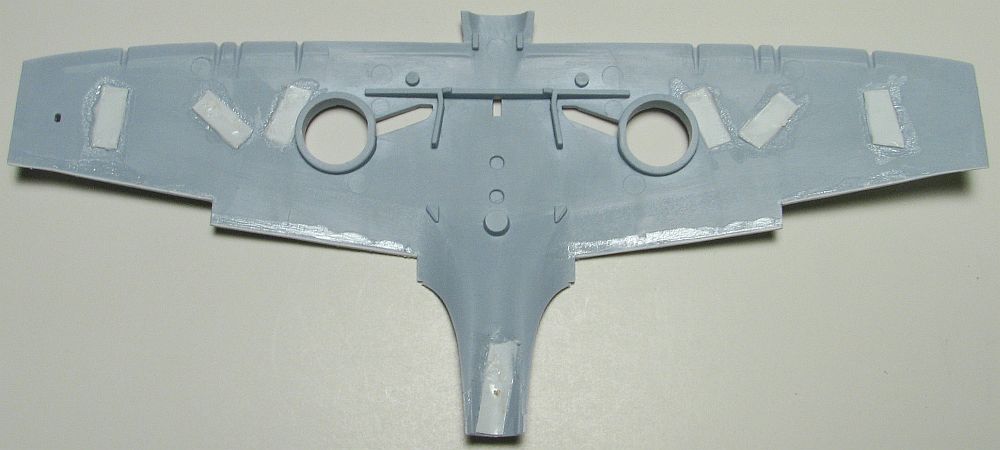 Apoxie. This took a couple of Apoxie rounds, just to get them flush. There was also a little bit of "surgery" that needed to be done so the wing halves would assemble better. There is a mounting peg on the inside of the lower wing which is to be placed in the receiving hole in the upper wing parts. However, I found this peg to get in the way of assembly, so I snipped them off. The wings went together so much better that way. At this point I also drilled out the holes for the cameras and also put plastic on the inside for the lens later.
I also went a little farther with some wing surgery. I thought the "panel lines" that represent the control surfaces were much too wide and deep on the wings' underside so I packed out the edges of the lower wing - which were to meet the upper wing - with sheet plastic. This took a little more time and effort but in the end, worked. However, next time I won't do that, instead I'll opt for the Apoxie method. Now I glued the wing pieces together (on another Airfix Spitfire model I first glued the lower wing to the fuselage followed by both upper wing halves, which didn't work as well - more on this when I finish that other Spitfire). Since the wings were now glued together I could fill in the holes for the guns. I did this by inserting round sprue into the holes and snipping and sanding them off. A couple needed a little more work which I accomplished with thick CA.
Now it was time to glue the wing assembly to the assembled fuselage halves. This went without a hitch and the seam was so tight I didn't need any filler at all in this area. Nice! Once the wing was on and set, then it was time to add the second part of the Pavla set, which was a replacement for the underside oil cooler. I'm still not convinced of the need for the Pavla part, but once on it did look good.
The horizontal tail surfaces were now glued on and with my model, these were the worst fitting, requiring more Apoxie than any other surface. But even so, when you use water to take off most of the putty there isn't as much of a problem.
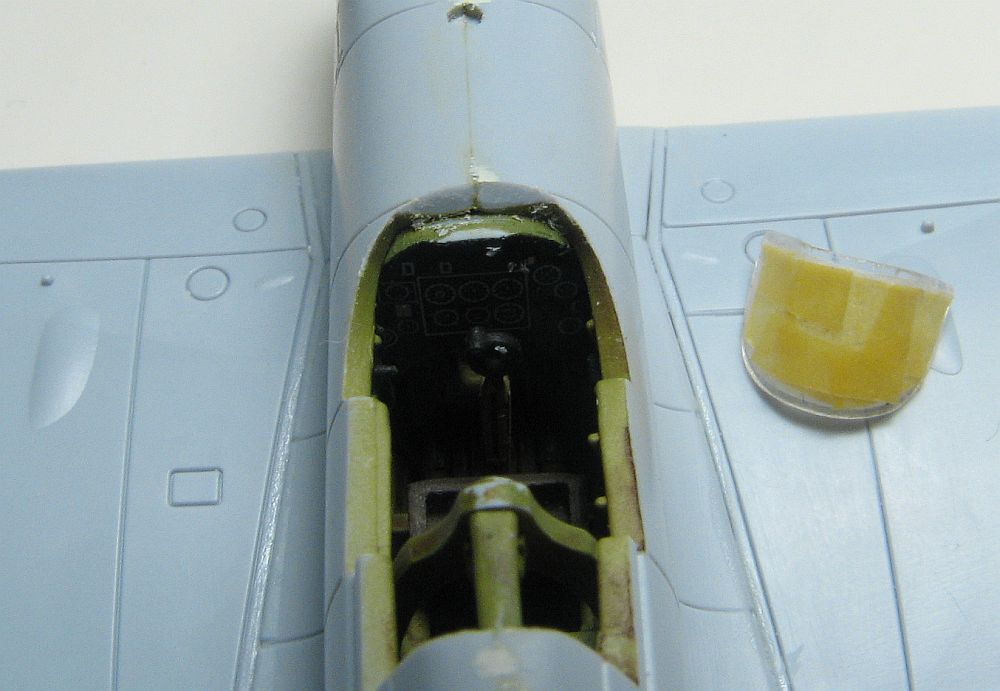
To help protect the cockpit I started work on the vacuform canopy replacements. This area was difficult for me, and I ruined one set of canopies before finishing up the second set. Unfortunately these too had issues, like "spider lines" I put in by flexing the pieces too much. Next time I will pack the inside of the clear pieces with something like clay to stop this from happening.It also doesn't help the Pavla pieces don't quite fit. Both the windscreen and the rear piece needed to be "pulled out" to fit the openings, the worst being the rear piece. In fact, the I had to leave a little more plastic on the rear piece because when you stretch the piece out, then it comes out too short and doesn't meet the top of the fuselage. Thankfully the canopy worked well with no modifications or "stretching".
Painting
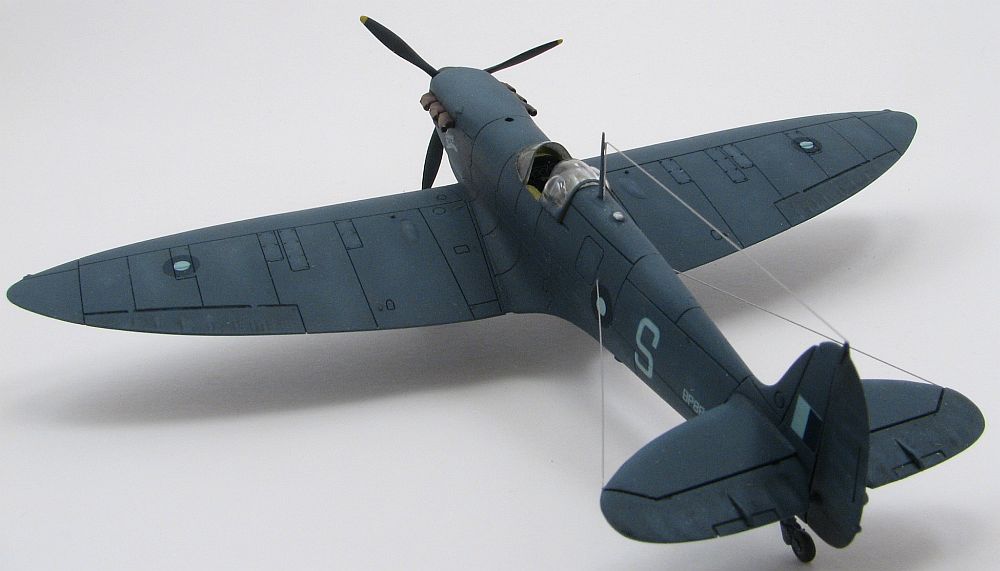
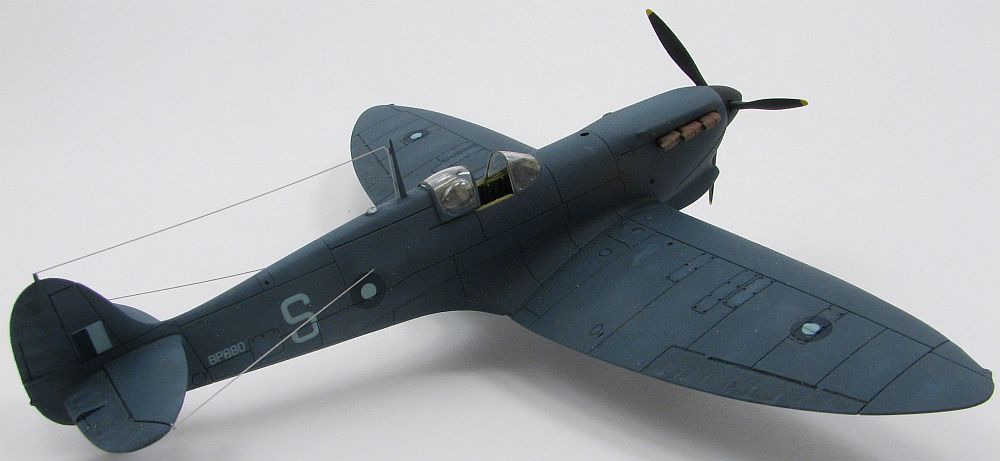
Since I wanted to use the Model Alliance decals for this build I opted for "The Flying Dutchman" in its Dark Blue color. Since I don't have any other Spitfire references, I followed the Model Alliance instructions to finish the model, even though there is some discussion regarding the accuracy of that information.Since I didn't have anything that resemebled what I thought the blue would look like I mixed my own from Polly Scale paints. Once the whole model was painted and dried, I then added some lightened paint to my airbrush and sprayed the inside of some of the panels to "lighten them up". Now it was time for Future and after spraying I let it dry a couple of days.
Now it was time to put on the Model Alliance decals and these were a dream. If you follow their instructions and only use Micro Sol, then these decals work extremely well and snuggle down nicely. After the decals were on and dry, then I sprayed another coat of Future over those.Because the model has deep panel lines I didn't want to use a straight black oil wash to use inside them, instead adding some blue to give a dark blue wash. I did use black in the control surface lines, though. I also used the dark blue wash to give some more depth to the fabric control surfaces.
I sprayed the landing gear Hawkeye Talon Aluminum but kept the insides the interior green. I could be wrong, but at least it's finished. The Pavla resin wheels were sprayed with "scale black" (right, Diego?) for the tires and the Talon Aluminum for the hubs. These were then glued to the landing gear prior to finishing with the Xtracrylix dull coat. I replaced the kit antenna mast with a thinner, more realistic version, and used .005 stainless steel wire for the antenna wires.The model was now sprayed with the Xtracrylix dull overcoat and then I applied some pastel chalk for final weathering.
The Eduard photoetch set for the Airfix kit contains "holes" on the edges so you can create your own lights. So, I used some of the clear sprue from the kit and after warming it by a candle pushed it through one of the "holes" to give me the clear light on the fuselage spine. So now that the model was finished, the "light" was glued to the fuselage spine. For all the clear pieces on the bottom - landing light and cameras - I used MV Lenses, which I think look really great.Conclusion
By itself the Airfix 1/72 Spitfire Mk.Ia is an excellent kit that builds up quickly and really looks like a Spitfire, even with the questionable panel lines. But when you couple the kit with a number of conversions, you can create some very unique marks of Spitfire to add to your collection. The PR Mk.IV is one of them.
My thanks to Pavla for the conversion set, Eduard for the photoetch seat belts, Hawkeye's Hobbies for the Talon Aluminum paint and The Aviation Workshop for the Model Alliance decals.

