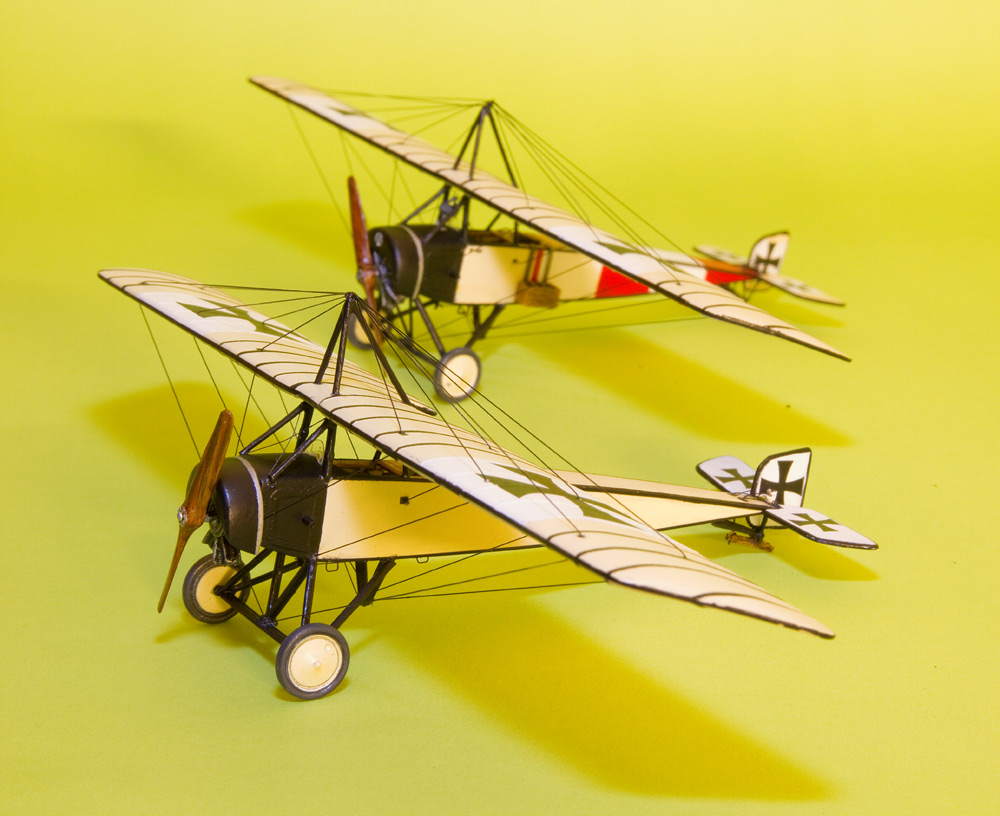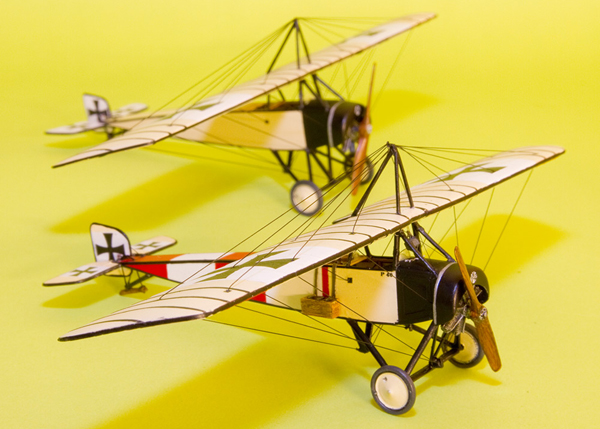
2 Pfalzes are better than 1, but it takes a while longer....
By Pedro Nuno Soares
It’s been a while (just looked and it’s over one full year…) since I first looked into AZ Models Pfalz A/E Morane Parasol kit family for your favorite scale modeling e-zine. At the time I confided that I was going to build one or two and that I’d share my building experience here on these pages. So, to prove that a modeler’s word is as good as his/her knife here’s a brief report on building a AI /AII pair of AZ Pfalzes.
Choices...
Having set my mind on building one of the very colorful Pfalz AIs that took part in a bombing raid against Italian forces I was leaning towards using the Brazilian decals on the Morane kit for my second model, but I could not find any pictures that would substantiate the use of Brazilian markings on a Parasol (the only picture I found showed no markings on the wing, and there were a lot of people in front of the fuselage, making it impossible to see if there were any markings there either). In the end I settled for another German machine, this time an AII.
Let the fun begin...
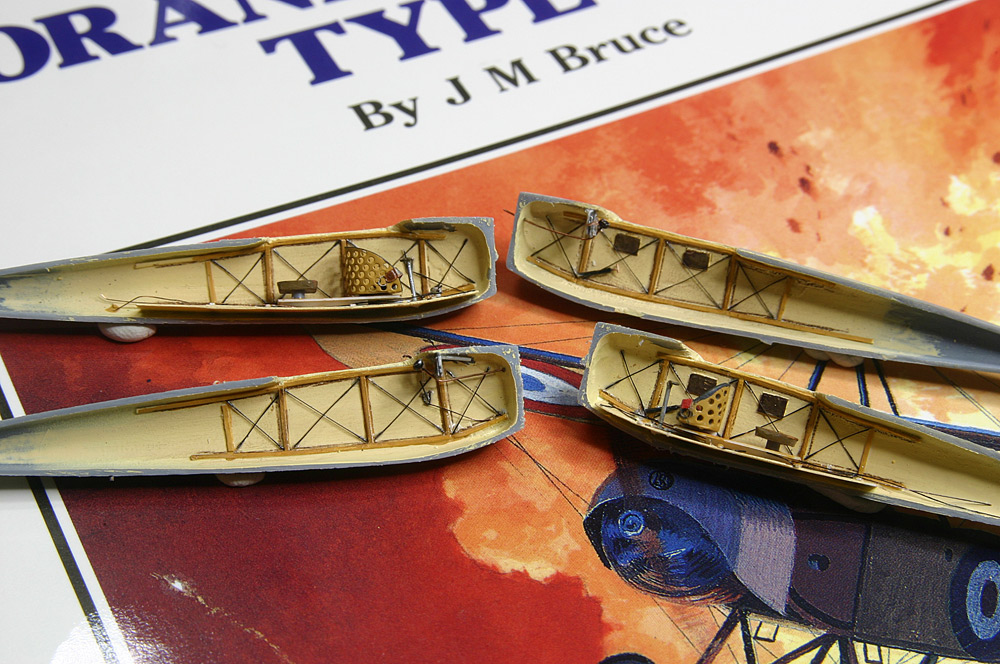
Since both models I'd be doing were of two-seaters, construction started with a bit of surgery to the fuselage halves of the kits in order to enlarge the cockpit opening that comes molded in single seater shape.
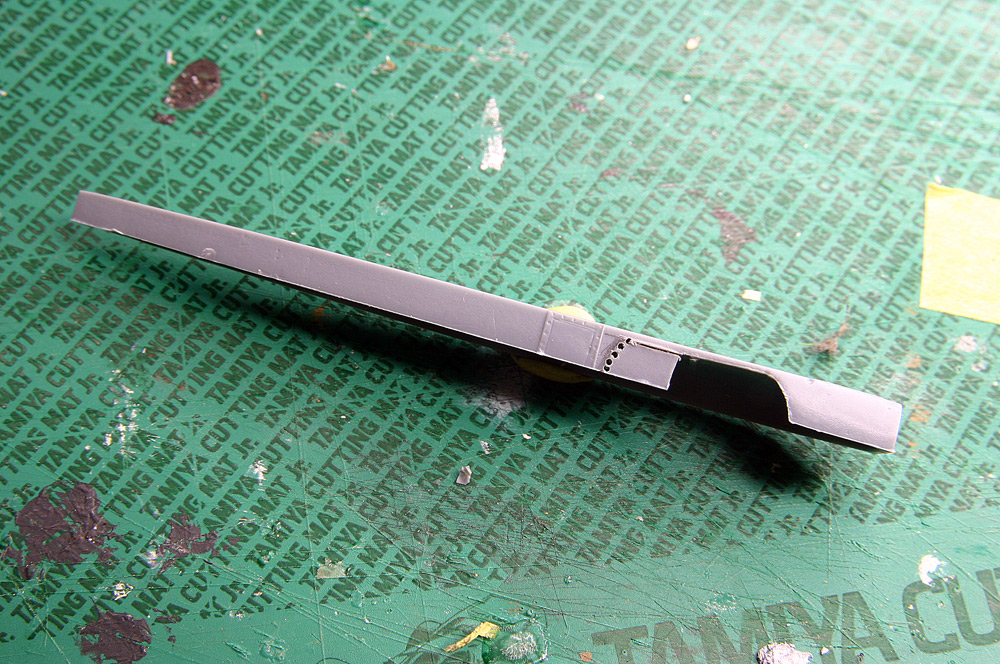
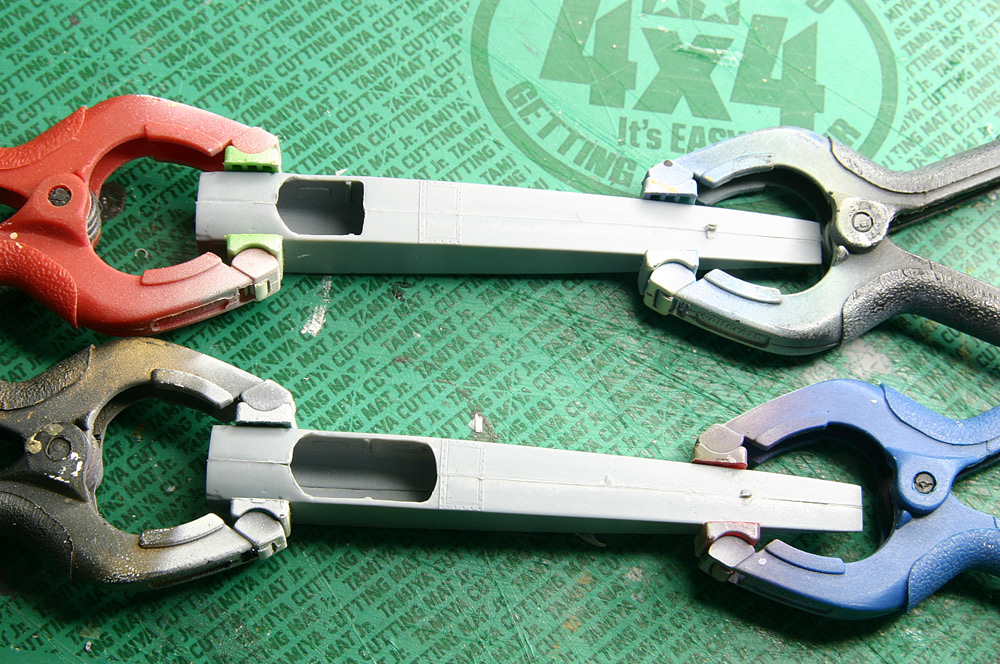
Given that the Pfalz was but a carbon copy of the Morane, and given that the Datafile on the Parasol has a very good picture of a skinless aircraft showing a lot of cockpit details, I used this shot as a guide and tried to replicate a good deal of the equipment installed inside the pilot’s and observer’s offices. All of this was assembled from bits and pieces of wire and sprue, the only concession to PE goodies being a seat and seat belt (Part for the former and Eduard for the latter, to be more precise).
The inside was painted Clear Doped Linen (CDL) with the evergreen structure members getting a coat of sand paint in preparation for a couple of passes from the tip of a brown watercolour pencil. The cross bracing stiffeners as well as the control cables were recreated with very thin copper wire painted black with a permanent marker.
Declaring that work on the cockpit was finished, the fuselages were closed and I turned my mind to the task of painting both aircraft.
Airbrush is GO!
In my modeling book, having a model with white and red areas, means undercoating in white, so Titan semi-gloss enamel was applied to the AI fuselage and areas of the wing that were later to show red and white stripes, and also, on both sets of wings, to where the black cross decals would later be applied.
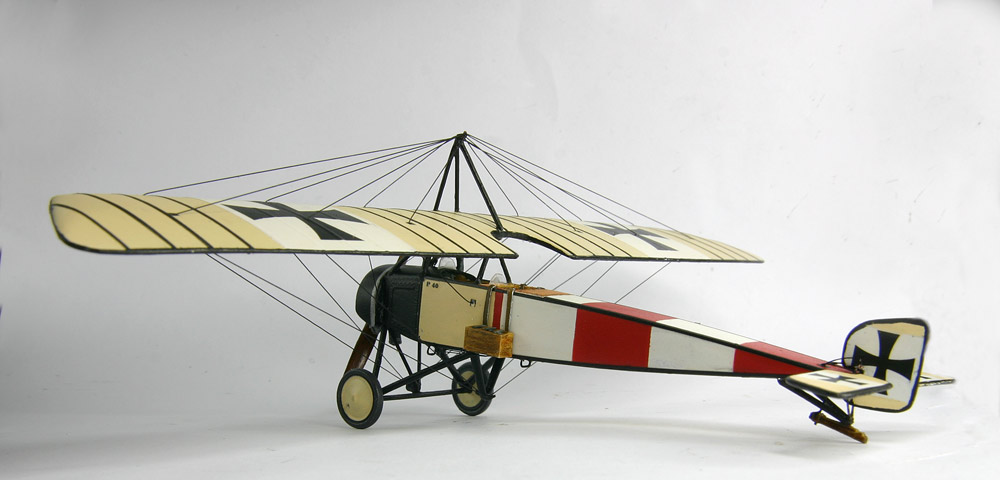
The fuselage and one wing were carefully masked with masking tape and the red stripes were added, this time in Robbialac SMP enamel.
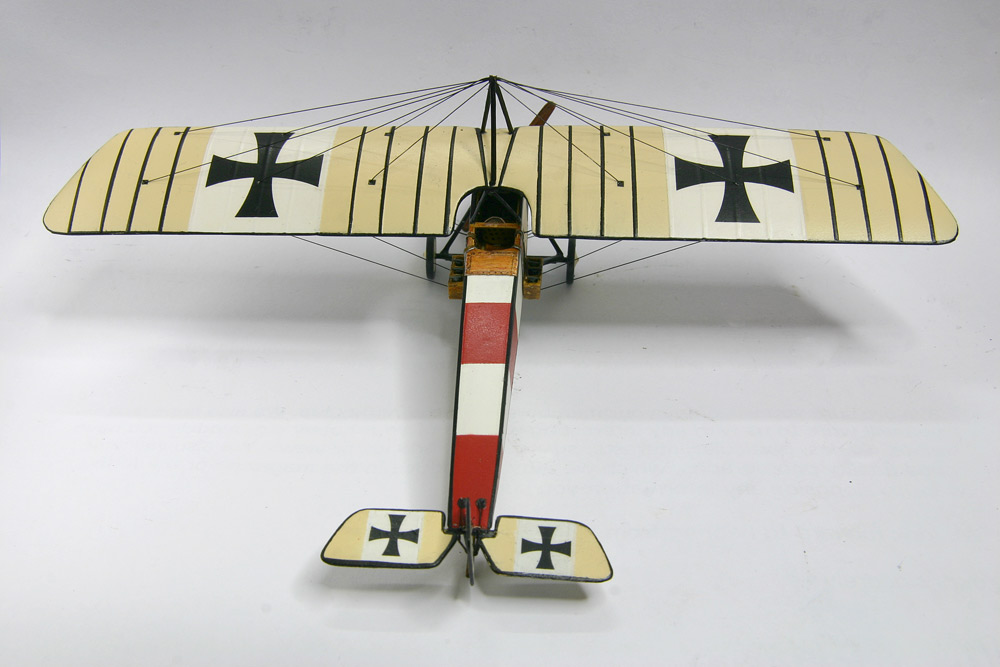
CDL (Titan semi gloss cream) was then sparyed to the remainder of the fuselage and wings.
A feature of the Pfalz were the presumably black reinforcing tapes that covered each rib station. To replicate this I carefully masked the wing and sprayed some Titan semi-gloss black paint (the same paint I used on the front fuselage and cowling). Since the black tape also went all around the edges of the wing, I also sprayed a piece of clear decal sheet, from which thin black stripes were later cut and applied to the edges of the wings.
Back to the glue pot
The subsequent task was to install the cabanes in preparation for attaching the wing. To ensure the success of this operation I recommend that the locating holes for the inverted Vs that go on the sides of the fuselage in front of the cockpit are enhanced by lightly drilling them with a bit of suitable diameter, and that the other inverted V whose “arms” are meant to be glued onto the fuselage sides is strengthened by inserting thin wire pins into the base of the arms. This shall then be inserted into matching holes to be drilled into the sides of the fuselage. A couple of tiny drops of CA is all that is needed to ensure a strong and positive bond for all struts into their correct locations.
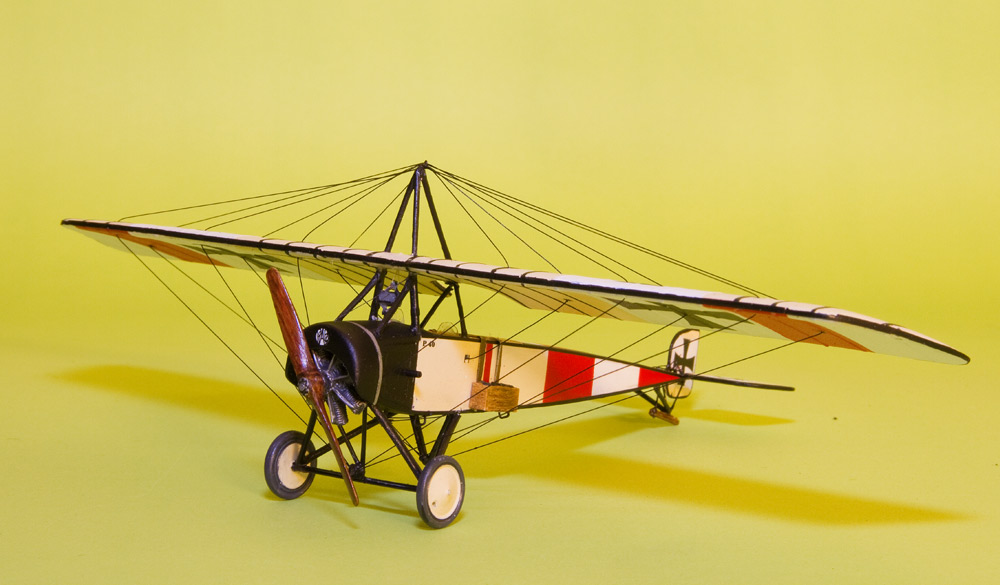
The rear control surfaces (I ended up cutting new rudders from sheet plastic, because the shape of the kit provided items was not in accordance with the plans on the FMP book I was using as my main reference) were also painted at this stage, and the black lining was applied with a black permanent marker, (that proved to be not that permanent because I managed to make a mess of it all with my big sweaty fingers… )
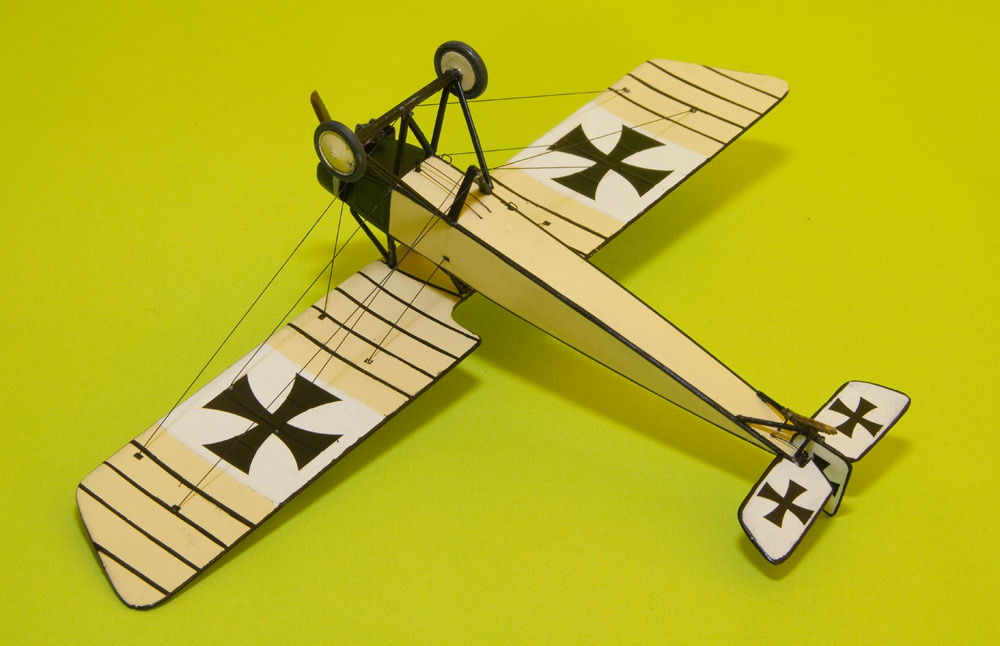
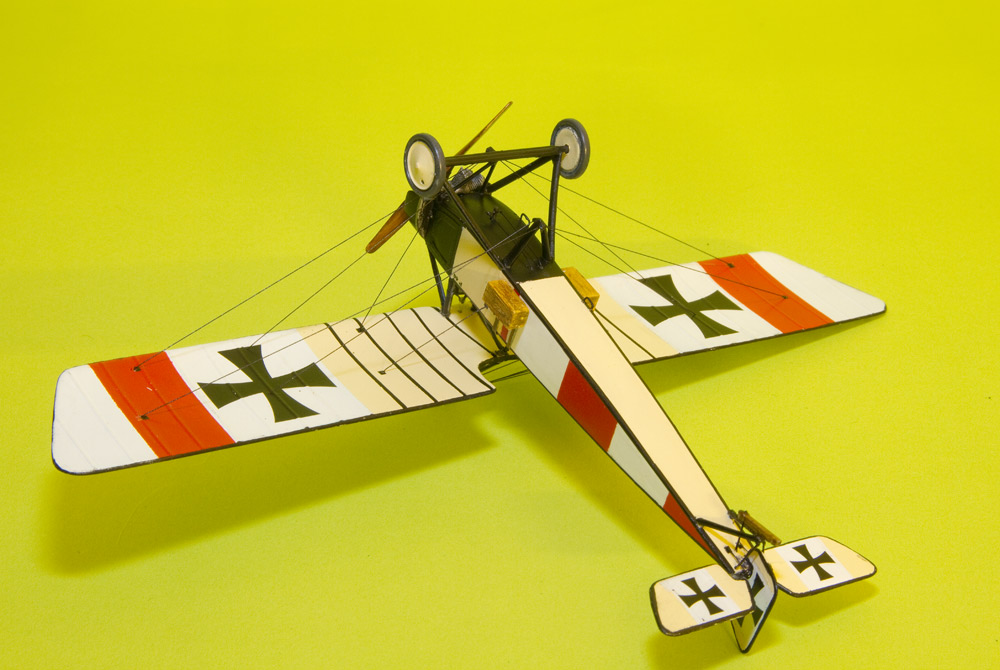
The undercarriage came next and I was already thinking I would have to scratch some struts for my AI, since the parts illustrated in the instruction sheet (and also, wrongly, in the colour profile on the back of the box) were not the correct broad V type, with one leg attaching at the base of the cowling, but the narrower V (which was correct for the AII). Inspecting the sprues more carefully revealed, though, that AZ had included both type of struts in the kit, even if this isn’t mentioned anywhere.
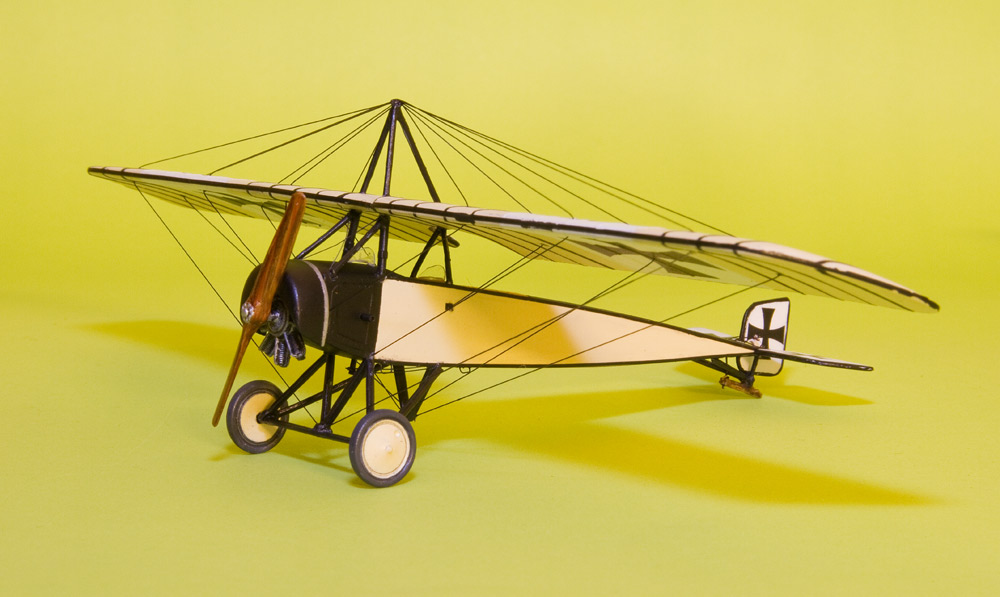
So the broad Vs were used for the AI while the narrow Vs went into the AII. On both, wire pins were inserted into the base of the legs and matching holes were drilled in the fuselage to again ensure a good solid bond.
Even if the correct Vs were supplied for the AI, I still had to scratch the central V, since the one supplied was ok for the narrow u/c but too short for the broader ones. This was not a hair raiser, though, (not that it would matter much for my old alopecic self...) as it was easy doing with pieces of evergreen rod glued at the right angle with a touch of CA.
The rear undercarriage assembly was also fixed in place and some elements were substituted for copper wire, because I felt it gave a more scale like appearance to the whole.
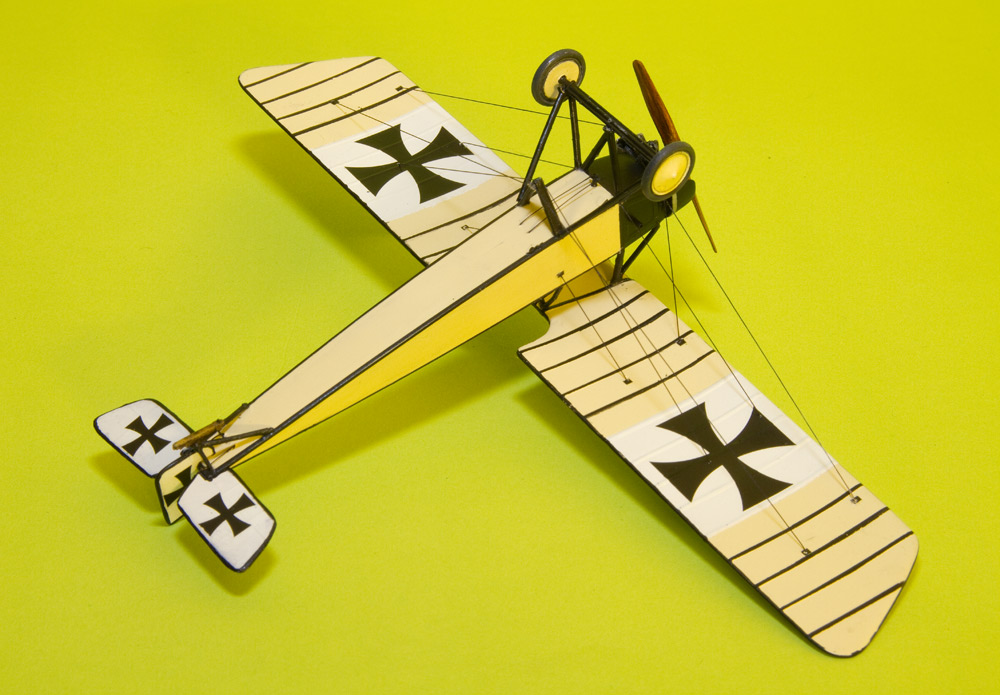
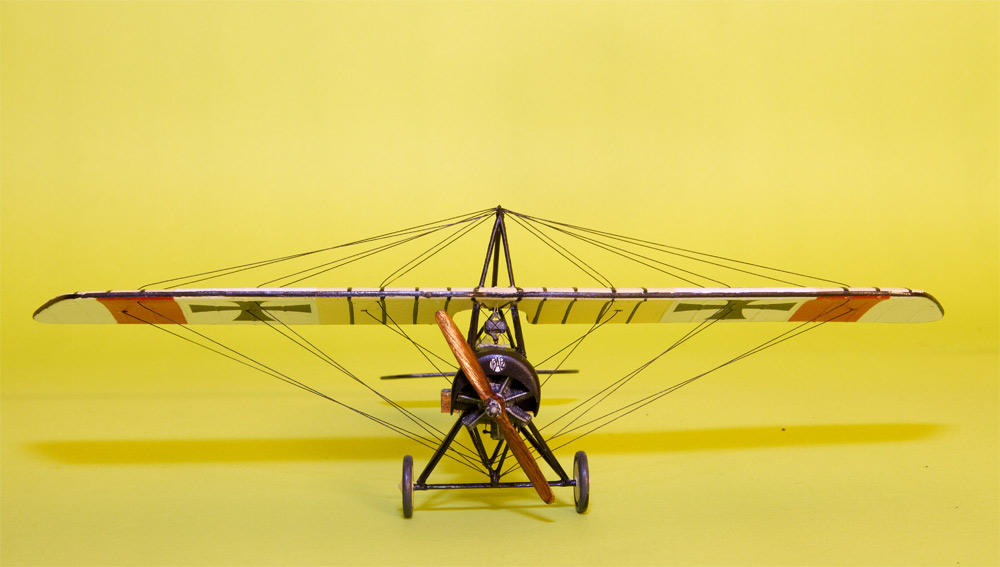
The undercarriages lacking but the wheels and the bequille I carefully mounted the wing onto the cabanes (again the locating holes were enhanced with a drill bit of suitable size) and left it to dry for a night. The top cabane tripod was then installed and at the apex of each tripod I carefully drilled a hole into which I inserted a very small and thin wire loop, that would later hold together the many rigging wires that adorn the wing as part of the warping system.
The complex Rigging was replicated by means of monofilament painted black by running it against the tip of a broad permanent marker . Before attaching the wing, locating holes for the rigging were drilled as usual in the correct locations (in this case fuselage, wings, cowling, undercarriage and control columns) and the wire was then threaded through these holes, being secured in place by minute applications of CA.
The AI I was modeling had rudimentary bomb boxes secured to the sides of the fuselage with what looks like leather (?) strips. I scratchbuilt some boxes with sheet plastic and inserted into them bit of plastic to represent the bombs. They are so small, that not much detail is needed and they look quite alright to me. Also the aircraft that participated in the bombing raid against Italian forces, were equipped with barographs, suspended from the cabanes in front of the pilot. I replicated this with a small box of plastic, painted silver and black.
Last thing to go were the engines (7 cylinder Oberursel for the AI and 9 for the AII) and the props, painted wood (a base of Humbrol 63 sand and watercolour pencil for the wood veins, as usual).
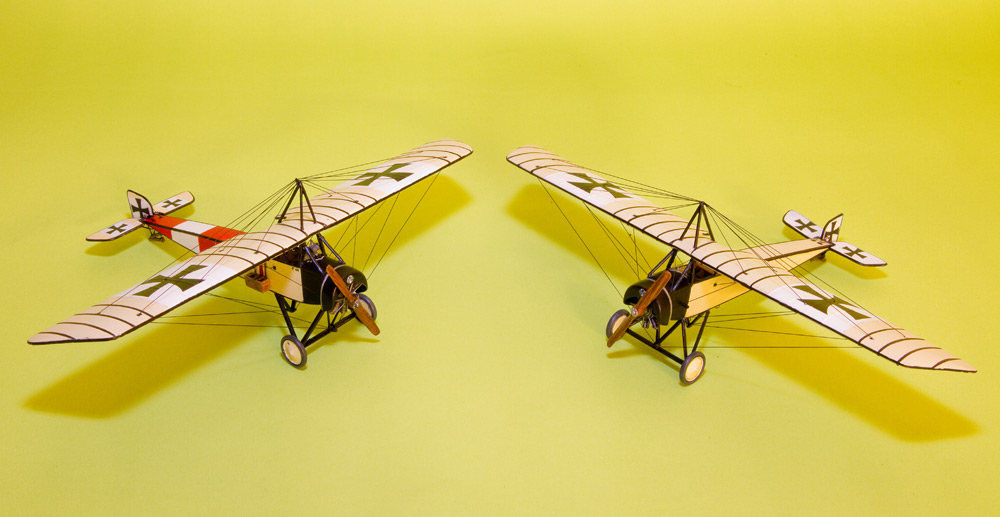
DONE!!! (Twice..)
And that’s it! Assembling both kits took a much longer time than I had anticipated but that was because at some point I lost momentum and diverted myself to other projects. In truth, the models were not hard to put together (with the exception of the rudder, that has very little where to hold on to) and the main difficulty is probably the rigging. This is really not a problem though because with some careful planning these Pfalzes are easier to rig than most multi wing, multi bay aircraft. Just be sure to take your time and plan in advance.
At some point during construction I benefited from a useful and as usual rather well humored dialogue with Paul Thompson, who helped me sort out the details inside the cockpit. Thanks again, Paul!
References
Pfalz Aircraft of WW1, Jack Harris, Flying Machines Press
Morane Saulnier Type L Datafile, Jack Bruce, Albatros Productions
Pfalz Scout Aces of WW1, Greg VanWyngarden, Osprey

