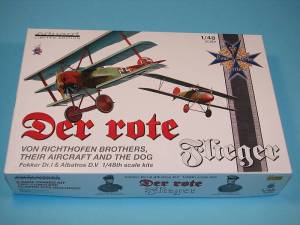
Eduard 1/48 "Der rote Flieger" (Fokker
Dr.I and Albatros D.V)
|
 |
Introduction
The history of the infamous Fokker Dr.I Triplane has been explained
far better than I can do it in plenty of books and magazines. The latest
Datafile Special from Windsock, Fokker
Dr.I Jagdstaffeln is definitely a great start, especially
in terms of the units that flew the Fokker Triplane and her markings.
The Kit
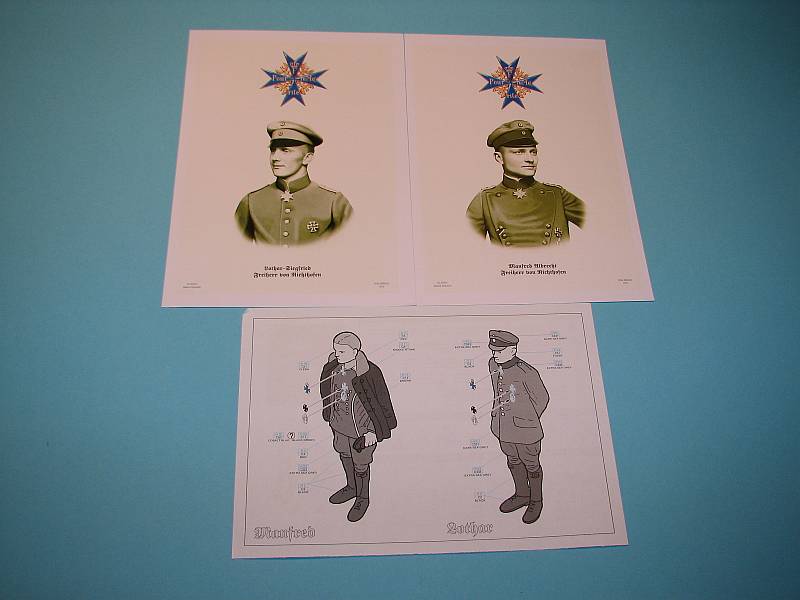
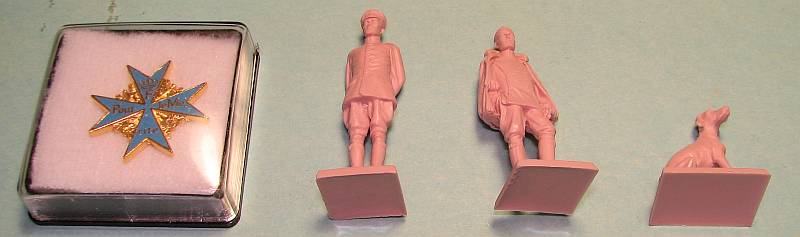
 The
first offering of Eduard's Fokker Dr.I in 1/48th comes in a special package
with more than just the Triplane kit. It also comes with their Albatros
D.V, a small replica of the Pour le Merite and figures representing Herr
Rittmeister Richthofen, his brother Lothar and "their dog".
The figures are done in resin and are extremely nicely cast. If I was
to build in this scale I feel the price would be worth it for the figures
alone (and yes, the figure of Lothar is taller than the figure of Manfred,
as it was in real life). The other really nice part about the figures
is that Eduard provides photoetch for the brothers' medals. In fact, these
are pre-painted photoetch so just a little bit of glue and you have their
medals attached to their body. The
first offering of Eduard's Fokker Dr.I in 1/48th comes in a special package
with more than just the Triplane kit. It also comes with their Albatros
D.V, a small replica of the Pour le Merite and figures representing Herr
Rittmeister Richthofen, his brother Lothar and "their dog".
The figures are done in resin and are extremely nicely cast. If I was
to build in this scale I feel the price would be worth it for the figures
alone (and yes, the figure of Lothar is taller than the figure of Manfred,
as it was in real life). The other really nice part about the figures
is that Eduard provides photoetch for the brothers' medals. In fact, these
are pre-painted photoetch so just a little bit of glue and you have their
medals attached to their body.
 Since
the Eduard Albatros D.V has been covered plenty in
our pages I will only show a picture of the kit along with the photoetch
provided for it within the box. You can read all the plenty of other articles
in you're interesting in learning about their D.V. Since this is based
on The Red Baron, naturally all (but one) markings are for Manfred's D.Vs.
The only one that isn't for him is for an aircraft piloted by Oblt. Franz
Muller, but also of Jasta 11. Since
the Eduard Albatros D.V has been covered plenty in
our pages I will only show a picture of the kit along with the photoetch
provided for it within the box. You can read all the plenty of other articles
in you're interesting in learning about their D.V. Since this is based
on The Red Baron, naturally all (but one) markings are for Manfred's D.Vs.
The only one that isn't for him is for an aircraft piloted by Oblt. Franz
Muller, but also of Jasta 11.
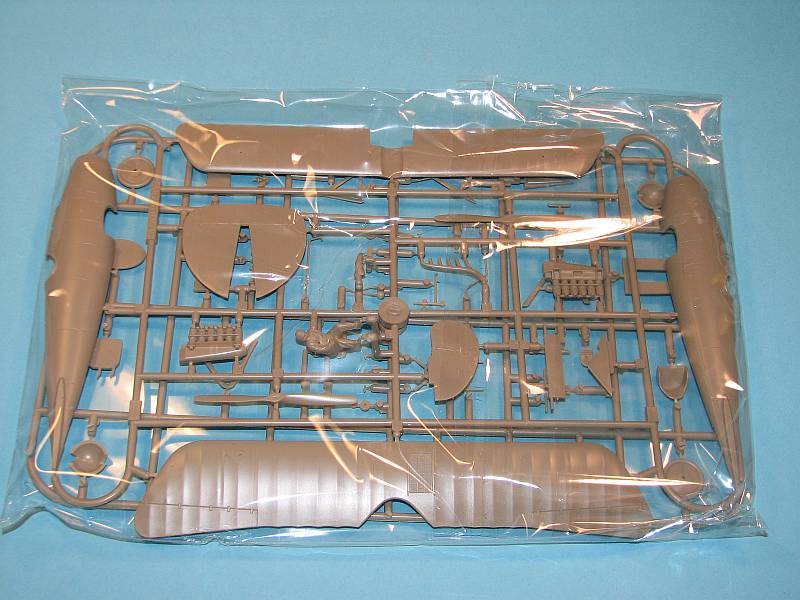
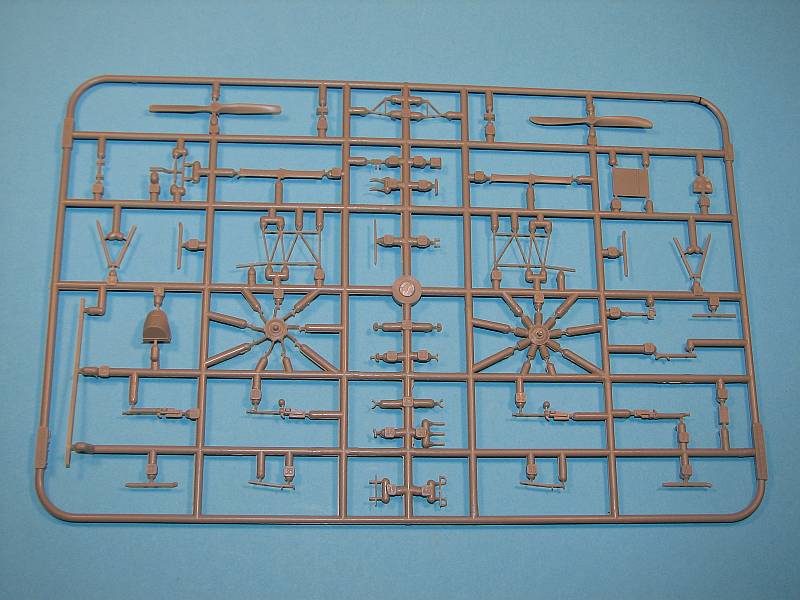
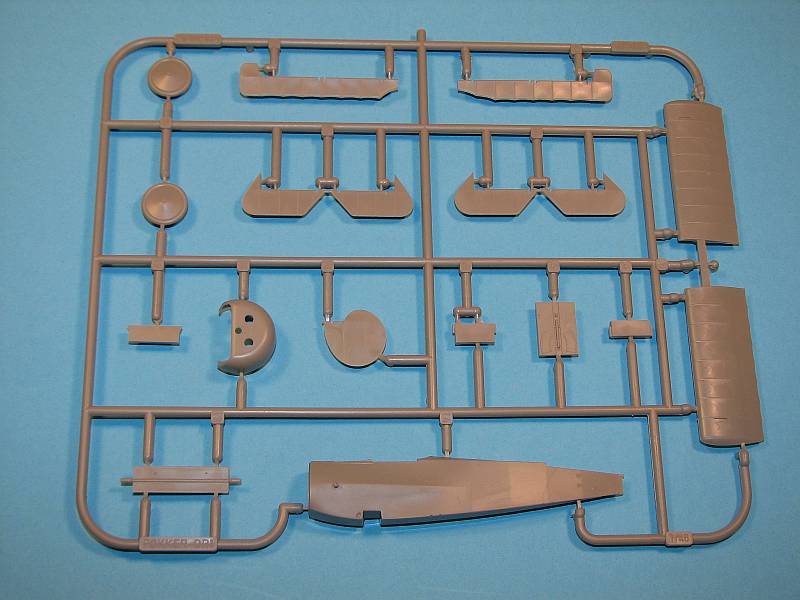
On to what all WW1 1/48th builders have been clamoring for, a new-tool
Fokker Dr.I to replace the aged DML/Dragon kit. It's nicely cast to typical
Eduard standards and all should be pleased. The only negative I can say
about it is their treatment of the underside of the wings. While the DML/Dragon
kit (over)did this more correctly, as treating the ribs as "sucked
in" instead of the typical "tapes", the Eduard kit does
show finesse and does not have any sort of "starving cow" look.
To top it off, it's only a "single tape" as opposed to the "double
tape" they provide on the upper surfaces (which I think look fantastic).
Now, on to the rest of the kit.
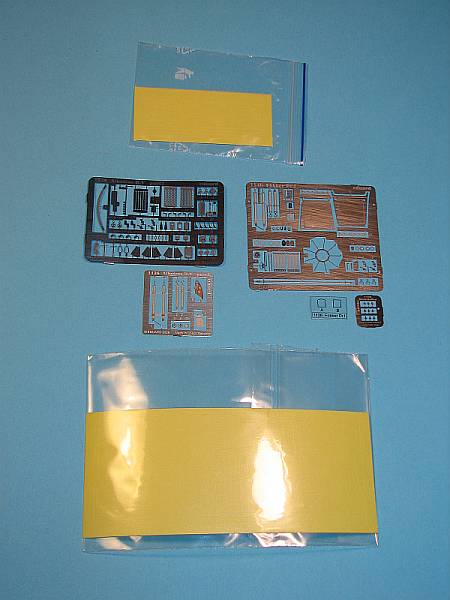
 The
kit consists of 77 injected molded pieces (two aren't used, which are
the "full plastic version" of the guns), a photoetch fret consisting
of approximately 37 parts, clear film for the windscreen and a set of
masks (primarily for the wheels). As I already mentioned parts are cast
in the typical, excellent Eduard-way and should be no problem at all to
put together. There are alternative parts. Eduard provides different ailerons
and a horizontal tail to build the pre-production F.I version. Unfortunately
they left off the different cowl so you're left to do your own modications
for that. In addition, while Eduard doesn't show it on their instructions
(although they do show you leaving the wing skids off) you have to fill
in the holes for the wing skids to make an accurate F.I. The
kit consists of 77 injected molded pieces (two aren't used, which are
the "full plastic version" of the guns), a photoetch fret consisting
of approximately 37 parts, clear film for the windscreen and a set of
masks (primarily for the wheels). As I already mentioned parts are cast
in the typical, excellent Eduard-way and should be no problem at all to
put together. There are alternative parts. Eduard provides different ailerons
and a horizontal tail to build the pre-production F.I version. Unfortunately
they left off the different cowl so you're left to do your own modications
for that. In addition, while Eduard doesn't show it on their instructions
(although they do show you leaving the wing skids off) you have to fill
in the holes for the wing skids to make an accurate F.I.
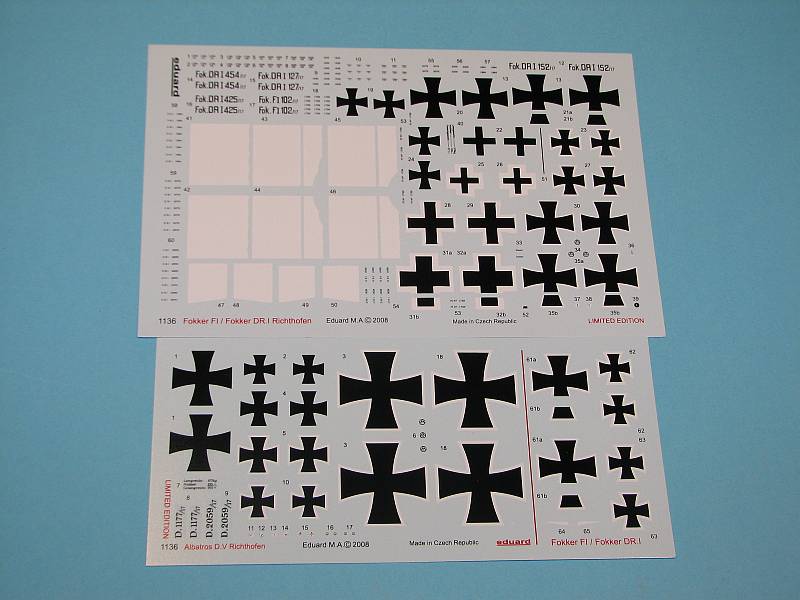
 Decals
are vast, in sheer number but not for the number of pilots. Hey, Eduard
labeled this release "Der rote Flieger" (the red flyer) for
a reason - it's meant to be a release centering around Herr Rittmeister
and his brother, Lothar. So you get decals to make each and every Richthofen
Triplane, including Lothar's with the yellow on the upper wing and upper
fuselage. Not only crosses and person markings are catered to on the decal
sheet, but also all stencils and serial numbers, for each and every part
that carried them. Decals
are vast, in sheer number but not for the number of pilots. Hey, Eduard
labeled this release "Der rote Flieger" (the red flyer) for
a reason - it's meant to be a release centering around Herr Rittmeister
and his brother, Lothar. So you get decals to make each and every Richthofen
Triplane, including Lothar's with the yellow on the upper wing and upper
fuselage. Not only crosses and person markings are catered to on the decal
sheet, but also all stencils and serial numbers, for each and every part
that carried them.
 Okay,
on to telling about the rest of the kit. The cockpit is an out-of-the-box
builder's dream. Everything you need for the 'pit is included, and if
it's not plastic then it's photoetch. I am very impressed by the level
of detail. Once the 'pit is assembled and the fuselage halves put together
the rest of the kit just falls together. It's unusual they have you put
the middle wing on first, but they do. Whether or not you paint the model
before adding the lower wing is up to you. I would paint that assembly
first and then install the lower wing but I'm unsure of the fit of the
lower wing. Okay,
on to telling about the rest of the kit. The cockpit is an out-of-the-box
builder's dream. Everything you need for the 'pit is included, and if
it's not plastic then it's photoetch. I am very impressed by the level
of detail. Once the 'pit is assembled and the fuselage halves put together
the rest of the kit just falls together. It's unusual they have you put
the middle wing on first, but they do. Whether or not you paint the model
before adding the lower wing is up to you. I would paint that assembly
first and then install the lower wing but I'm unsure of the fit of the
lower wing.
 The
rest of the kit is just as detailed and when it's finished it should look
wonderful. There is nothing extra you need, with everything provided for
either on in injected plastic (including the control horns!) or on the
photoetch fret. The
rest of the kit is just as detailed and when it's finished it should look
wonderful. There is nothing extra you need, with everything provided for
either on in injected plastic (including the control horns!) or on the
photoetch fret.
However, I did find one thing extremely unusual. Eduard provides a rigging
diagram for the underside of the tail only. It's unusual because Eduard
is usually very good about providing full rigging diagrams and for them
not to include it on their instruction sheet is not normal Eduard practice.
Granted there isn't a lot of rigging to add, but it would be nice to know
how it's to go onto the kit. You'll either have to look to one of the
many references out there, or you can get a start from the box top (but
it doesn't show the wires leading to the control horns).
Conclusion
 I've
read a lot on the 'net about how people are disappointed that Eduard's
first release of their new-tool Fokker Dr.I is in this type of configuration,
with the D.V and the extra figures. Personally, I've
read a lot on the 'net about how people are disappointed that Eduard's
first release of their new-tool Fokker Dr.I is in this type of configuration,
with the D.V and the extra figures. Personally,  if
I built in this scale, I would be happy with this release because of the
figures. They're extremely nicely cast and worth the cost of the kit.
However, for those not wanting such things, that just means they have
to wait longer. But whatever you do, don't pass up this kit. It's an excellent
example of a Fokker Dr.I and finally something to replace the aged DML/Dragon
kit - when you can find it. if
I built in this scale, I would be happy with this release because of the
figures. They're extremely nicely cast and worth the cost of the kit.
However, for those not wanting such things, that just means they have
to wait longer. But whatever you do, don't pass up this kit. It's an excellent
example of a Fokker Dr.I and finally something to replace the aged DML/Dragon
kit - when you can find it.
My thanks to Eduard for the review
kit. |
|