Roden 1/72nd Sopwith 2F1 "Ship's" Camel | 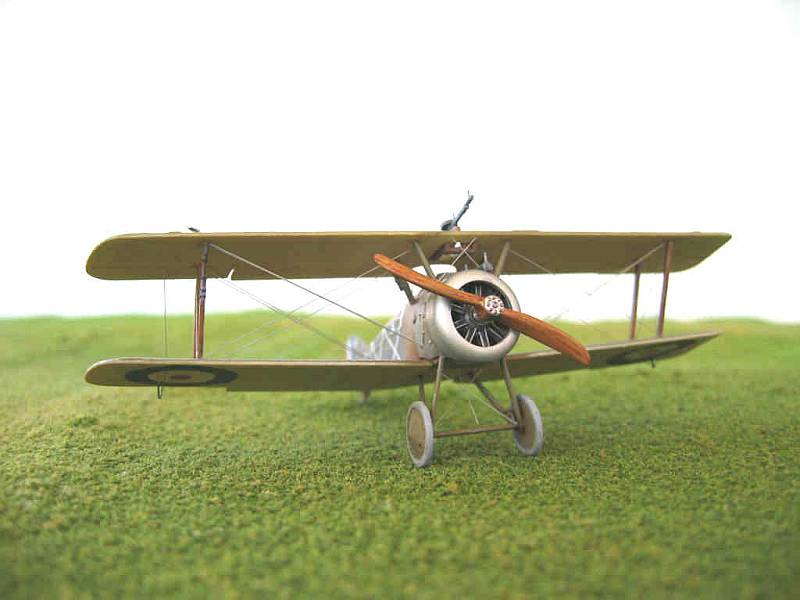 |
Background
An in-box review of this kit appeared in an earlier edition of Internet Modeler. During the course of construction, I noticed a couple of things that had skipped my attention when I reviewed the kit. In particular, the flying surfaces are a little inaccurate: the horizontal tail is too small and the outer edges 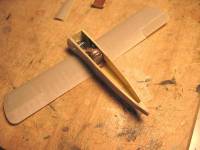 of the wings are not shaped correctly, at least according to the Sopwith 2F1 Datafile's drawings. Despite these minor shortcomings, the kit is infinitely preferable to its injection-molded antecedents.

Fuselage-Wing Subassembly
At the outset, I should say that this kit is fairly straightforward to build: my mistakes in construction notwithstanding. I began with the cockpit contents. The detail on the sidewalls is excellent and I highlighted these with a dark brown, after I had sprayed the interior in Aged White. The seat is entirely incorrect so I replaced it with a photo-etch version from the Tom's Modelworks British Interior set: the builder has to supply a plastic "seat" while the photo-etch has 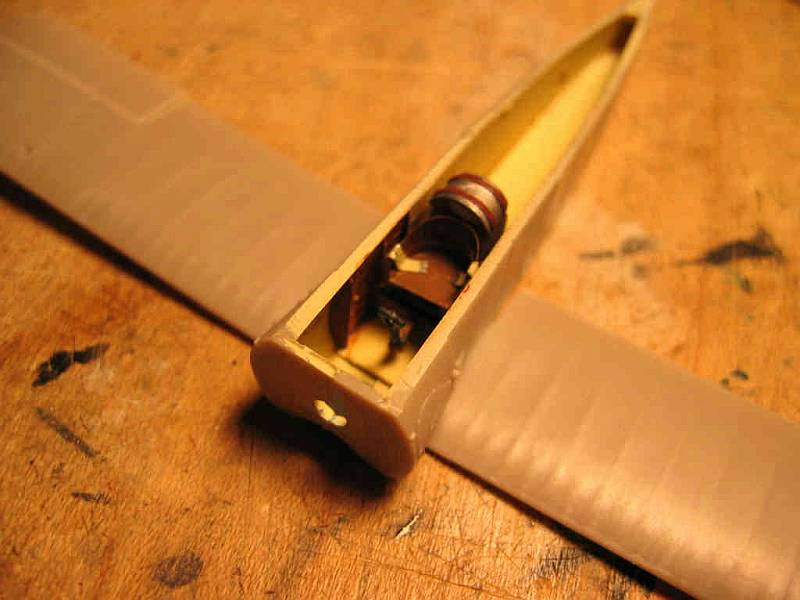 the intricate side and back detail. I also added some photo-etch seatbelts. The rest of the interior was straightforward. I glued together the fuselage halves and decided to use the new clamps I'd bought at this year's IPMS/USA Nationals to hold things together. I tightened these too much and wound up with the underside of the fuselage slightly caved-in and needed to putty this up a fair amount.
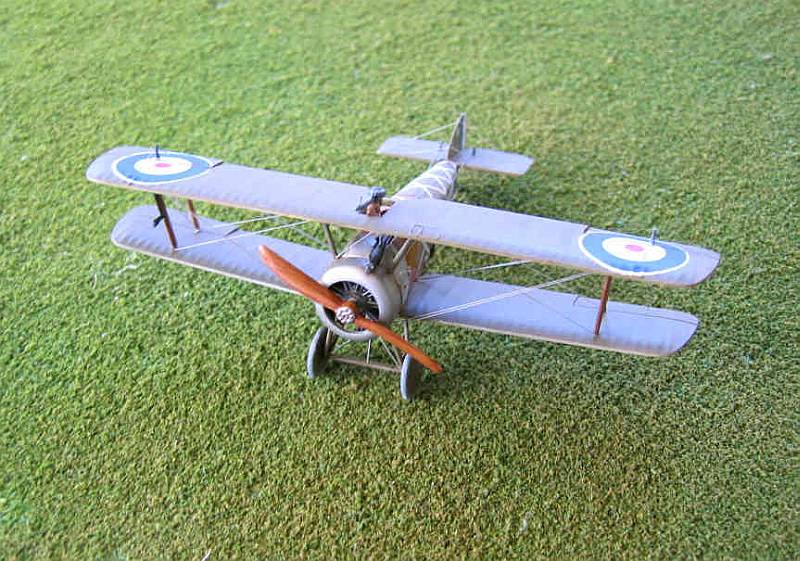
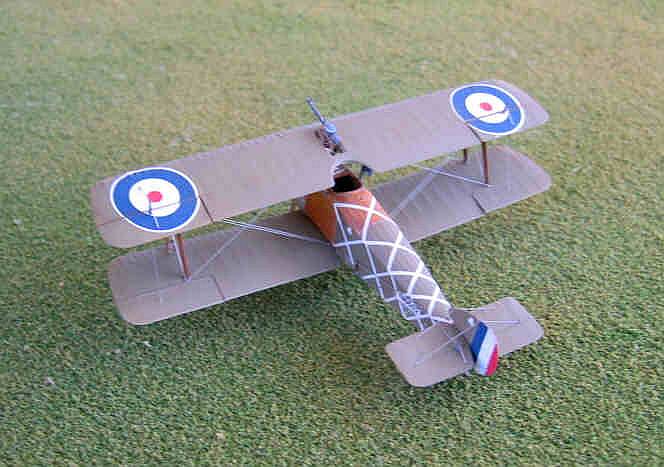
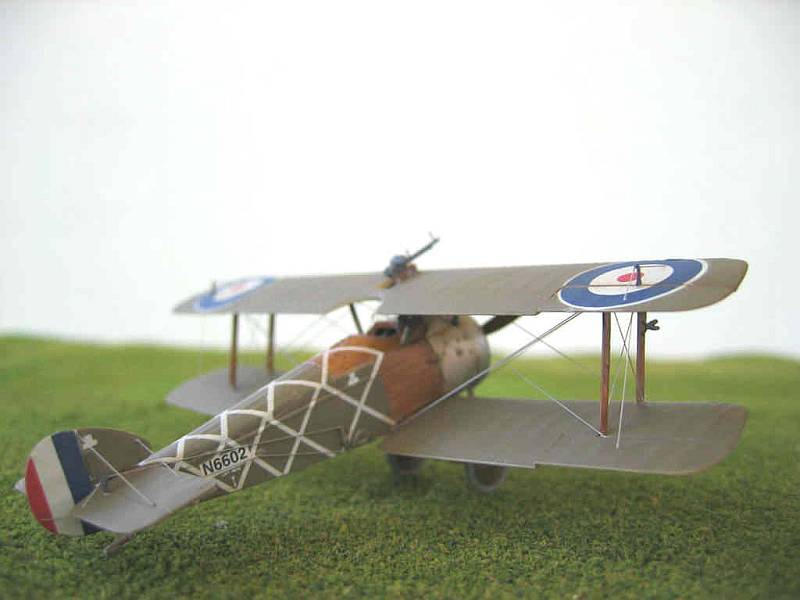
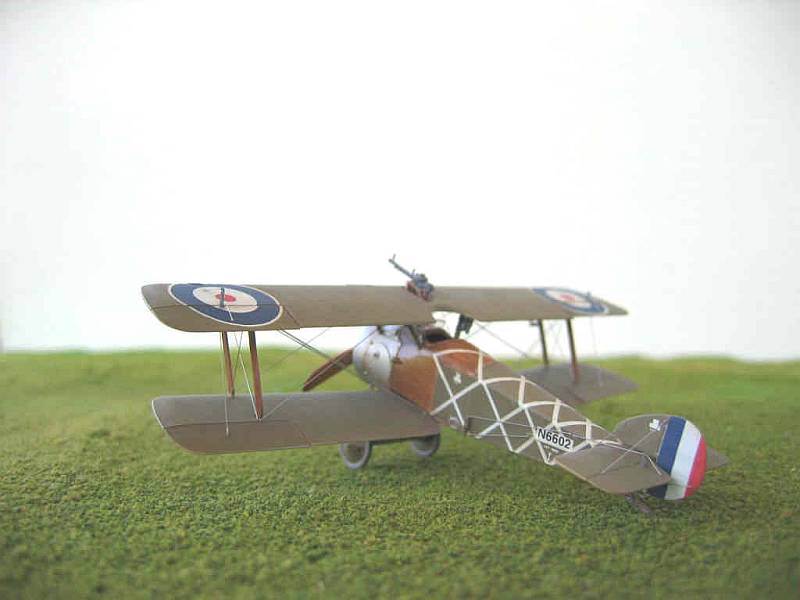
Next, I had to decide on which version I was going to build - the kit offers a Bentley and Clerget engine versions. Initially, I had selected a Bentley engine version. Unfortunately, I mistook the plastic lip on the Bentley fuselage top for a piece of flash and I was unable to replace it easily. I decided to go with the only Clerget engine scheme in the instructions "HMS Furious" however, this particular aircraft was almost assuredly powered by a Bentley engine. Nevertheless, I decided that I liked the  criss-cross white stripes on the fuselage and since I had no replacement fuselage piece, I went ahead and built it as per the kit's instructions. I glued the remainder of the fuselage shell together and added the lower wing. After I filled and sanded the various seams and gaps, I primed the sub-assembly with Mr. Surfacer 1000. The color scheme is not particularly "Colorful" but it does require four separate colors. First, I sprayed the underside with Humbrol's Matt Cream. Next I sprayed the cowling and front fuselage with Alclad II Aluminum: this dries quickly and can be masked in an hour or so. The upper surfaces were next and for the PC-10 color I used a mixture of Testor's Dark Earth and some Dark Green. Finally, I sprayed the forward-mid section of the fuselage with Testor's Wood. I used Gouache watercolor paints - burnt umber, and other shades of brown, applied with a Q-tip, to give a wood grain effect.

Decals
 The kit's decals went on fine after a coat of Testor's clear gloss and a couple of brushed coats of Future. I had few problems putting them on the kit: even the large fuselage white stripe decals went down with little effort. After spraying a matt clear coat, I gave the model a burnt umber oil wash.
Final Assembly
Gluing on the top wing was straightforward. I immobilized the fuselage-lower wing subassembly using magnetic strips and the top of a tin lid, glued the struts into the top wing, and held the pieces in position using stacks of cassette tapes. I had to trim the cabane struts quite a bit before they fit. The instrument attached to the rear starboard cabane looked 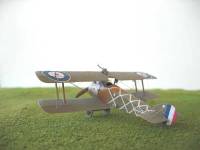 somewhat oversized: I painted them dark grey (Polyscale Scale Black). The propeller received the same wood treatment as the fuselage.
The remaining components went together with very few problems. I contrived to drip liquid glue (Pro Weld) onto the upper surface of the top wing after the kit's completion. The good news was that it didn't land on the decal. I sanded the surface down a bit and carefully re-sprayed the PC-10: there's still a mark if you look really closely. I rigged the model using 0.005-inch stainless steel wire from Smallparts, Inc., adhered with Elmer's white glue. Once I had sprayed the final clear coat, to dull down the shine on the steel wire and help hide the various errors, I glued on the front windshield and it was complete.